How to make a do-it-yourself pig out of paper
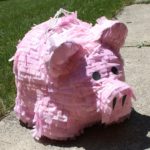
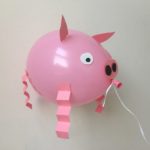
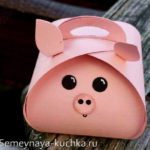
A paper pig can be a pleasant gift, and the process of creating it can be an interesting pastime. Moreover, there are many options: applique, origami, quilling pigs.
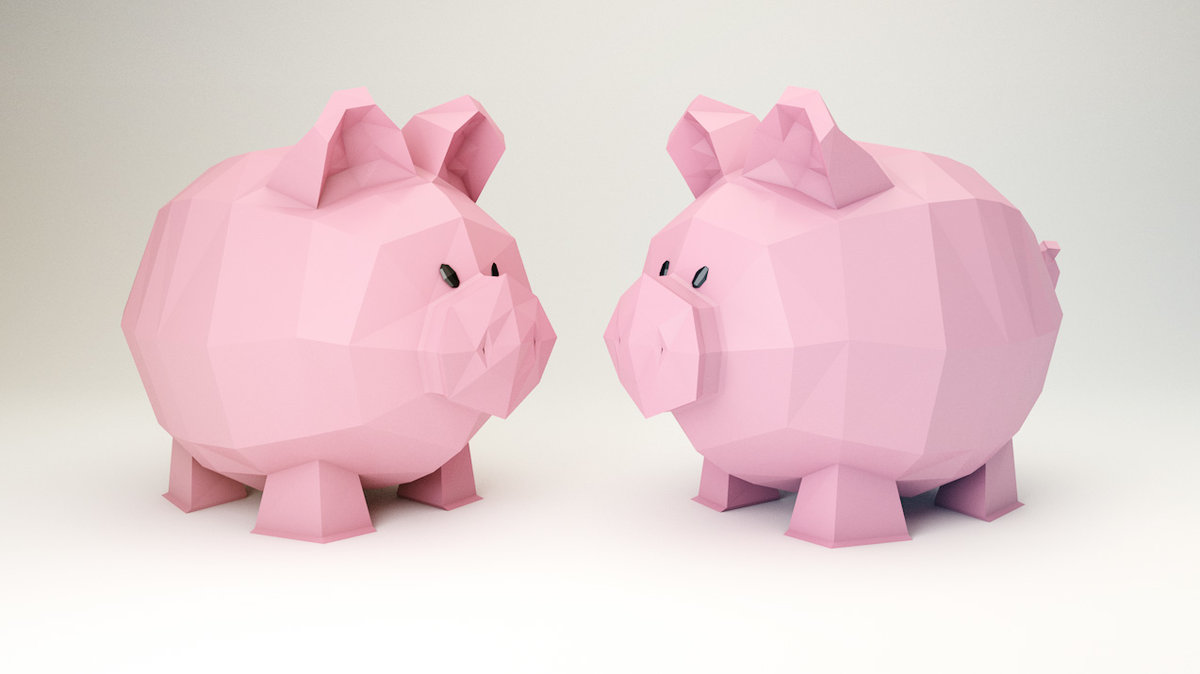
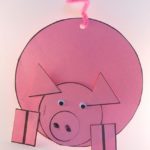
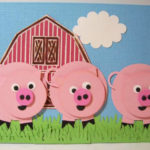
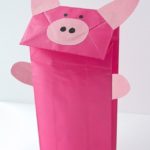
Application
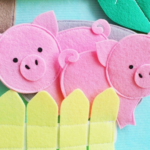
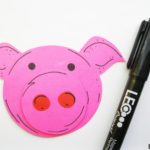
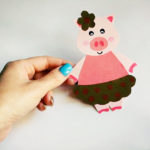
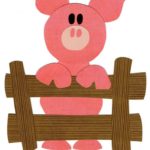
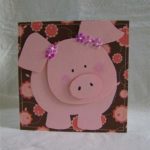
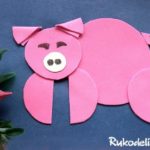
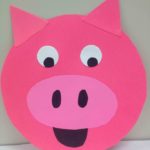
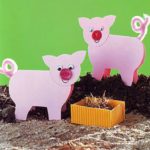
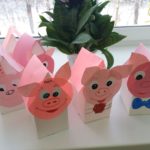
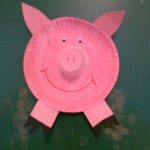
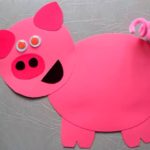
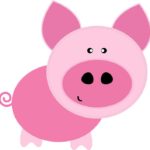
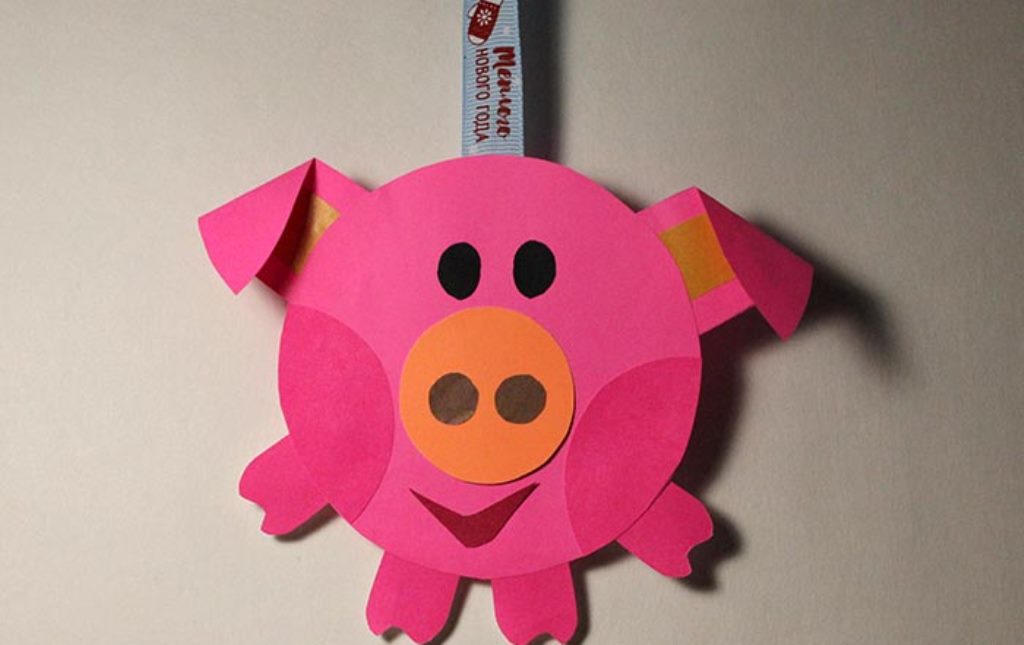
Paper applique can be the basis for a postcard, as well as an interesting decoration for a notebook or notebook. You can make an applique together with your baby: it will be interesting for him and you will enjoy the joint process.
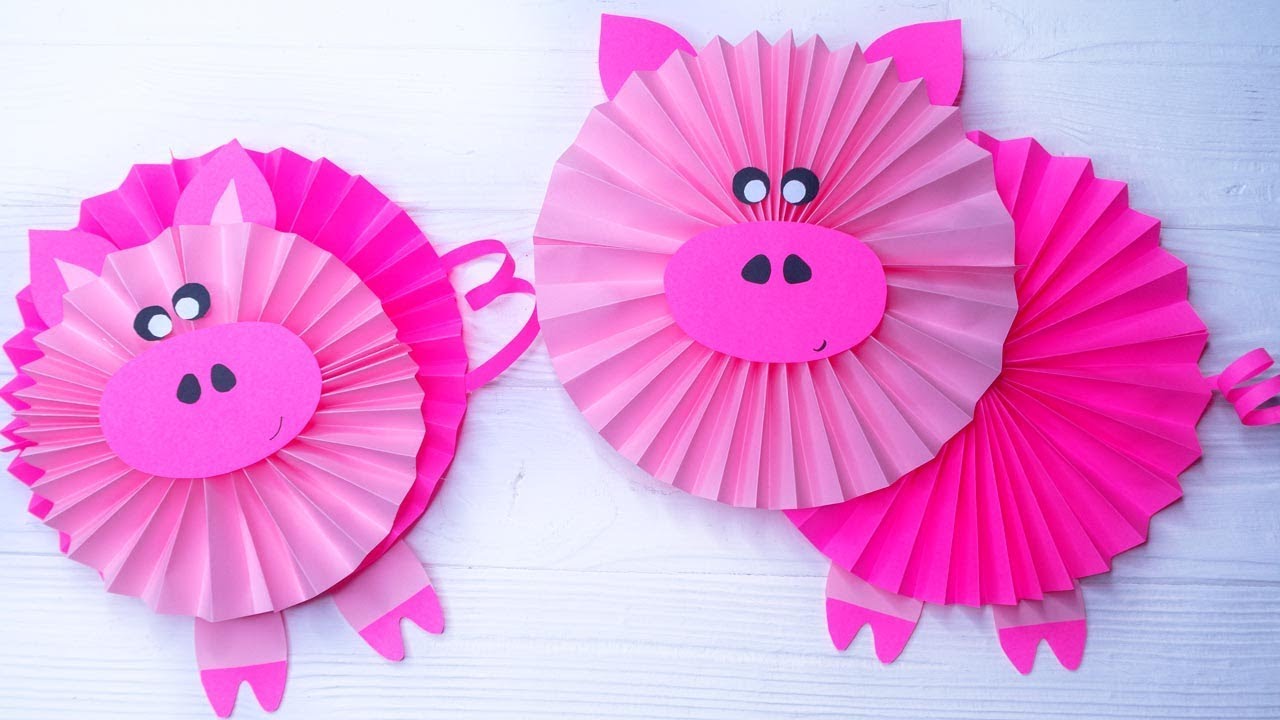
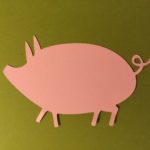
You will need: colored paper, cardboard, scissors, any decorations (decor). The template can be drawn by hand. Then, using it, cut out the necessary parts from paper and glue them. Finally, decorate the applique with sequins and rhinestones.
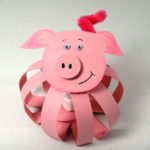
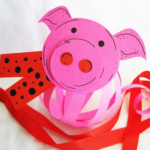
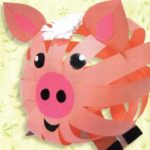
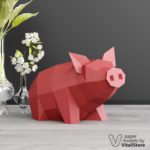
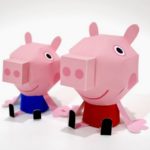
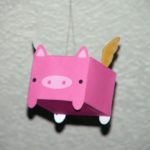
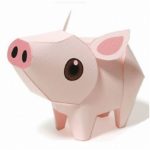
Volumetric paper pig
Such a toy can decorate the house both independently and as a garland, if you make several figures and connect them together.
Required materials and tools:
- Double-sided pink paper;
- Cardboard;
- Black marker;
- Scissors;
- Glue.
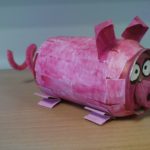
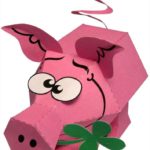
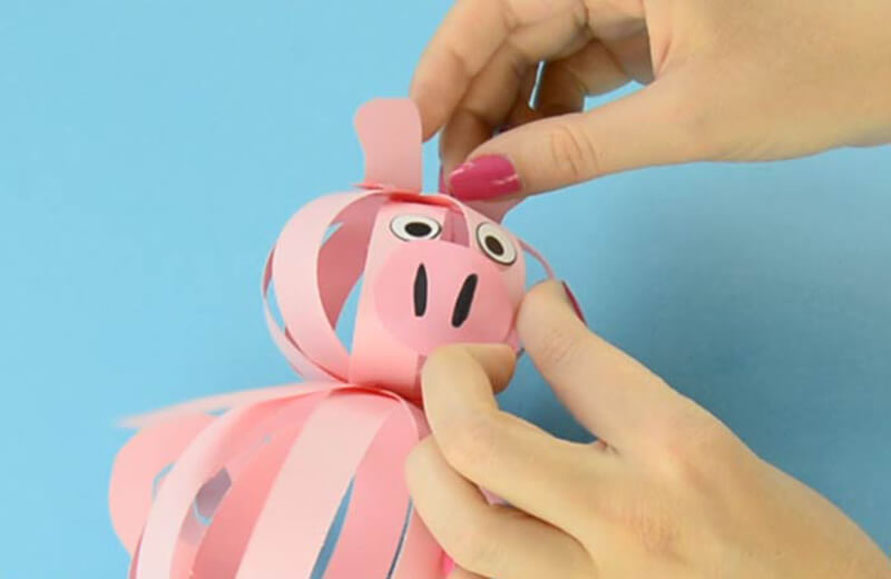
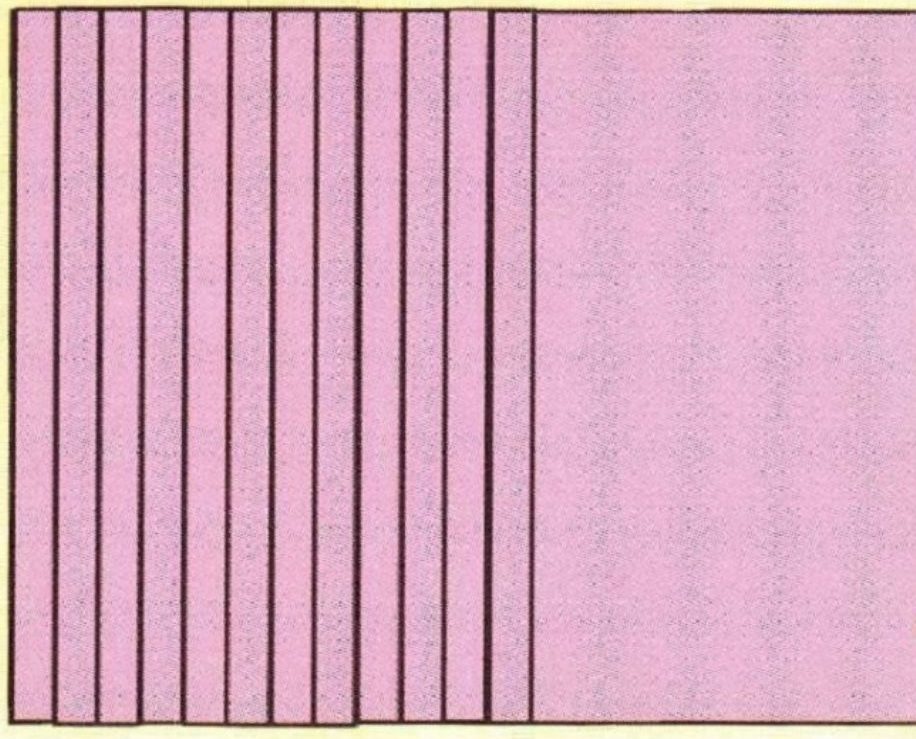
The paper should be cut into strips of the same width (approximately 1 cm). For the bottom (torso), you need 8 strips. They are folded crosswise and glued in the middle. The ends of the blanks are connected in such a way as to form a ball. For the upper part (head), you will also need 8 blanks, only of a shorter length. The head is made in the same way and then connected to the torso.
A patch is cut out separately and nostrils are drawn on it with a marker. The piglet is glued to the head. The eyes are made in the same way and attached to the head.
Then 4 more strips are taken (upper and lower limbs) and attached to the body. Finally, don't forget the ears.
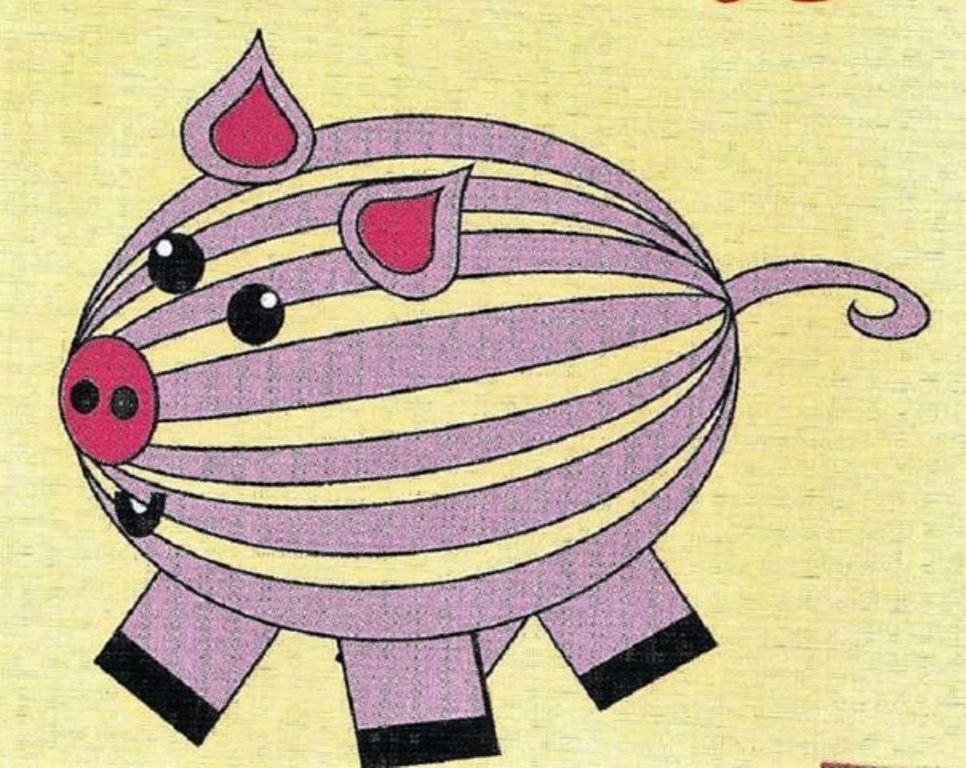
Such a piglet made of paper does not require special knowledge and effort, and it can also be made with children.
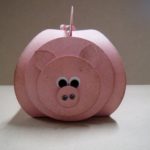
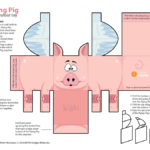
Paper pig with a movable head
For the toy you will need:
- Paper (colored) and cardboard;
- Ruler and pencil;
- Scissors;
- A compass or any base to draw a circle;
- Glue (pencil or PVA);
- Black marker.
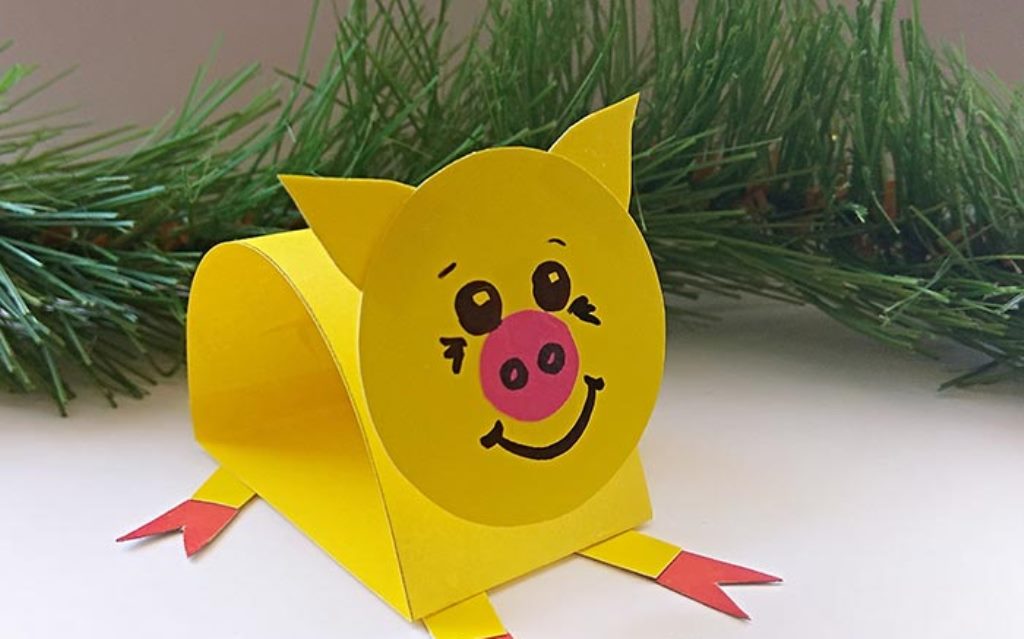
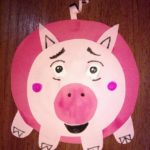
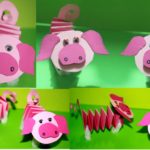
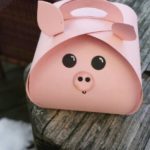
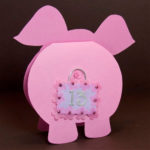
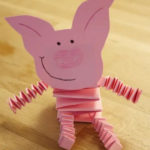
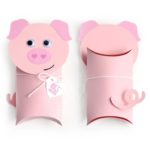
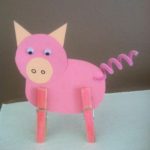
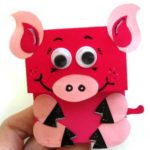
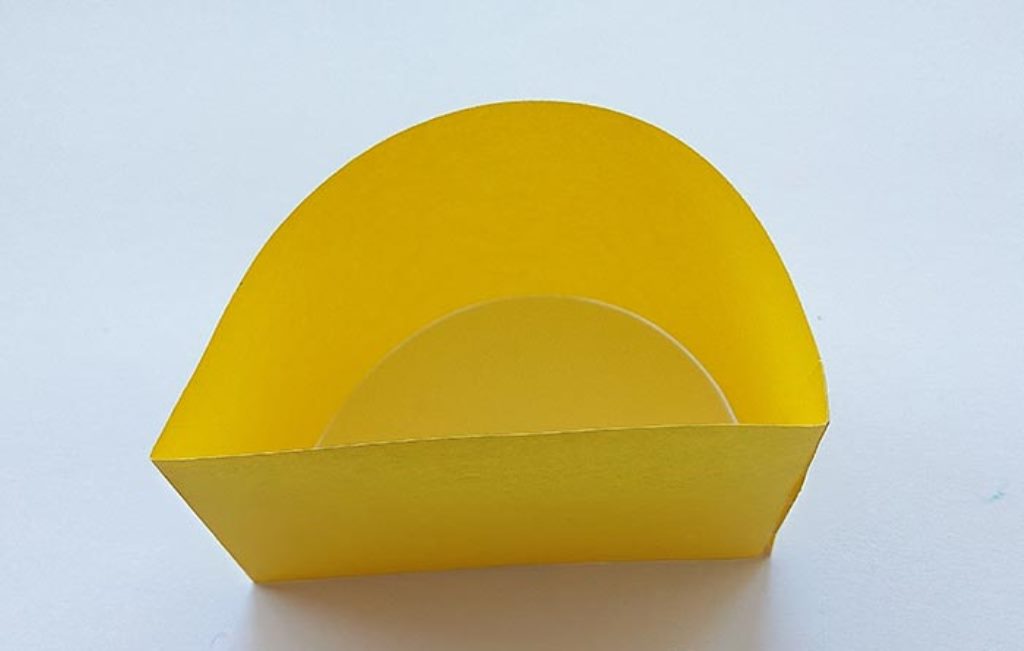
We make a body from paper of the main color. This will be a simple rectangle that we will enclose in a ring. Cut out a 15x3 cm rectangle (you can change the parameters if desired), grease one edge with glue and connect the rectangle into a ring. Make two folds on the resulting ring and form a semicircle.
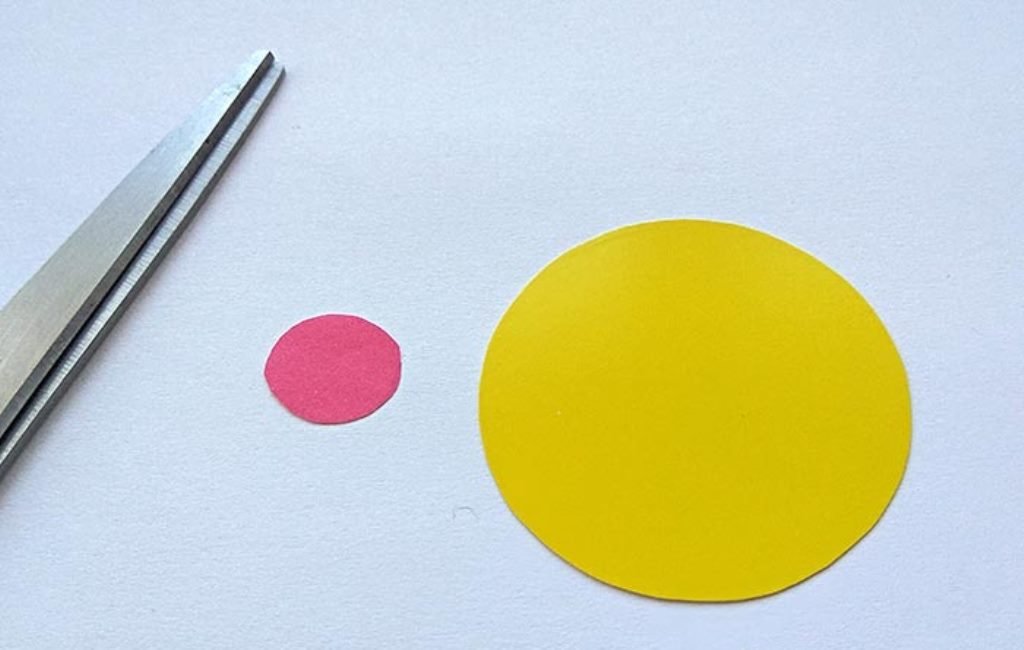
Draw a circle on the base color paper, and cut it out - this will be the head. Then prepare a small circle of pink paper - this will be a patch. Eyes can be drawn with a marker, or you can glue ready-made, with "running" pupils. Also on the patch you need to draw the nostrils.
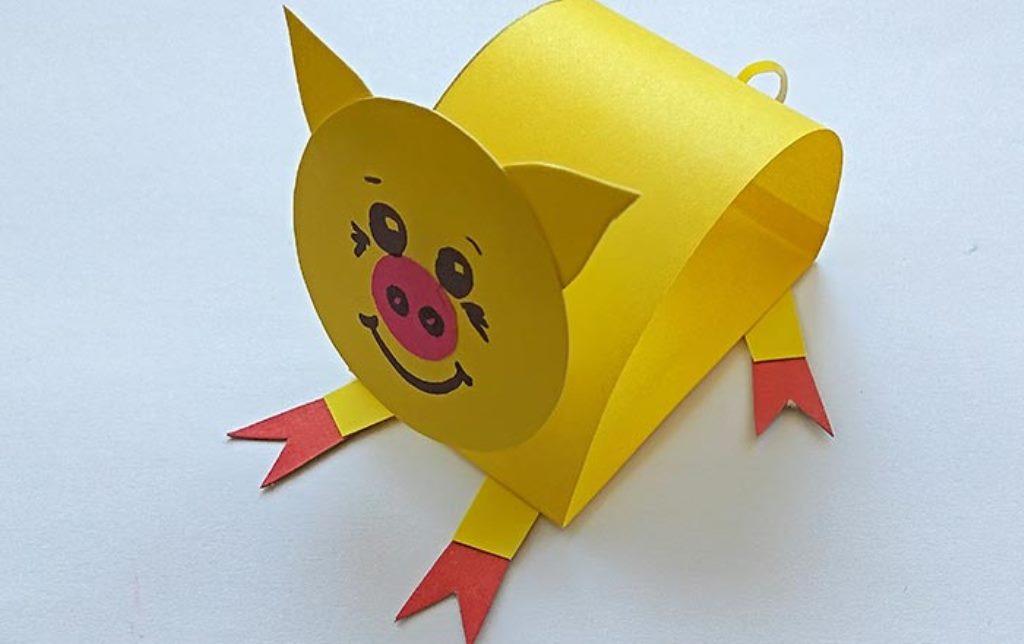
The semicircle made in the first step will become the torso. You need to attach your head to it. But, as we said above, this pig's head will be mobile. How to do it? Cut a piece of cardboard and bend it to your liking. Glue one side to the body, and the other to the head. When the glue is dry, press down on the pig's head, and then release it - it will spring back. If desired, the head can be glued directly to the body, then it will be motionless.
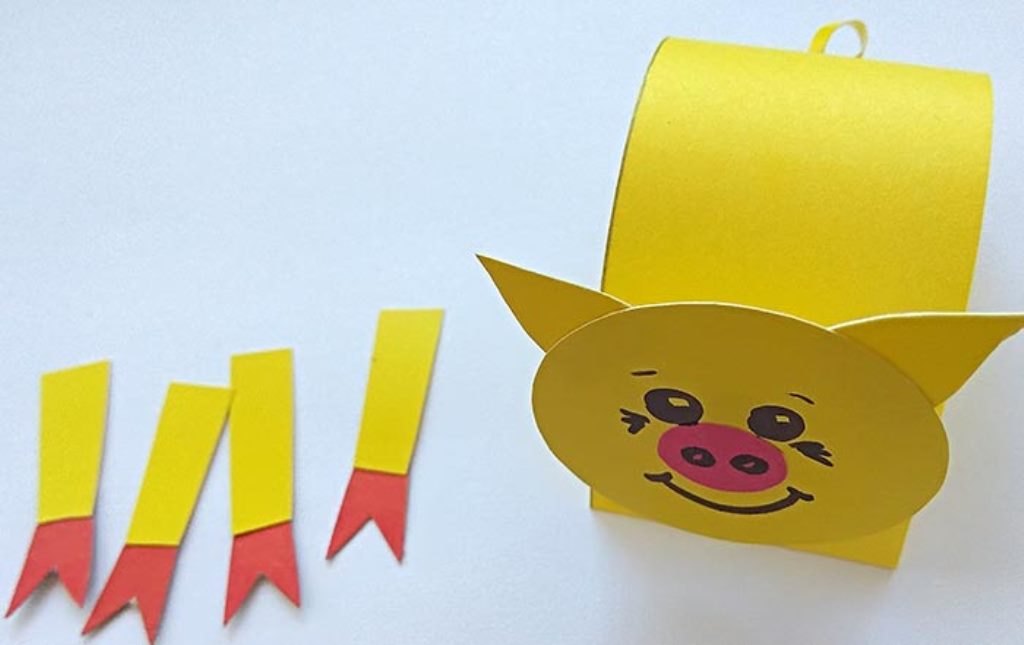
Glue the tail to the back of the body. You can make it at your own discretion. Don't forget about the legs. Cut out four strips of the base color, and glue a pink hoof to each. Then we glue the legs to the body.
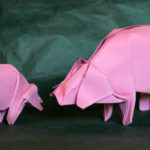
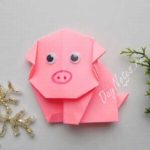
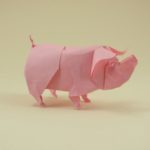
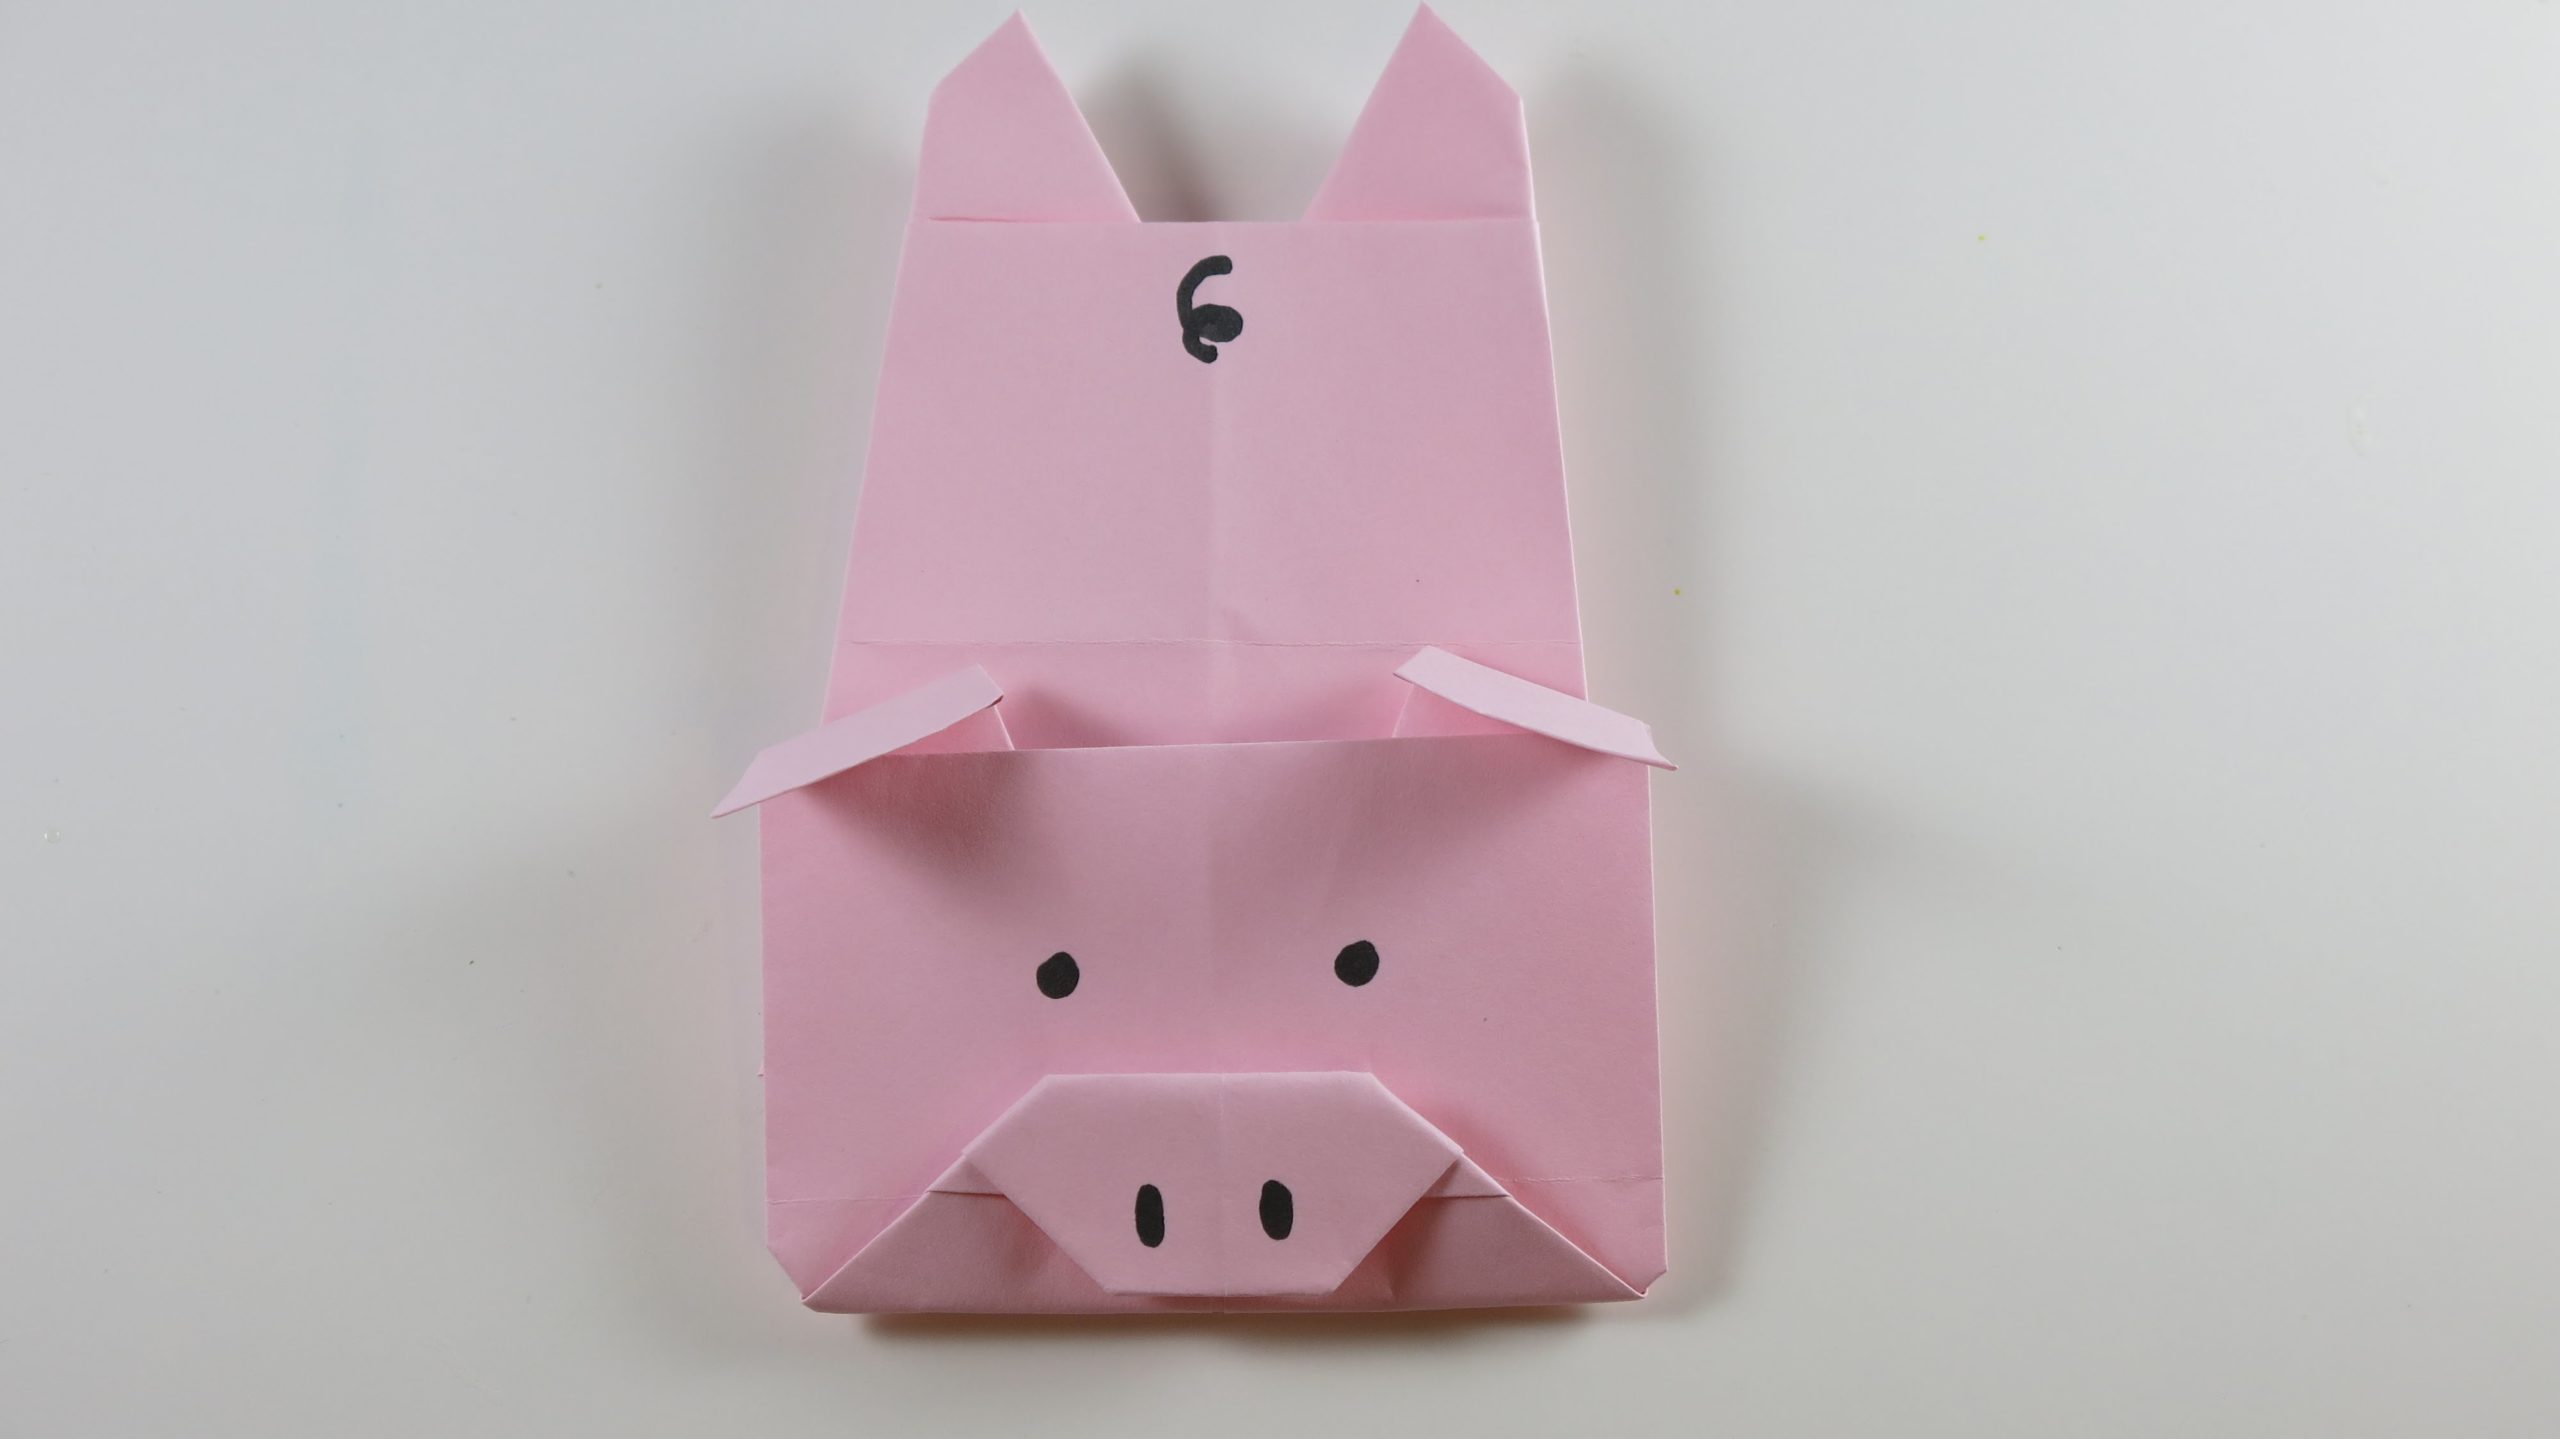
Origami pig
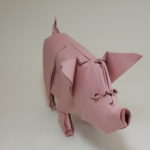
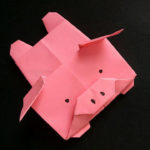
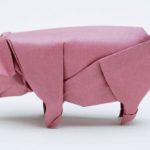
Immediately, we note that the origami technique requires a minimum of materials and tools, namely, only two square sheets of paper. In some cases, scissors are required. Finally, in order to draw the eyes and the patch, you need to prepare a marker. Well, since the figure will be voluminous, and the head will be made separately, glue will be needed to connect the body and head.
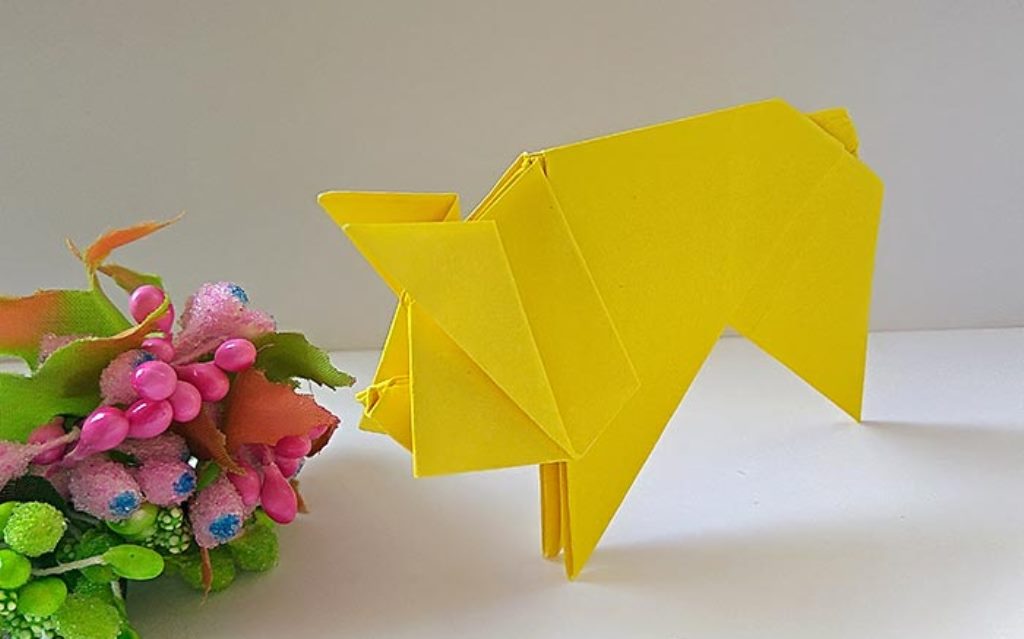
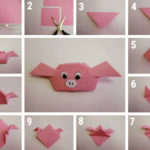
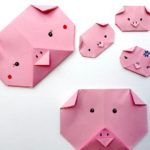
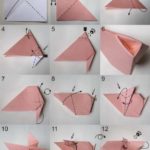
Let's start creating the face. Take the first square and fold it in half. Then we fold the opposite sides of the square to the fold in the middle. Expanding. Three folds remain on the sheet. Now we unfold the sheet and fold it in half perpendicular to the existing folds. Expand and fold the opposite sides to the center fold. Bend the top edge down to the center. We turn the corners out from under it and iron it. Above should be a trapezoid.
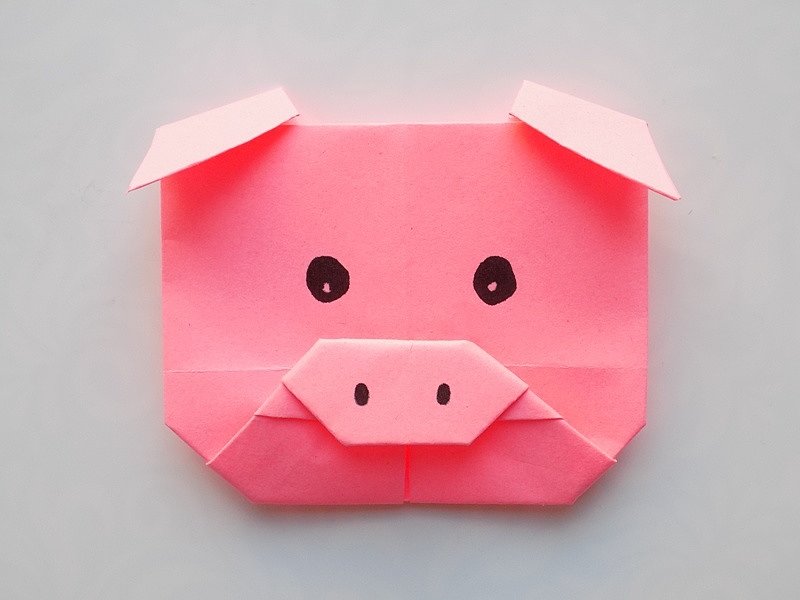
Further, following the scheme, we form ears and a patch on the face. Draw nostrils on the patch. We glue the eyes.
The initial stage of creating the torso is exactly the same as when making the head. And then, according to the scheme, we will form the body and legs. At the final stage, we glue the head to the body.
From ordinary paper napkins
You can create this masterpiece in a matter of minutes and with a minimum set of tools and materials. So, you will need:
- Napkins (available in different colors);
- Stapler;
- Scissors;
- Glue;
- Thin braid;
- Eyes;
- Cardboard (can be corrugated) for the muzzle.
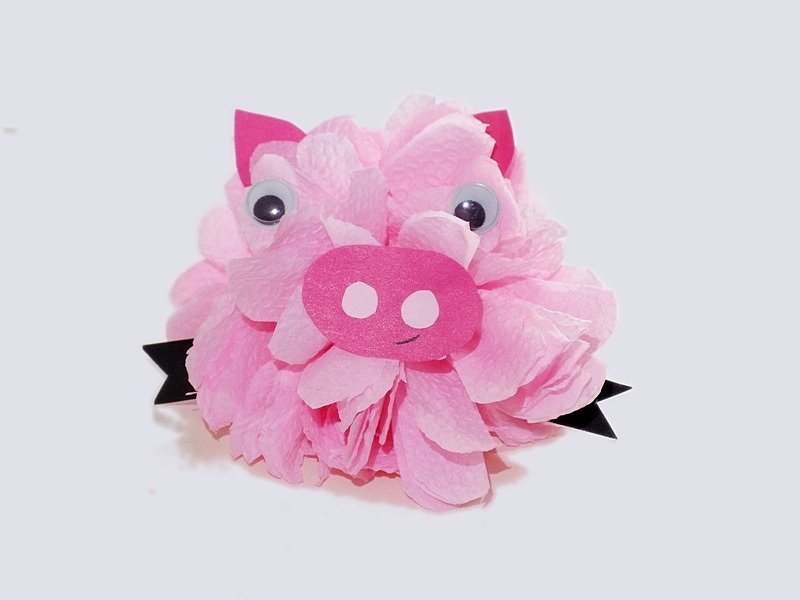
We put paper napkins (5 - 6 pieces) together and draw two circles. You can take a standard cotton pad as a basis, this diameter is quite enough. In the center of each circle we make cross-to-cross rivets with a stapler. If you want the pig to be subsequently suspended, then we attach a ribbon to one of the blanks. Cut out the circles.
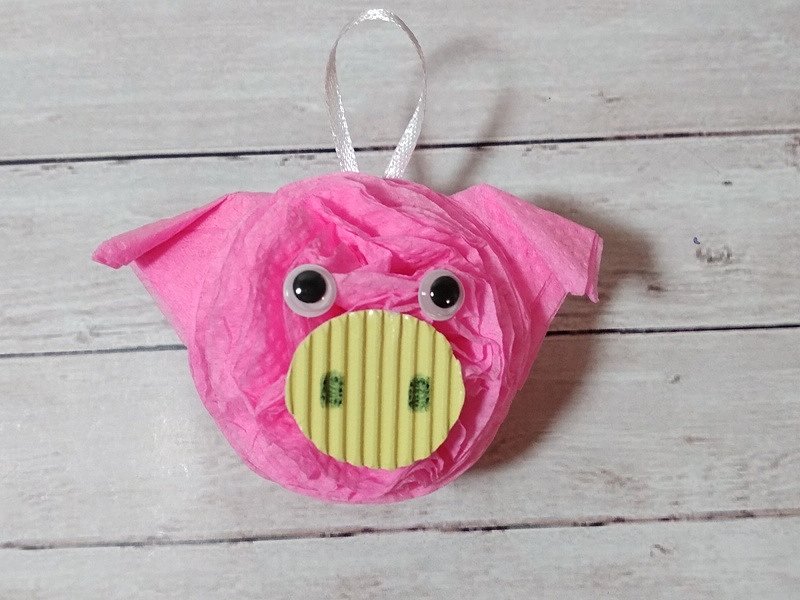
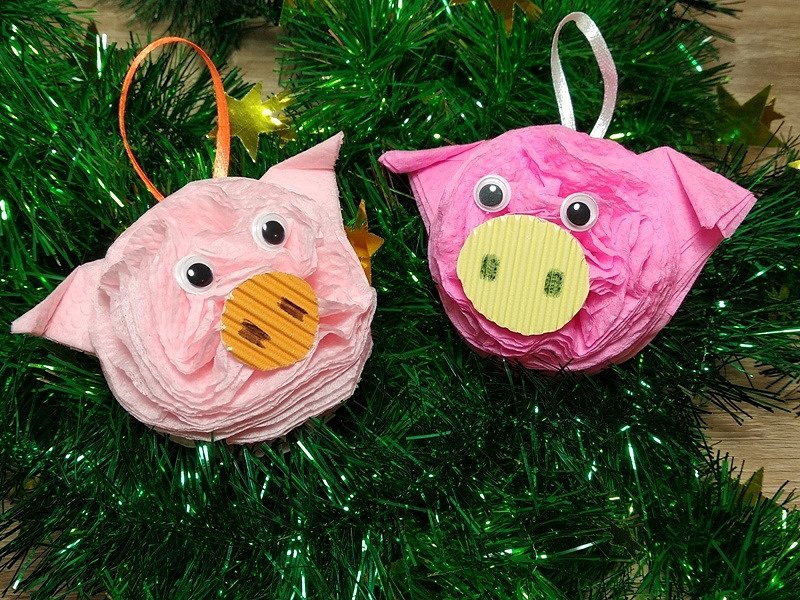
We fold the edges of the circles in different directions. Thanks to the airy texture of the napkins, they can be easily draped in any form. Leave the last layer even on both blanks. As a result, we get two volumetric half-balls. Cut out blanks for the ears from the remnants of the napkin. We apply glue to the inside of the ball floor and to the ears, and connect them. We pass the ribbon between the ears, and connect the two "hemispheres" together.
Quilling pig
For this craft you will need:
- Plastic egg from kinder surprise;
- A set of strips for quilling, 3 mm wide;
- Twisting skewer;
- Scissors;
- Glue stick;
- Pink and black paper napkins.
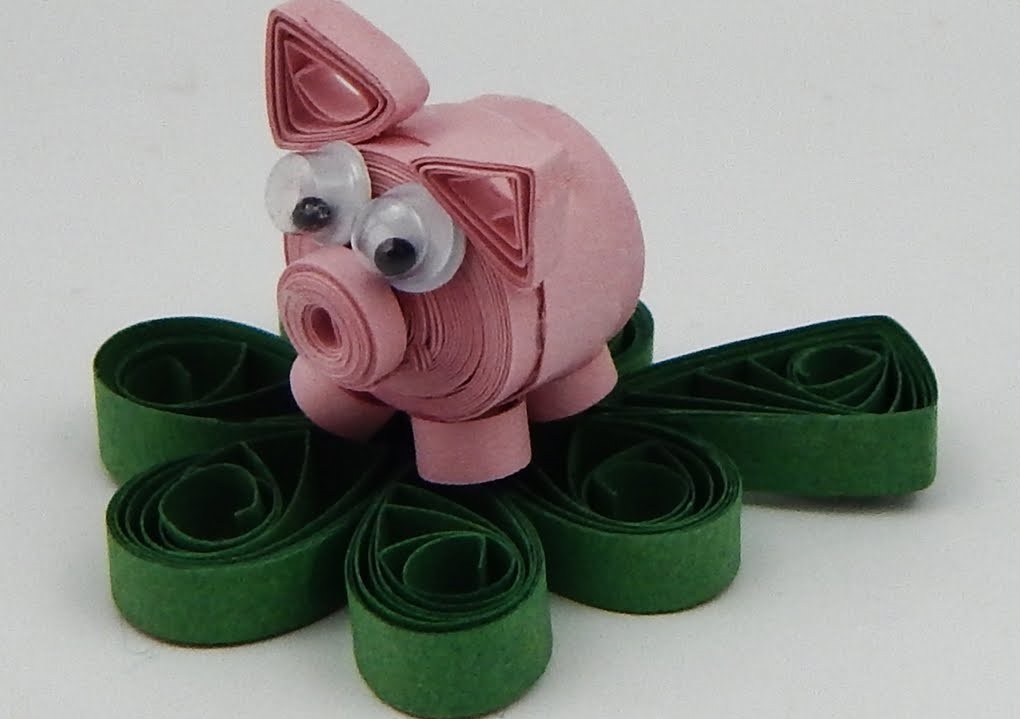
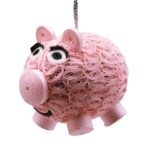
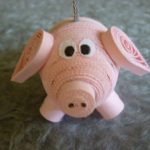
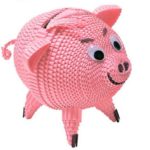
A plastic egg serves as a base. We glue it over with a pink napkin.This is done so that the rolls stick well to the base, and also so that the gaps between them are not conspicuous. Cut off excess paper and leave the blank to dry completely.
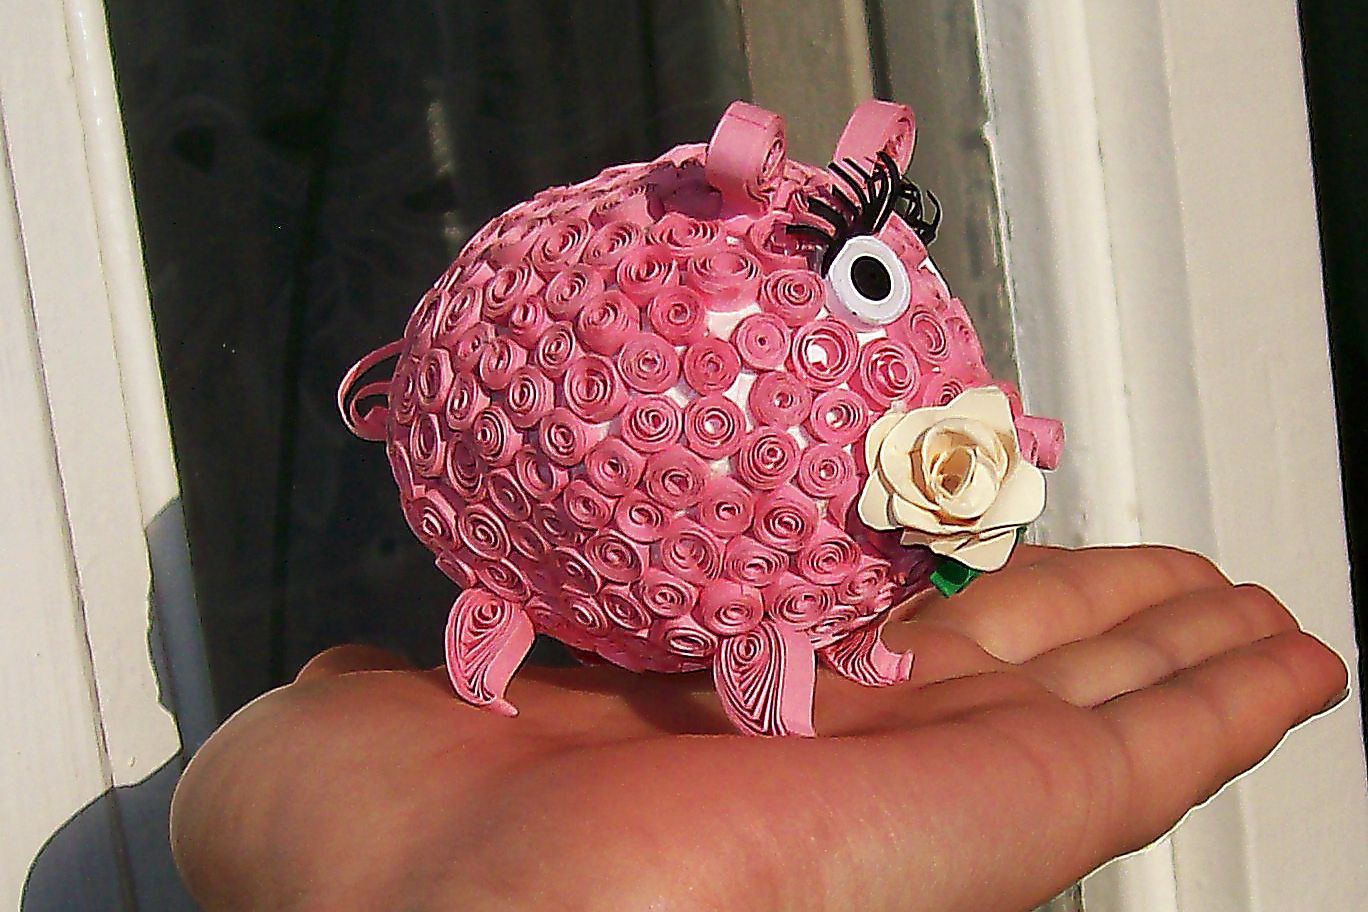
You will need 30-35 paper rolls. They are tightly wound on a skewer, then slightly loosened, and the edge of the paper is fixed with glue. For the patch, you need to make two rolls of dark pink color, and for the eyes - two blanks in white.
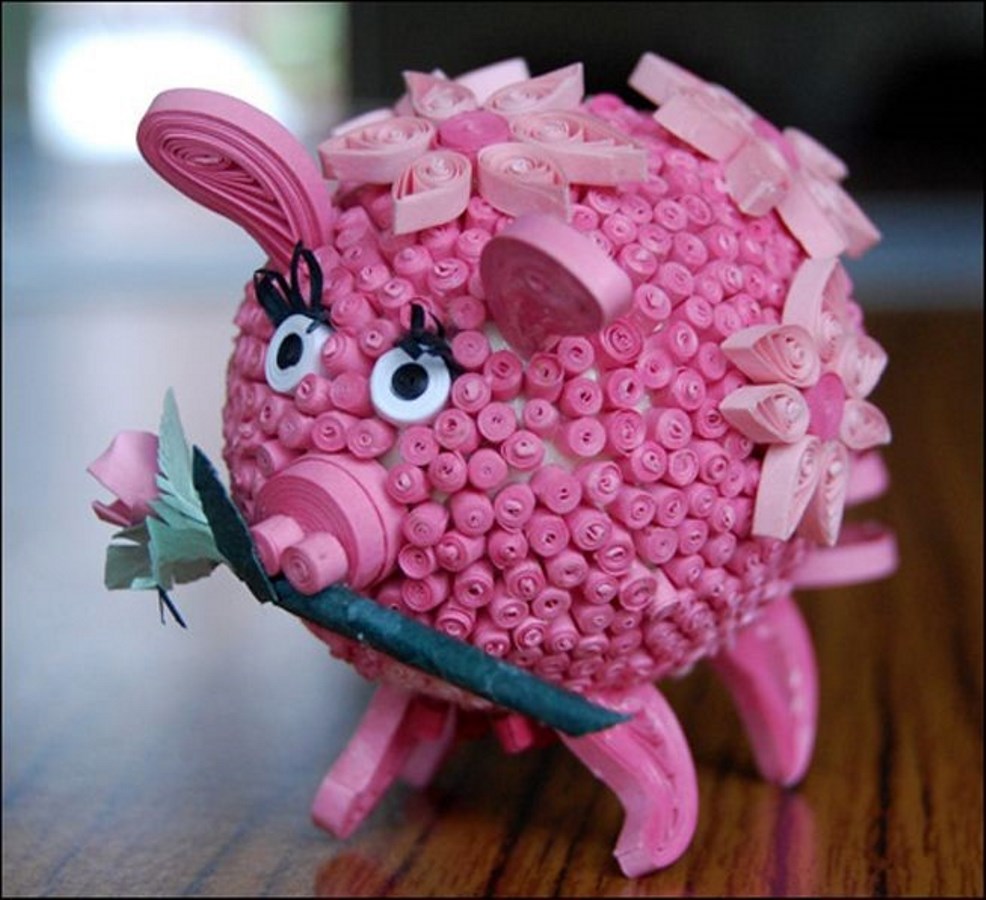
We make four small balls from a black napkin. It is "filling" for the eyes and nostrils. And from orange paper we make four rolls - legs.
For the ears, we make a complex roll of orange and pink (glue two strips together). We twist so that the orange part is inside. Give the ears a triangular shape.
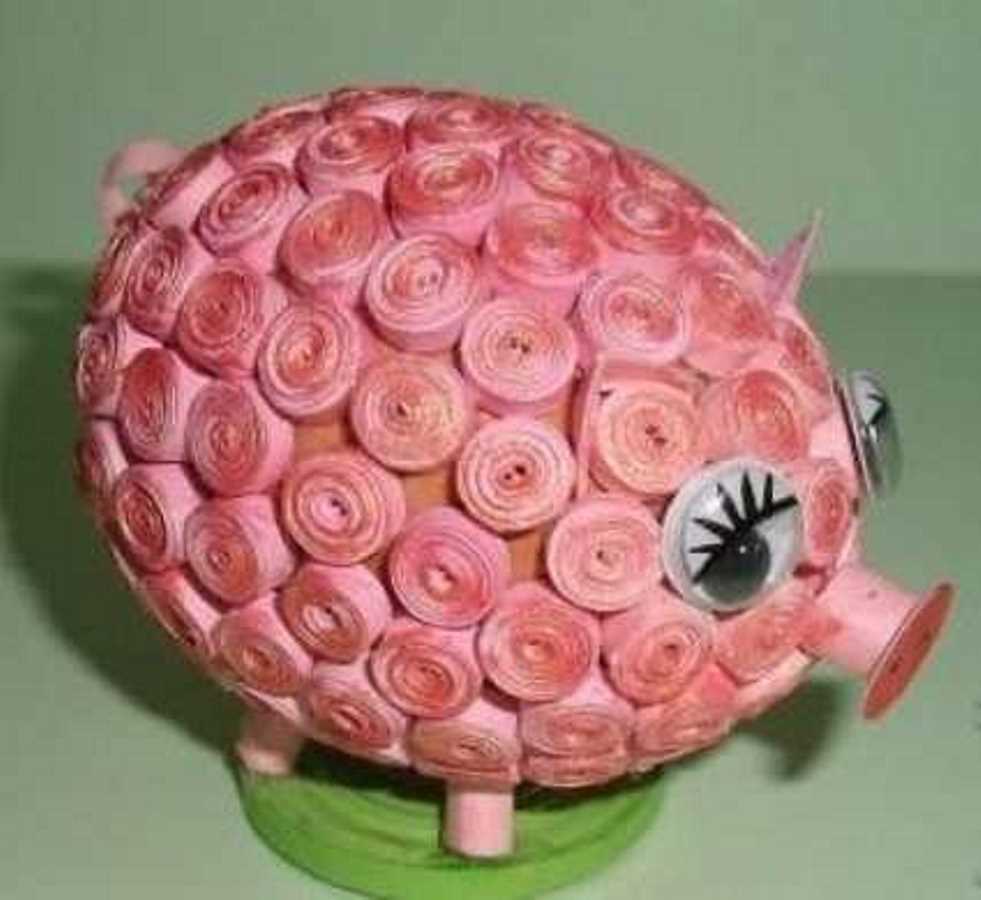
Now all that remains is to assemble the toy, stick all the rolls in the correct order. If you notice that too large gaps remain, make more rolls of a small size and glue.
As you can see, the process of making paper pigs is very, very exciting. Even adults recall with pleasure the labor lessons at school, and are engaged in appliqué, quilling or folding figures using the origami technique. And by making toys with children, you not only teach them, but also usefully spend time together, and this, you see, is no less important.
VIDEO: How to make a cute pig out of paper.
