How to make a thermo bag with your own hands
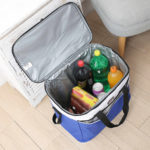
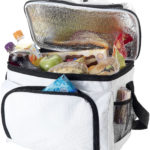
In order to keep food fresh during long journeys, you need a cooler bag. The principle of operation of such an "accessory" is extremely simple: how either heat or cold is retained in a thermos. In the summer, with the help of such a bag, you will not let the food go bad, and in the winter, on the contrary, you will keep the food warm.
Varieties
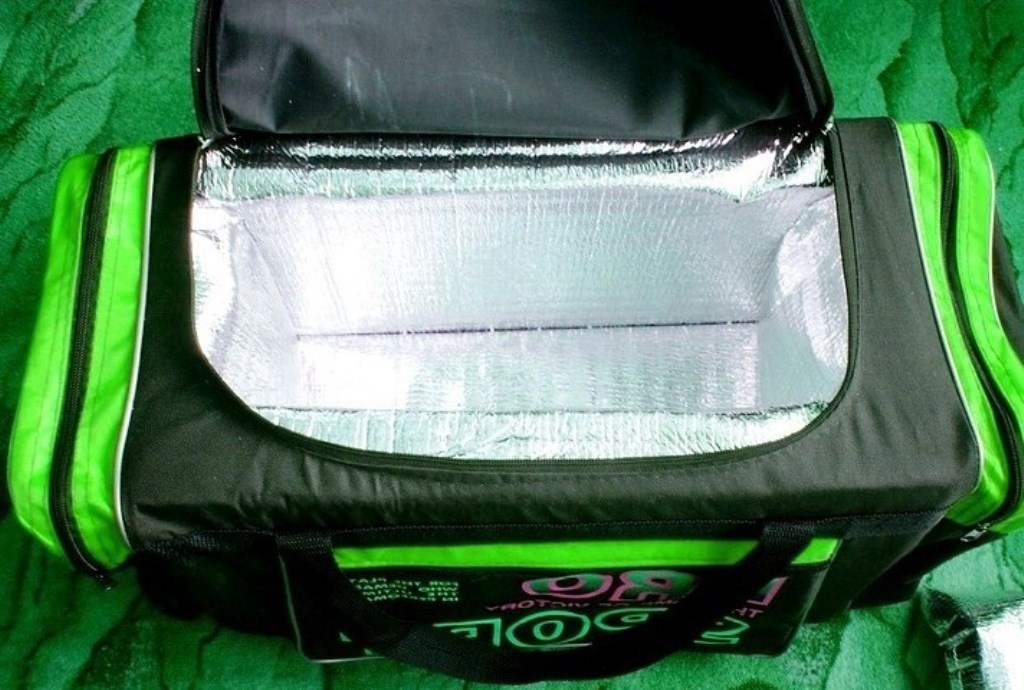
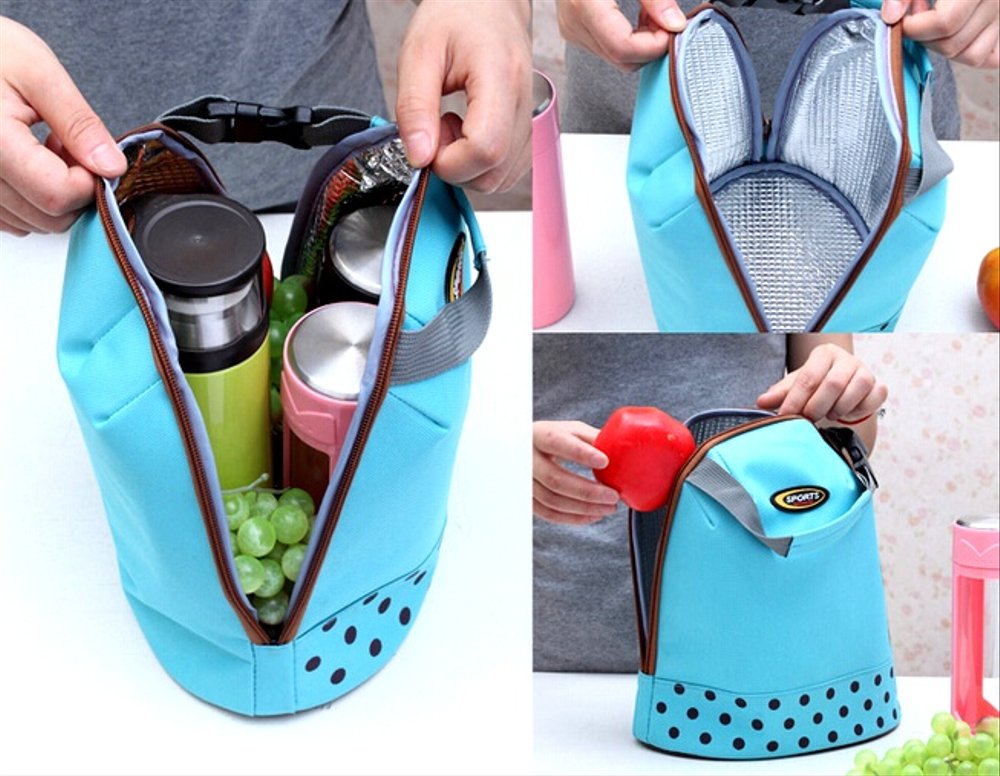
Conventionally, such bags can be divided into three groups:
- For shopping trips;
- Mobile bags for transporting products;
- Car trunk bags.
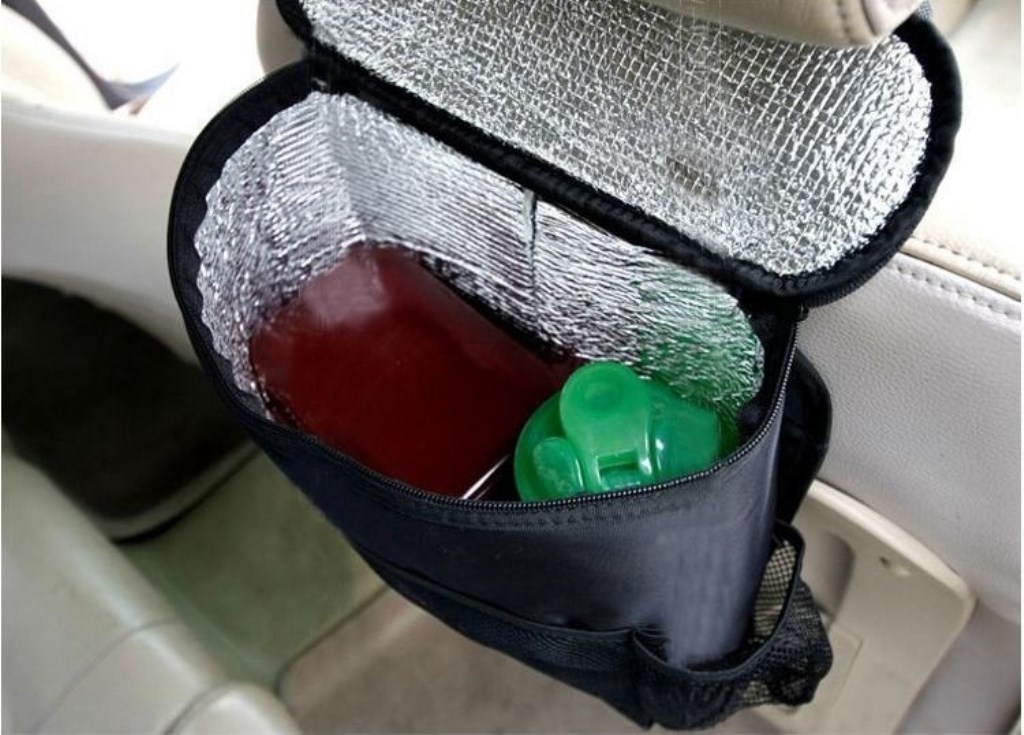
The listed options differ from each other in shape, size, and materials that are used for the base bag and to maintain the temperature regime. The degree of heat or cold retention in any of these bags is the same.
How to make a cooler bag with your own hands
To make a thermo bag with your own hands, you will need the following materials and accessories:
- Bag (base);
- Foamed polyethylene;
- Scotch;
- Zipper (or Velcro);
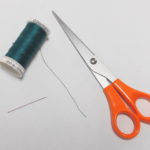
- Threads and needles;
- Scissors;
- Pencil.
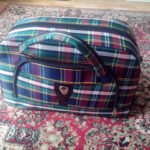
The base bag is selected depending on the purpose of your thermal bag: it can be large or medium in size, have regular handles or shoulder straps, like a knapsack. Prefer models that have a zipper and a flat, stable base. Alternatively: if you find the bag, but it does not have a very stable base, then you can solve this problem yourself.
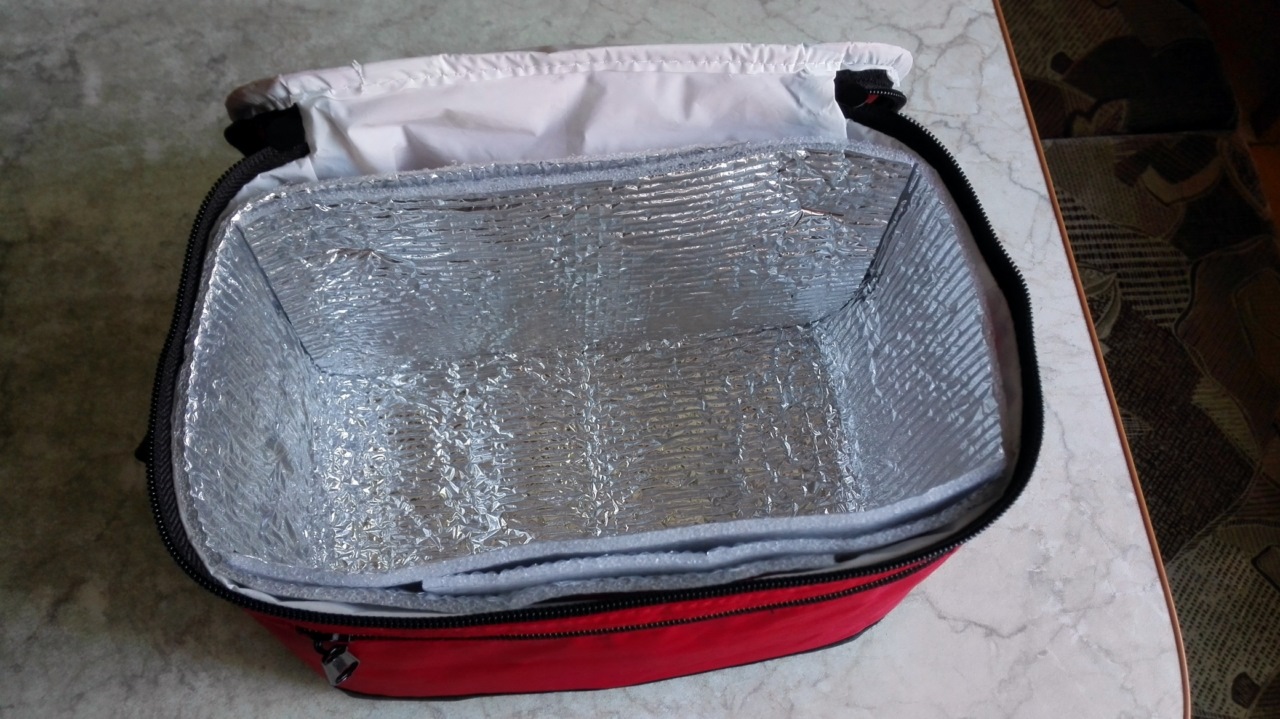
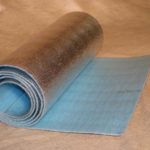
Foamed polyethylene is sold in hardware stores, in rolls 1.5 m wide. This material is lightweight, durable and has high thermal insulation properties. One meter is enough for a bag. It is better to buy polyethylene, foil-clad on both sides and at least 0.5 cm thick. It costs a little more than one-sided, but in its qualities it surpasses it in many ways.

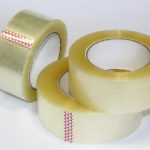
It is better to choose a wide metallized adhesive tape. With its help, you will create additional thermal insulation for the seams of the bag. If you don't feel like messing with zippers, buy Velcro.

Step-by-step instruction
Believe me, it only at first glance seems that it is very difficult to make a cooler bag yourself. In fact, by clearly following the instructions, you can easily create such a "masterpiece" with your own hands.
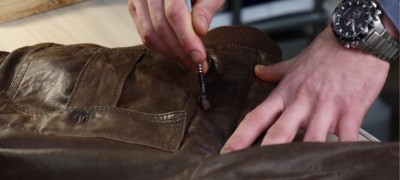
First you need to prepare a base bag. All pockets, partitions and other elements are removed from the inside. We leave only the "body".
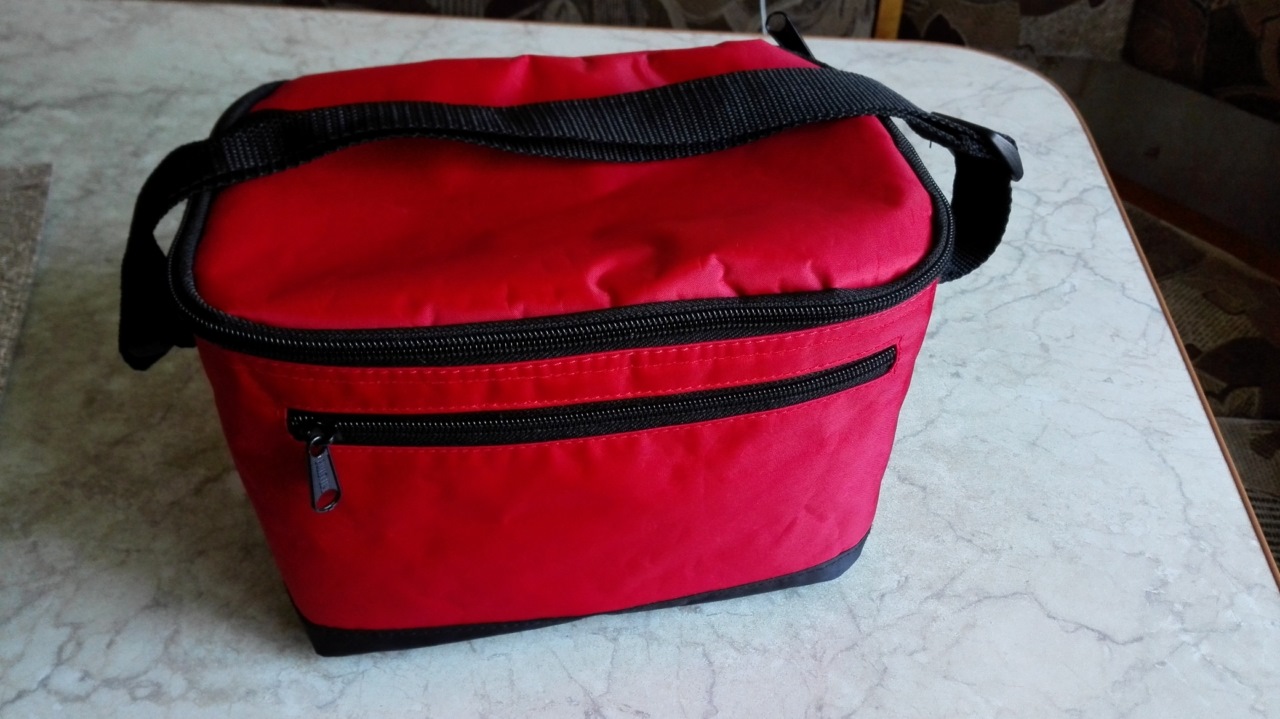
Now you need to make a pattern that exactly repeats all sides of the base, but about 0.5 cm less (so that nothing puffs up inside). Don't forget the lid. If you decide to make a Velcro tab, then the lid should be larger in size so that it can be tucked in. The process of creating a pattern is extremely simple: apply all sides to the paper one by one, and, with minor amendments, circle with a pencil.
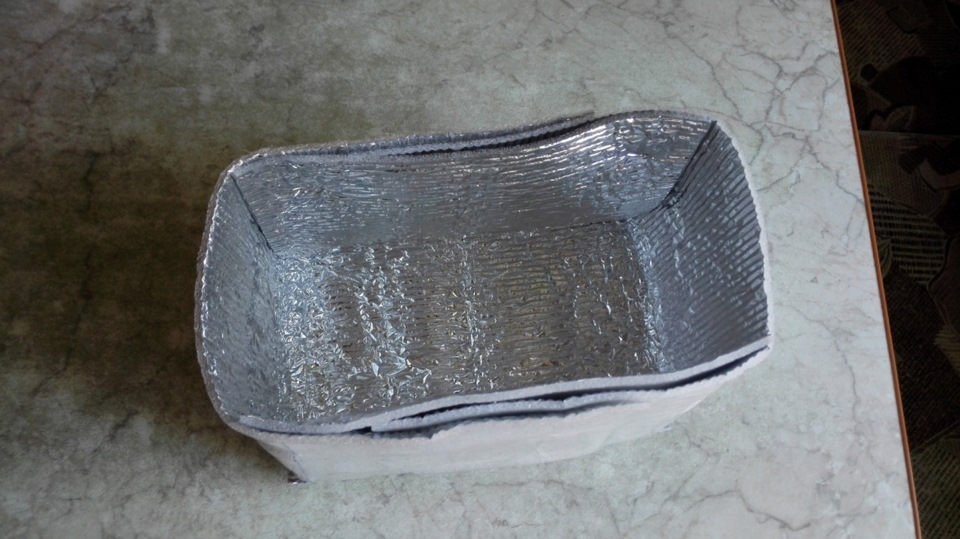
Using the resulting pattern, parts are cut out of foil-clad polyethylene and glued with tape to form a kind of box with a lid. To make it easier to glue, the parts are pre-connected using tailor's pins.
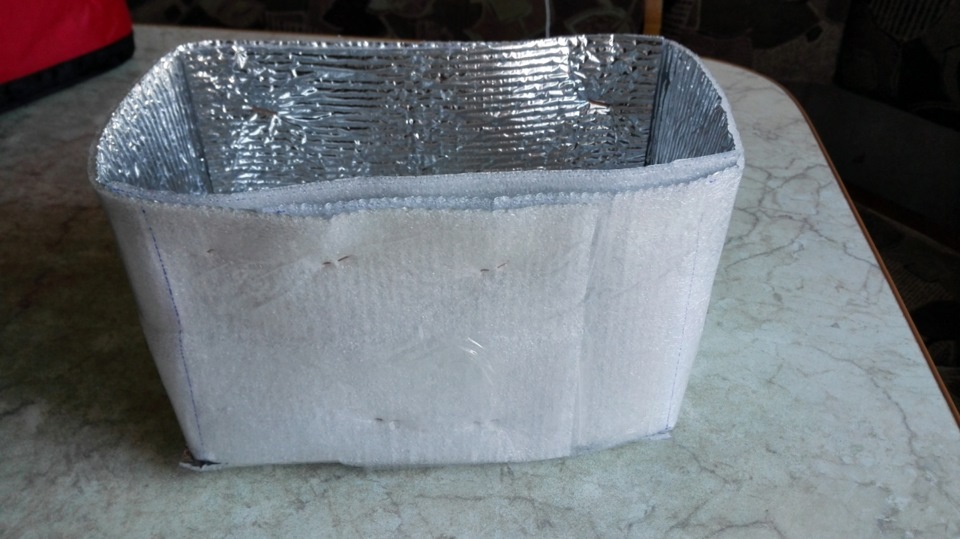
The resulting container is inserted into the base and now the thermal bag is ready. An important point: if there is space between the base and the "container", this is not scary, but it must be filled with foam rubber or cotton wool.
Thus, we got a medium-sized, and very versatile option in terms of application.
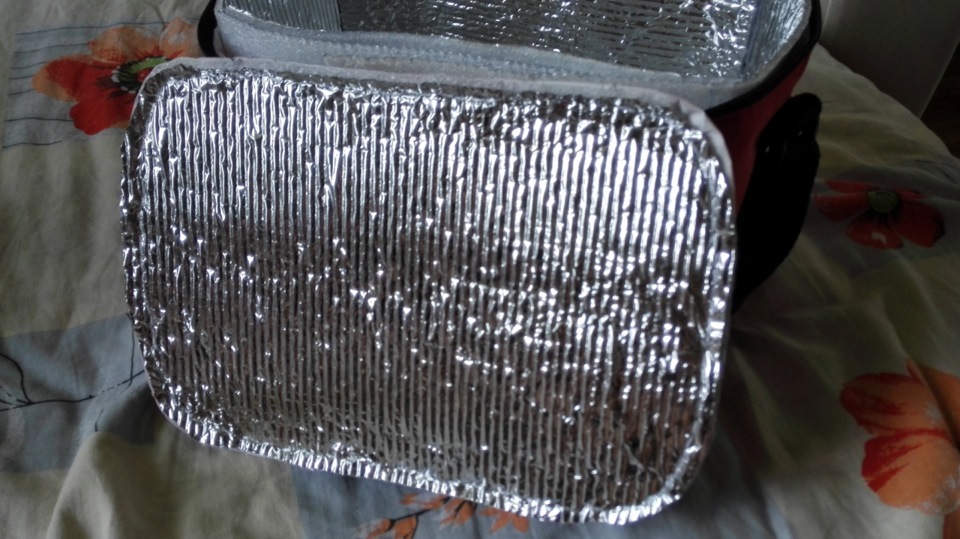
To make a shopping bag, you need a base that is slightly smaller than in the first case (in principle, it can even be a very dense plastic bag) and foil-clad polyethylene in a smaller volume. And the manufacturing process remains the same.
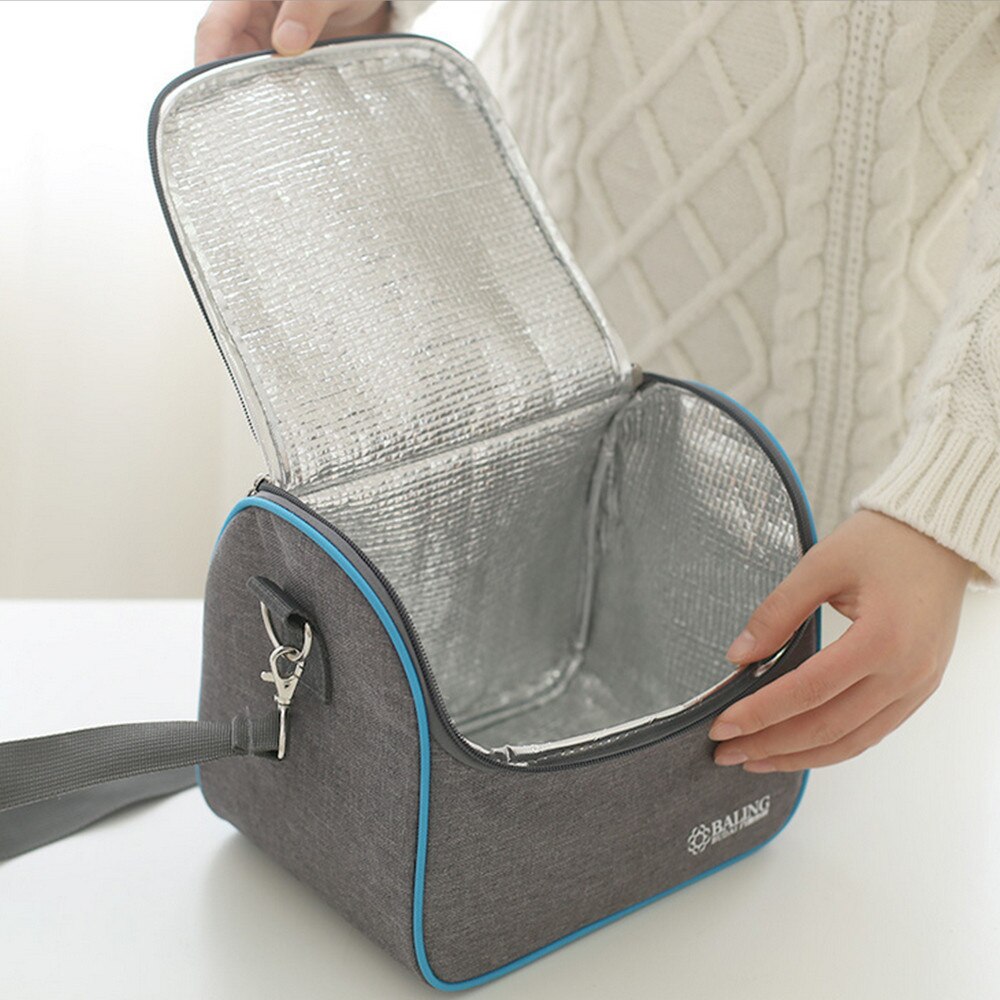
To make a "thermal storage" for transporting food in the trunk of a car, you will have to find a more voluminous base. Often a box made of plywood or thick cardboard is used for this purpose. To enhance the thermal insulation properties, the box is lined with thin foam plastic inside, and only then with a layer of foil-clad foam rubber. The latter is fixed along the upper perimeter of the box with adhesive tape. The same approach is used for the manufacture of the lid. Well, since it is extremely inconvenient to simply carry the box, a cover with handles made of durable fabric is often made separately for such a "thermal storage".
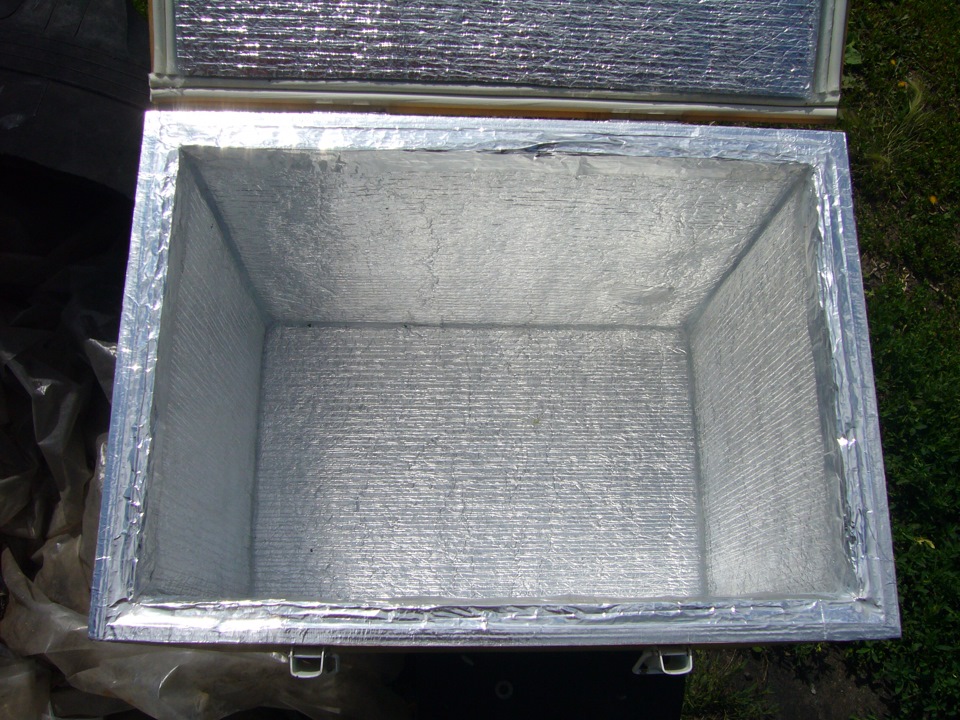
So, the bag is ready, but by itself it will not be able to store cold, special batteries are needed. These "devices" can be purchased in stores, or you can make your own.
Cold accumulators
Cold accumulators can be in liquid or gel form.
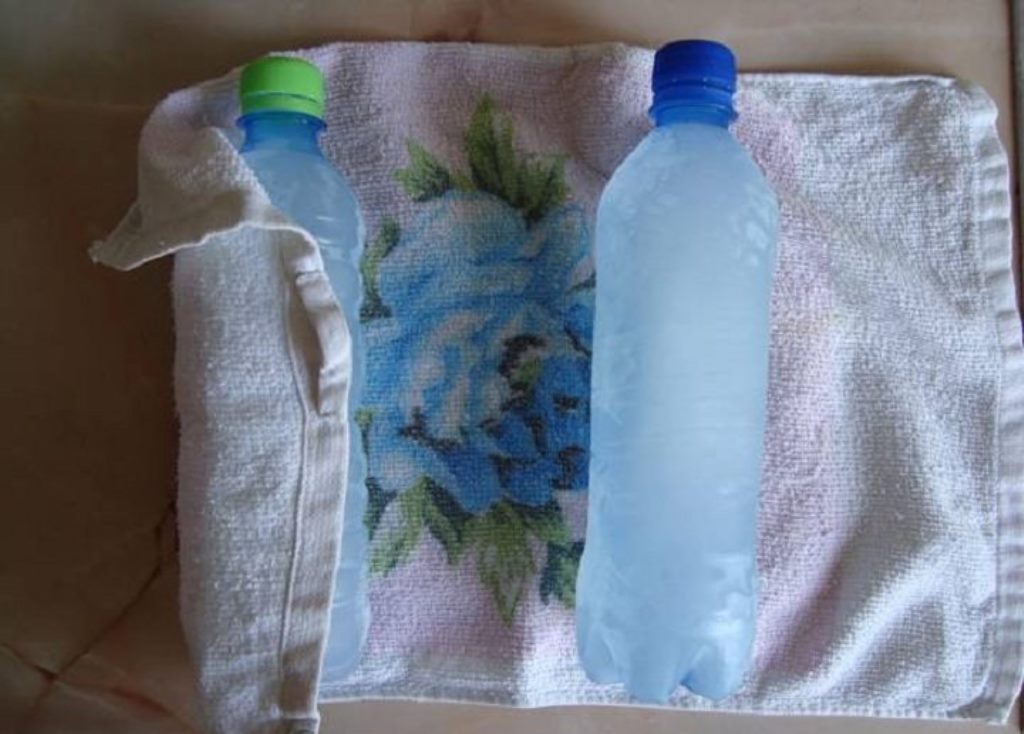
To create a "liquid" cold accumulator, simply freeze the water to a solid state and place the ice cubes in a sturdy Zip-Lock bag. The main advantage of such devices is that they do not take up much space and can change shape, "adjusting" to the contents of the thermal bag. However, over time, the ice will melt, and if the bag is leaking, the food will get wet. You can use plastic bottles instead of a clasp bag. They will definitely not let water through, but their main drawback is size, they take up a lot of space.
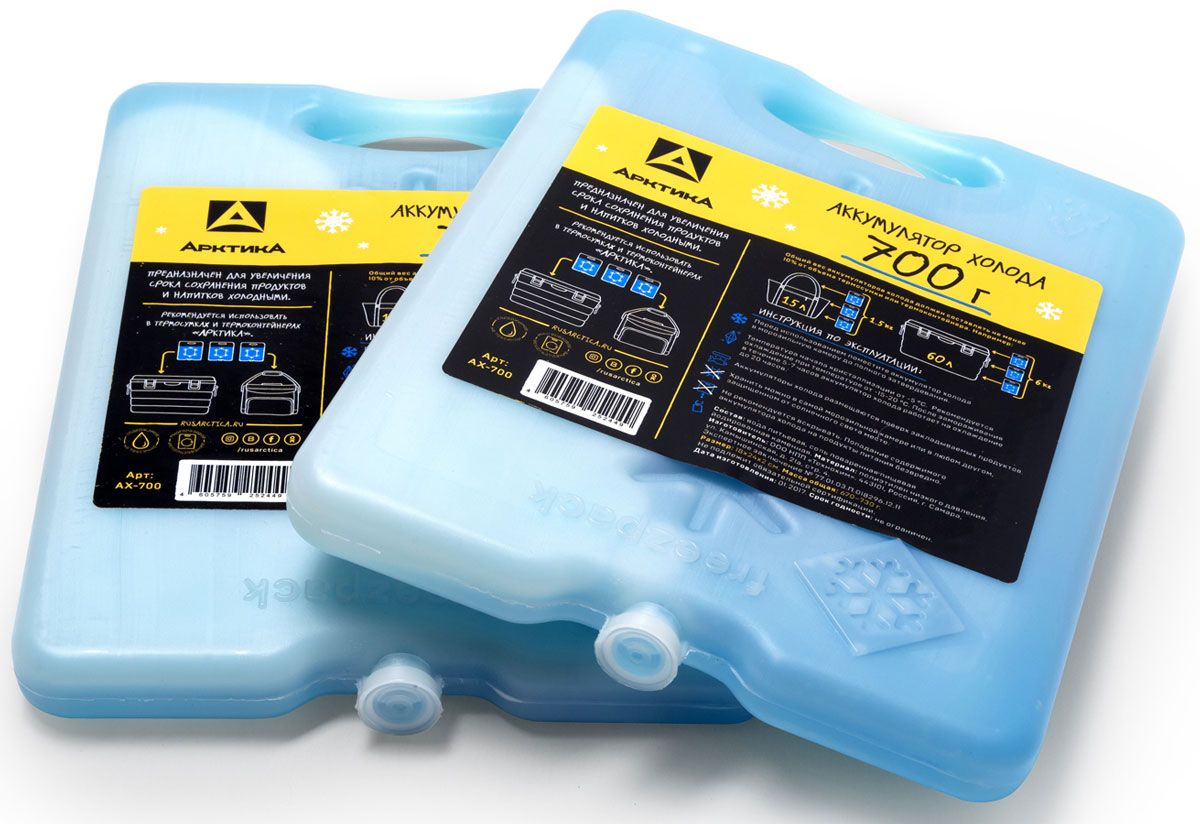
There is a little trick: in order for the water to melt more slowly, you need to add salt to it, at the rate of at least 6 tablespoons per 1 liter.
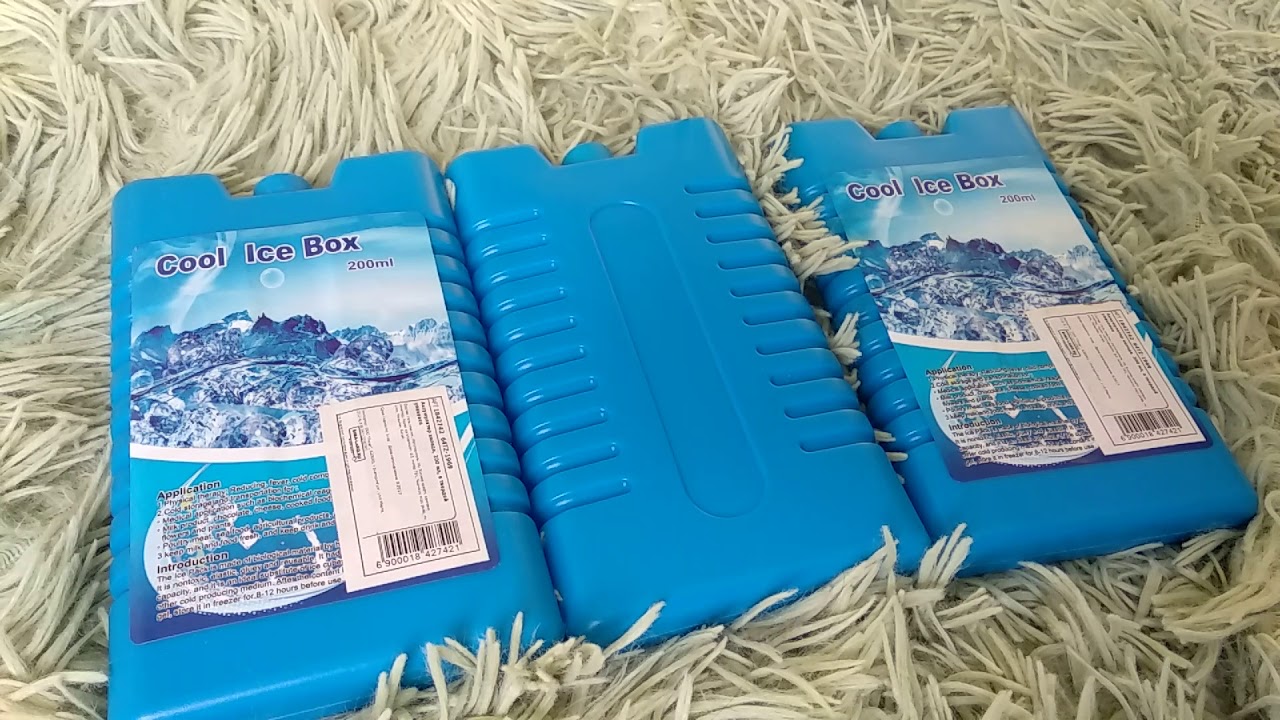
Gel batteries are more reliable and practical, and they are also easy to manufacture. There are two ways to make gel cold accumulators:
- Using diapers. Water is poured into a new diaper, then the resulting gel is taken out, placed in a bag with a fastener and placed in the freezer. Once the gel is frozen, your battery is ready.
- Made of gelatin or wallpaper glue. Gelatin or wallpaper glue is diluted according to the instructions, but salt water is used for this. The resulting gel-like mass is laid out in bags or plastic bottles and placed in the freezer of the refrigerator.
How to use the cooler bag
A few simple rules will allow you to use the thermal bag as efficiently as possible:
- Refrigerate and wrap in paper before placing food in your bag. The paper keeps cold very well.
- If possible, use an extra layer of insulating material (or just a blanket). Such a life hack will increase the efficiency of the cooler bag if you want to use it for the car.
- Place cold accumulators directly on the bottom of the bag or between food.
- Do not open the bag unnecessarily and do not leave it in direct sunlight, this will keep the temperature inside the thermal bag cooler for longer.
- Stack food as tightly as possible. If there is little room left, fill it up with styrofoam or a towel after rolling it up.
If you properly make the bag itself and follow the recommendations for its use exactly, you can keep the food in it fresh for three days.
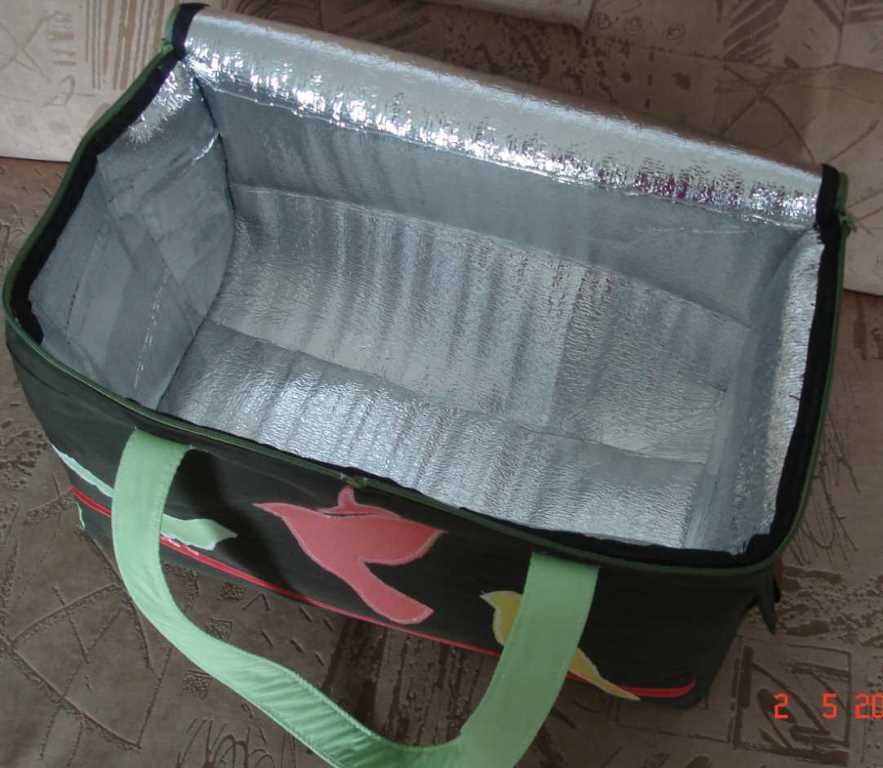
So, if you are a lover of travel (it does not matter, by car or not), then a cooler bag is an essential item for you. And if you wish, you do not have to spend a lot of money to purchase it, you can make a thermal bag yourself.
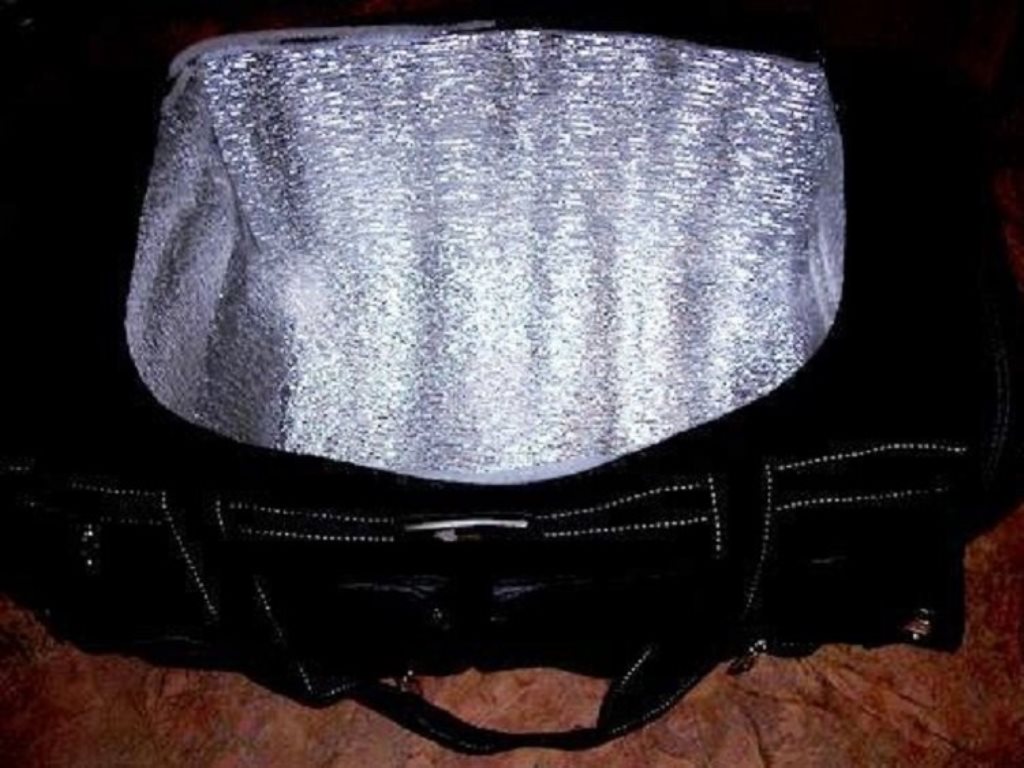
Video: how to make a thermo bag with your own hands
