How to install eyelets on an awning with your own hands
In connection with the current situation in the world, when there are practically no opportunities to go somewhere on a civilized vacation, many people remembered this kind of vacation as hiking in nature. In addition to the various equipment required for such a hike, it is very important for tourists to have a tent-awning with them and be able to handle it correctly - to set and fold it.
Setting up a tent is the most difficult action during a hike after lighting a fire. For the first time, many are confused and even according to the instructions they cannot understand where to insert sticks, stakes and what to do with the awning mounts.
What are awning eyelets
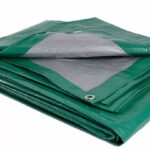
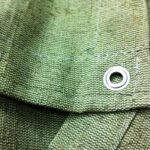
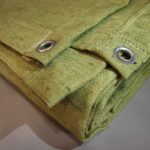
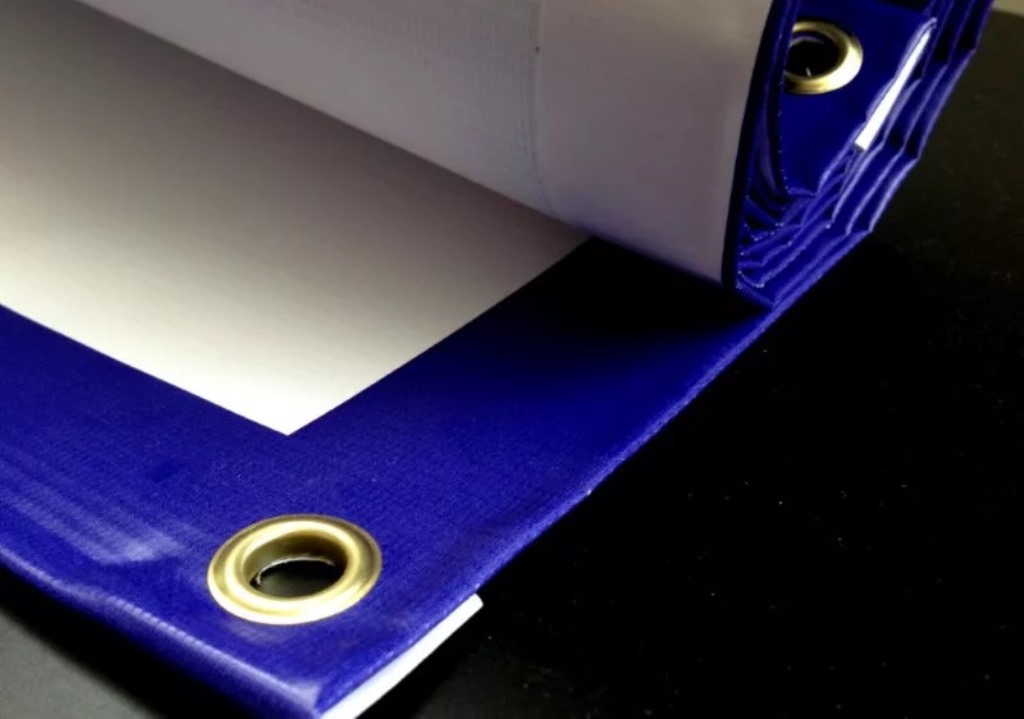
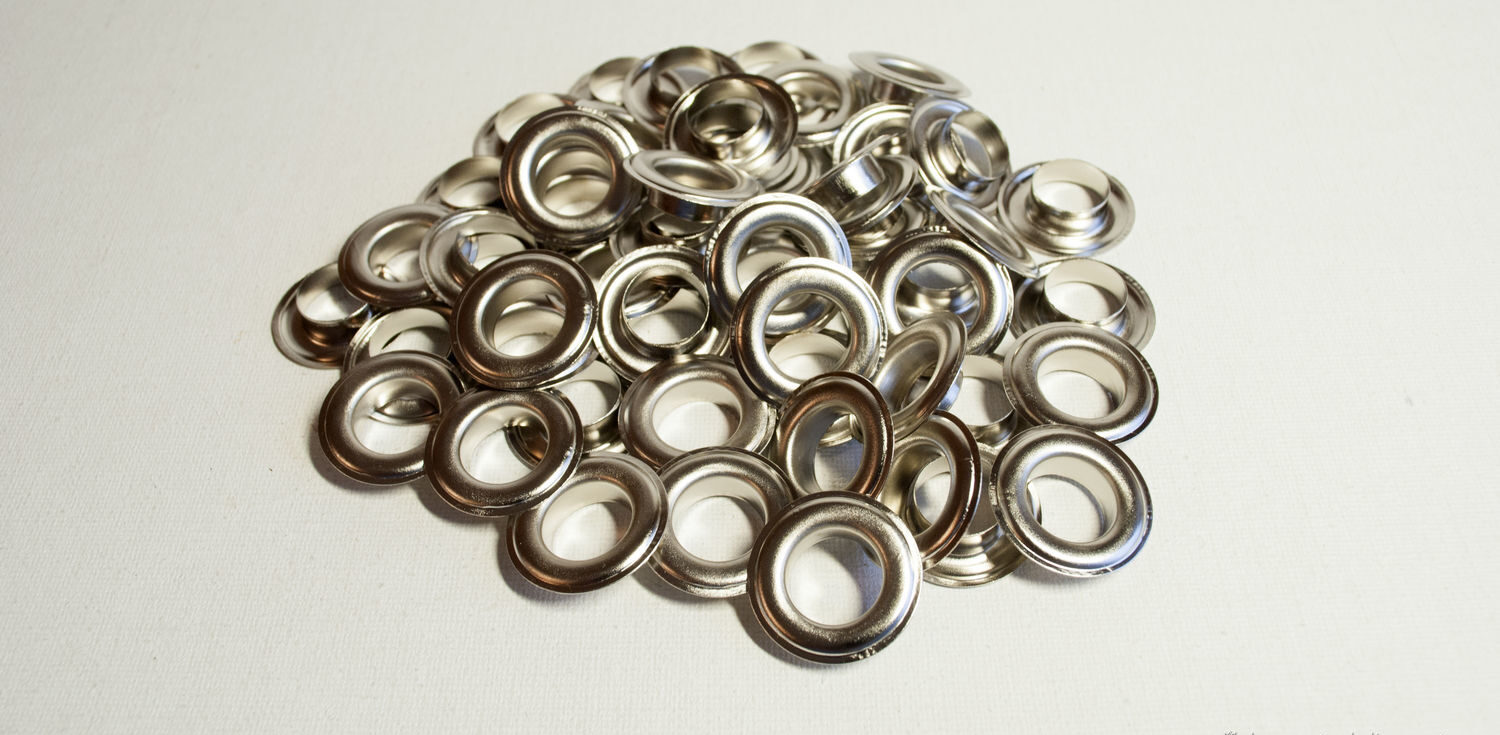
Eyelets - what are they? By themselves, eyelets are holes made in the fabric that frame a metal ring used to attach awnings and similar fabrics. And the awning is essentially a tarpaulin canopy with eyelets. It is necessary to make at least 4 such metal eyelets for the awning - in the corners of the fabric, if necessary, add additional fasteners along the edges of the awning. Each eyelet should have latches on both sides that hold the metal ring on the hole.
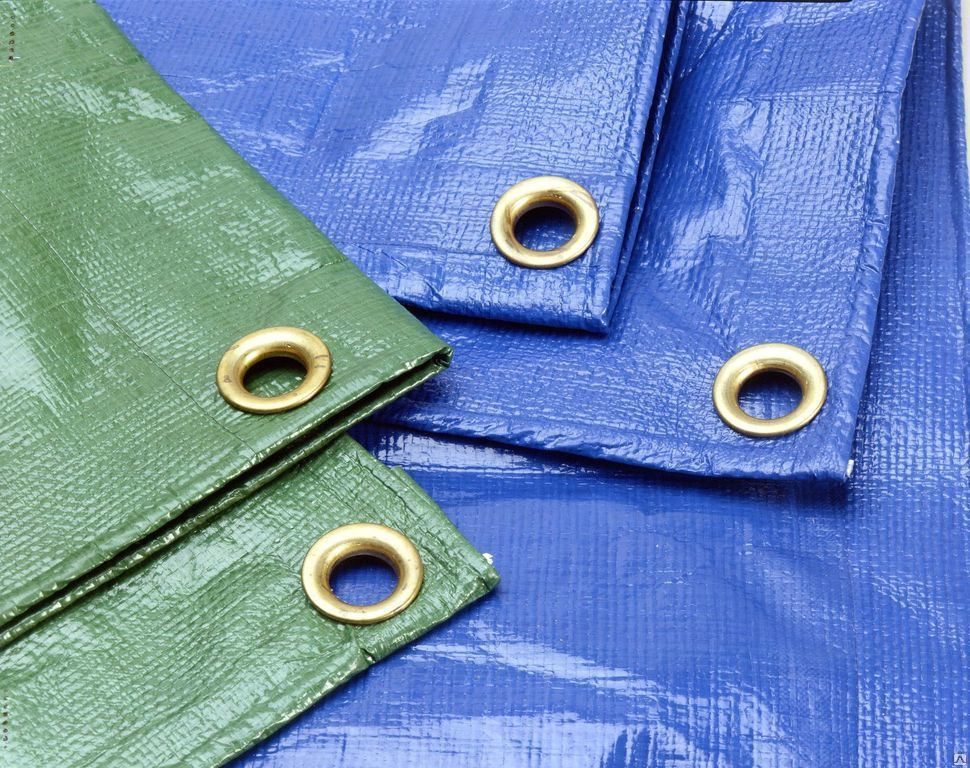
Eyelets come in a variety of shapes - round and oval - each of which is needed for a specific purpose. To secure the awning with a rope or a cord threaded through the bindings, it is better to use a round hole pattern. Oval ones are more suitable for staples, which must first be fixed on a PVC cloth, and then passed through an oval-shaped eyelet. The staple is used to quickly and easily fasten two canvases together. Sometimes a grommet with a strap is used together with the bracket for more secure fixation.
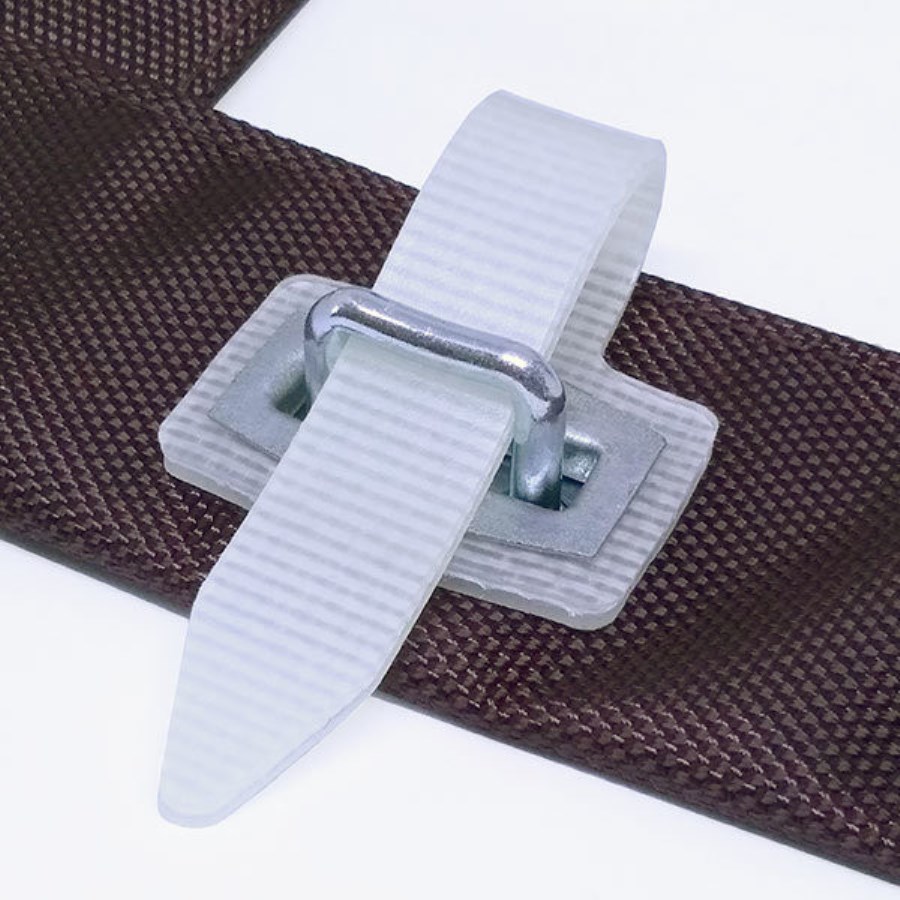
Types and features of choice
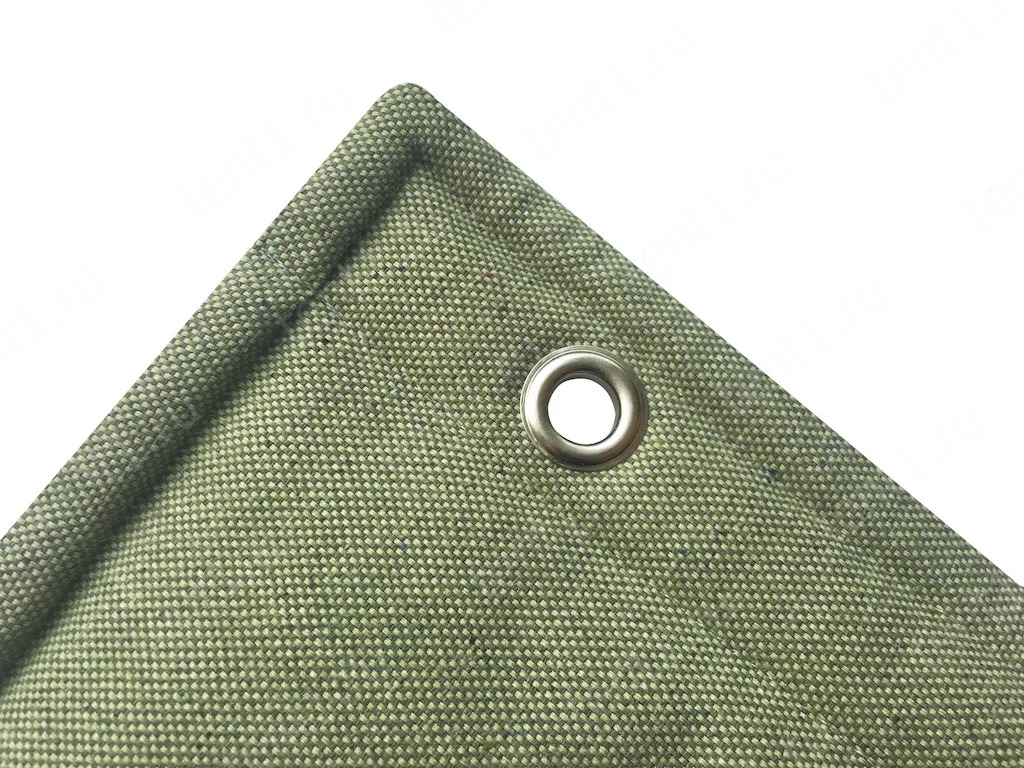
In addition to various shapes, eyelets can differ in materials - metal and means intended for fastening. A round eyelet with laces that very much resemble laces on boots or sneakers is much more common for one simple reason - it is much easier to use it for installation in any conditions, even in a summer cottage near the house, even in the wild, when there is practically nothing at hand.
While the oval eyelet, used either with a staple or with a strap and a staple, is installed on an additional canvas, which can cause certain difficulties for simple, inexperienced people - from a misunderstanding of how to position the bracket on the canvas, and to the lack of under hand or in the closet at the dacha of this very PVC canvas.
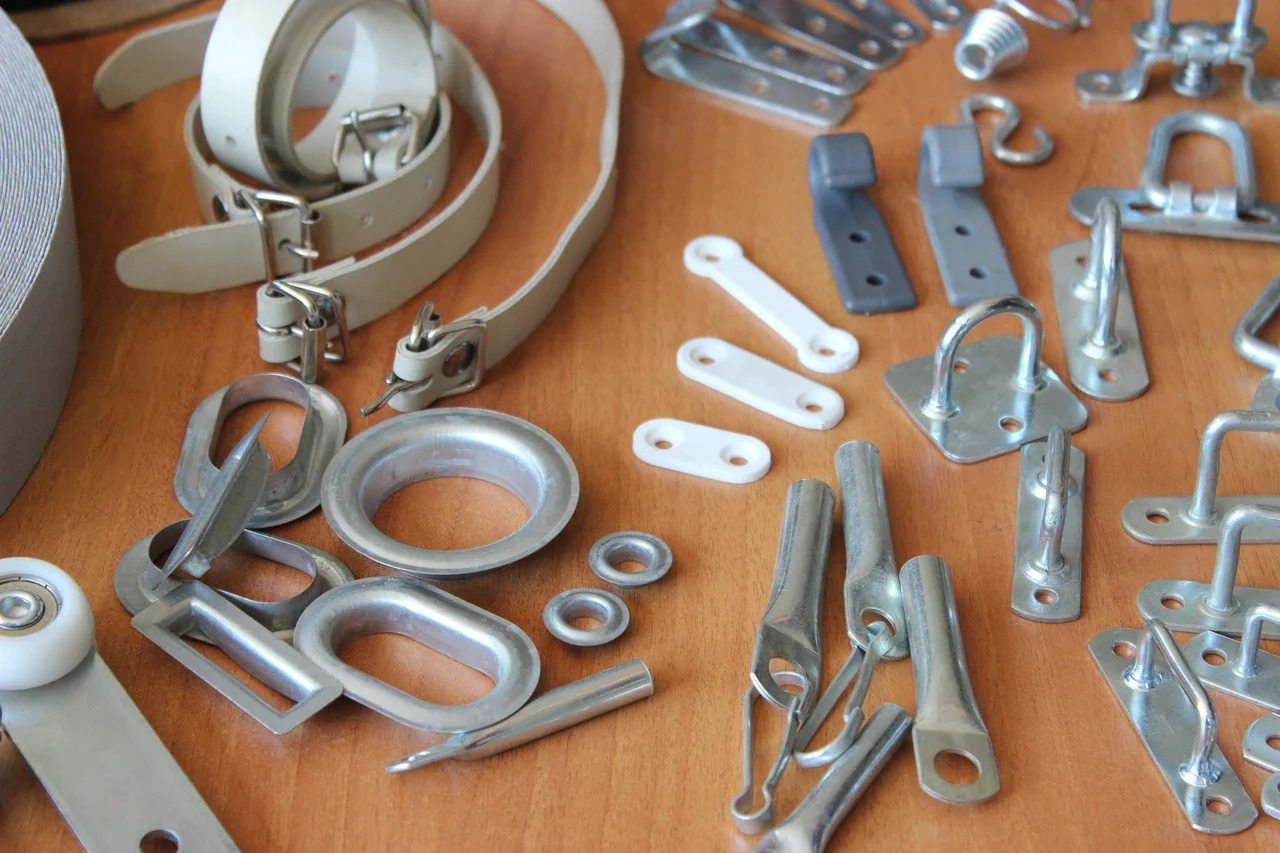
That is why when buying an awning, it is always worth clarifying what kind of fastening for this particular model; if possible, it is worth choosing the option with a round grommet, in order to slightly ease the task of installing an awning in the future.
What is needed for self-installation
For self-installation of an awning on a hike or just near the house, you need the following elements:
- The tent itself
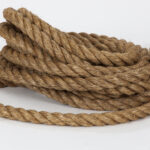
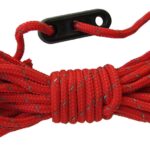
- Rope or cords if the tarpaulin has round eyelets
- Bracket if the tarpaulin has oval attachments
- Straps (may be needed to secure the staple to the oval eyelet)
- "Roof" or awning canopy
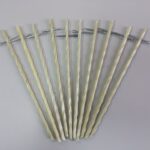
- Tent stakes
- Guy
- Support poles
First you need to choose places for the pegs and drive or dig them into the ground (not completely). Then install the support poles for the awning (2 pieces), after which it is worth deciding whether additional pegs are needed to those that are already installed. If so, install a few more stakes. Then the awning itself is installed and a string or rope is threaded into the eyelets.
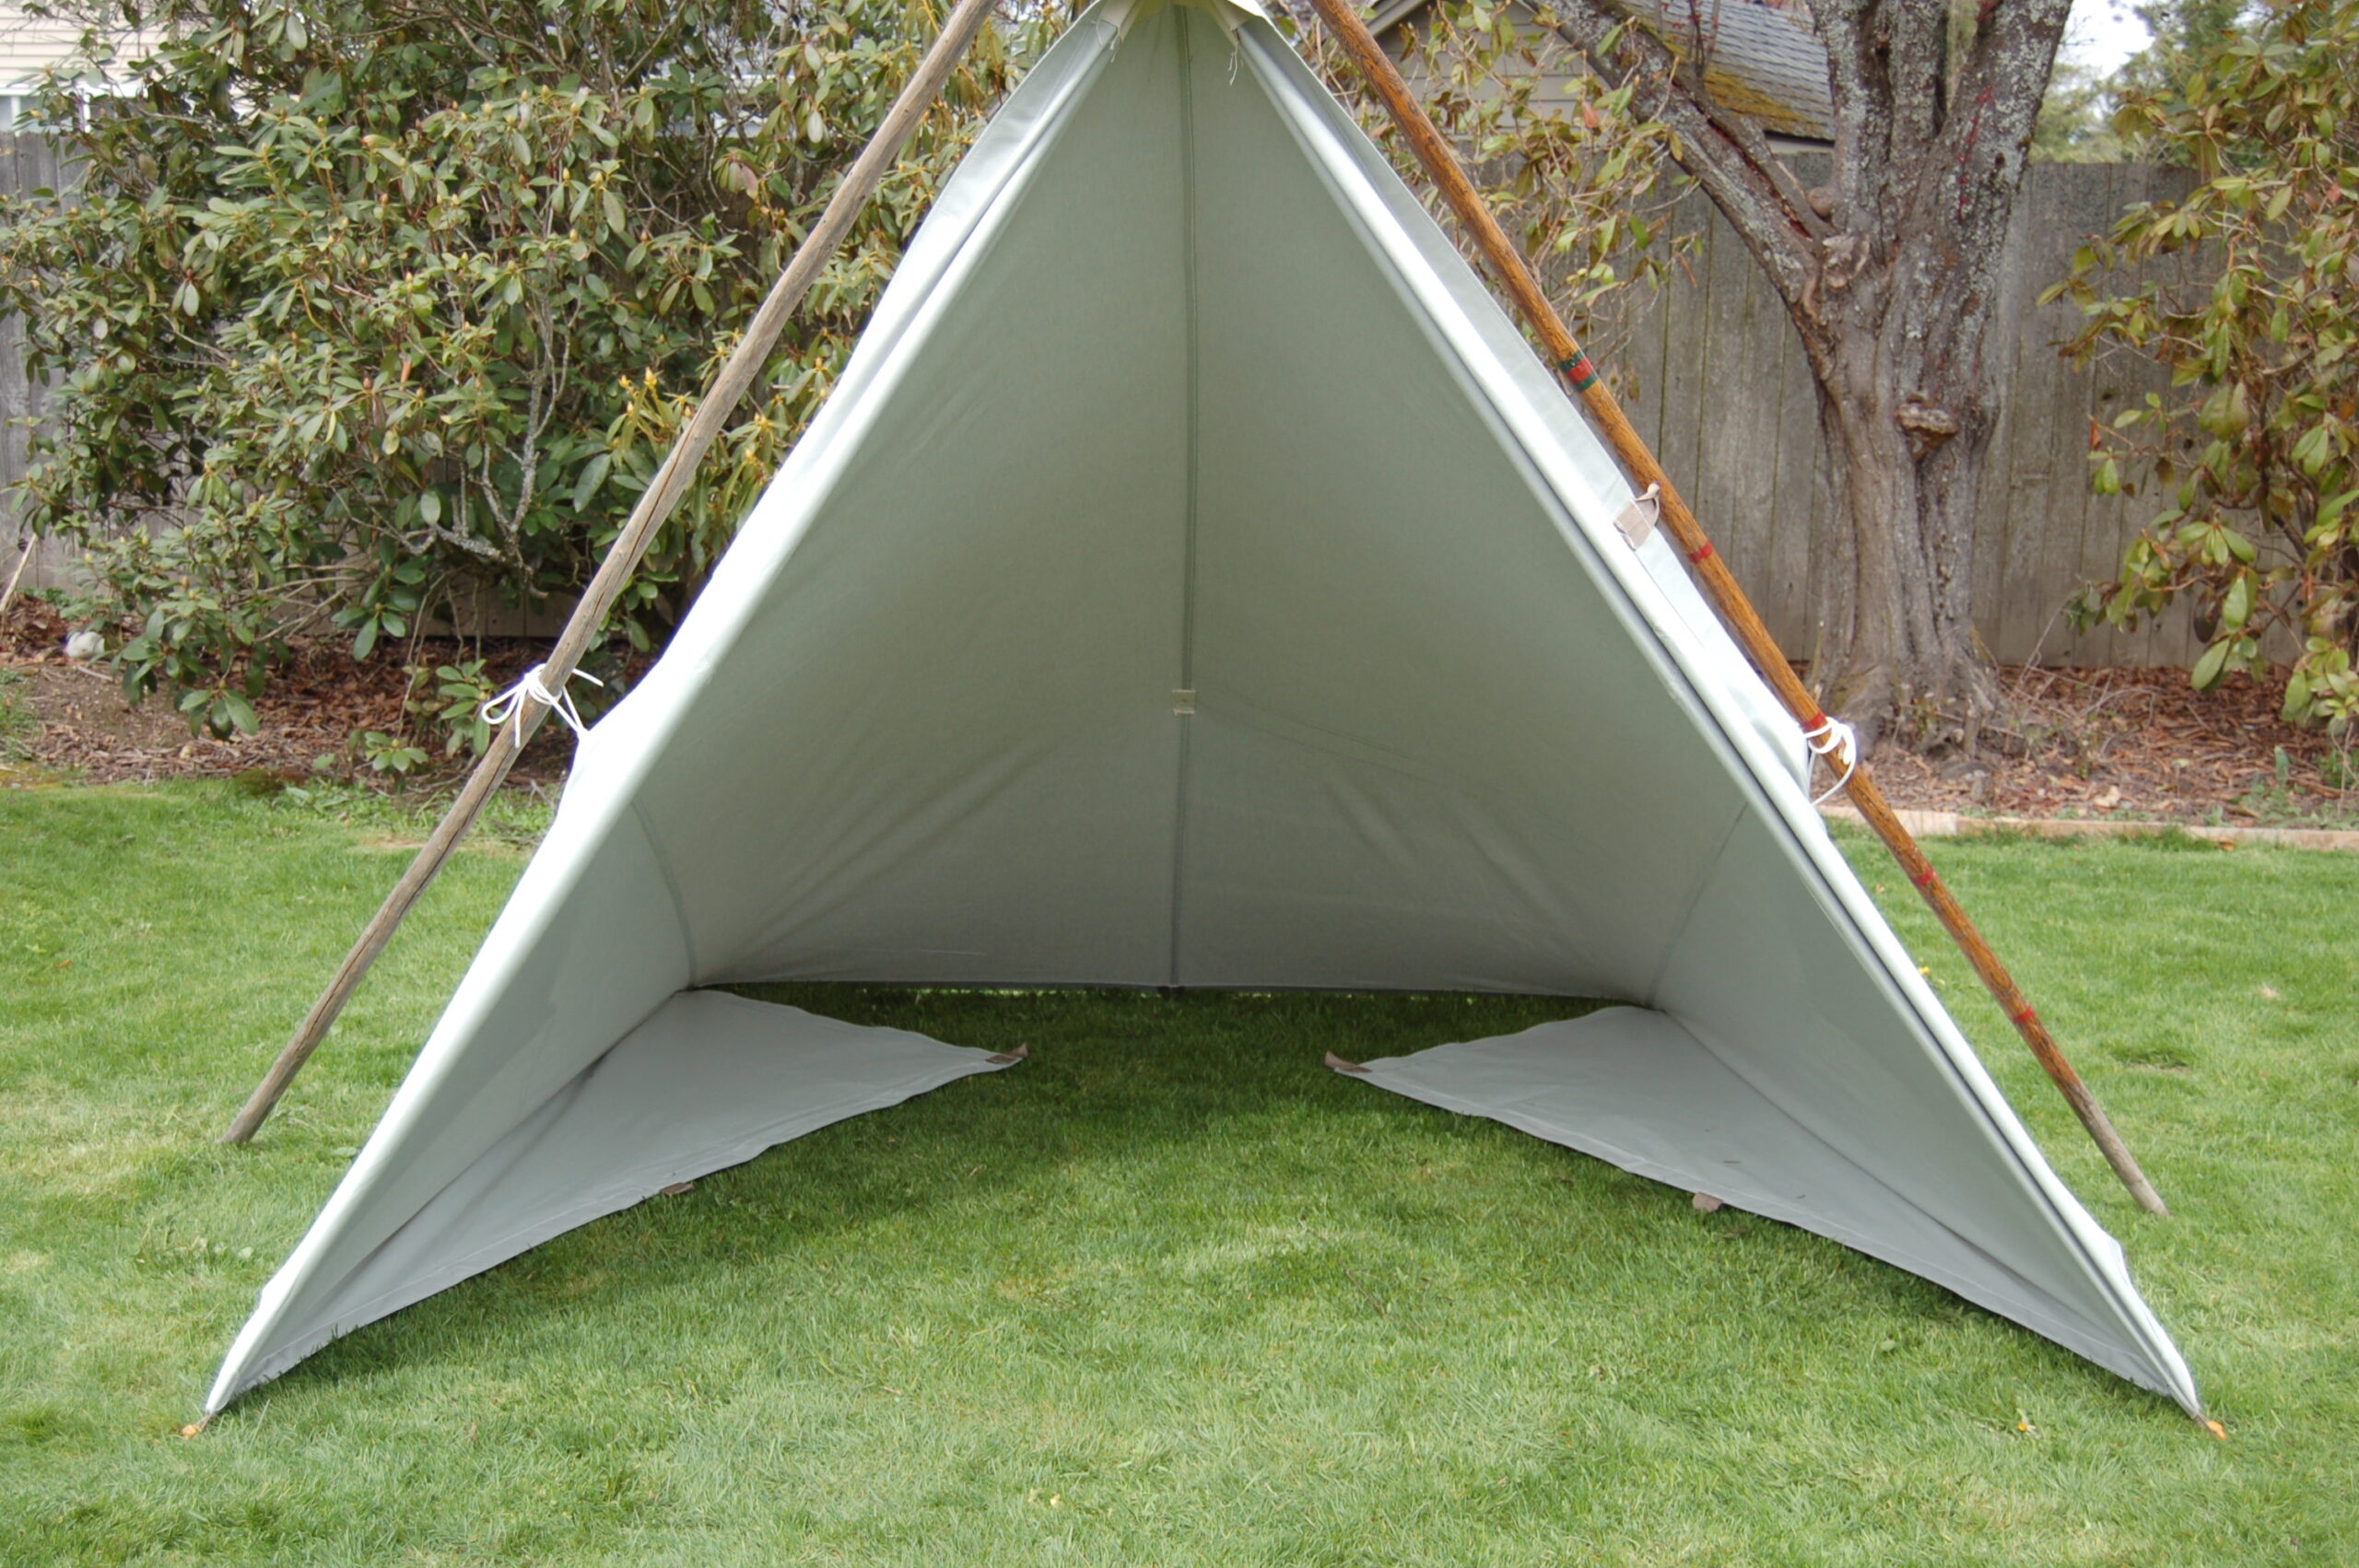
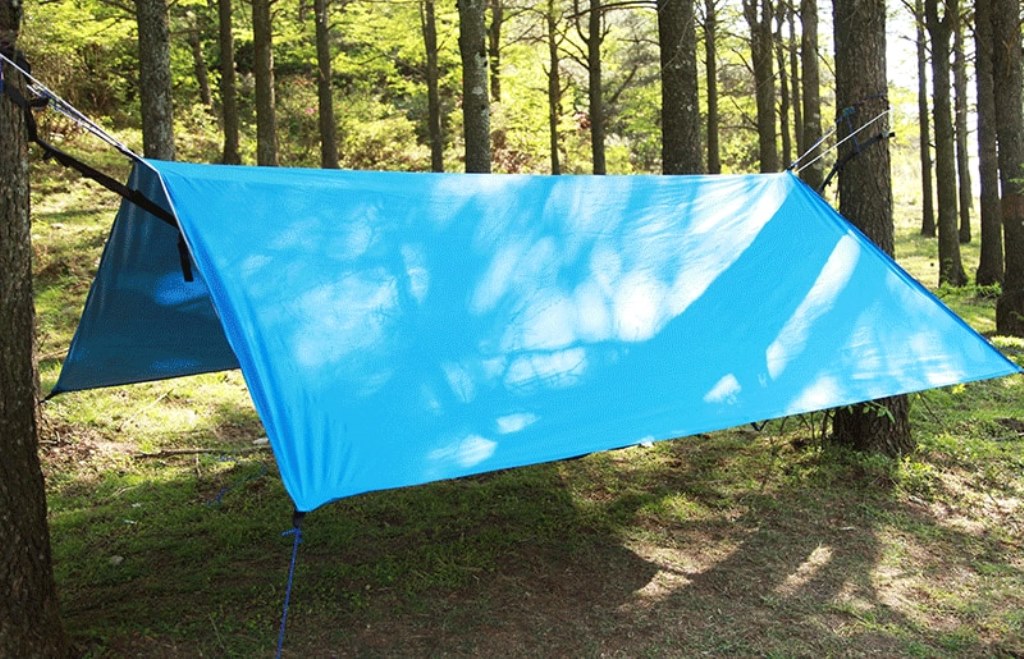
At the very end, a canopy is placed - a roof, and a temporary shelter from the weather is ready. In this way, an awning supported by sticks is installed. But if there are no support poles in the package, you can thread the rope through the upper loops of the awning and tie the ends on two trees (the awning should be between them).
How to install eyelets on an awning with your own hands
Installing eyelets on an awning is not the easiest thing, but I would not say that it is very difficult. The instruction "how to install eyelets on an awning with your own hands" is as follows:
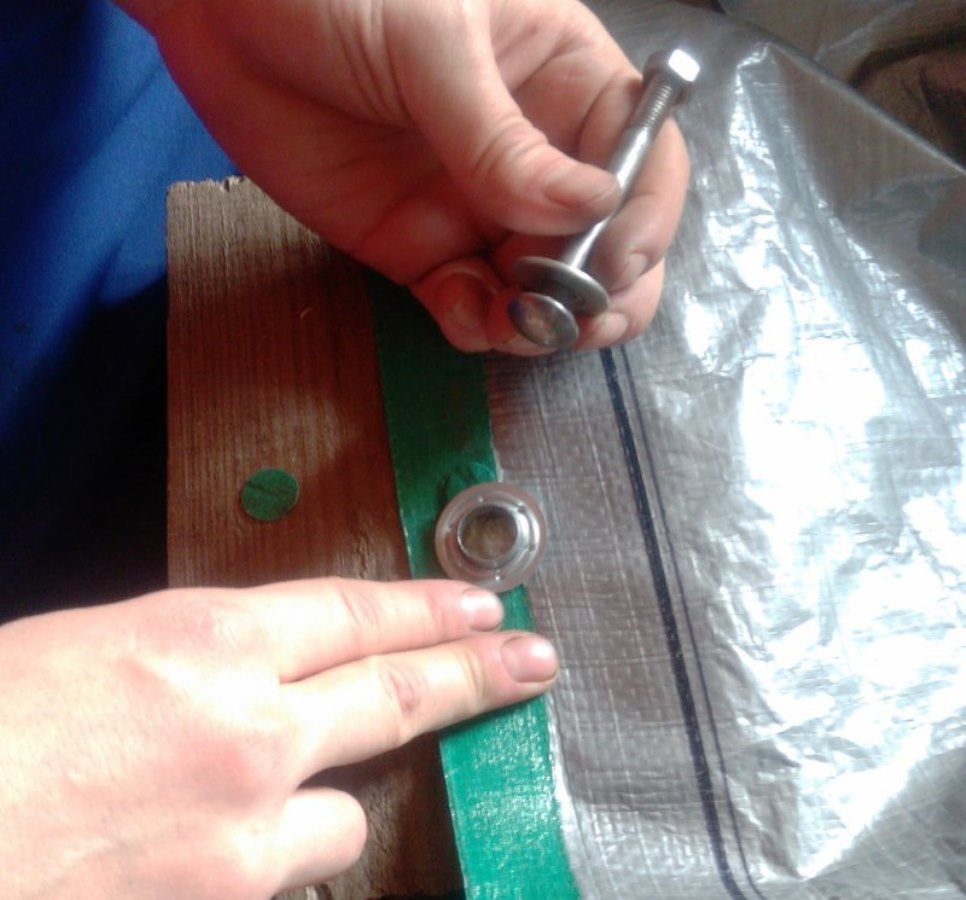
Having prepared the tarpaulin for the installation of the eyelets, you need to place a metal ring and a block (the eyelet itself, which does not yet have a ring) in the holes made, which will be fixed on the fabric with a hammer and flaring (creates a strong tight connection between the fabric and the metal). After simple manipulations (the main thing is to accurately hit the target with a hammer, while not beating off all your fingers) the eyelet will be securely fixed to the tarpaulin.
Preparing the tarpaulin
To prepare the canvas for the installation of eyelets, you must do the following:
The first step is to punch holes in the right places, which will become eyelets in the future. To do this, you need to take a ruler and a pencil (to make markings on the fabric), a punch and a regular hammer. Having marked on the tarpaulin the places where the future fasteners will be located, you need to draw holes, referring to the diameter of the metal rings (you can use the rings as a stencil).
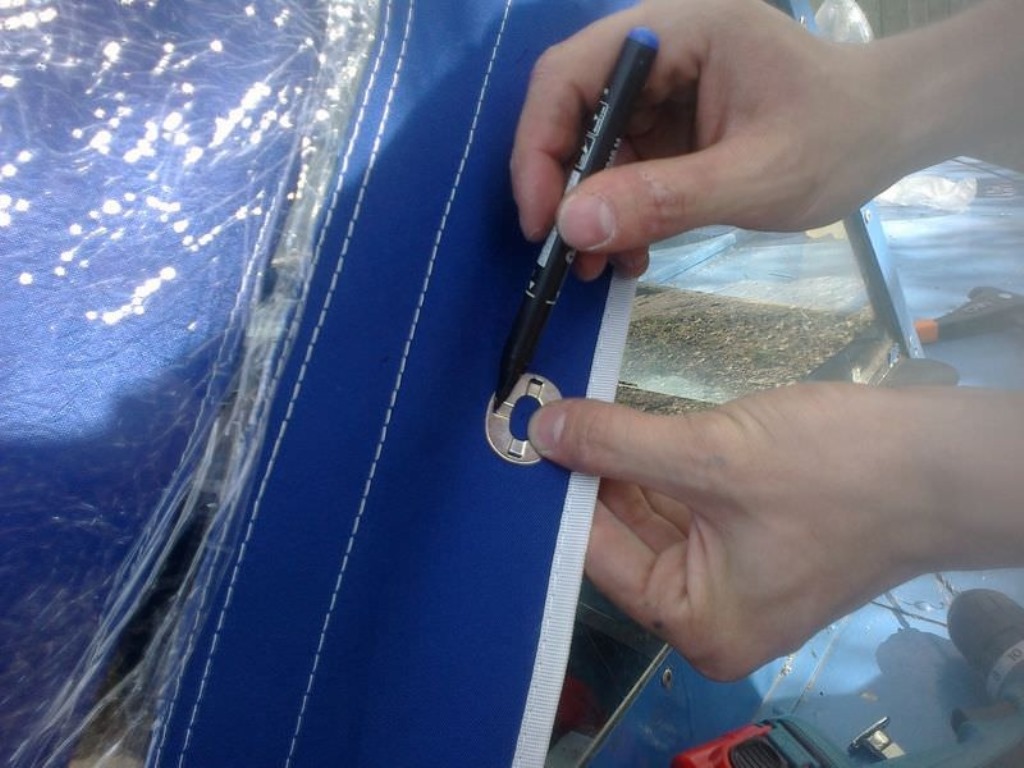
Then you need to put the fabric on a wooden surface (it is better to take a useless old but sturdy board from the pantry), which will soften the blows and will not allow you to ruin the table, floor or windowsill. Then, taking a punch (a special tool similar in functionality to a hole punch, but for materials denser than paper) and a hammer, you need to make holes in the fabric in order to then install the eyelets there.
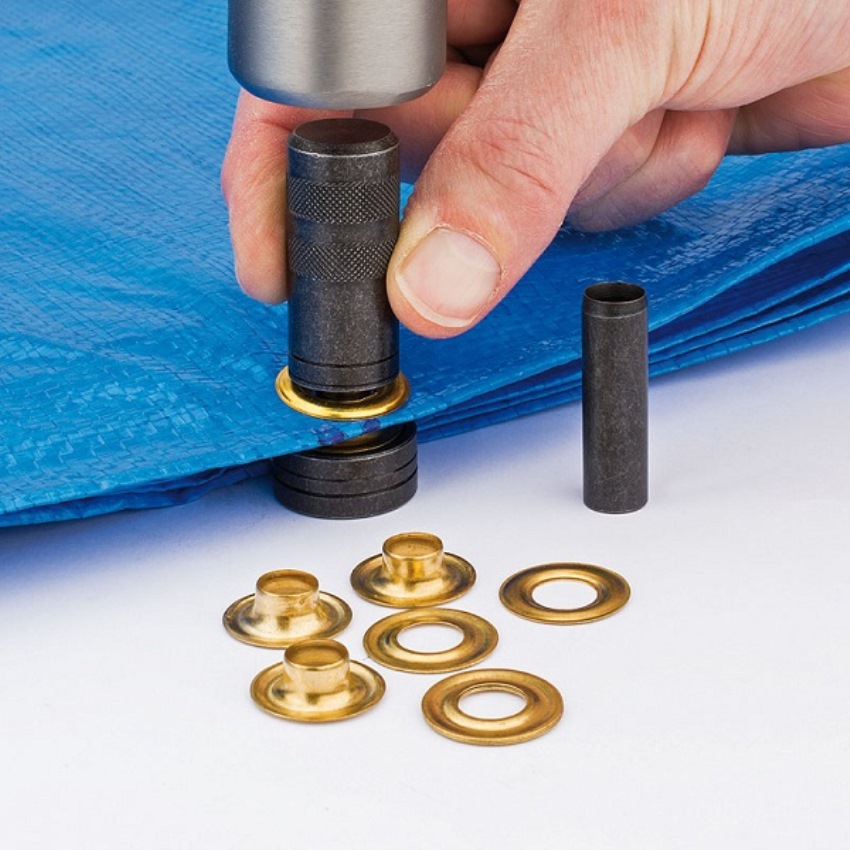
Phased installation
It is necessary to strictly follow all the instructions of the instructions, since during the installation of the eyelets and the awning itself it is very easy to spoil something: the metal of the rings may bend when fixing the fasteners or some details for the awning may break, which threatens with very unpleasant consequences: in case of bad weather there is nowhere will take cover, and trying to revive the tent in rain, snow or strong wind is a below average pleasure.
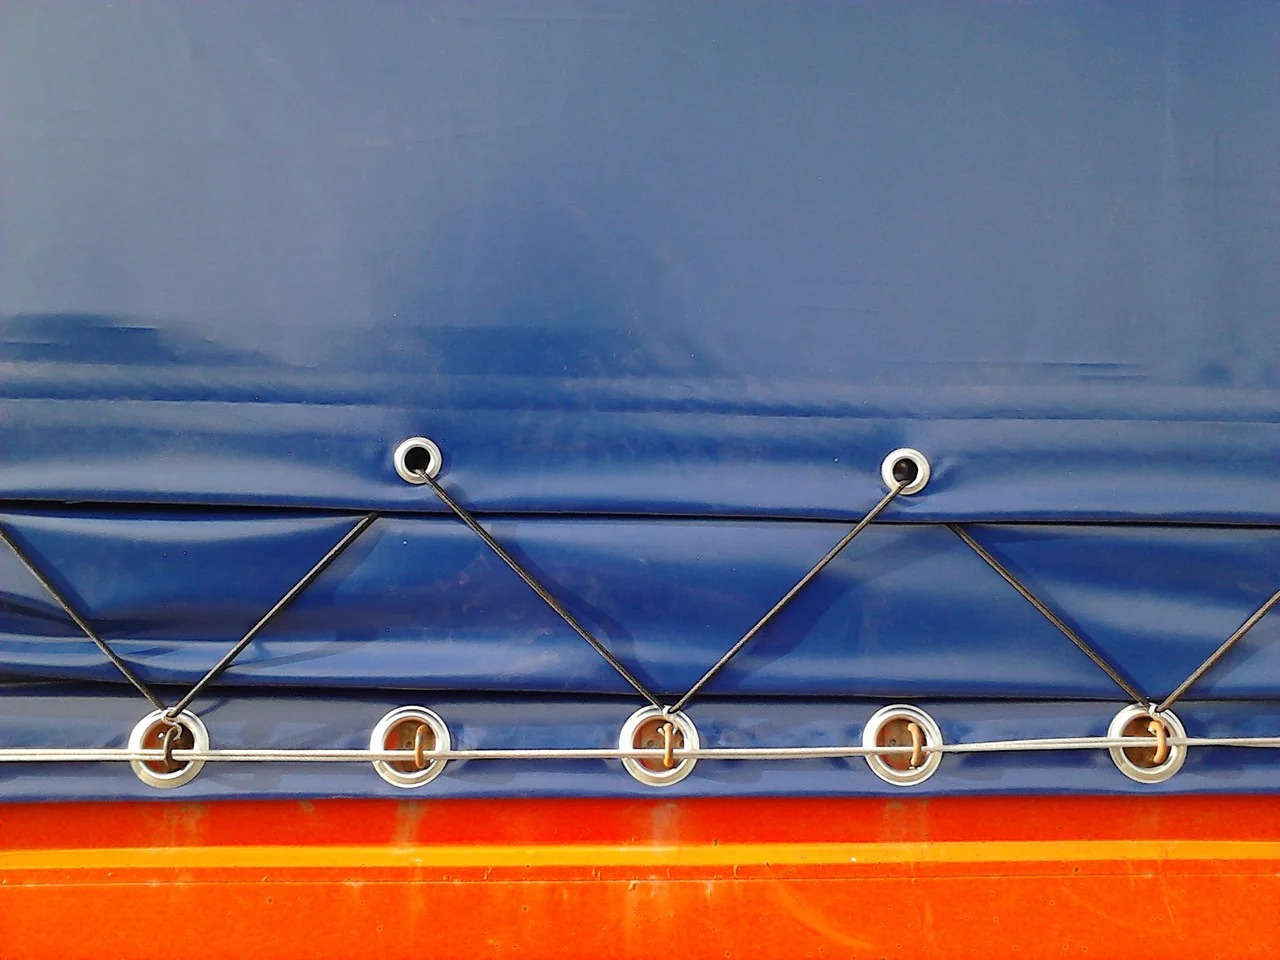
In this regard, you need not only to follow the instructions, but also at the purchase stage, choose a model that will allow you not to complicate your life once again: for example, you should choose an awning on which eyelets are already installed in sufficient quantities and in which additional elements are made not from fragile plastic (pegs, staples and support poles) and not from thin thread (cords for round eyelets), but from strong solid materials - preferably metal and thick twine, so that everything is securely fastened and there is no possibility that something will go wrong due to the fragility of the awning and its components.
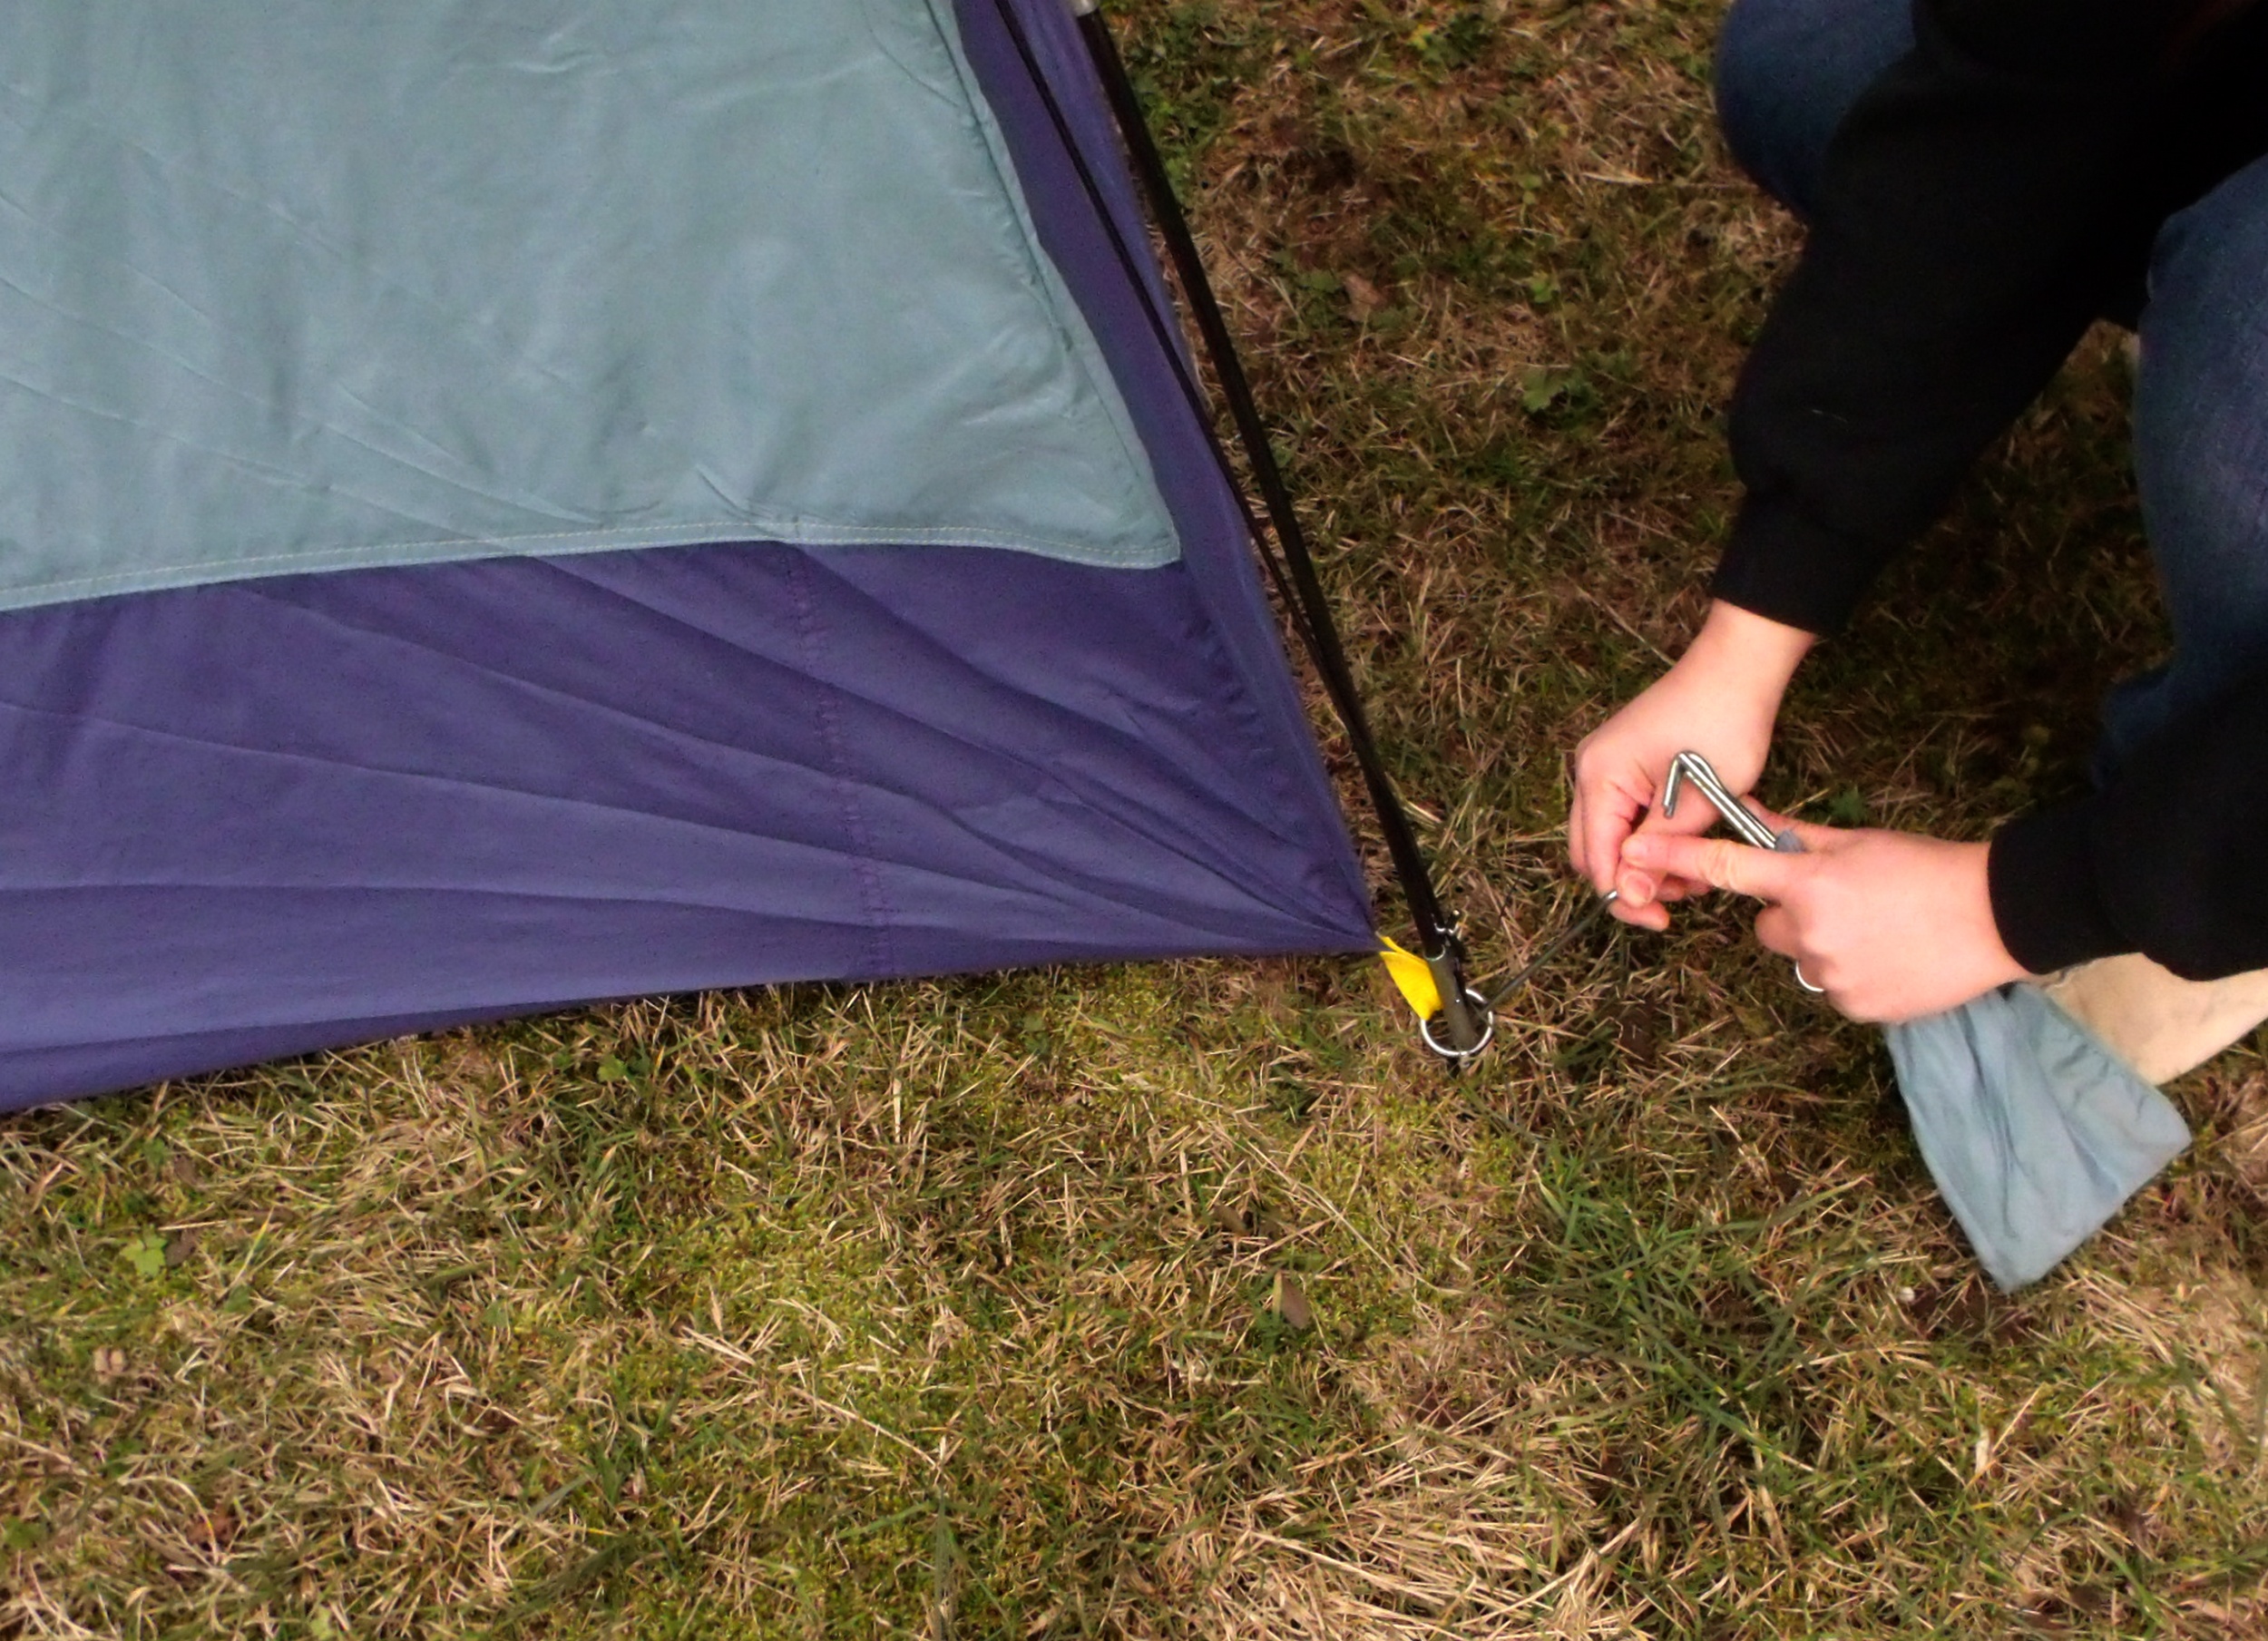
Photo examples of eyelets on a tarpaulin awning
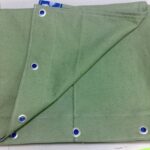
It is not difficult to find photographs of eyelets made of various materials on a tarpaulin awning. Thanks to these searches, you can easily understand exactly how both options look and decide which one is more suitable for your purpose and choose the one that is more suitable for a specific task.
Video: how to install eyelets with your own hands

