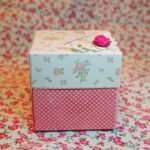
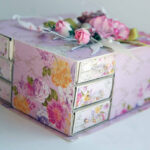
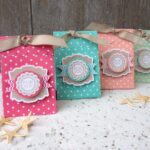
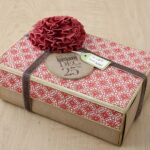
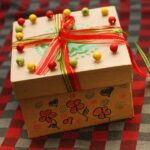
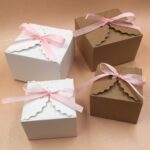
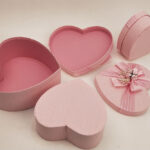
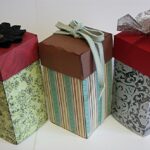
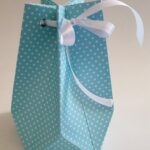
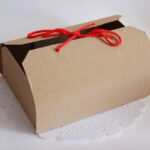
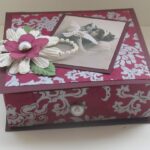
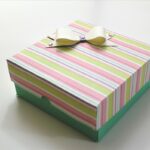
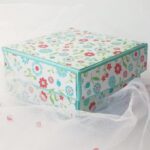
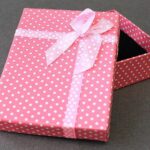
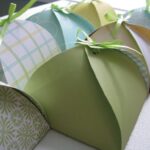
DIY boxes of different materials
It is customary to present gifts in gift bags or beautiful boxes. However, they are not always at hand at the right time, and therefore, if necessary, they can be done independently.

Varieties of boxes for making your own hands
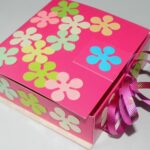
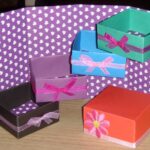
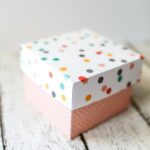
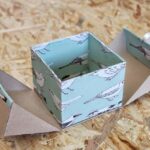
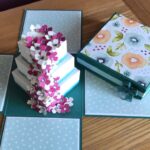
With the help of thick colored paper or cardboard, you can make a box of any shape and size, decorating them in accordance with the upcoming event.
The most popular types of boxes include the following:
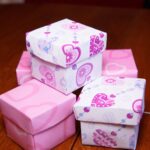
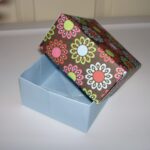
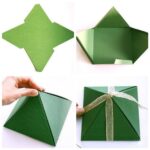
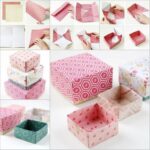
- Origami box. Most often it looks like a cube or parallelepiped. Its main advantage is that there is no need to cut and glue materials.
- Round box. This is a fairly stylish two-piece model. To make it, you need two rectangular and four round blanks. On rectangular parts, it is necessary to cut triangular elements along one of the sides. They are used for gluing. The upper and lower parts are formed from round parts using double-sided gluing.
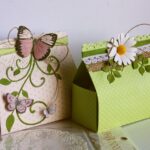
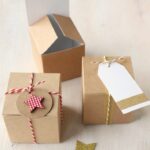
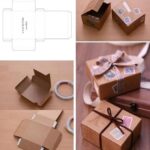
- House box. It is made according to a fairly simple scheme, but it can be an excellent packaging for any gift. It requires a rectangle for the roof and a pair of identical kraft paper blanks. All parts are glued together with a gun.
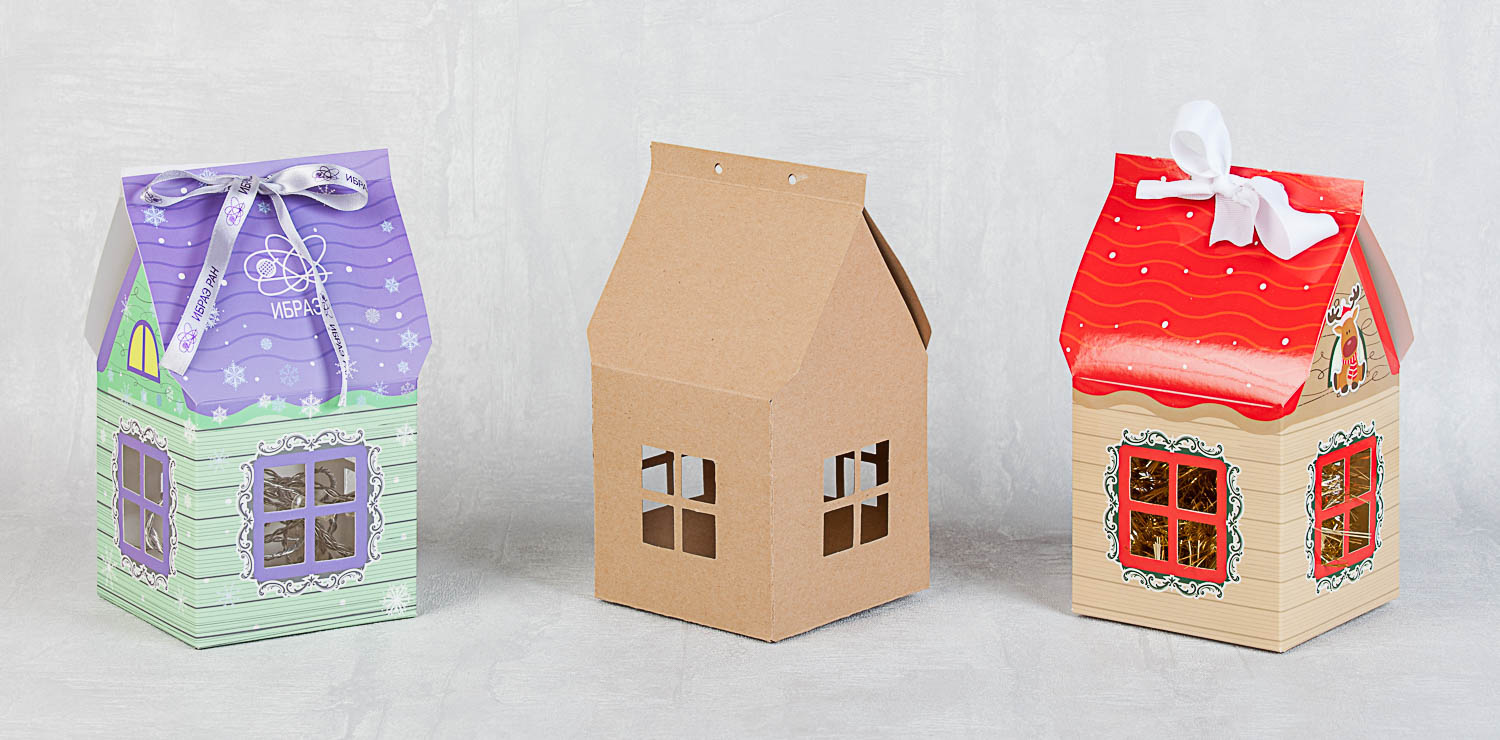
Note! The finished product can be decorated with your own stamps.
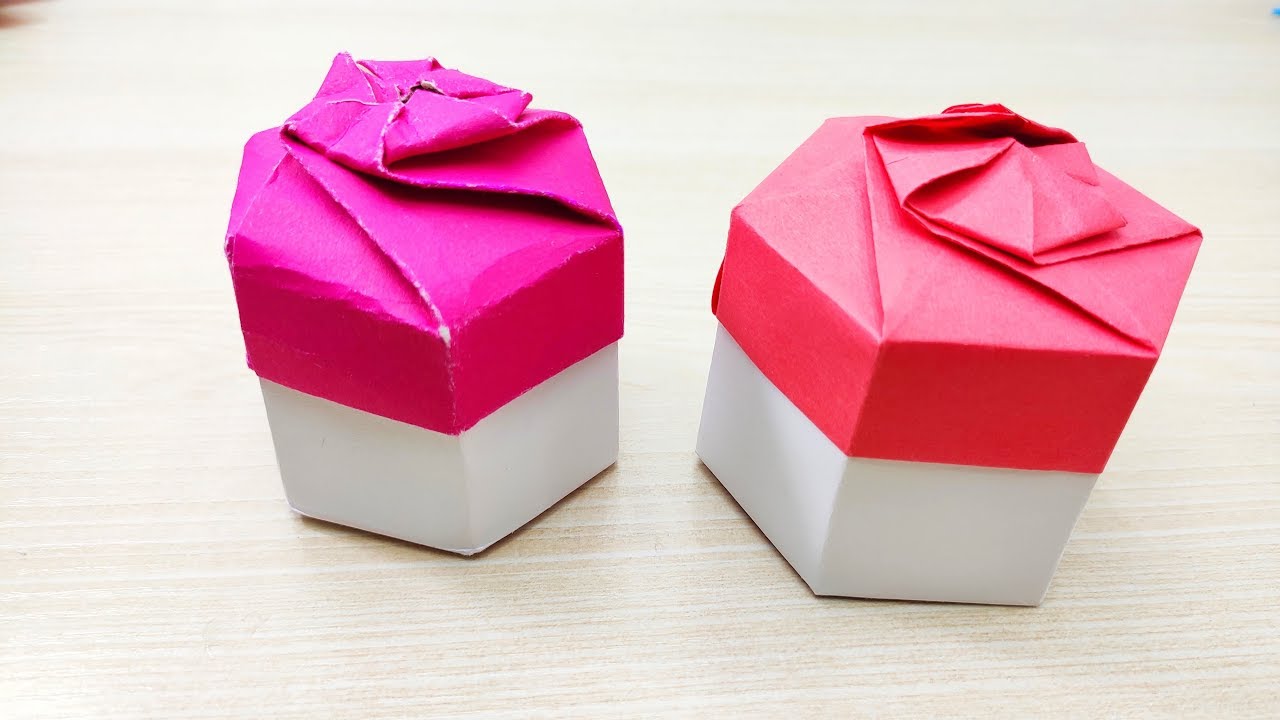
- Constructor puzzle. A standard rectangular box made of colored paper can be turned into a Lego piece. This requires several small circles to match the color of the box. They are glued to the workpiece by means of double-sided tape or glue pads.
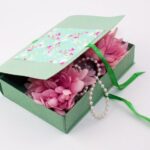
- Rectangular shape. You can make individual New Year's packaging from ordinary cardboard boxes. To do this, a window is cut out at the top of the box, which is sealed from the inside with a piece of transparent plastic, for example, from a dense file. The box itself is pasted over with colored cloth or paper.
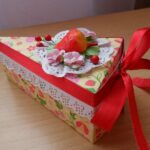
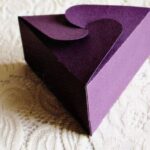
- A set of triangular boxes. This option is optimal when you need to arrange gifts for the whole company. First, you need to create the required number of triangular packages according to the template, and then combine them into a single round cake, fastened with a ribbon.

What materials can you make a box with your own hands?
The box can be made from the following materials:
- Cardboard. Convenient and practical material, however, due to its thickness, it can only be used for large boxes. For small packages, neat folds and adherence to dimensions down to the millimeter are very important.
- Thick paper. You can use whatman paper or thick wallpaper of different colors. In the second case, you should not take rough and thick wallpaper, as this will lead to poor closing of the lid. Smooth and dense models are the best option.

Note! You can use special design paper to create the box.

How to make a box with your own hands
What will be needed to create
To make the box, you will need the following tools and materials:
- cardboard - new or used, soft or durable, thin or thick, colored or neutral;
- thick colored paper;
- scissors;
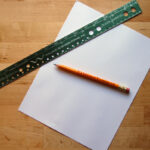
- pencil and ruler;
- double sided tape;
- glue - PVA, pencil or gun;
- wrapping paper;
- a stapler, if required for attaching the relevant parts;
- beads, beads, rhinestones, stones;
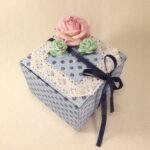
- artificial flowers and other figurines;
- other decorative elements.
Note! The box should not be decorated with a large number of accessories and decorative elements, as this will make the structure heavier and unstable.
Schemes and sizes of boxes
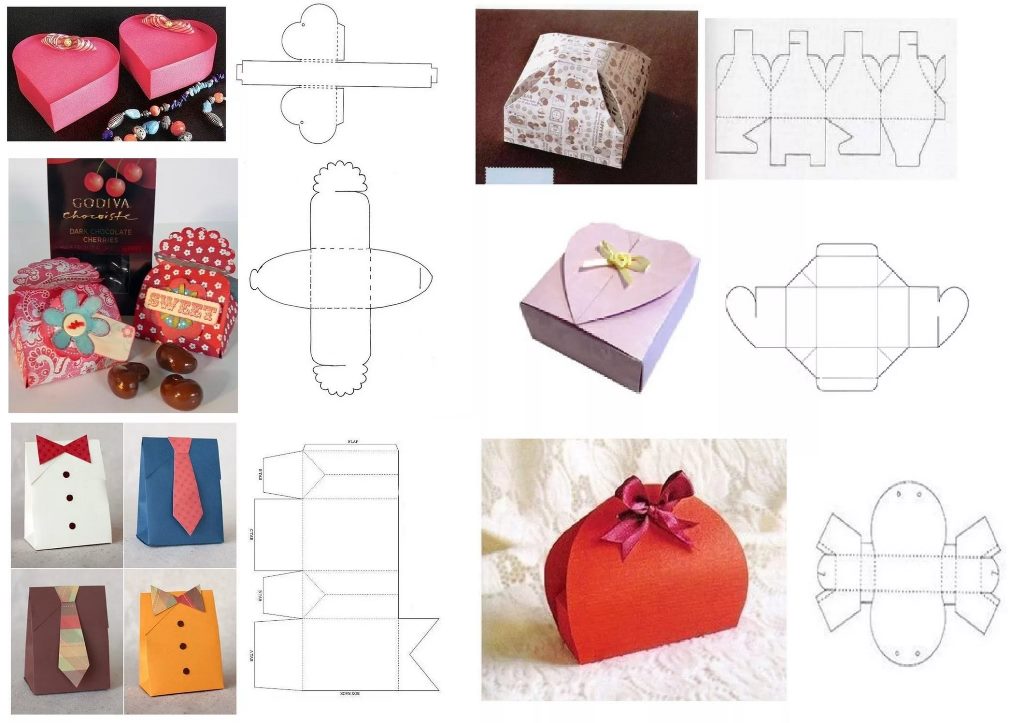
To create most of the cardboard boxes with your own hands, you can use diagrams with dimensions, on the basis of which templates are formed. They can be printed or drawn.

The sizes are chosen in accordance with the content that you plan to give. Double-walled paper boxes can be made to increase the packing density. They are more practical than cardboard ones, since they take the desired shape more easily.
Box making process
Making a classic box looks like this:
- Determine the appropriate dimensions and sketch out the parts on paper or cardboard. First, you can draw a square or rectangle for the bottom of the box, and then add the same height of the walls on all sides.
- Fold the paper along the drawn lines. Squares are formed in the corners, one side of each of which must be cut. This will result in valves.
- Lubricate all the flaps with glue from the front and glue to form the sides of the box.
- Glue the cover in the same way.
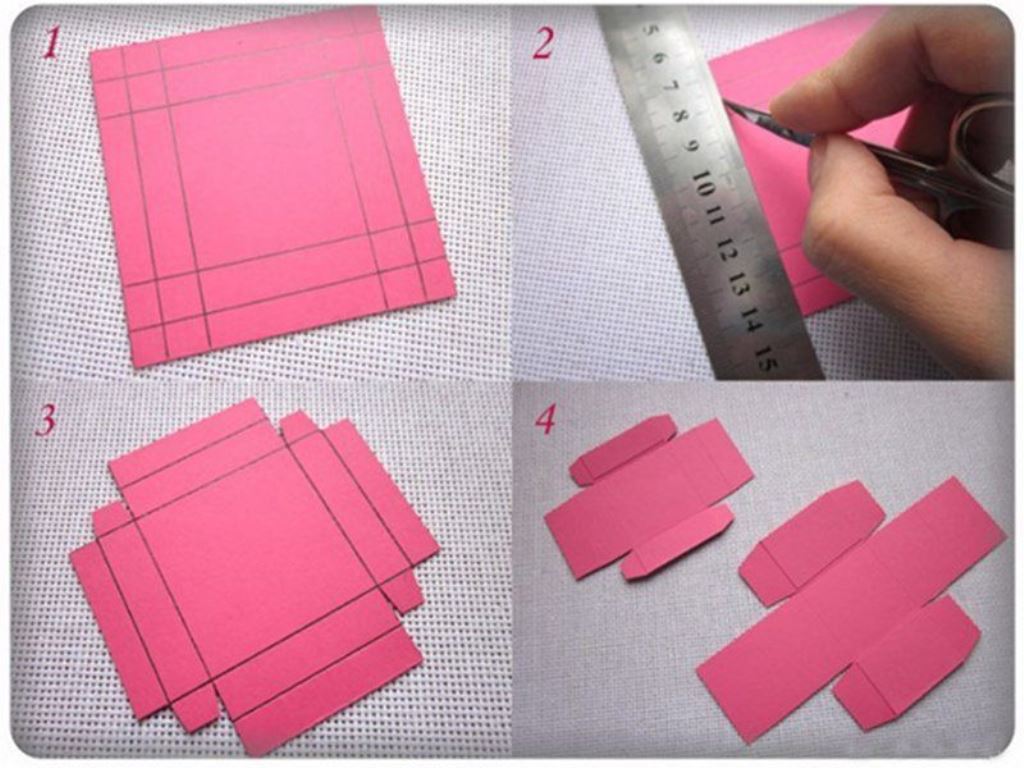
Note! If you are using thick cardboard, then you should not just cut the corners, but cut out small wedges.
Another popular method is the origami method. It will require a square sheet of paper. The folding process is as follows:
- Fold the sheet diagonally twice and unfold.
- Fold the sheet in half, then in half again. A point is formed in the center to which each of the four corners must be bent.
- Draw or visualize in the center of the resulting square a mid-vertical line. The left and right edges of the square need to be folded to this line.
- Draw or represent a mid-horizontal line in the center of the formed rectangle. It is necessary to fold the lower and upper edges to it.
- Expand the square, leaving the two side triangles oriented towards the center.
- Bend the corners formed at the top inward. A valve will form at the top, which must be wrapped inside the box and straightened.
- Repeat the procedure on the other side.
- Fold the lid in the same way.

Note! For the lid, you need to cut a larger square. Depending on the thickness of the paper and the size of the box, the difference may be one to two centimeters.
Decorating by theme
The following materials can be used for packaging decoration:
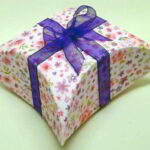
- ribbons, fabric, colored threads;
- lace, knitted or crocheted;
- rope or straw;
- burlap or jute cord;
- napkins for decoupage;
- plant branches, seeds and dried flowers, varnished;
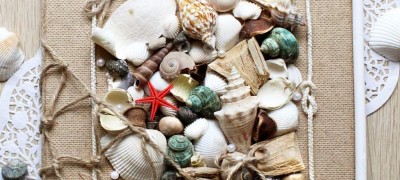
- seashells and pebbles;
- colored electrical tape, you can print;
- stickers or photos;
- hand-painted with markers or paints.
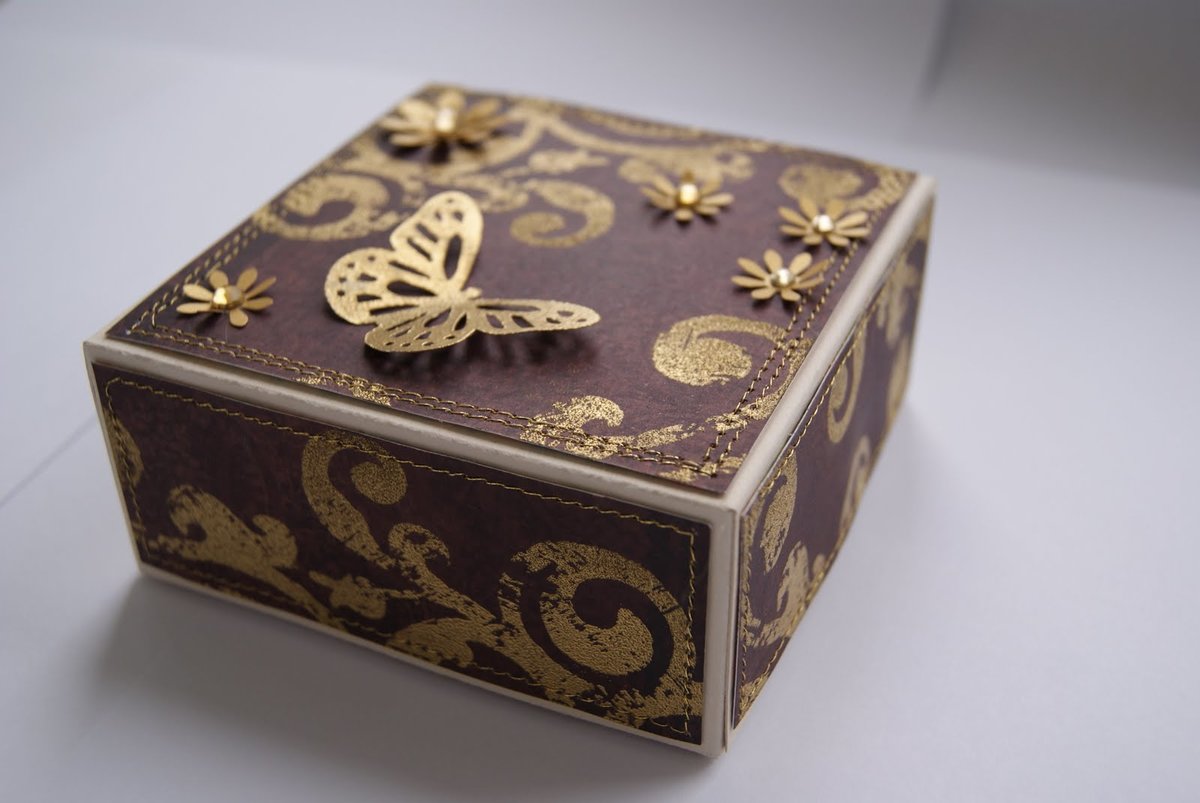
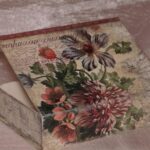
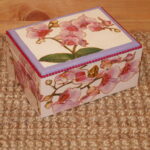
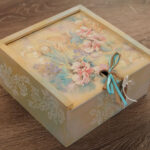
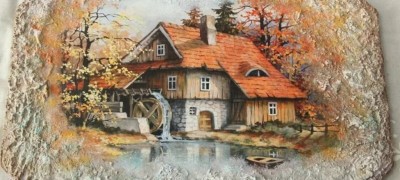
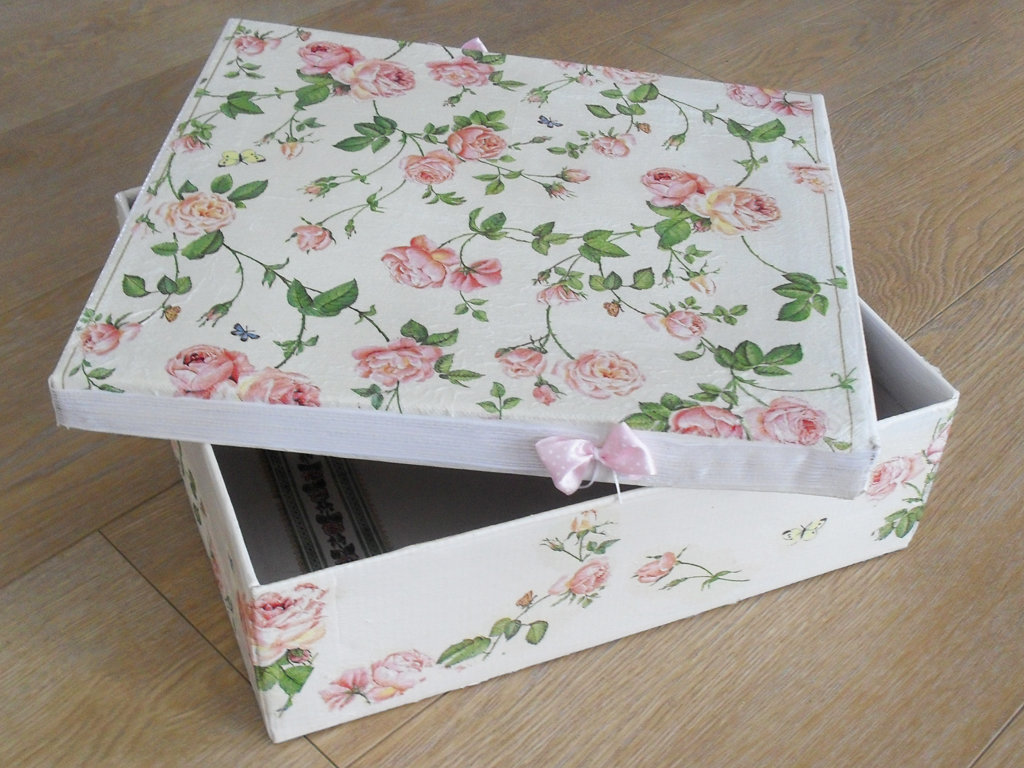
A popular decoration method is the decoupage technique. For her, special napkins with beautiful patterns are used, which can be matched to any topic and occasion.
The decorating process is as follows:
- Prime the box in two layers, letting each dry thoroughly.
- Sand the surface with a smooth, strong emery paper.
- Cover the product with acrylic paint, over which carefully coat with glue and let dry.
- Place a napkin on the box and smooth out any irregularities.
- Iron the surface thoroughly with an iron, laying down the parchment.
- Cut off the excess edges of the napkin and cover the product with a layer of varnish.

Before making cardboard boxes, you need to decide on their size and the theme of the event for which they are being prepared. With careful work, you can get a beautiful and original packaging that can become a decoration of the holiday.
Video: how to make a paper box


