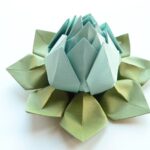
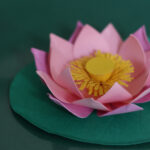
Lily of paper napkins
Origami is an ancient Japanese art movement. Many figures can be folded from paper or cloth napkins. Experienced housewives use original crafts for table setting. You can pleasantly surprise your guests by decorating the table with flowers from disposable napkins.
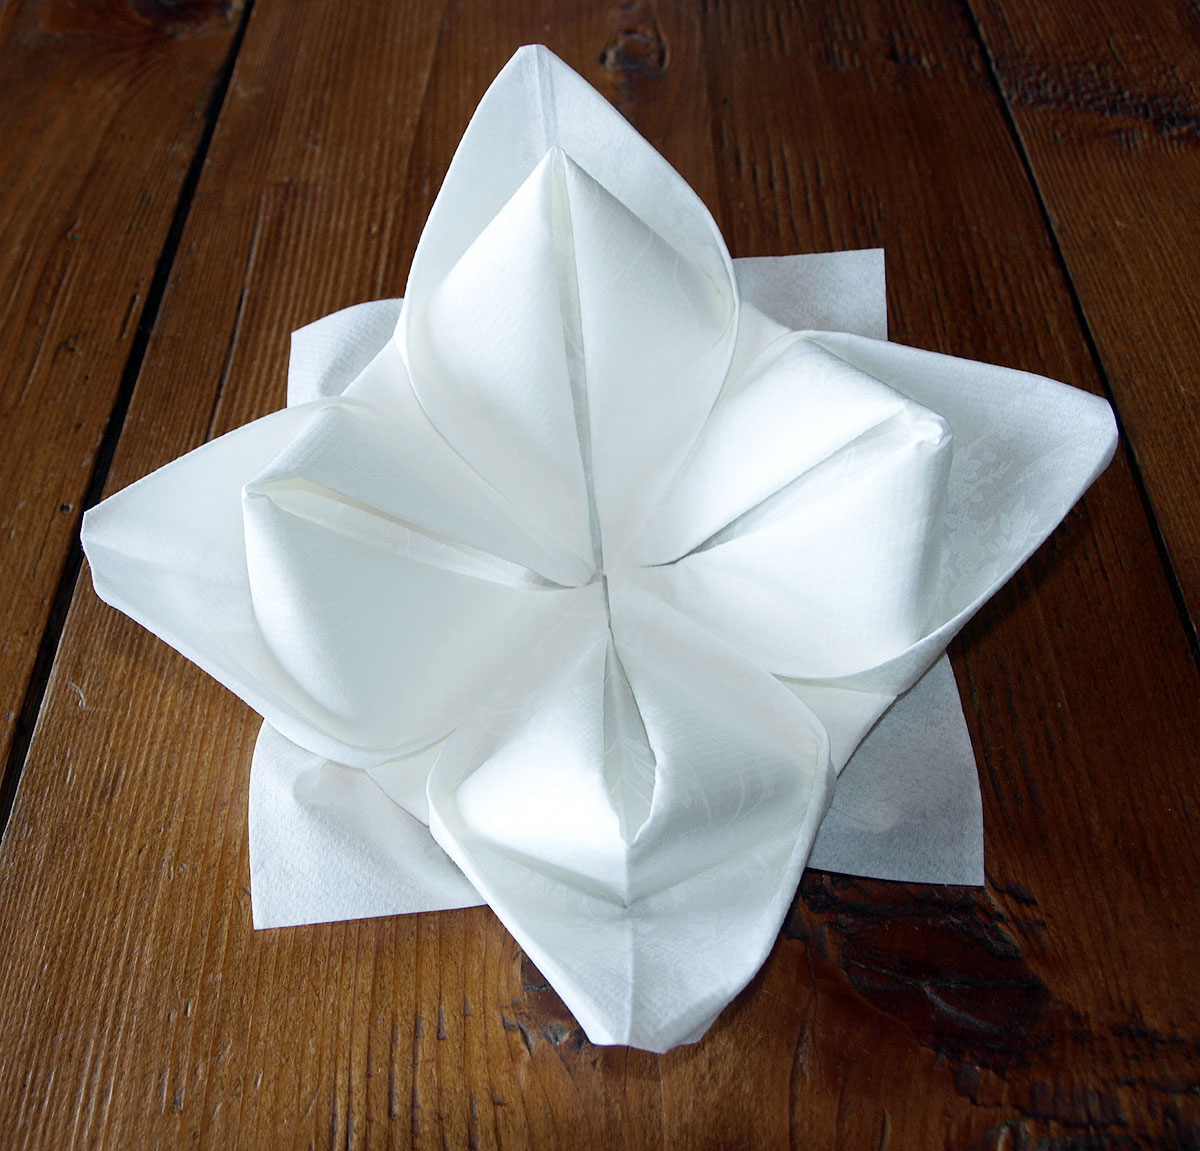
What you need to create a lily from napkins
To make a figurine, you need to prepare:
- green, pink and white paper napkins;
- scissors;
- threads;
- needle.
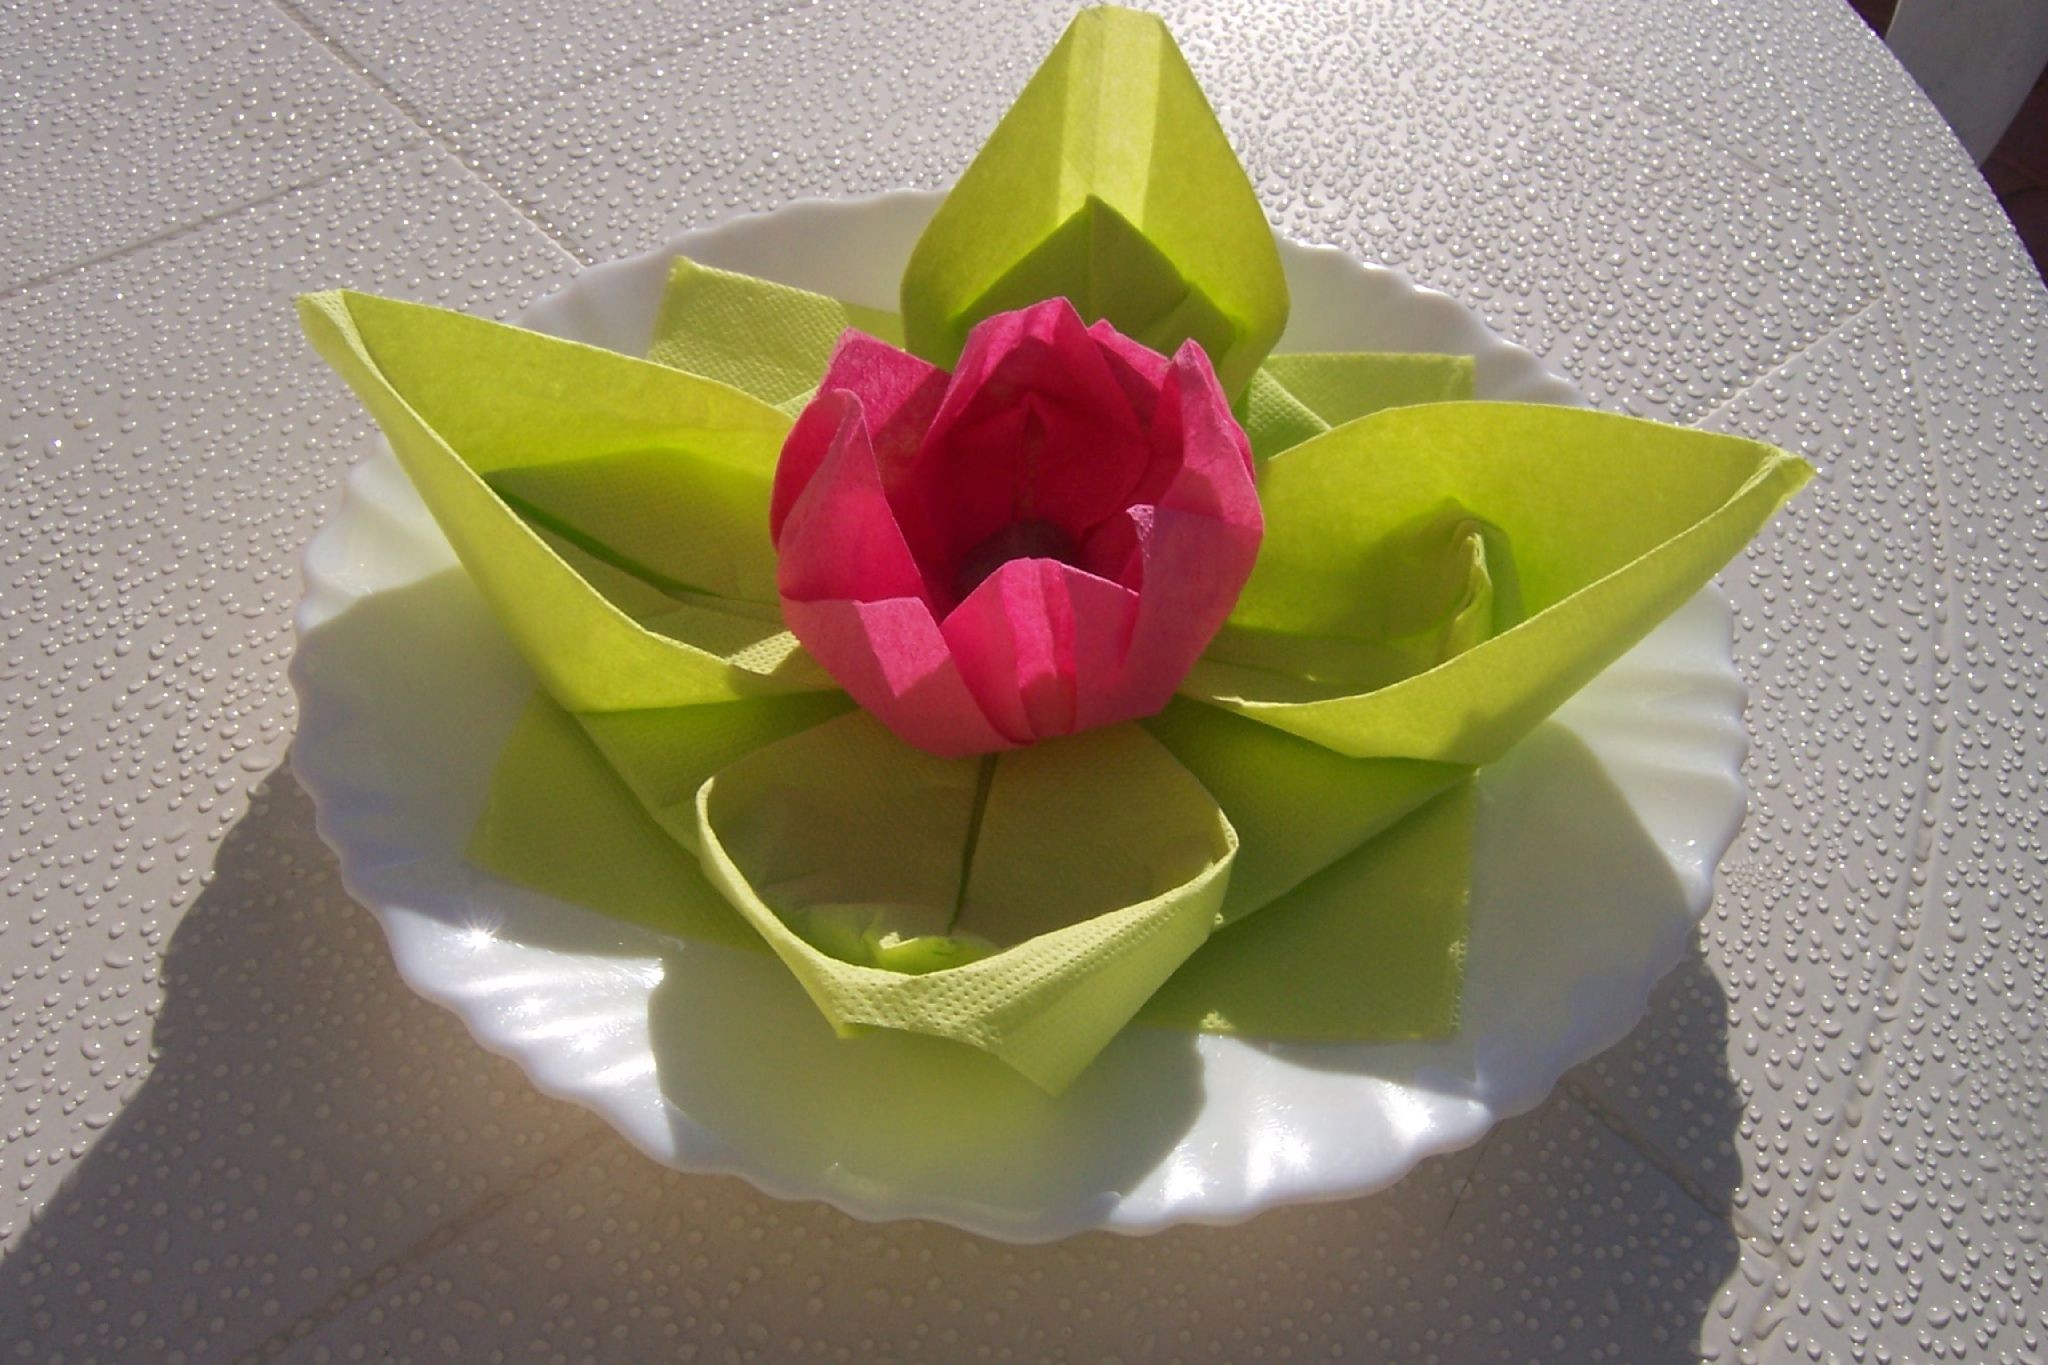
How to make a lily from napkins with your own hands
Flowers can be made from any size and color of material. The volume of the figure depends on the source material. The larger the sheet of material, the wider the product will be.
Important! From a thin single-layer paper base, products of a blurred shape are obtained. They do not hold the structure well.
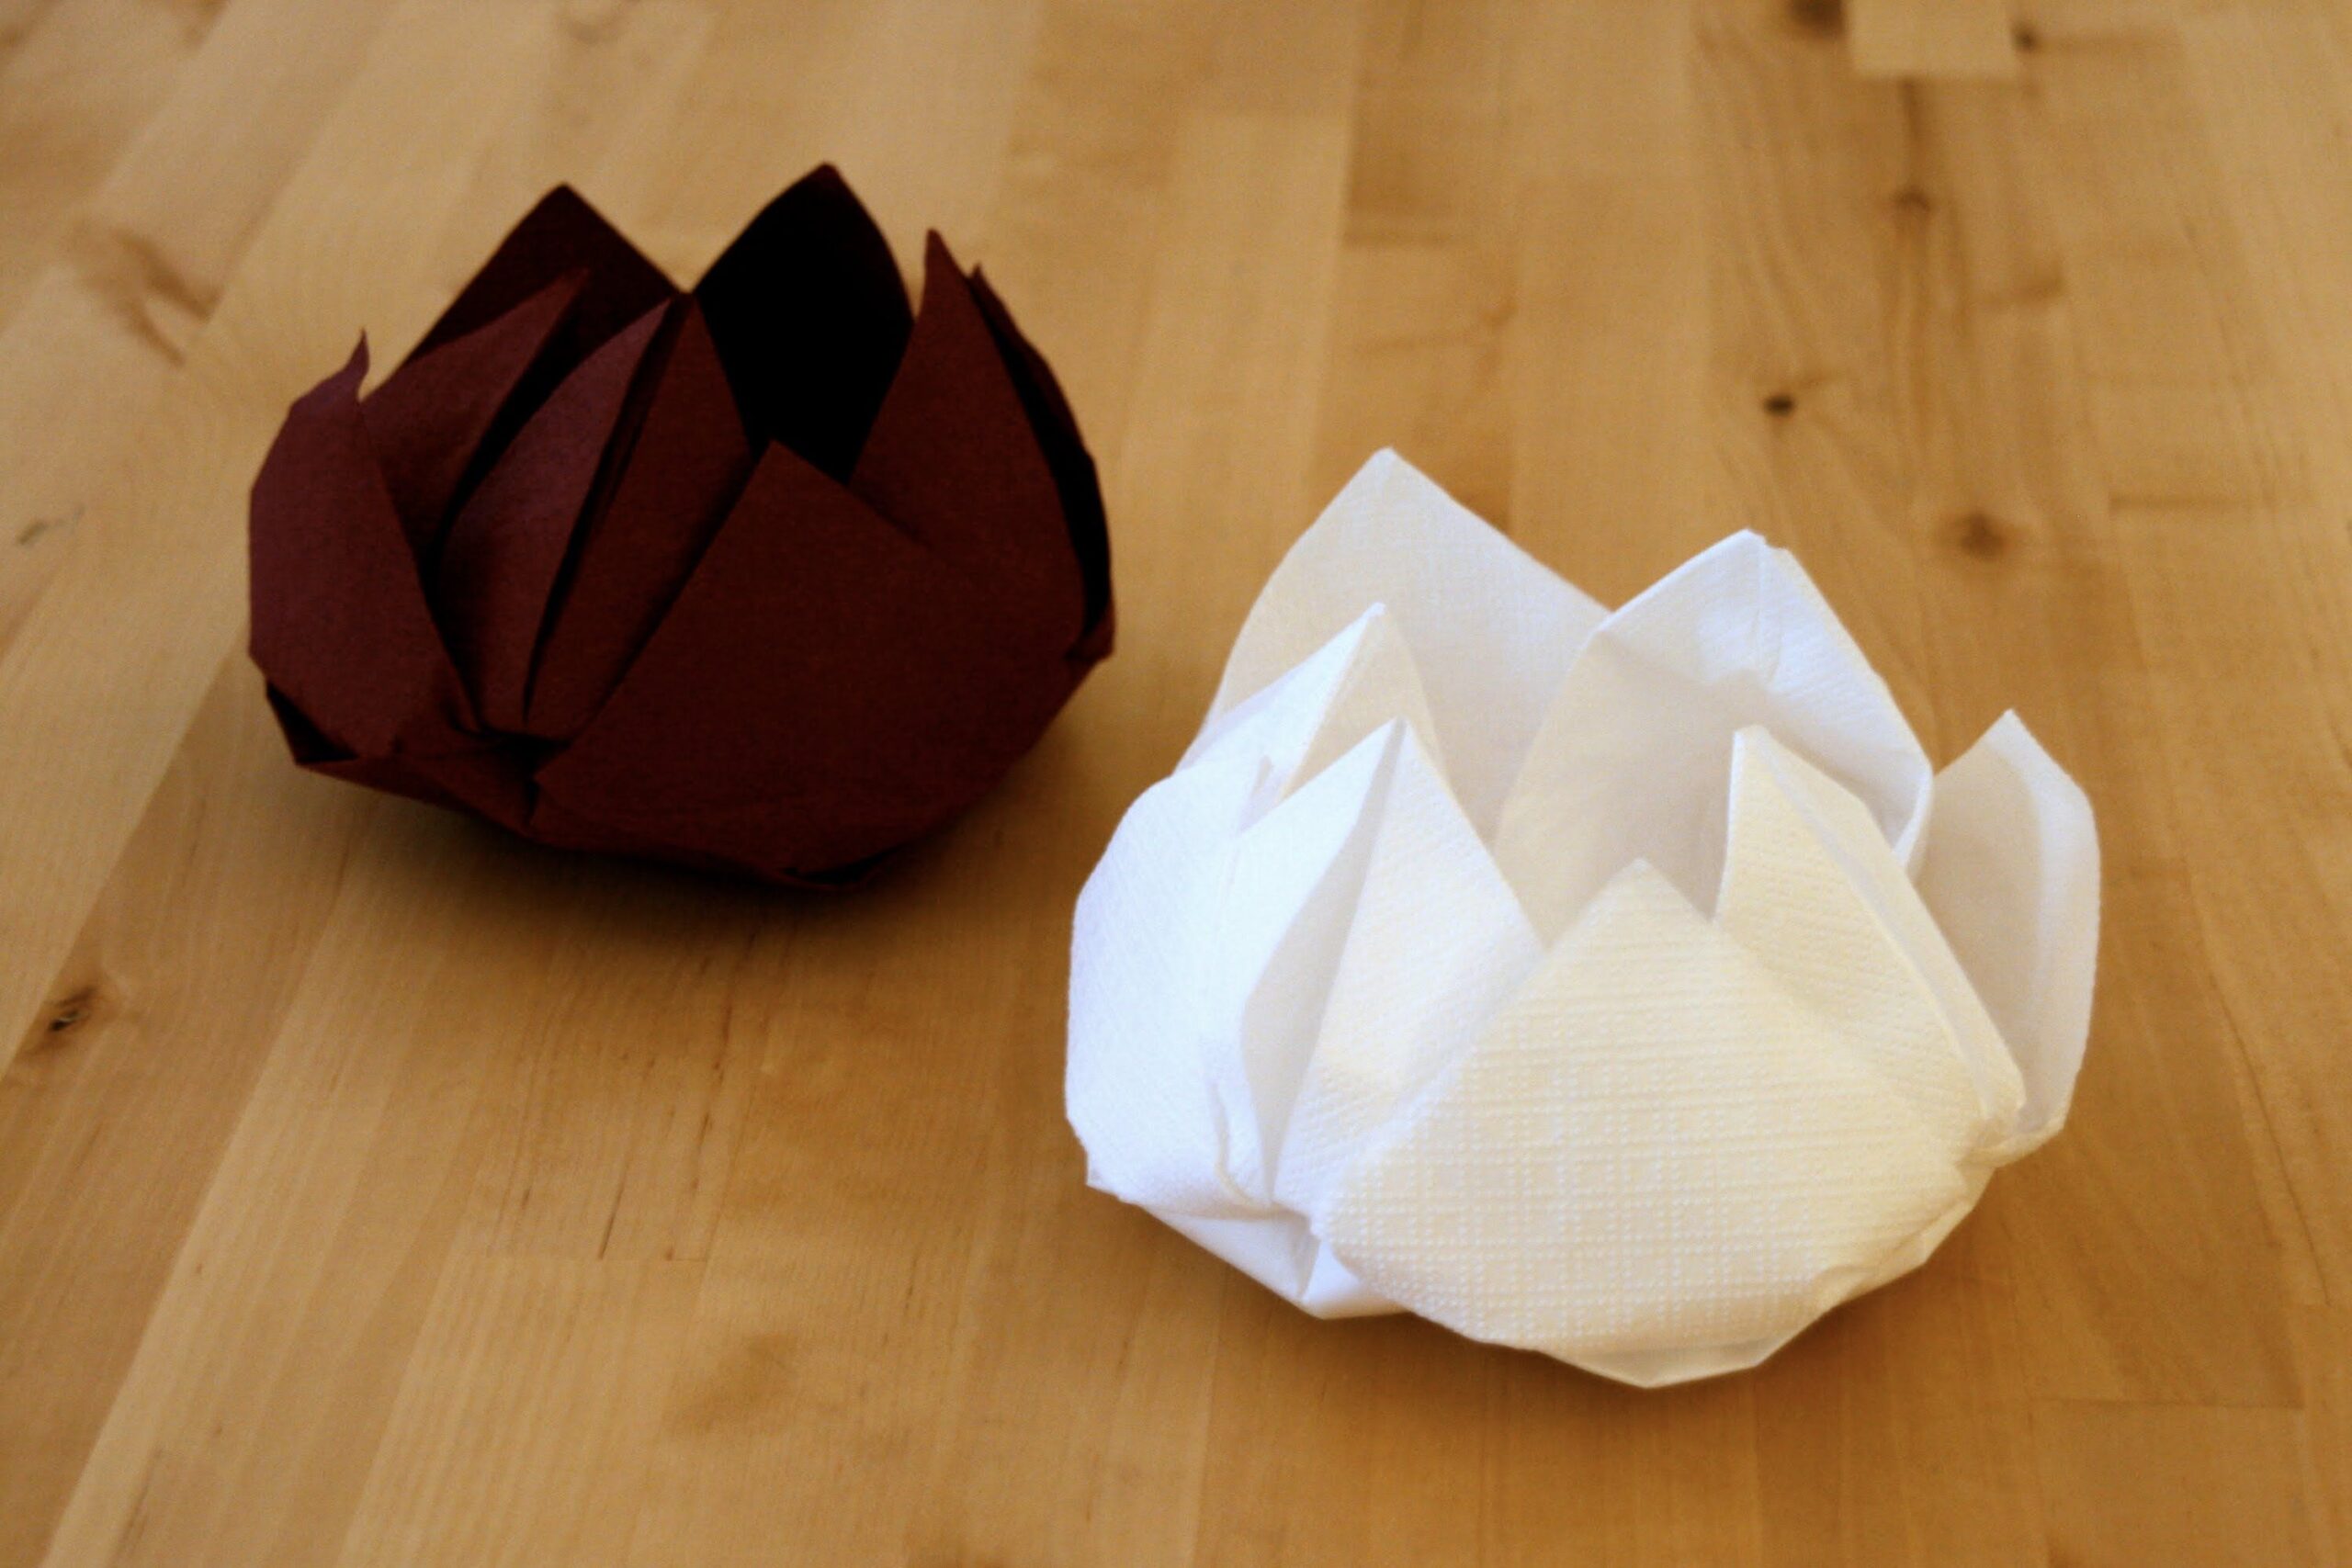
For a brilliant result, use a heavy, square, single layer material. Pay attention to the color of the matter.
The base to be used must be the same color on both sides.
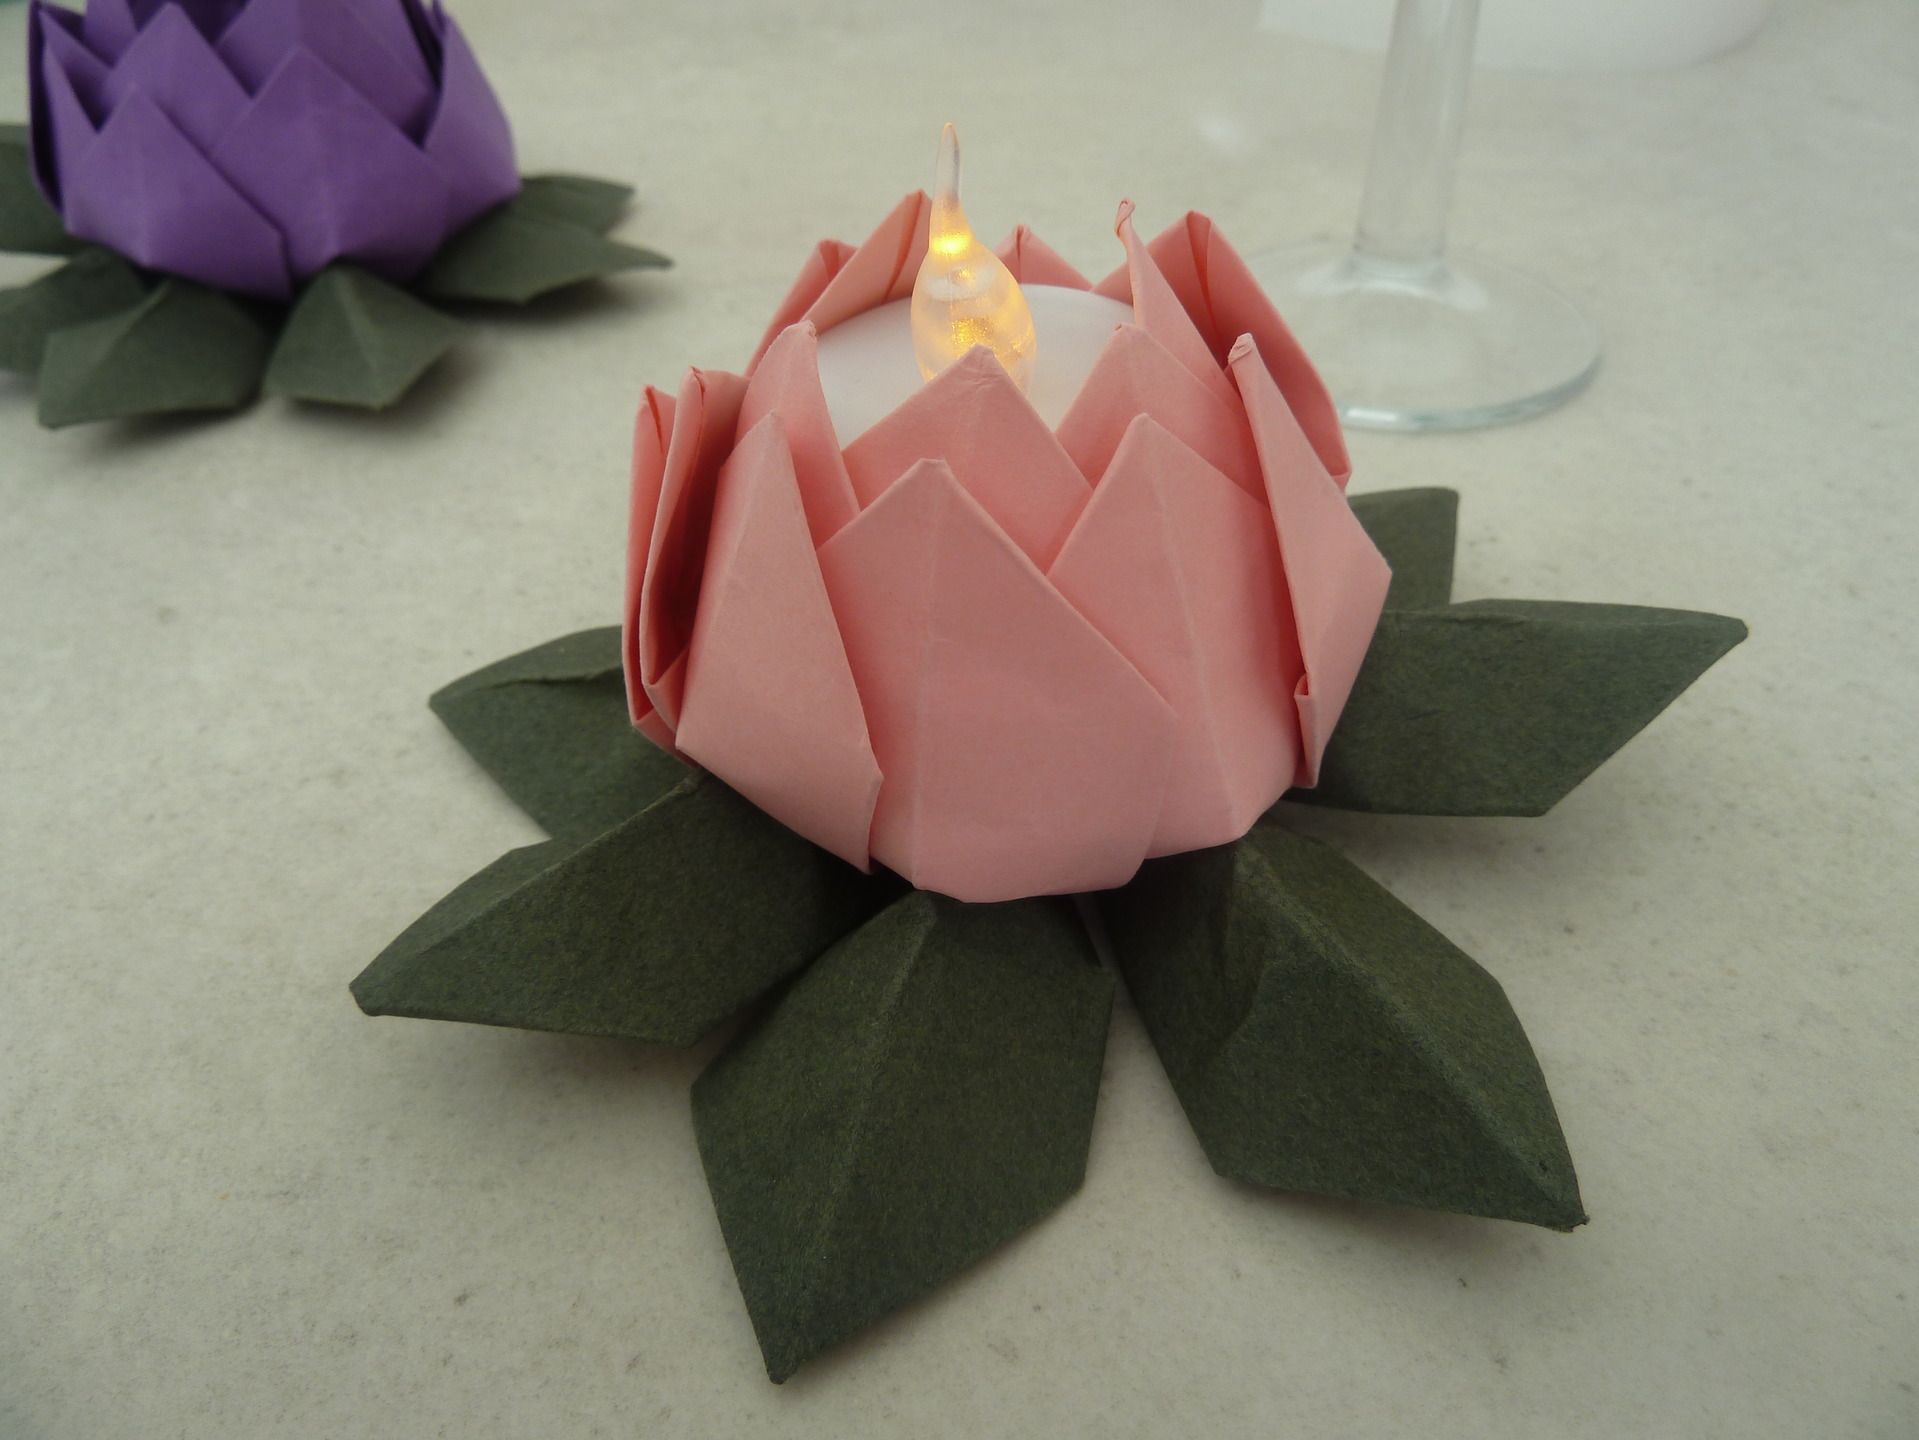
The color of the lily figurine can be monochromatic or using several colors.
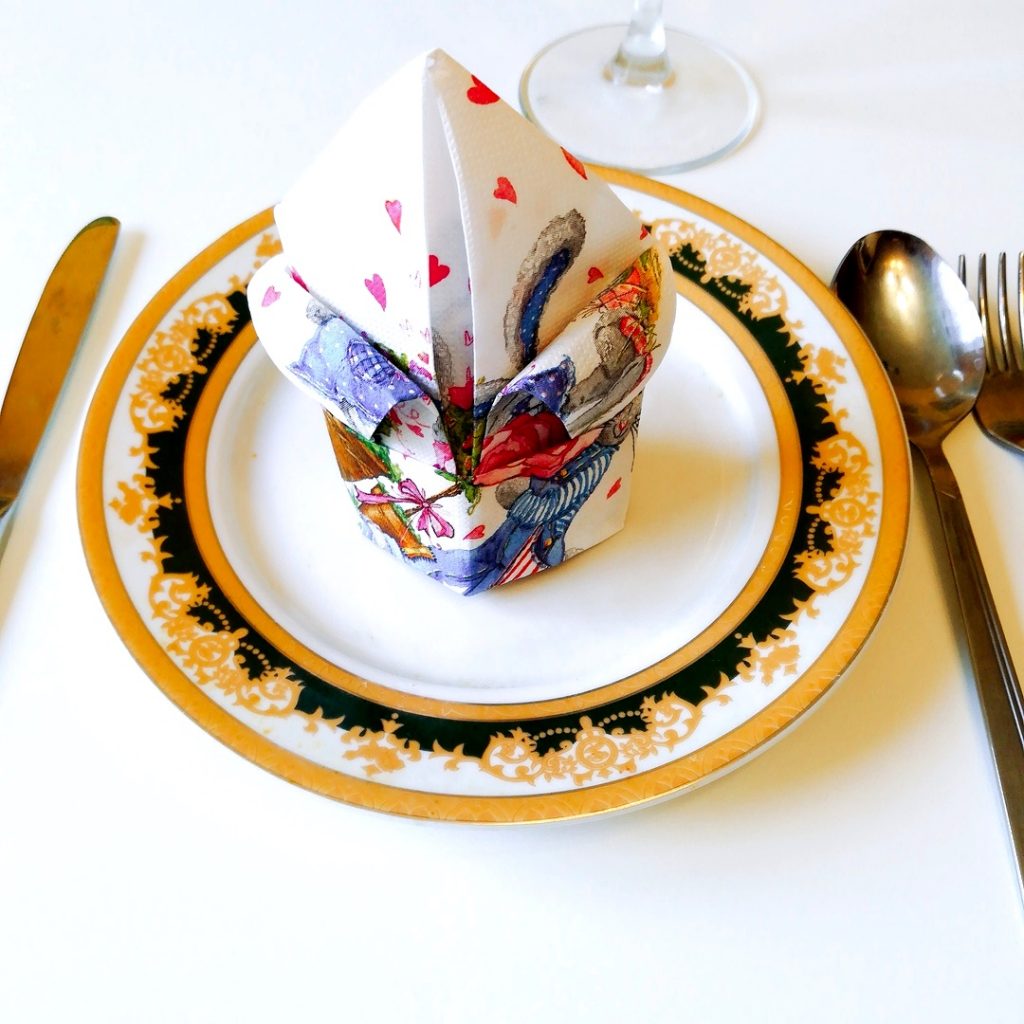
Next, you will learn how to make a lily from paper napkins with your own hands step by step.
Create a wireframe
To make a lily, you need to prepare colored blanks:
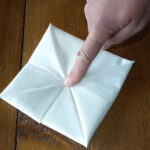
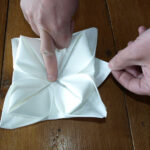
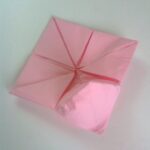
- Take a green sheet of material and fold all corners inward towards each other.
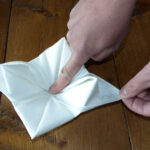
- Bend the resulting frame lengthwise, with the corners inward.
- Roll up the boat - tuck each side of the frame inward.
- Collect three more parts by analogy.
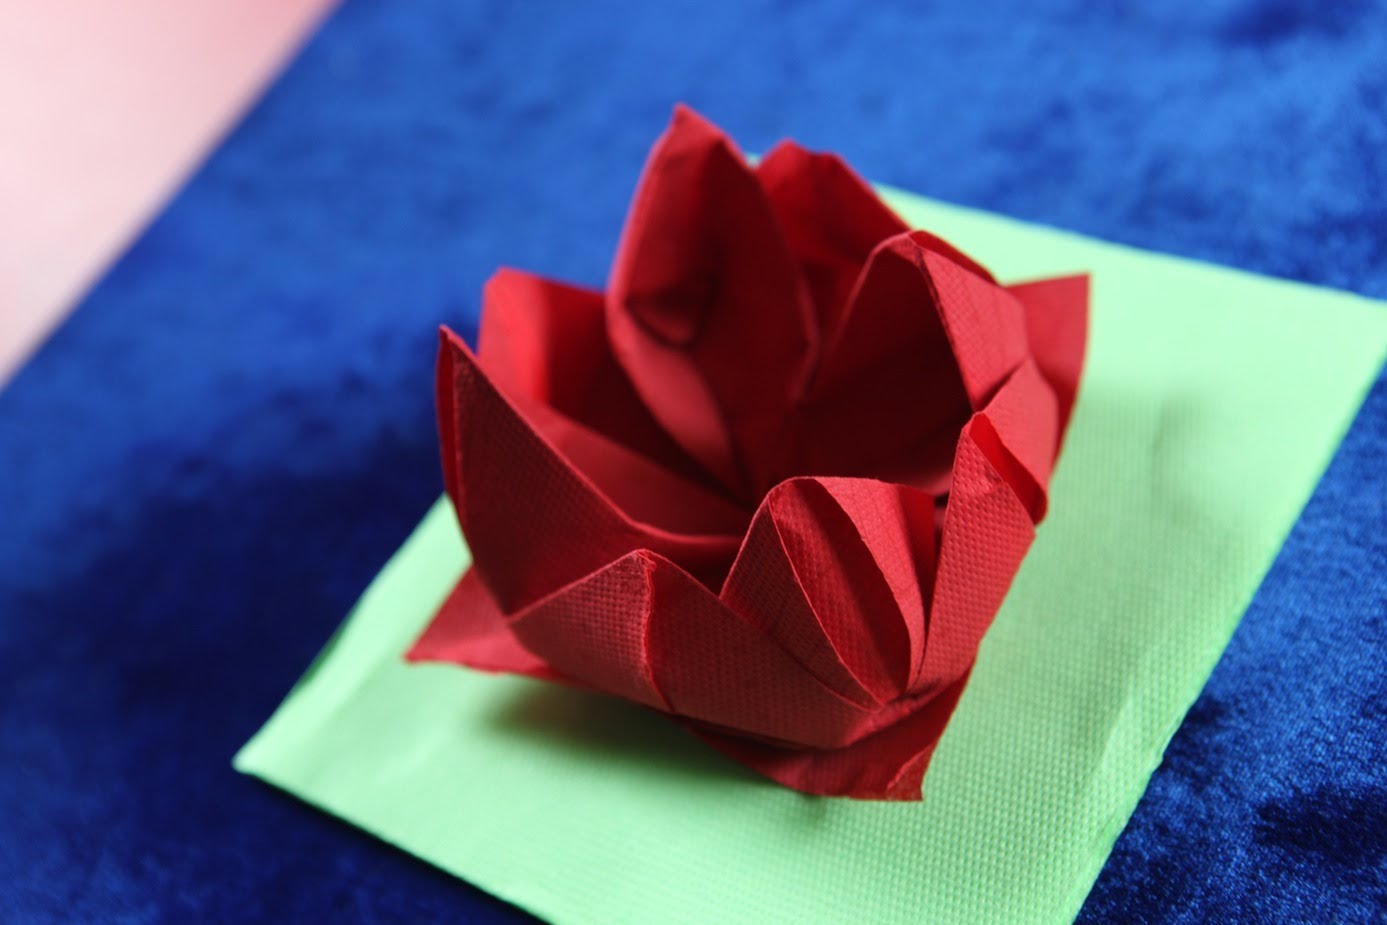
Making buds from napkins
- Take the pink and white sheets of material. Roll each into four.
- From each resulting square, fold a triangle with the folded corners towards you.
- We turn each triangle away from ourselves and bend the ears. It turns out a narrow triangle with protruding tails.
- Bend the ponytails inward. It turned out to be a petal.
- Straighten every detail for shape and volume.
As a result, you should have 16 blanks, of which 8 are pink and 8 are white.
Add greens
We return to the products that were made in the "Frame" block.
- Take the blanks - boats and put them together. Sew them in the middle or tie them up.
- Expand each sheet, and the structure as a whole. You will end up with a sun-like shape with symmetrical beams.
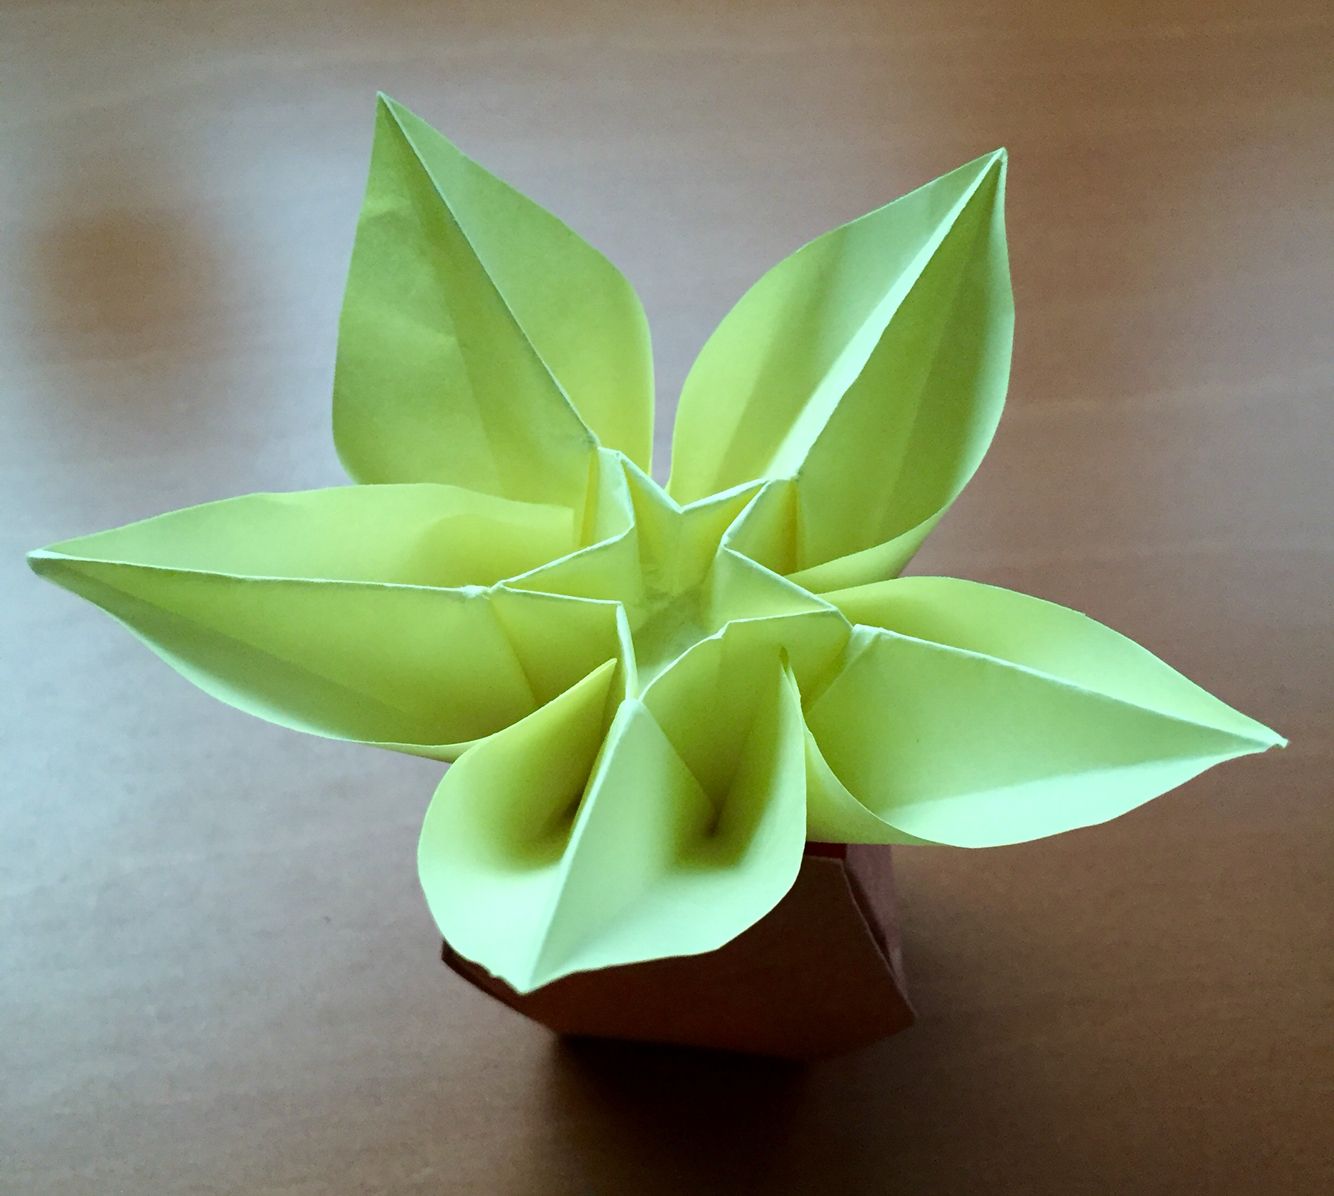
This blank will serve as a green lily.
We fasten all the parts
From the parts obtained, fold the flower. The paper figurine has two layers. Start with the first one.
- Take two petals of greenery and insert a pink bud between them.
- Connect the next seven by analogy.
- Spread out the paper buds and make sure they sit tightly on the greenery. Lift each petal up and slightly "ruffle" it. This will create the effect of a living flower.
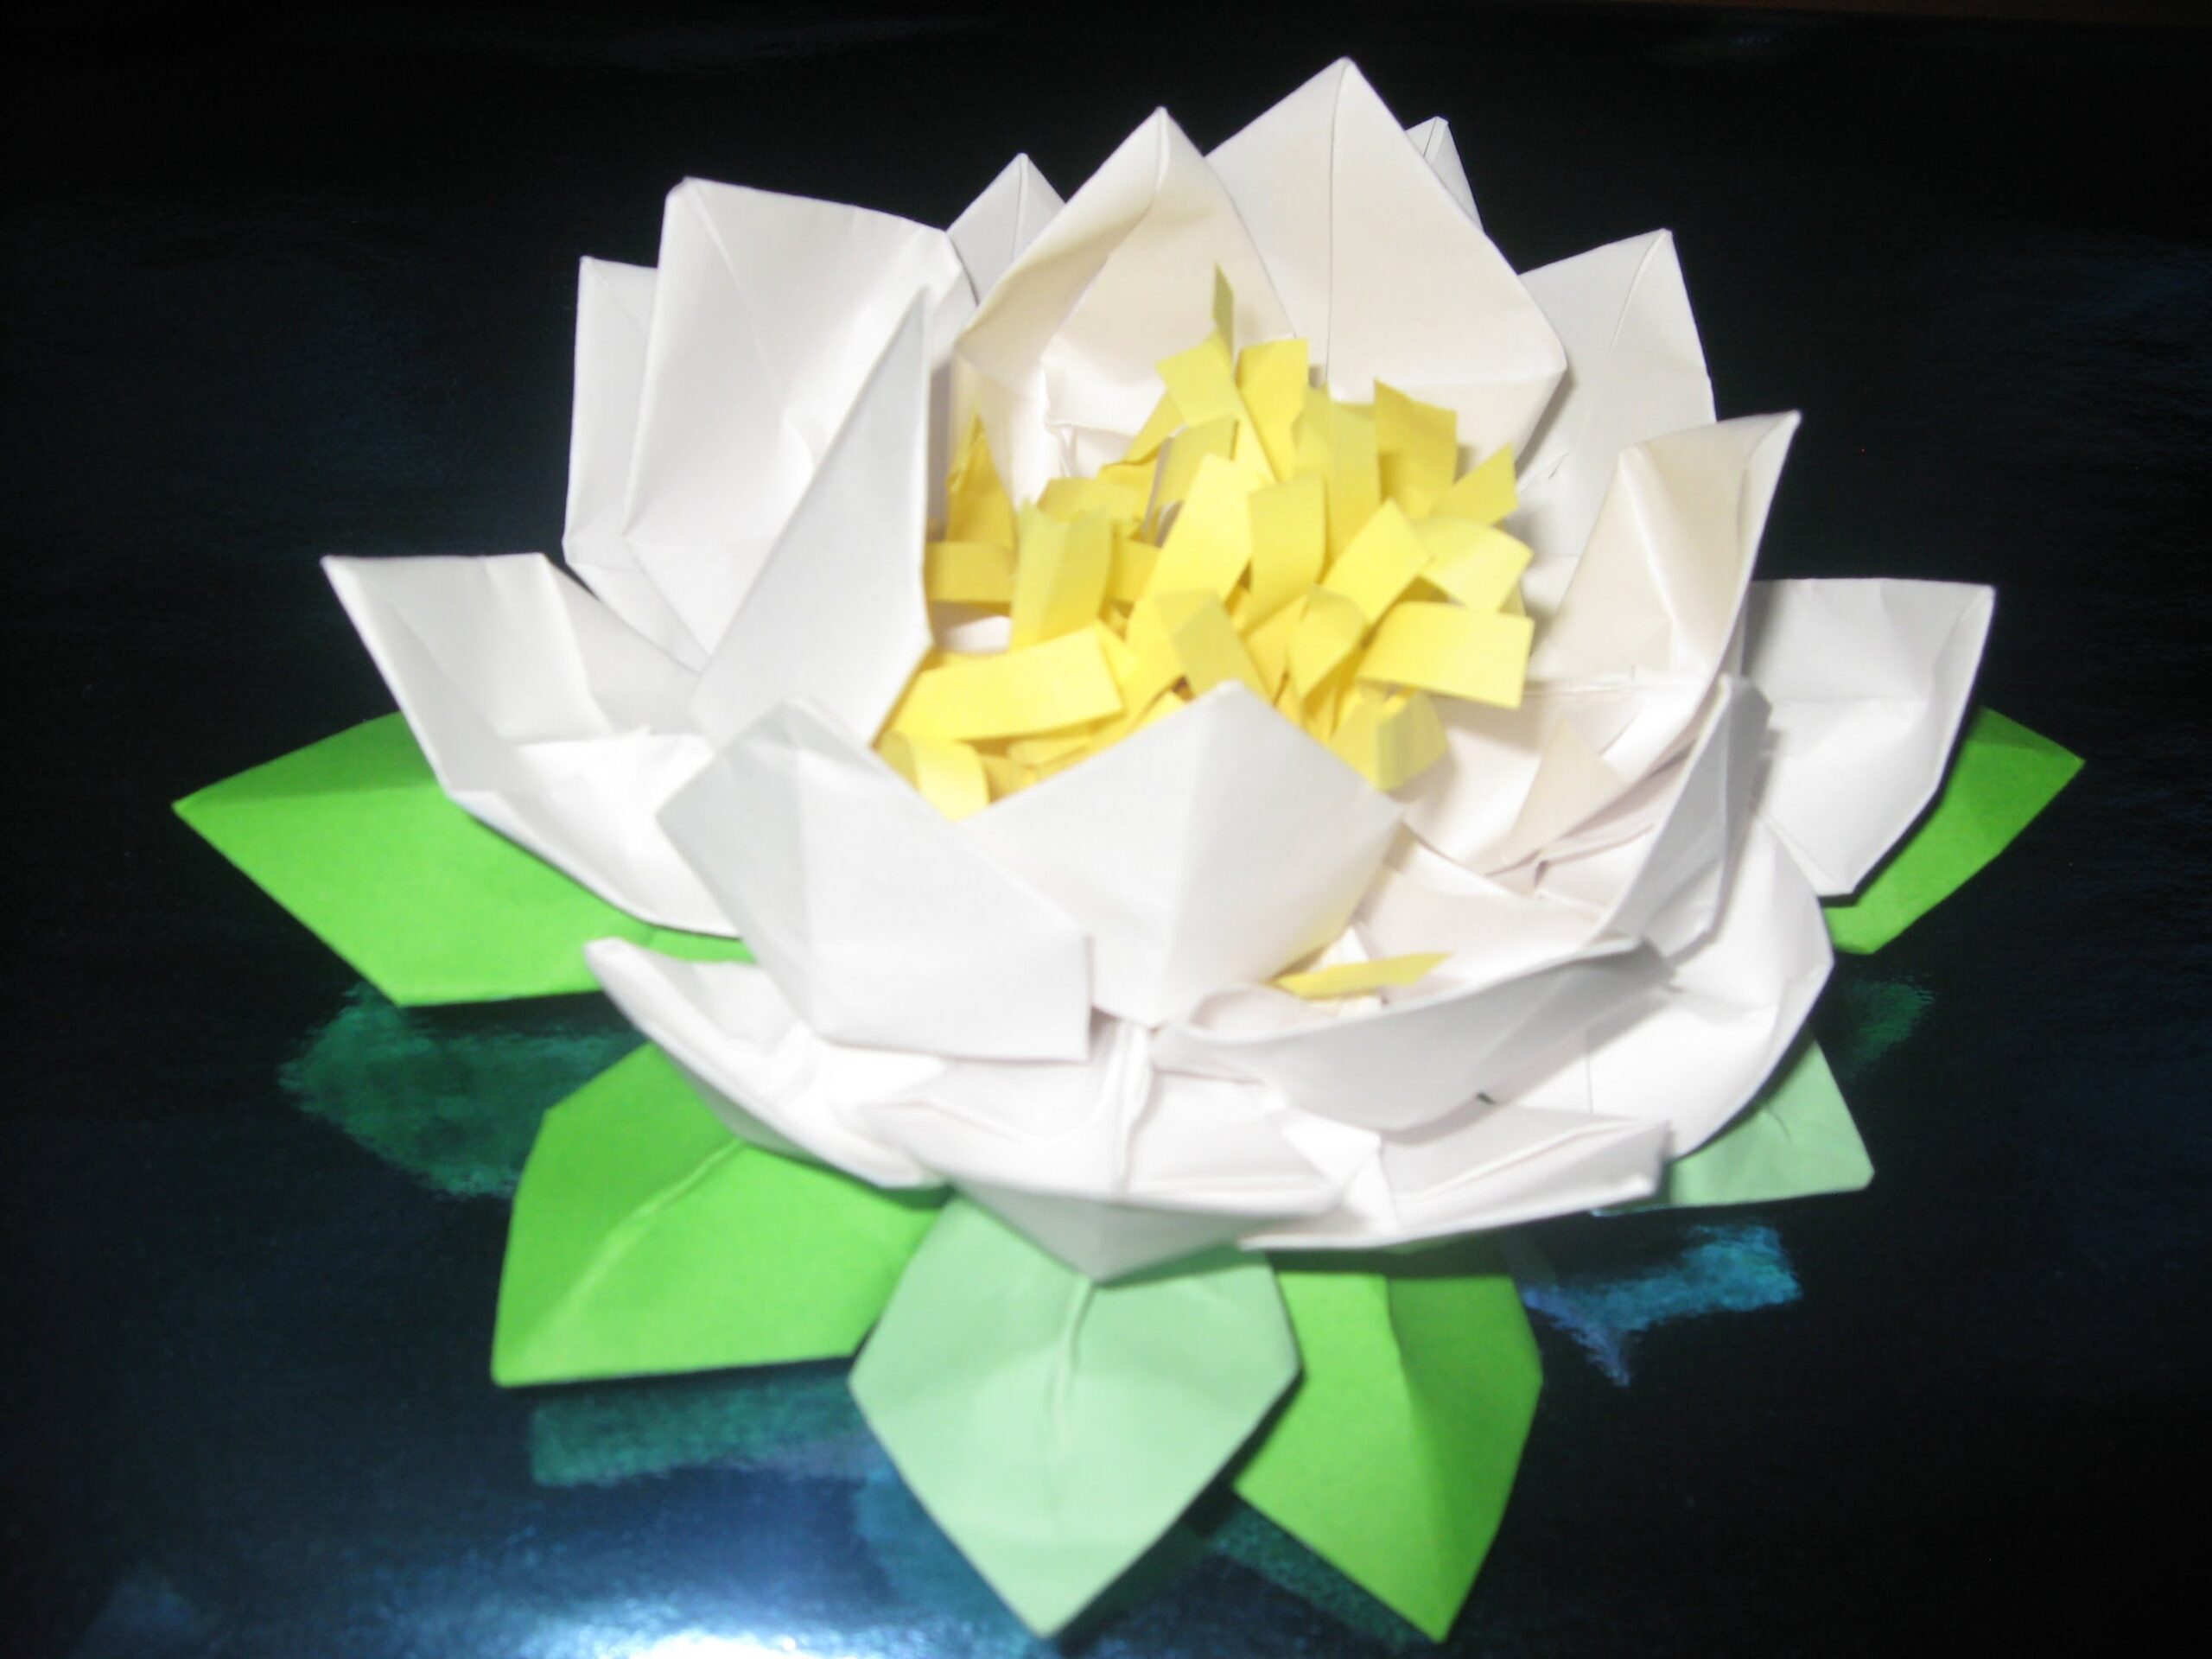
Let's move on to the second layer.
- Take a white bud and insert it between the pink petals.
- Set the next seven by analogy.
- Smooth out the craft carefully.White petals can also be lifted and patted a little. The flower will be more voluminous.
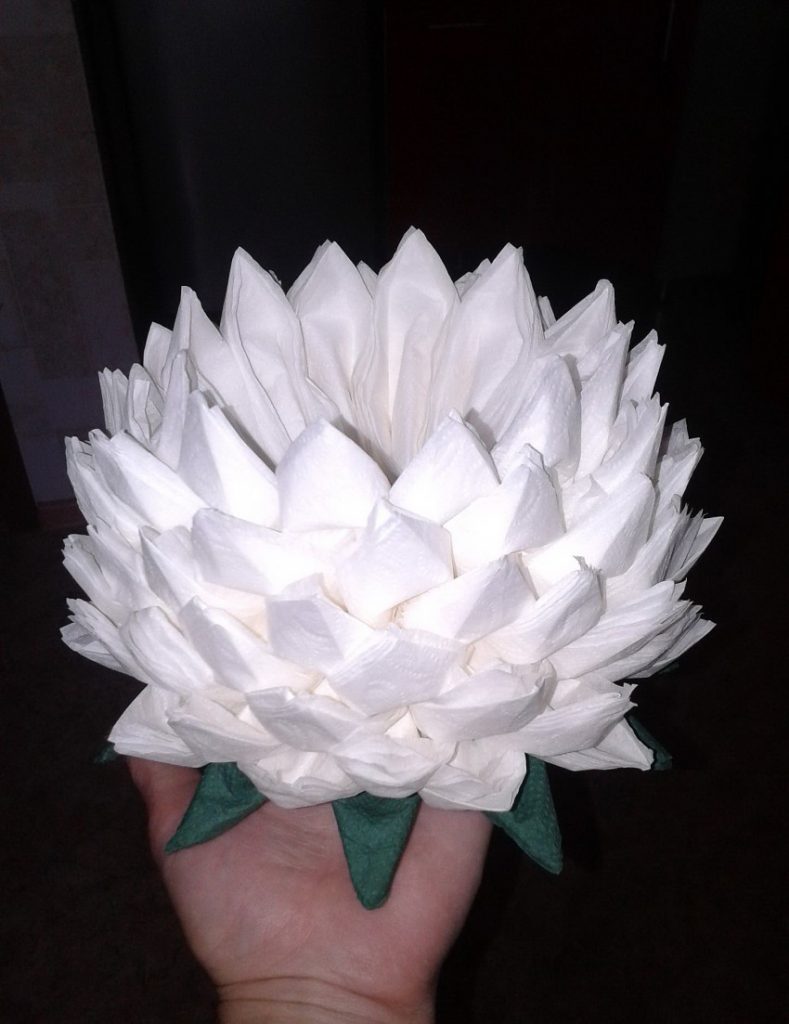
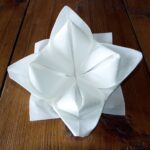
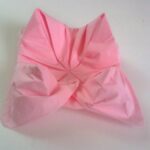
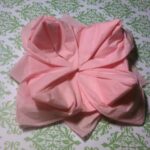
The paper napkin lily is ready!
Additional Information! To simplify the task, the greens in the product can be made in another version.
In this case, fold each leaf by analogy with a bud. Connect the resulting parts with a thread and a needle at the wide end. It is necessary to tighten the parts tightly without leaving gaps. You will get an impromptu stand to which the product will be attached. Straighten each petal to make it look like greenery. The buds are attached to the foliage by analogy with the first option for making a flower.
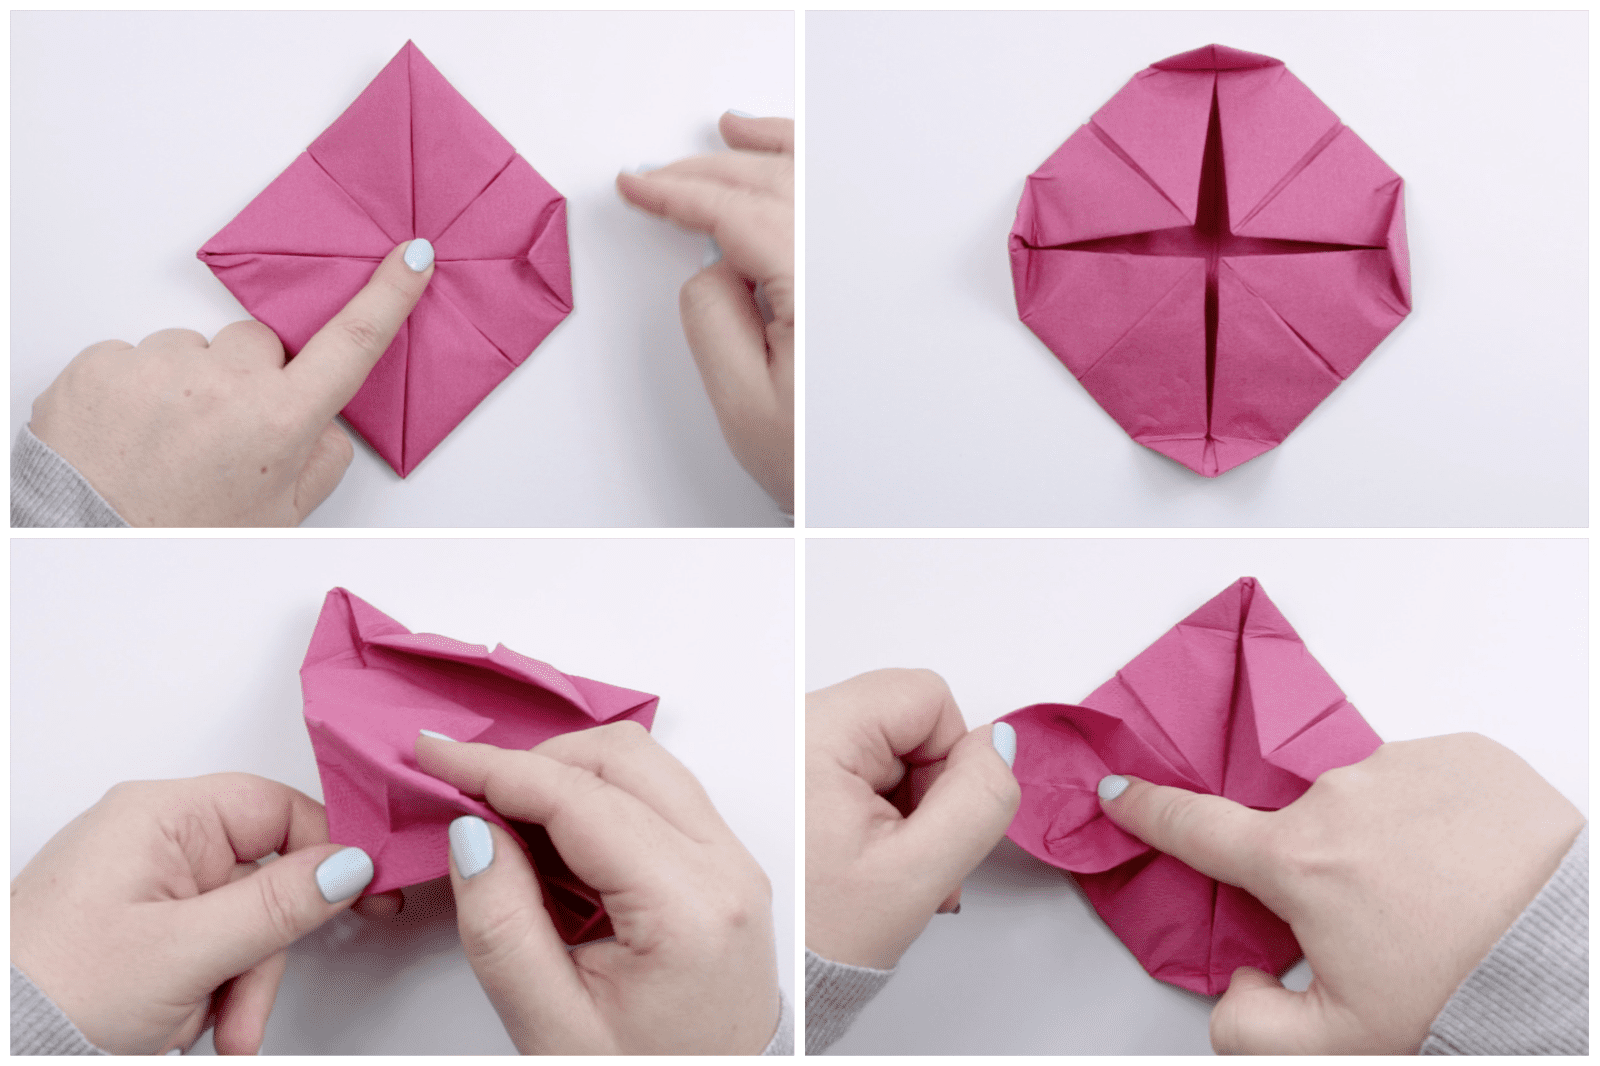
Attention! It is not necessary to limit yourself to a two-layer flower. The number of rows of petals is not limited. The more layers, the more lush the craft will come out.
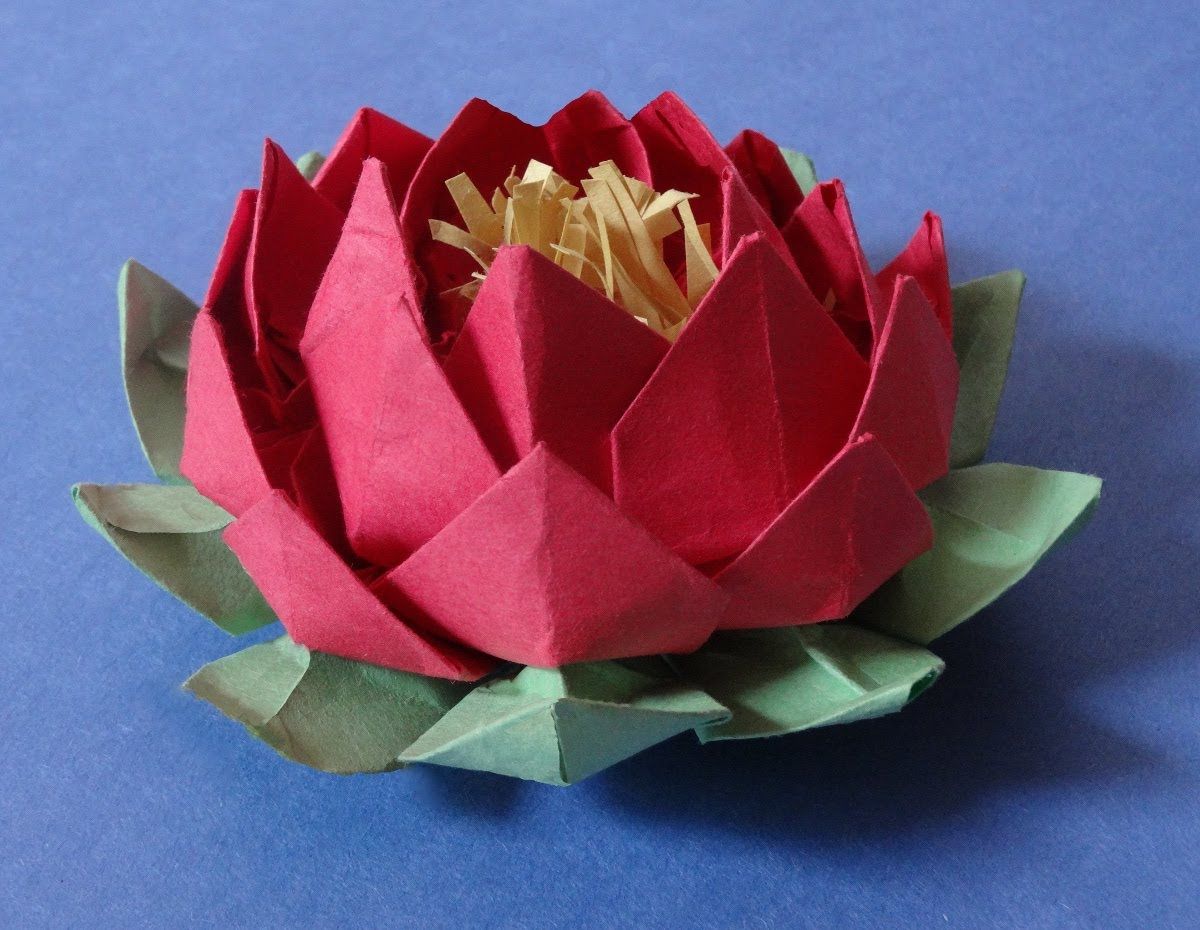
Let your imagination run wild. You can use petals of several colors. Moreover, it is not at all necessary to make the entire layer of the same color. Apply a variety of colors and the origami figurine will sparkle with new colors.
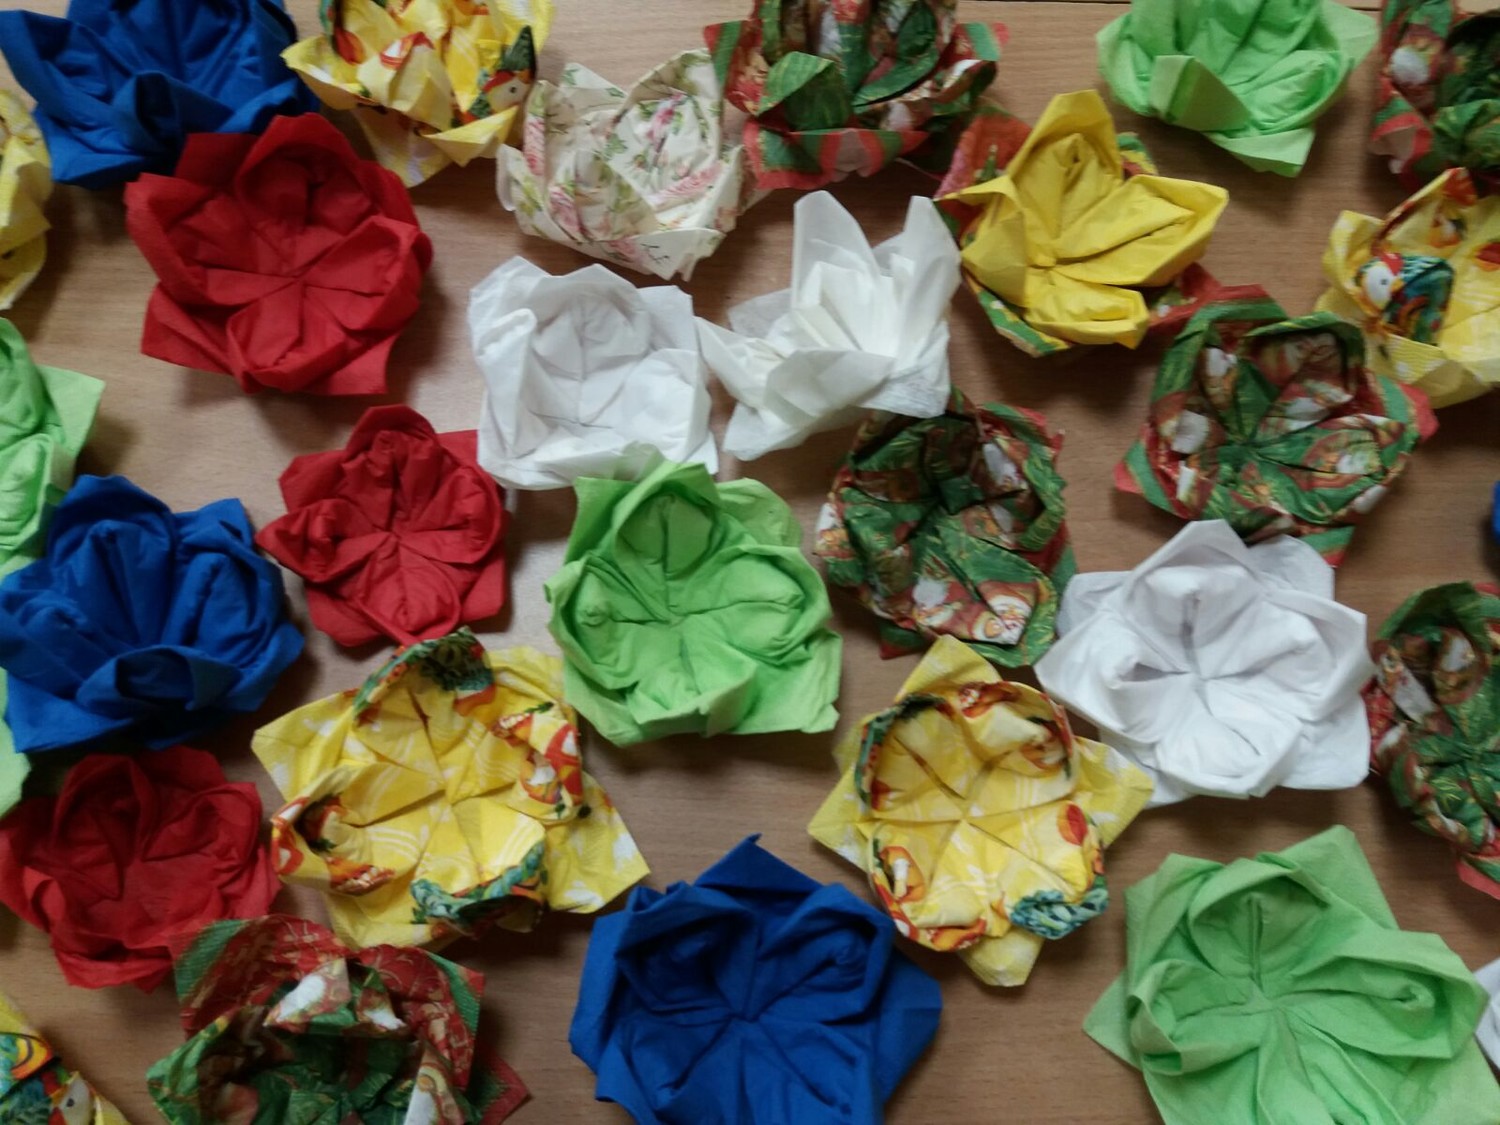
Using your imagination, you can diversify your home and give it a zest. In addition to decorating your home, origami serves as a great way to relax and become one with yourself.
Video: how to fold a lily-shaped napkin
