Dandelions from napkins
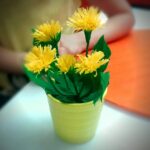
Making dandelions from napkins with your own hands will be an interesting activity for both children and adults. They can be donated to someone or used in interior design and festive events.

If the child is less than 5 years old, then in his work he will need thorough help from parents or other adults. In the process of creating a composition, children develop fine motor skills and imagination.
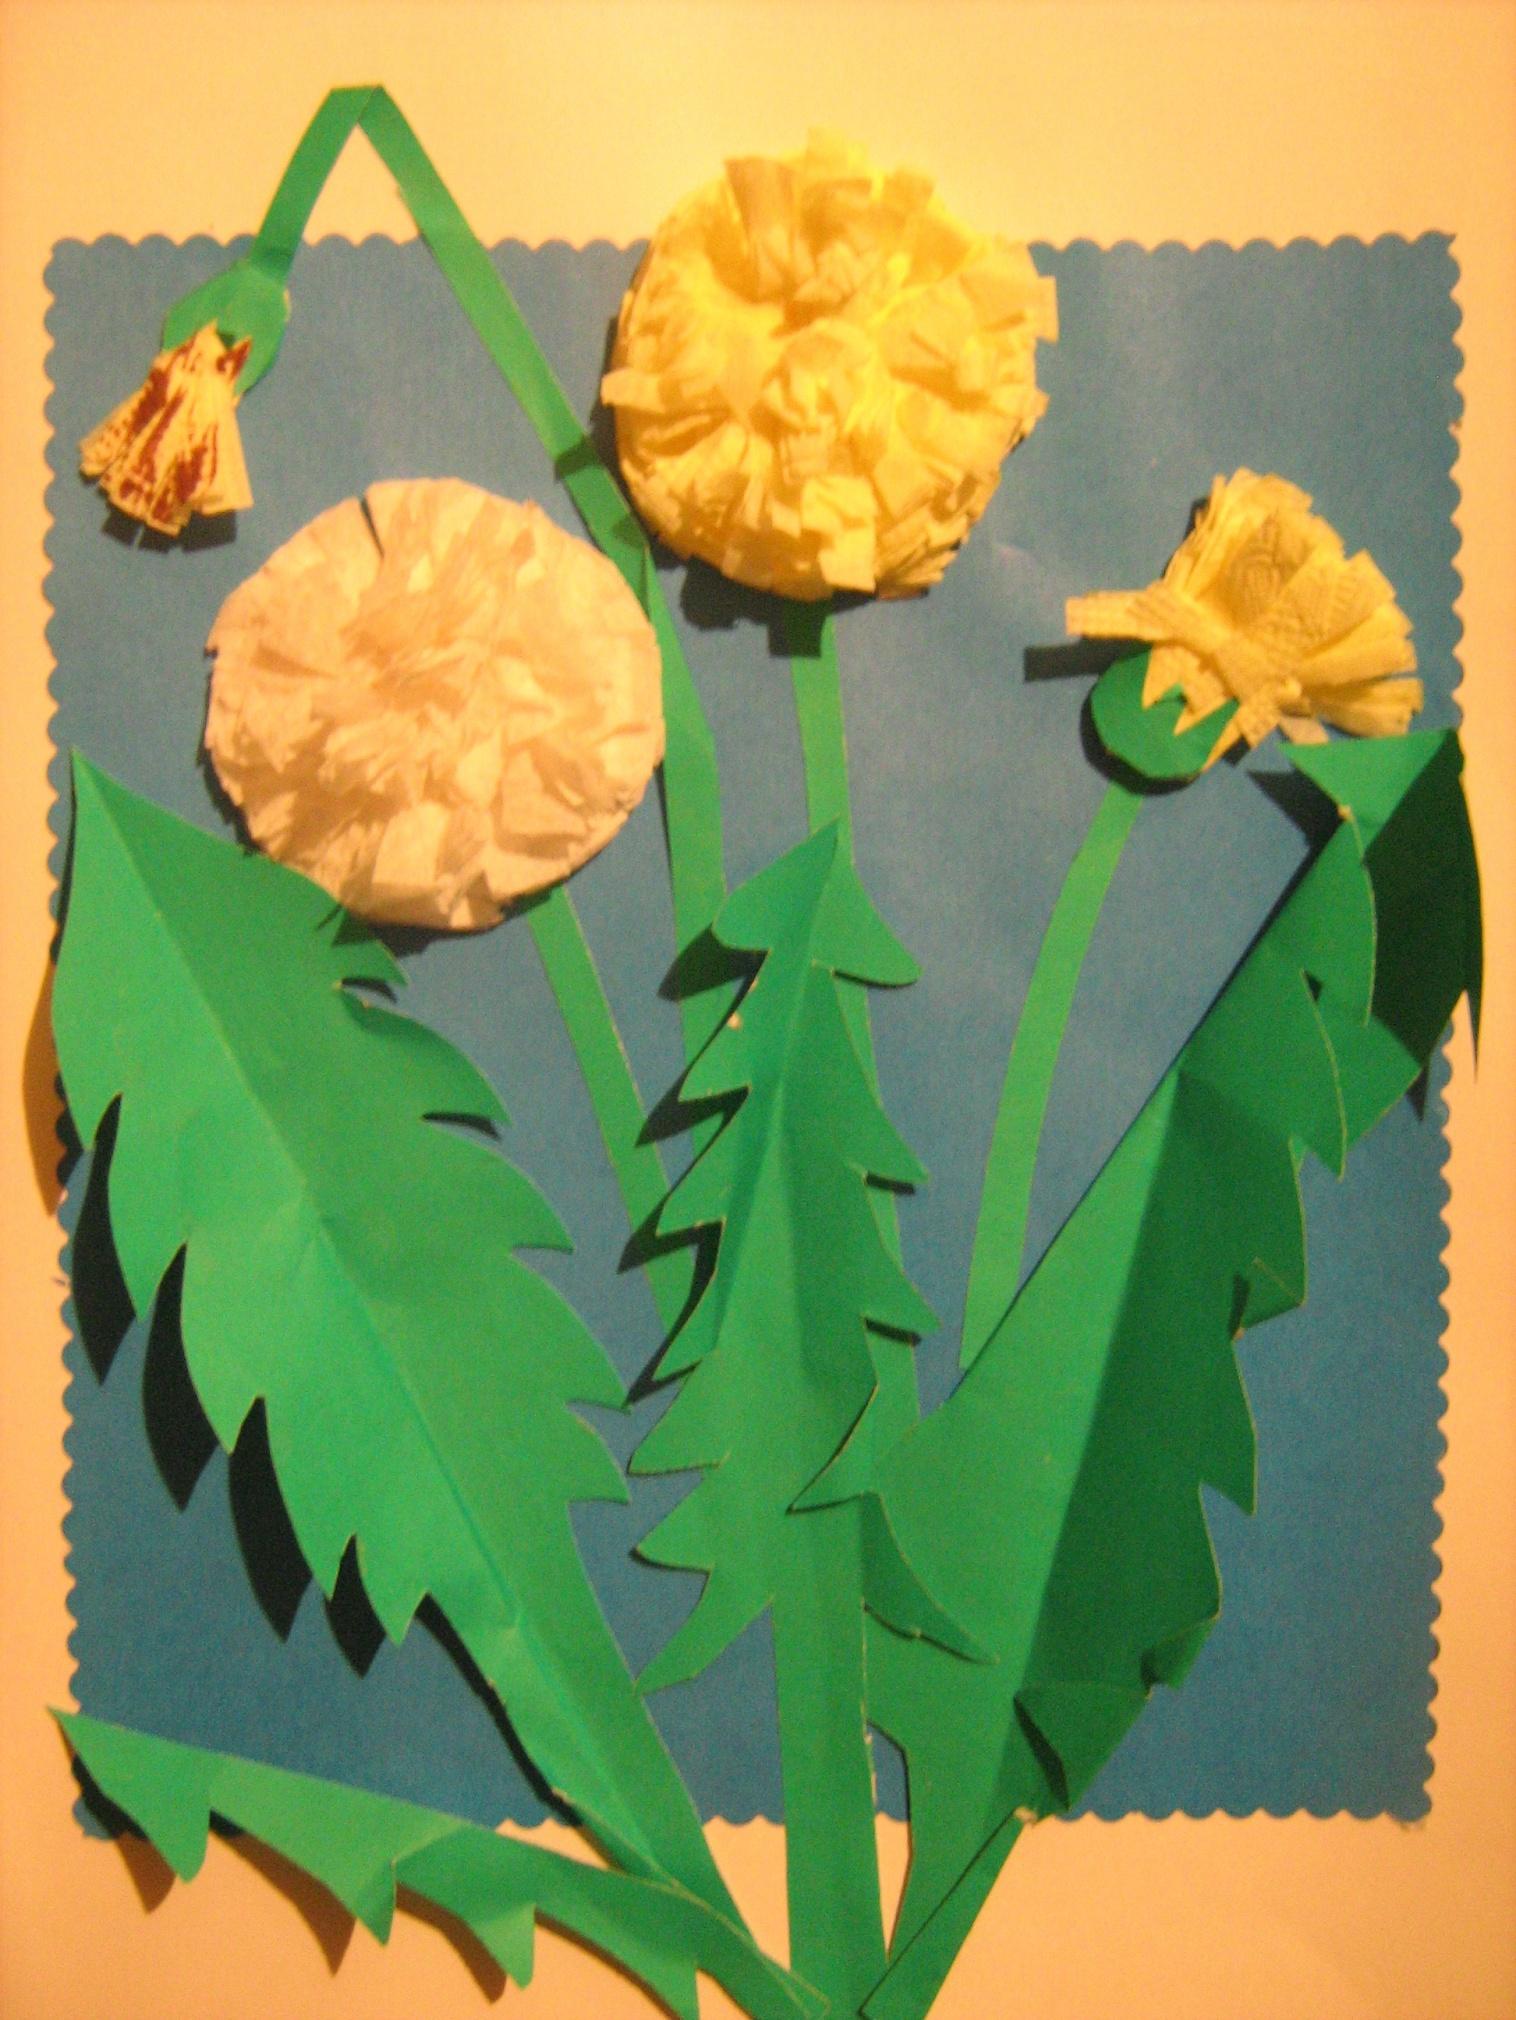
What you need to make dandelions from napkins
To make a three-dimensional picture, the following basic materials are required:
- scissors;
- glue of dense texture;
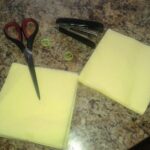
- yellow paper napkins (you can take white);
- stapler;
- thick cardboard for blanks or pre-printed flower leaves;
- simple pencil;
- green colored paper;
- any cardboard for the background of the applique (except for yellow, green colors).
Note! It is most convenient to use a glue stick to create a composition, it does not flow and dries quickly.
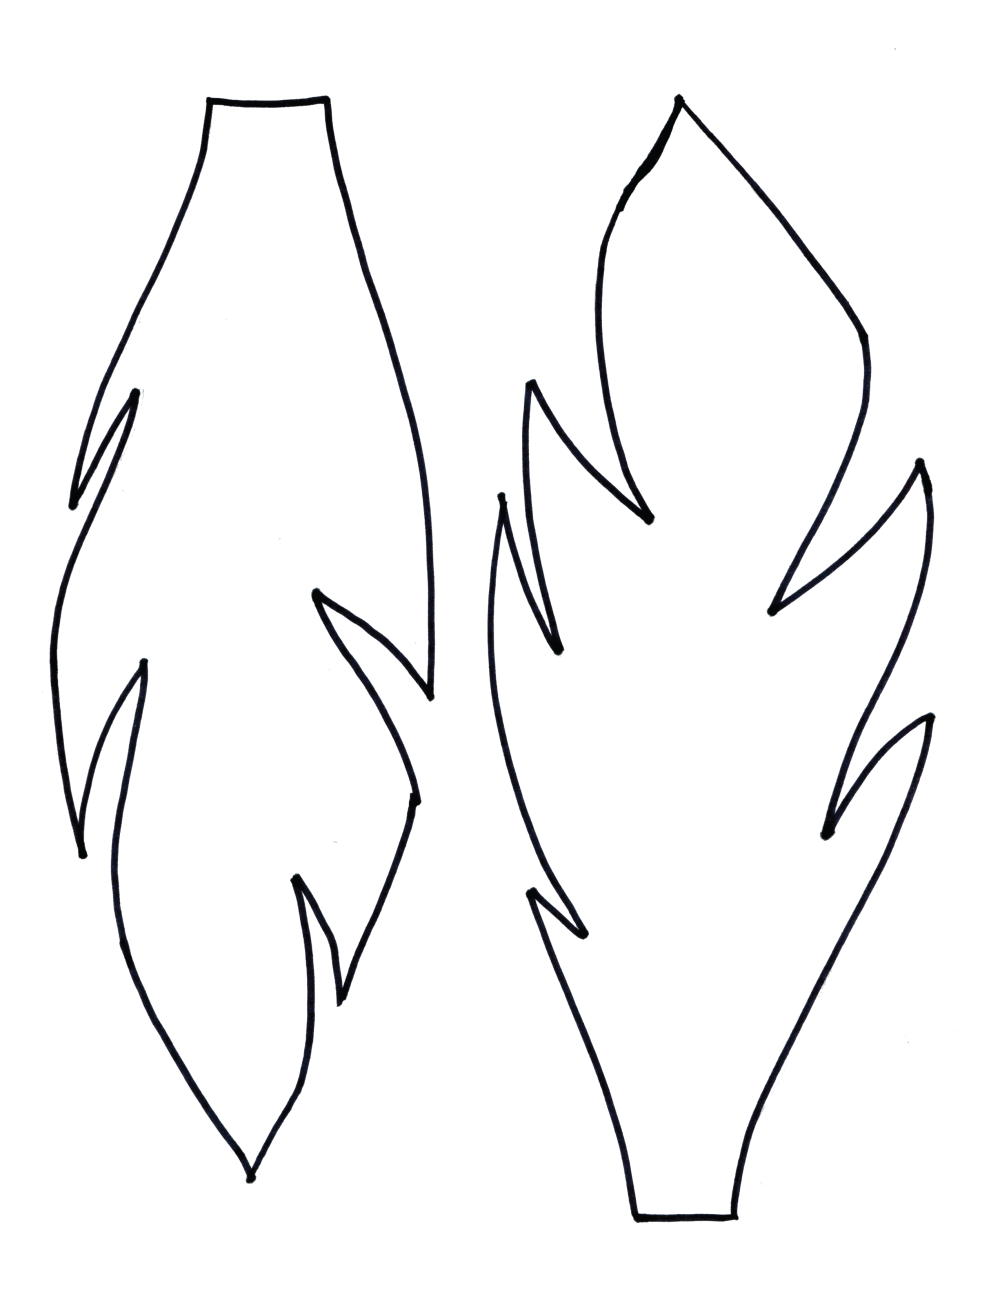
Dandelion scheme and drawings with dimensions
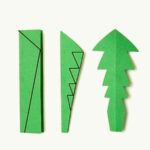
Before you start creating crafts, you need to make stencils or print ready-made dandelion leaves using a laser printer. There are many template options to choose from on the internet.
It is best to make blanks of leaves of two sizes: 13 and 7 cm in length. This will help give the appliqué a more realistic look.
If you choose already drawn leaves, then you need to print them on a printer in advance.
When the application is done in a kindergarten or school, the teacher can prepare several templates for convenience. In the lesson, the teacher will distribute stencils to the children so that they can circle it on green paper and cut leaves out of it.
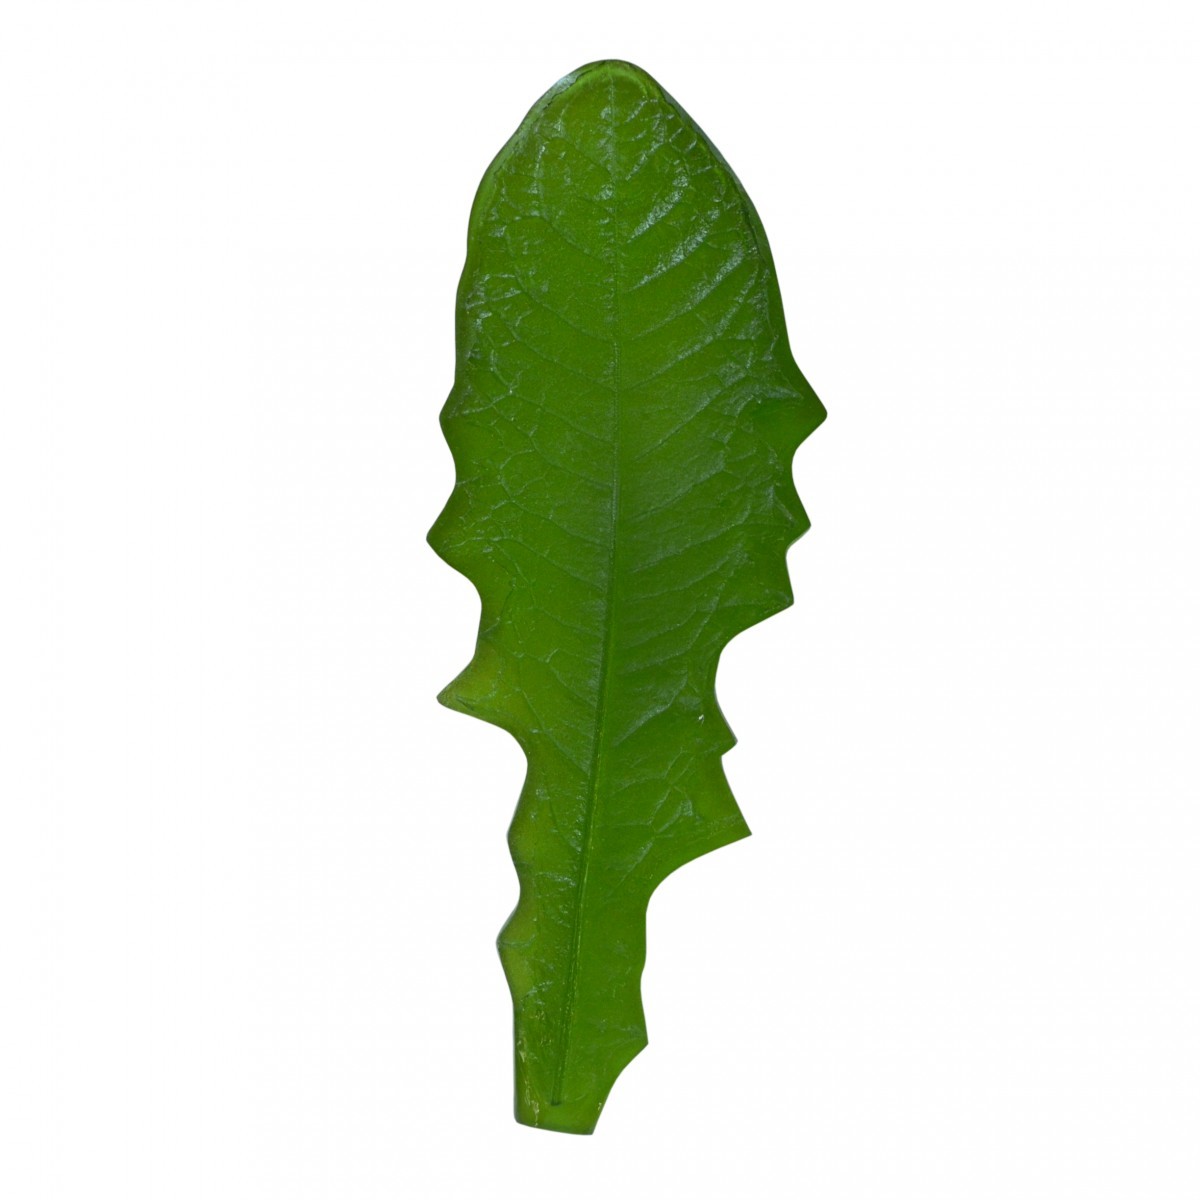
Note! In the summertime, you can use a real plucked leaf as a stencil. If the work is done in kindergarten or school, then you should ask the children to collect one plant at a time while walking.
How to make napkin dandelions step by step
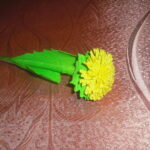
Creating a craft in the form of a bud is quite simple if you follow the instructions below:
- Print on a printer or cut out stencils of leaves of two sizes from thick cardboard.
- Attach them to the green paper from the inside, trace along the contour with a simple pencil. If the sheets were pre-printed on a printer, then you need to skip this step and go directly to the next step.
- Carefully cut two small and three large leaves and set them aside.
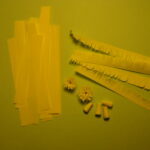
- Make the stems of the plant. As a result, you should get 3 identical strips, the length of which is 15 cm and the width is 4 mm.
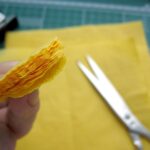
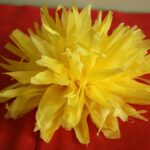
- In order to prepare the buds of the plant themselves, you need a yellow napkin of a standard size. It should be folded four times. Instead of a colored material, you can use white, then you get already "ripe" buds. In addition, the applique made of multi-colored paper looks beautiful. For children's crafts, three buds will be enough.
- Staple the layers of each resulting part with a stapler. For a better connection, it must be used 2 times so that the staples are crosswise.
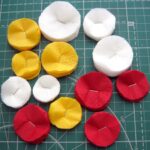
- Using scissors, carefully turn the square shape of the resulting figure into a round one.
- Make frequent neat cuts along the edge of the workpiece, the length of which is approximately 3-5 mm.
- The top layer of the circle should be gradually lifted and collected in the center.
- Sequentially raise the rest of the future flower to give it a volumetric shape.
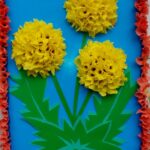
- Lay out the entire composition on a sheet of cardboard. It is worth starting with pre-prepared stems.
- Lay out the flowers.
- Add the leaves and glue everything well to the cardboard.
- If you wish, you can decorate the applique with rhinestones or beads.
- To give the work a more finished and solid look, you can make a bright frame of contrasting paper.
- It takes about 30 minutes to create such an applique.
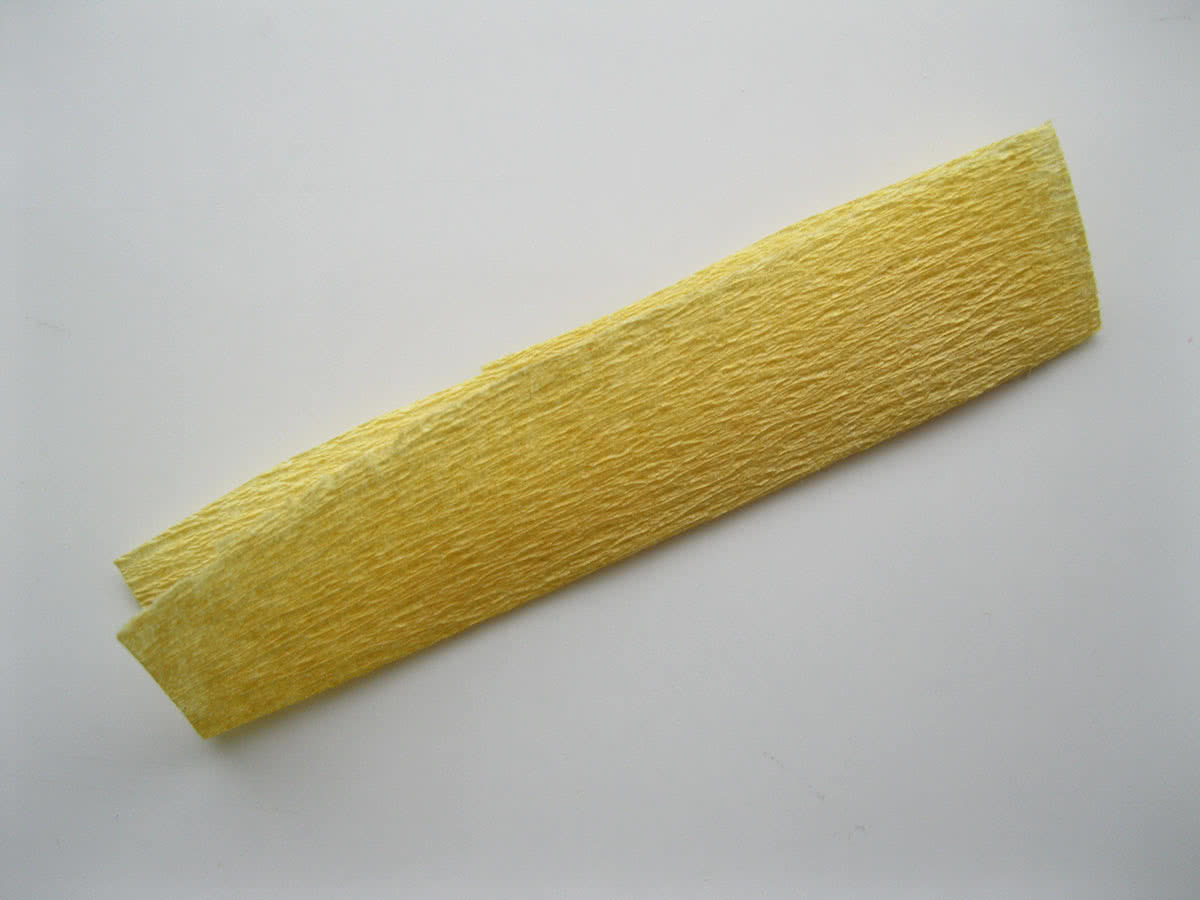
Note! As the main material for creating the composition, you can use soft corrugated paper.
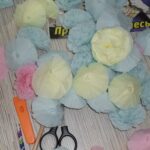
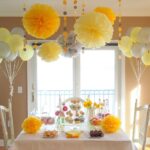
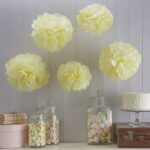
Flowers can be used not only for making children's crafts, but also become an excellent decoration for a festive table or can dilute a wedding decor.
It is possible to create large flowers, using not standard materials, but corrugated paper of the required size.
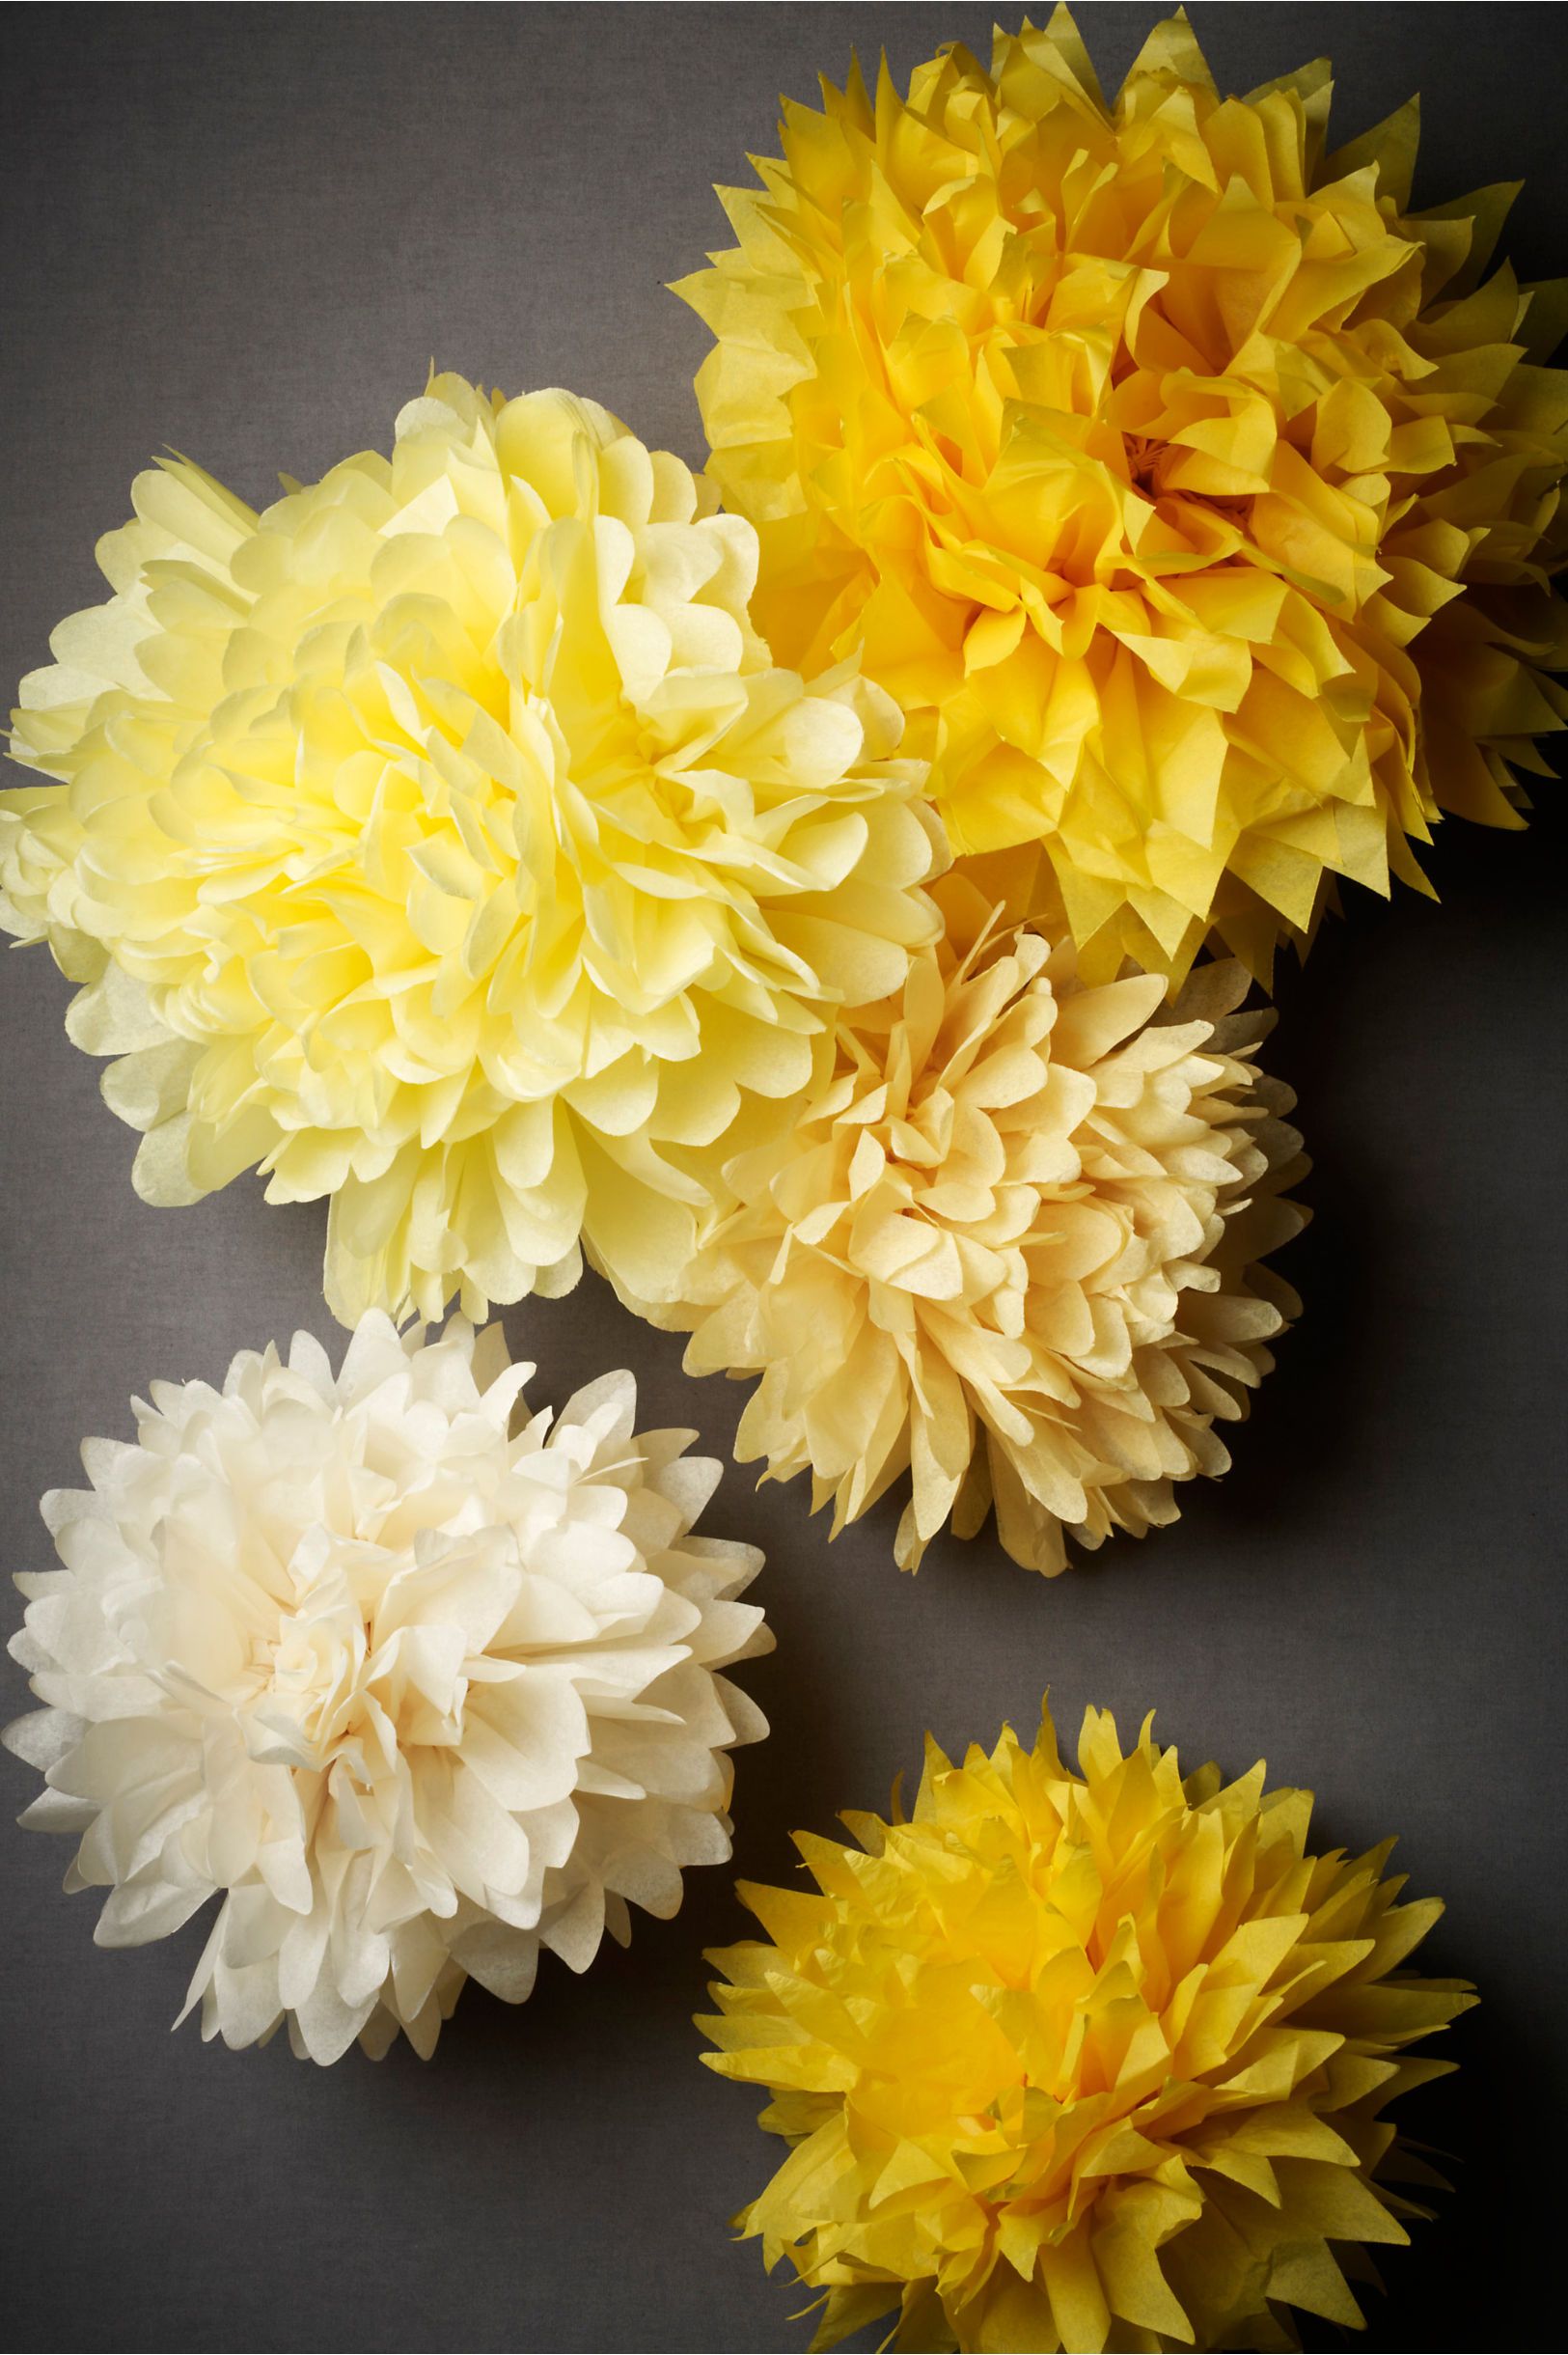
Note! To make the flower more lush, you should additionally connect 2 more paper bases together.

In conclusion, I would like to add that making bright dandelions from napkins is not difficult at all, it will not take much time. On the Internet, you can find many other stencils for making them, or turn on your imagination, make unique flowers according to your own scheme.
Video: do-it-yourself dandelion from napkins
