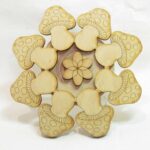
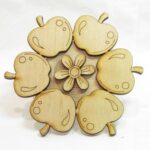
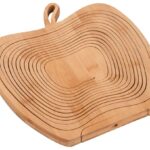
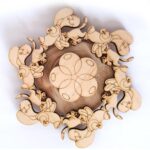
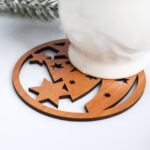
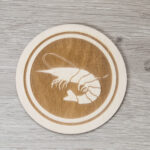
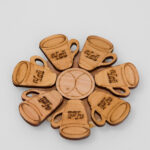
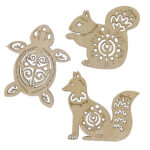
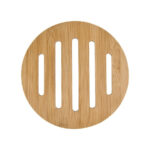
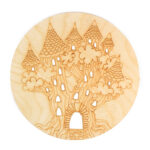
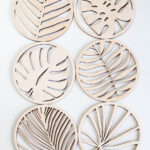
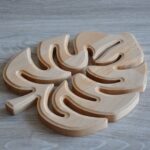
Plywood hot stand
A lot of people, seeing a hot stand in a store, understand that it is necessary, but sometimes they do not want to buy this product because of its cost. Is it possible to make a do-it-yourself hot stand out of plywood? How difficult this process is, you can find out from this article.

Why do you need a hot stand
When hot tea is brewed and a mug with this drink is placed on the table, many people notice traces that remain after that. They are difficult to remove, sometimes almost impossible. This problem is especially relevant when an oilcloth of small thickness, susceptible to high temperatures, is spread on the surface. Putting a cup of hot tea on a special surface is much more practical than buying a new film on the table. In this case, plywood stands are the best option.

Preparing plywood for the stand
The plywood material is very easy to process. It can be brought into the desired appearance by several options: hand tools or electrical equipment. Before processing, it is worth considering the fact that this material has glue in its structure that glues several sheets of veneer together. It has a bad effect on the properties of the cutting tool, it can dull it. Therefore, you need to choose a durable cutting type of equipment for processing the surface of plywood.

If it is necessary to cut plywood, then a circular saw should be used. If you use the tape look, then it is impossible to guarantee an excellent result, a wavy cut may form. It is necessary to cut the material as follows: cut across the fibers and their directions from the upper side of the material, then cut along the fibers.
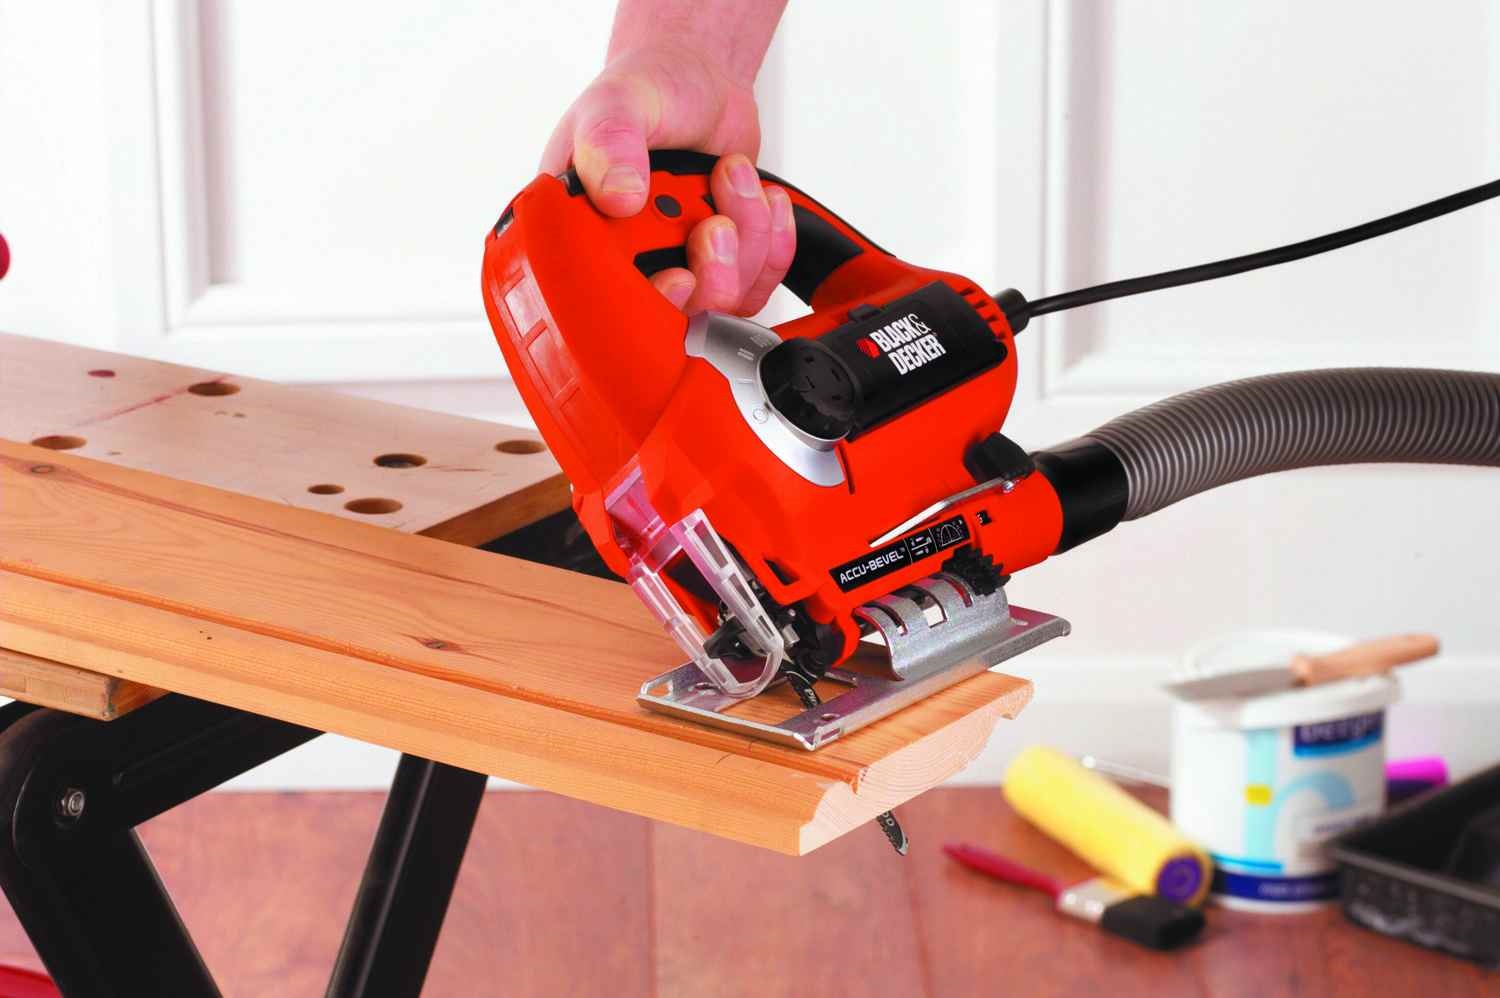
When drilling, it is required to select a sharp drill equipped with a front cutter to obtain an accurate and accurate hole. You need to drill from the front side, which is more durable. If you want to avoid splitting, you need to place a lining under the plywood when drilling.
How to make a plywood stand for hot with your own hands
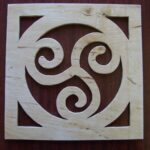
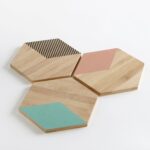
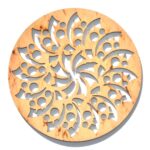
After when the material from which the hot stand will be made, you need to decide on its appearance. When making the first model, it is important not to come up with a complex model of such a product, but to choose a simpler version. You can view several options on the Internet and choose the best one for yourself, which is easy for a beginner to do.
Any handmade product will be used with pleasure. The invested work and pride after receiving a beautiful product compensates for some of the shortcomings that may occur on the first products.
Diagrams and dimensional drawings
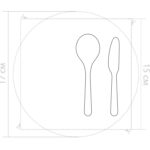
Before starting the production of a stand that can withstand high temperatures, you need to make a drawing. It should contain the following information, drawn on paper:
- Finished product appearance.
- Possible drawings on the surface, made with paints or using a burning device.
- Dimensions of the finished item.
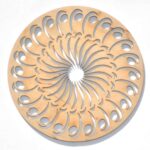
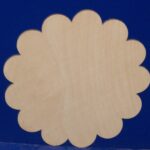
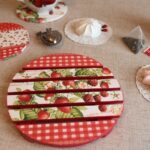
Only after that you can proceed directly to manufacturing. The shape of the product can be varied: trapezoid, triangle, oval or circle.
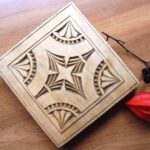
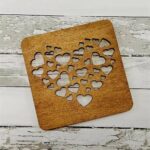
The most common types of such products are square shapes. They are easy to cut, do not have complex geometric sides.
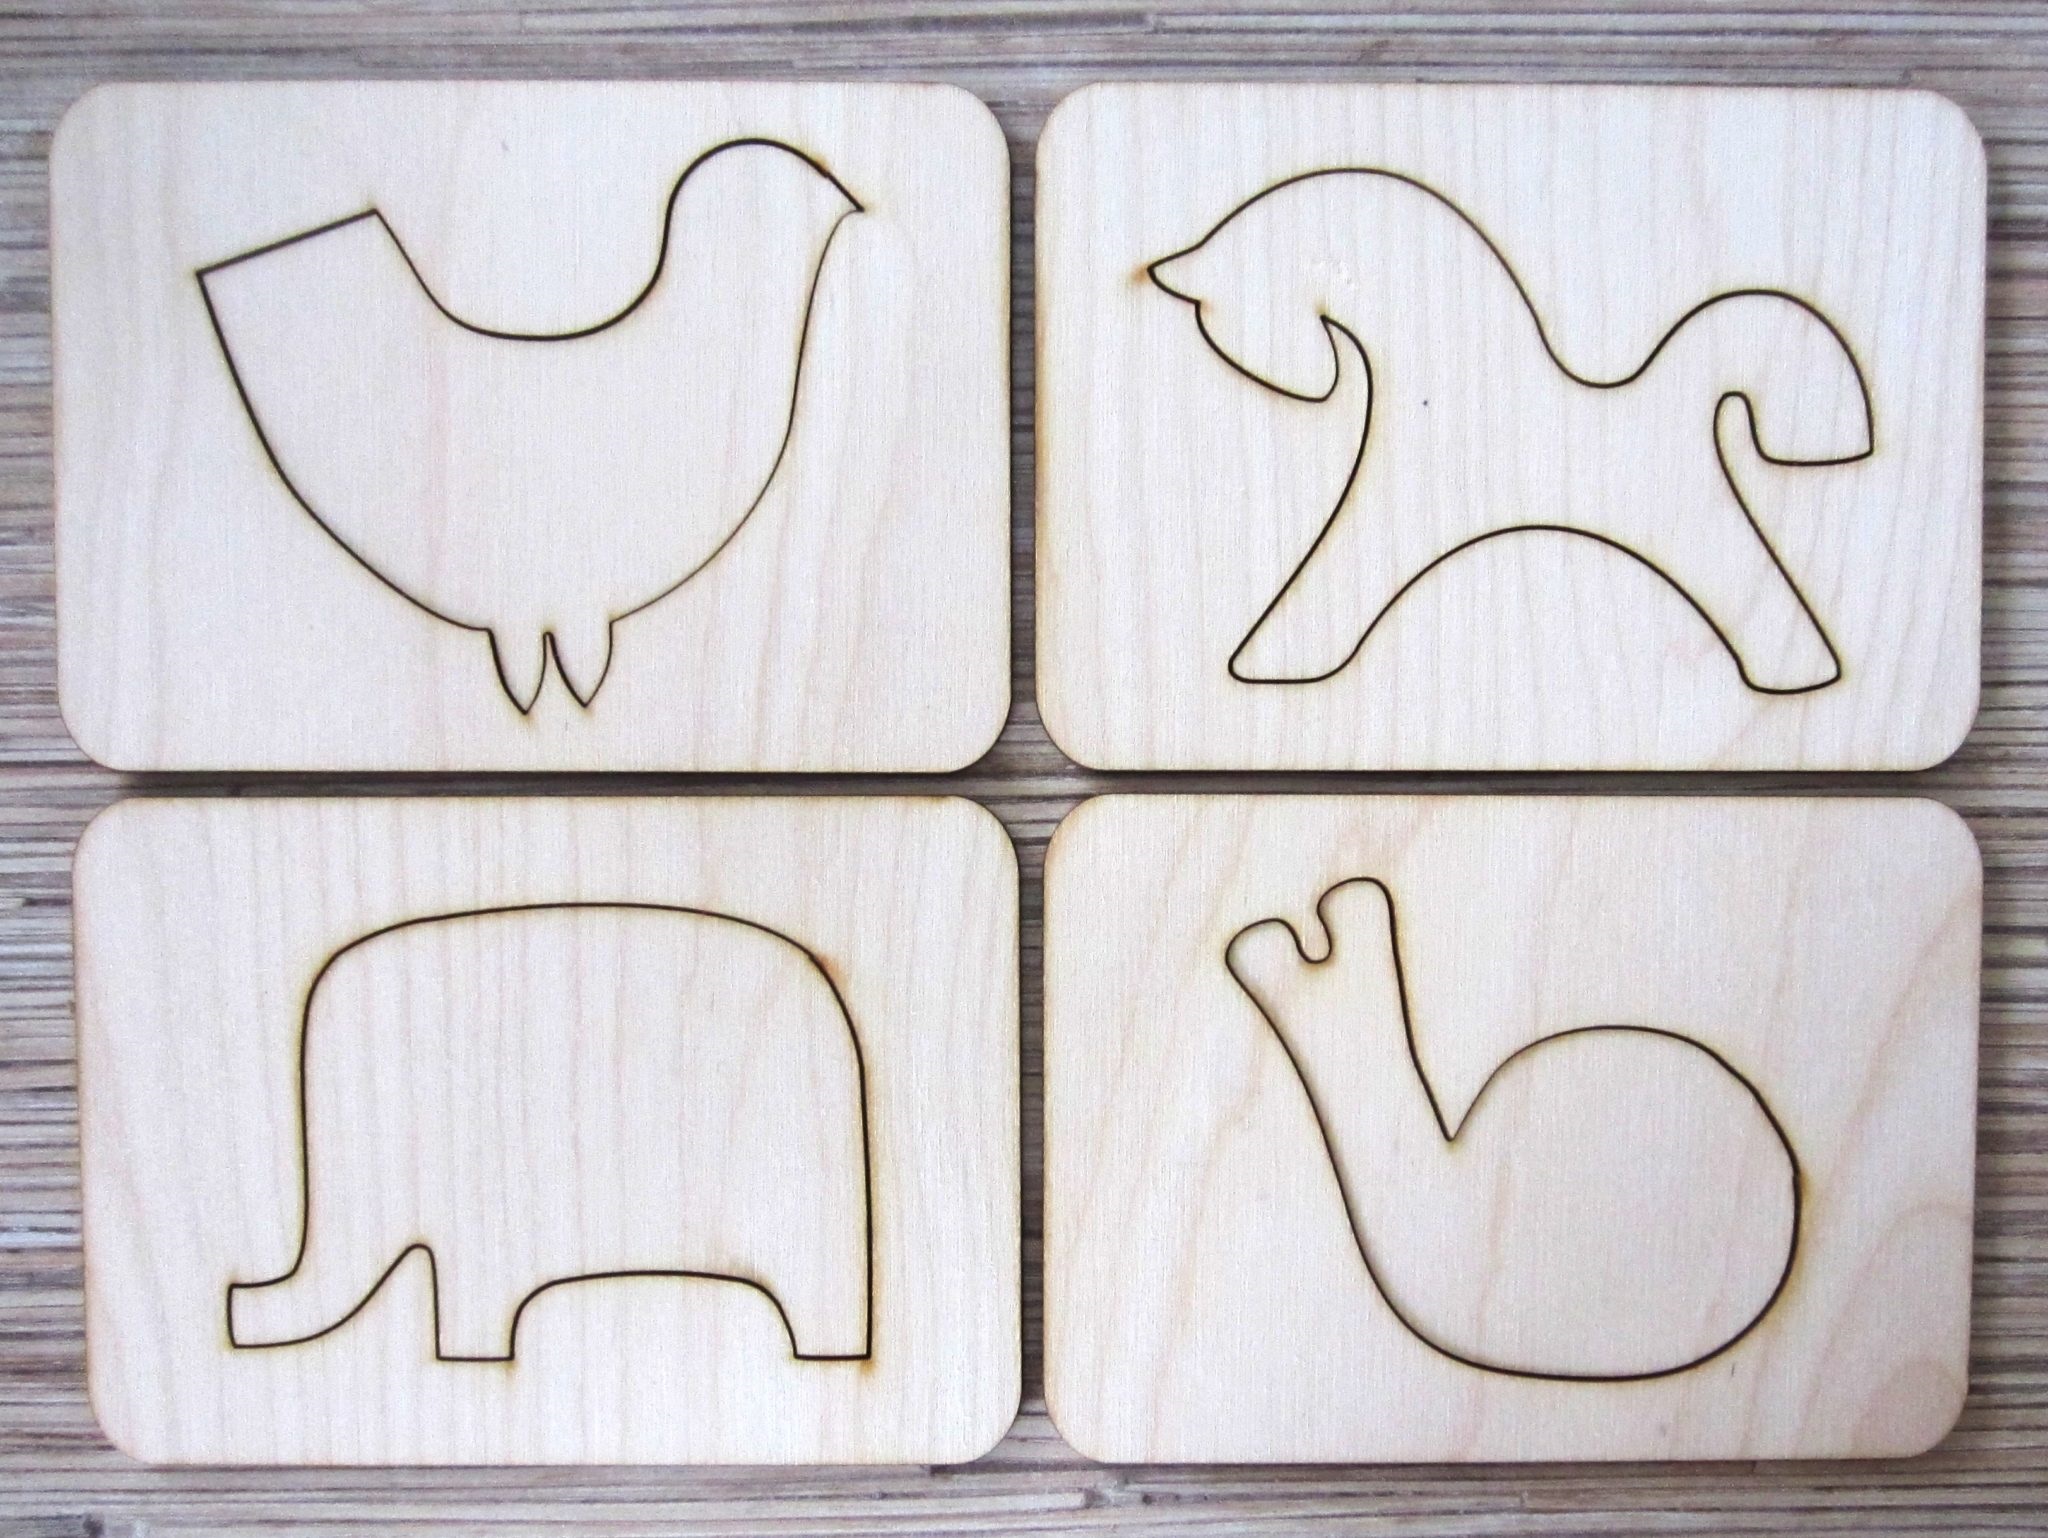
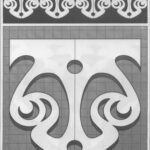
The design can be printed onto a stencil and subsequently easily transferred onto the cut plywood material. After that, the contours are drawn using the selected method.
Manufacturing process
The entire production process of this homemade product is divided into three stages: preparation, cutting and finishing to the final appearance. Each of them requires some effort. If there is no knowledge in carpentry, then you should not choose a complex model. For example, a square craft, covered with varnish on top, will be simple, but quite useful at home. But if there is a desire to execute a more complex model, then several additional processes can be carried out.

The first thing to start with is to make a template for the form of a finished craft.
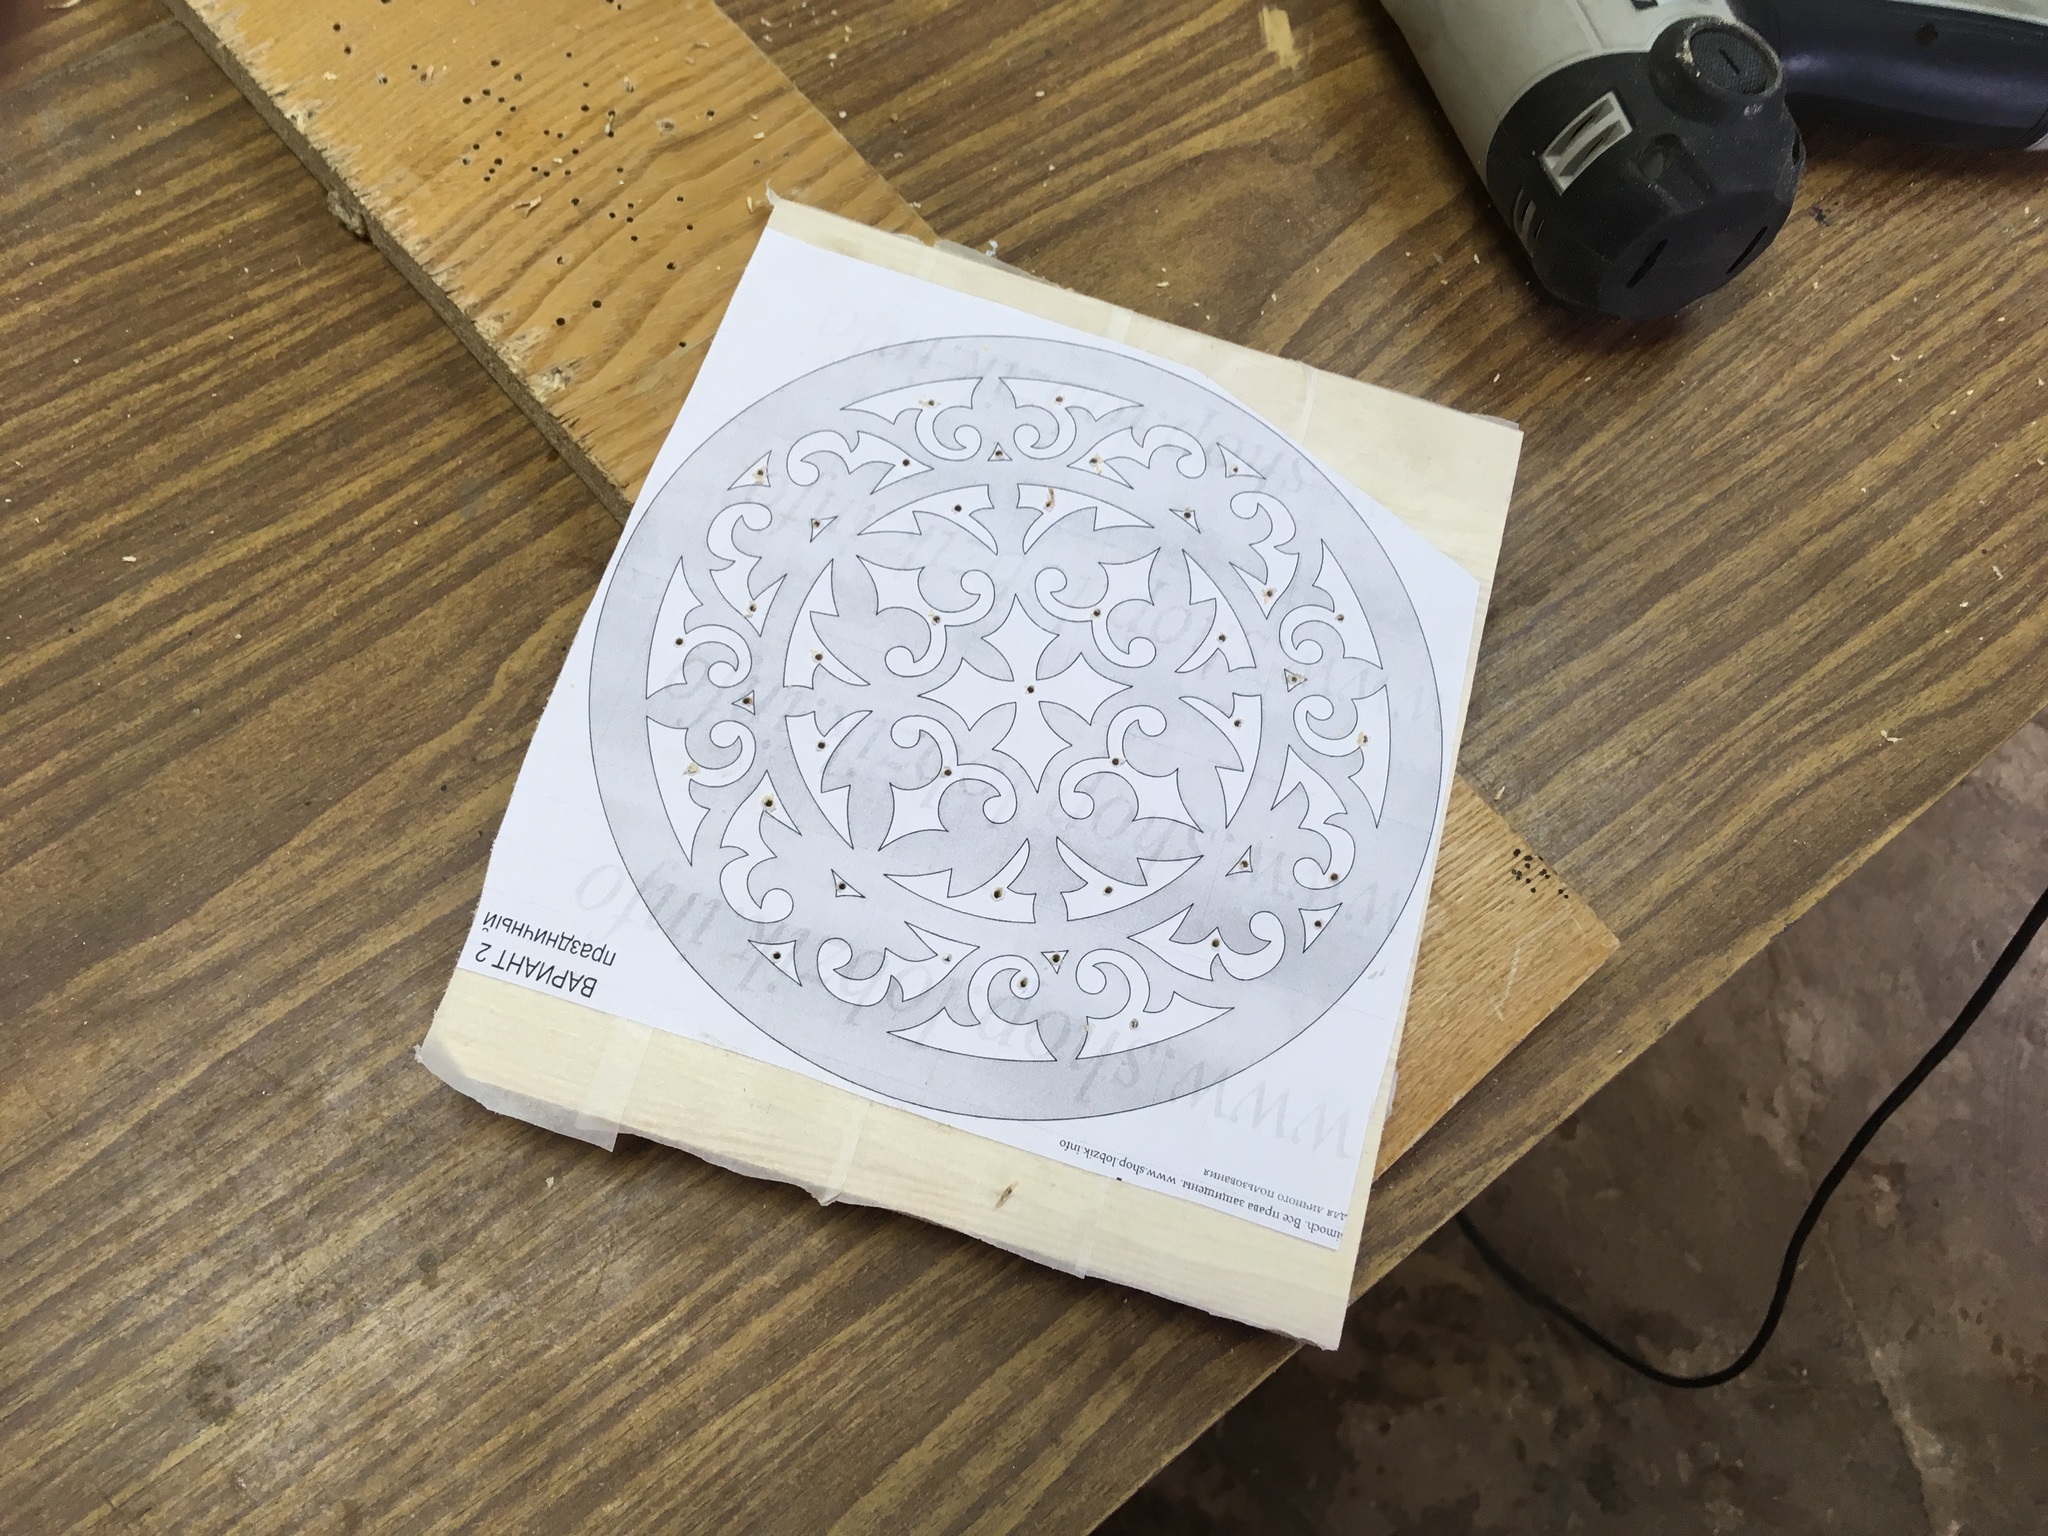
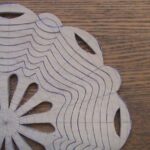
After cutting it on paper or cardboard, transfer it to plywood material. To do this, you can use a pencil, which is easy to trace the contours.
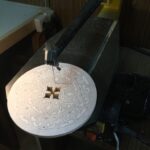
After this procedure, a more difficult stage begins - it is worth cutting out the contour in the previously selected way.
The figured product should be carefully cleaned. You can use sandpaper for this. Immediately you need to process the sections, then walk several times along the front and inner surfaces.
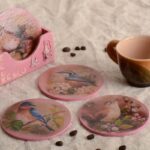
A drawing should be applied to the cleaned workpiece, first with a pencil, then with paints. After drying, apply 1-2 coats of varnish. Dry. When, when you touch the surface with your fingers, they will not stick, then you can use the do-it-yourself stand for its intended purpose.

When one thing of this type has been successfully done, you can make several more and make a kit.
Video: how to make a hot stand out of plywood

