Corner clamp for furniture assembly - purpose of the tool and description
Assembling furniture is a complex and time-consuming process. The master has to simultaneously perform several operations at once: fix the parts, hold them in the desired position and process. To solve this problem, several different tools and devices are used, an angle clamp for assembling furniture with your own hands is one of them.
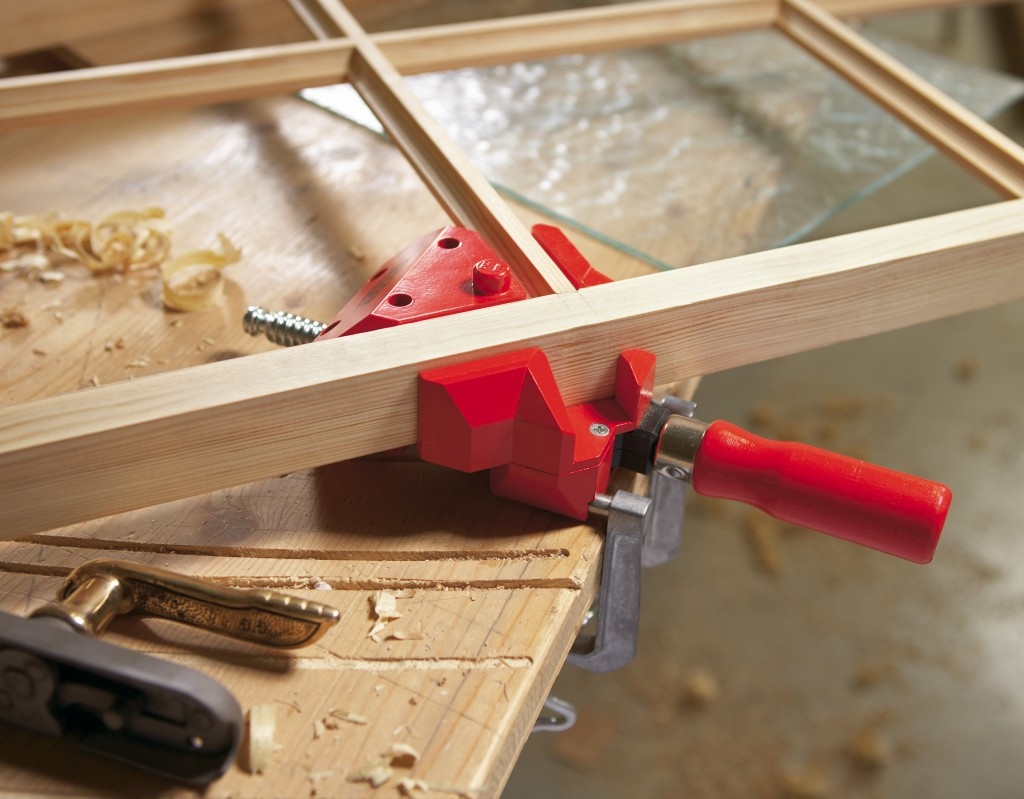
Corner clamp for assembling furniture: what it is and how it works
The clamp is a handy device that is used in the process of assembling furniture structures. The clamp greatly simplifies the work and shortens its execution time. Furniture clamps temporarily fix the component parts of the structure until they are fully secured. There are several types of these devices. The angle clamp is used to fasten individual pieces of furniture at a right angle.

It consists of the following components:
- Clamp and two stops.
- Movable block.
- Lever - a mechanism that provides a high power transmission.
- Screw - fixes the movable part of the clamp in the required position.
- Runners - provide a weak clamping of the part.
Knowing the device and the principle of operation of this device, you can easily make it yourself.
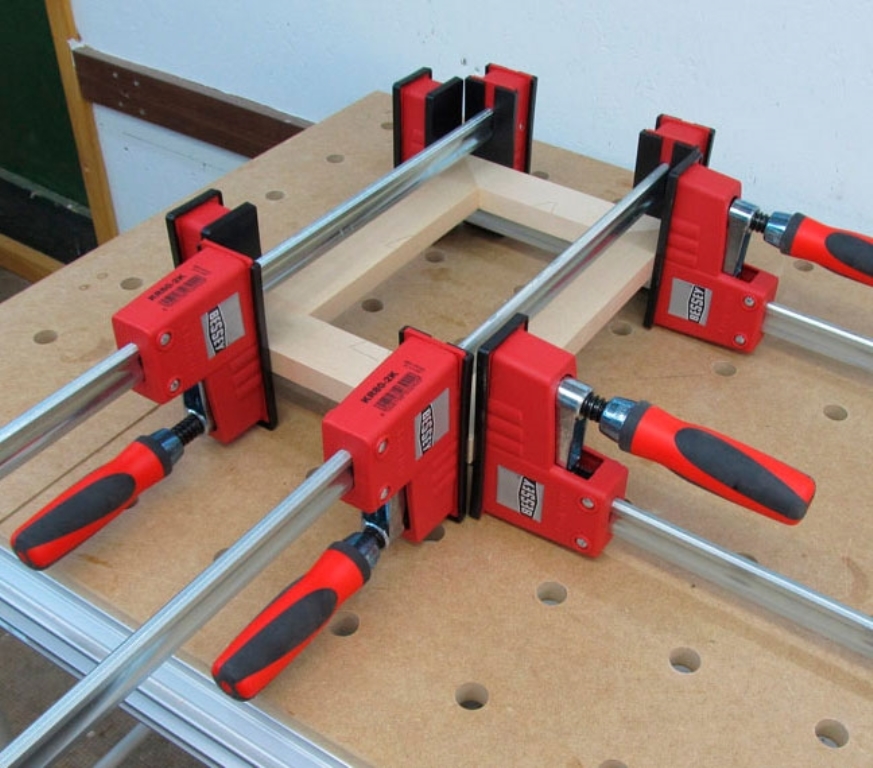
Appointment of furniture clips
The clamp is a universal vice that holds furniture pieces in a certain position. Some types of clamps can change the angle of connection of parts.
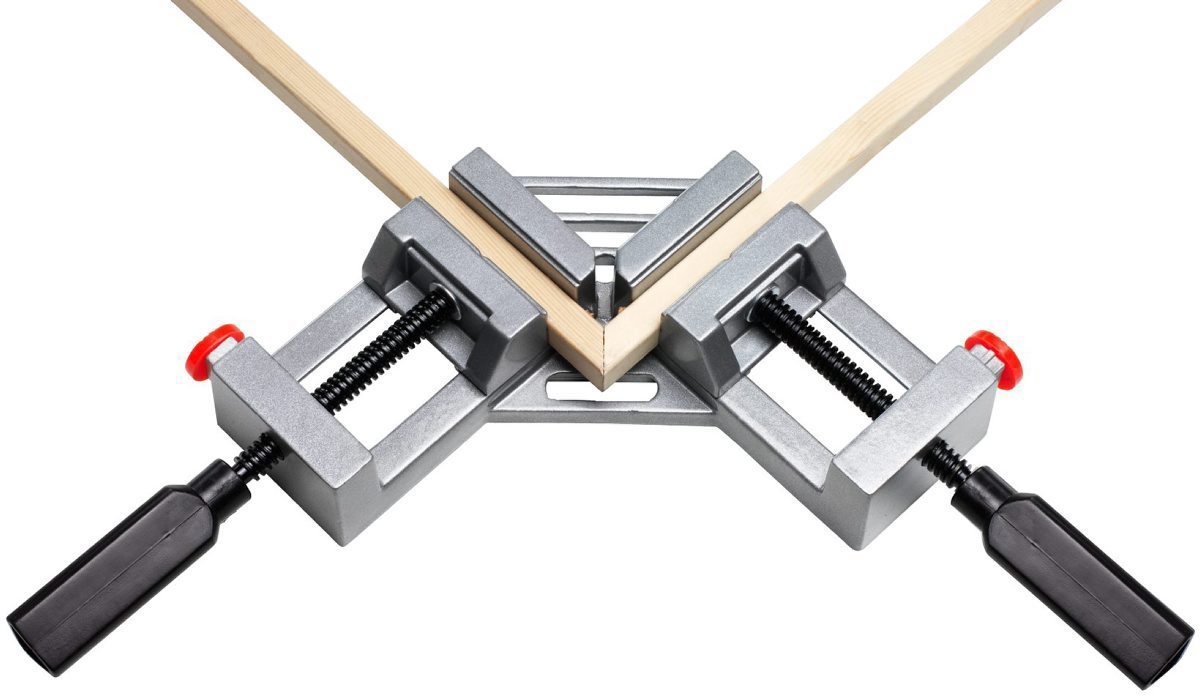
These devices are used to solve such problems:
- fixing a right angle;
- sawing off workpieces at a certain angle;
- assembly of individual furniture components that require a right angle arrangement (cabinets, drawers);
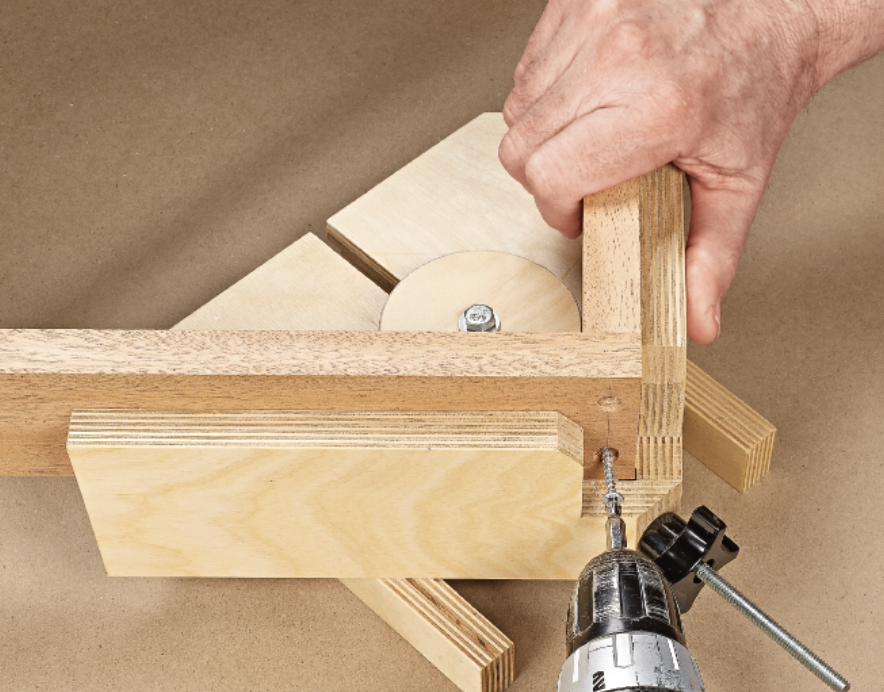
- installation of fasteners (the clamp allows the master to free both hands to perform this operation);
- assembly of furniture, frames and other structures made of wood, profile metal.
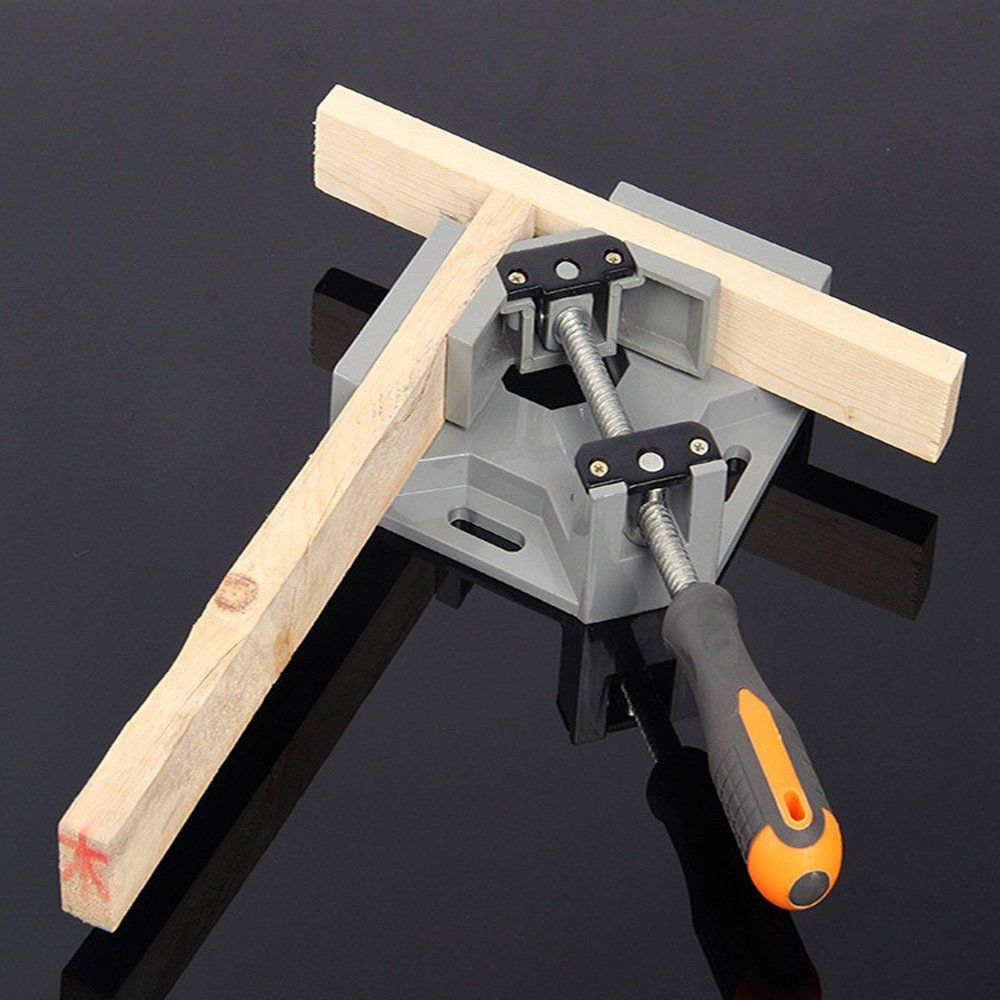
For professional purposes, they are used by carpenters as well as welders, locksmiths and joiners. These devices are also used at home by craftsmen who prefer to make metal and wood products with their own hands.

Types of fixtures
There are several varieties of these devices capable of securing workpieces.
They can be conditionally divided into three groups:
- Regular - fix the workpiece on the work table.
- Corner - are able to hold two blanks at once at a certain angle relative to each other.
- Volumetric - have a complex design that allows you to simultaneously fix three elements at once.
A conventional clamp has a C-shape. It is equipped with a special bracket and threaded clamp. These devices are plastic, metal, wood. Corner clamps are the most common type, as they are used to perform a large amount of work.

Clamp material
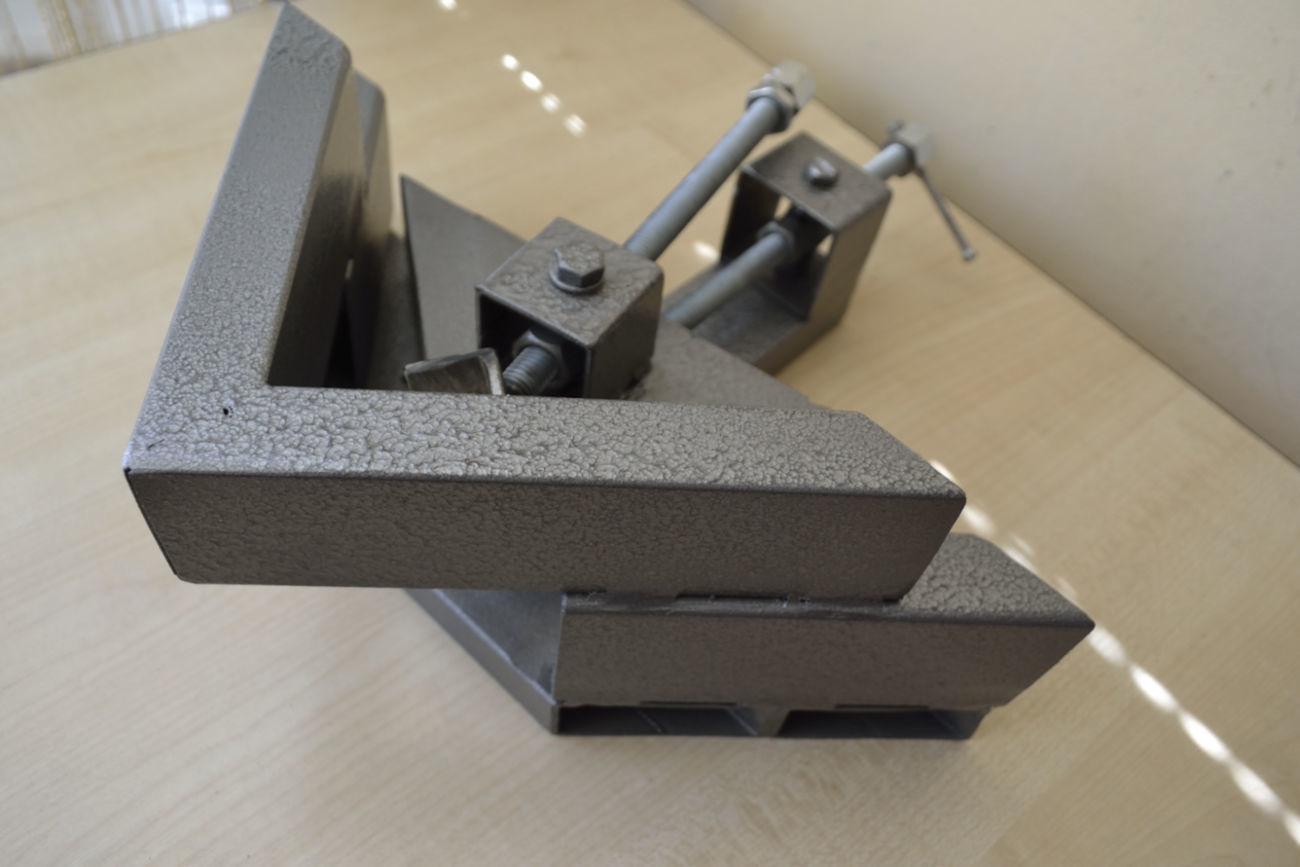
Factory-made clamps are made of metal. Duralumin and various alloys based on it are used as raw materials. These fixtures are manufactured according to the standard, therefore, the technical characteristics and overall dimensions are the same.
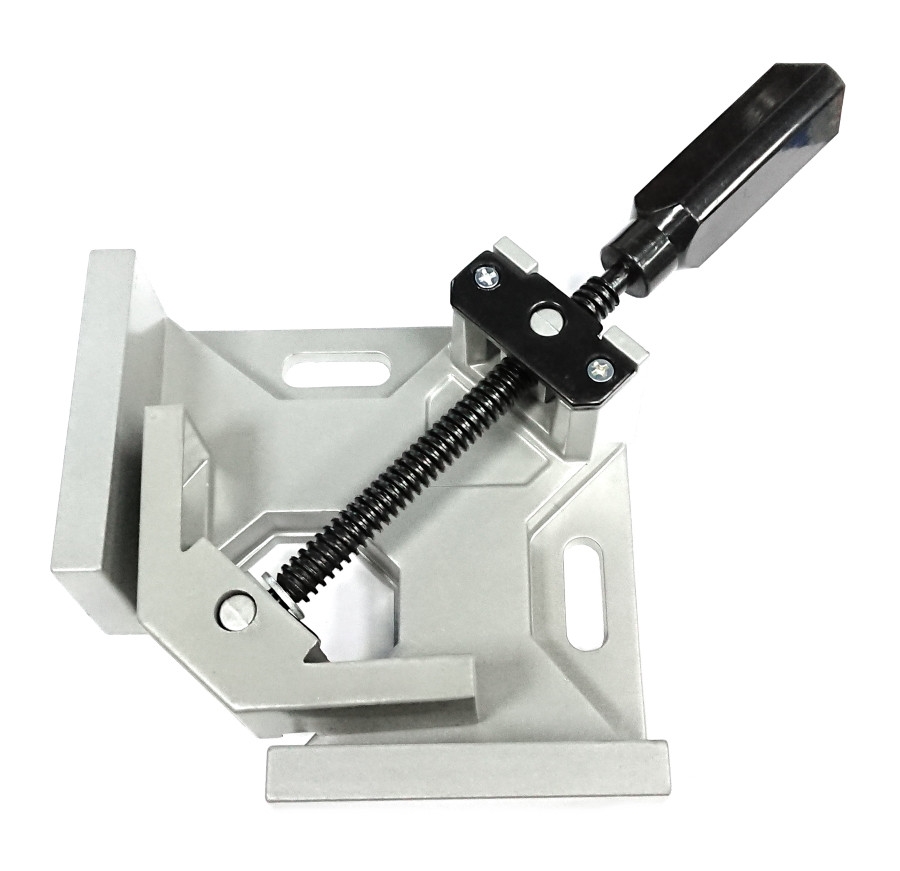
Factory-made products cost a lot. If you need to carry out welding work or assemble furniture, one clamp is not enough. Buying several clamps will significantly hit the budget, so many craftsmen prefer to make them on their own.
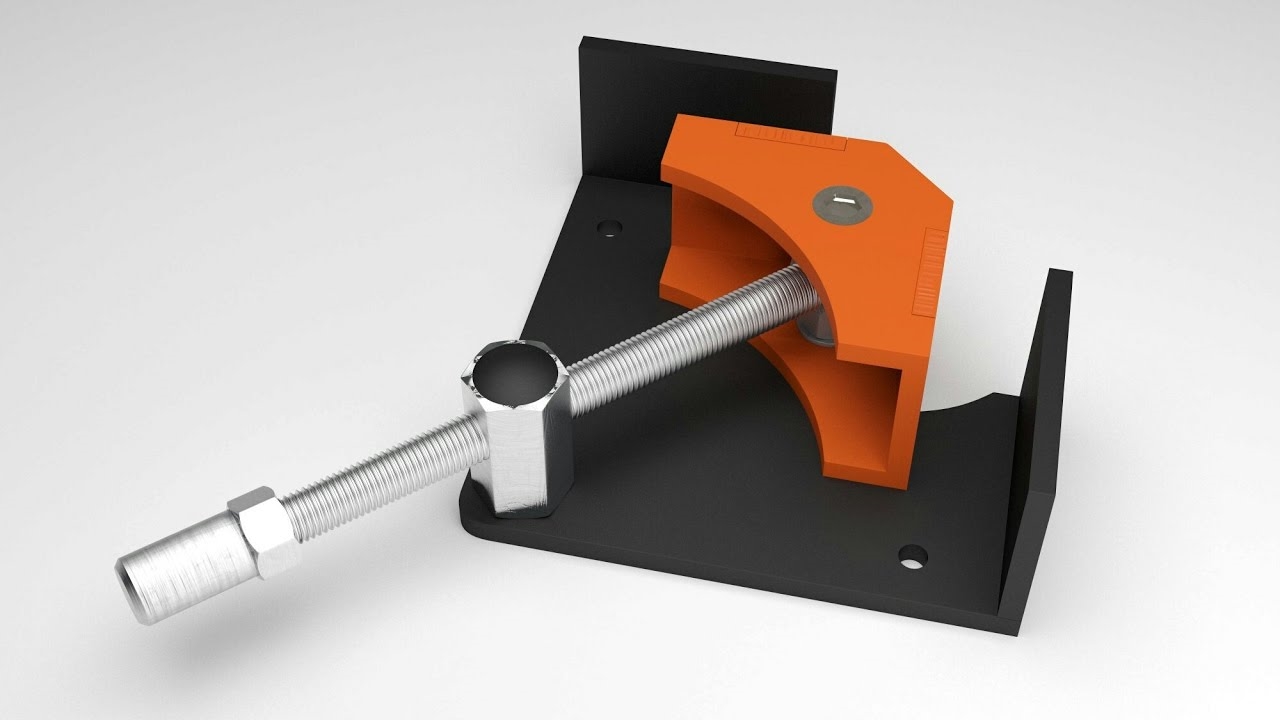
The material of homemade clamps is selected taking into account the work to be done. The clamps used to assemble furniture are usually made of wood. Only metal clamps are suitable for welding. If you need to carry out a one-time operation, you can limit yourself to sheet plywood products.
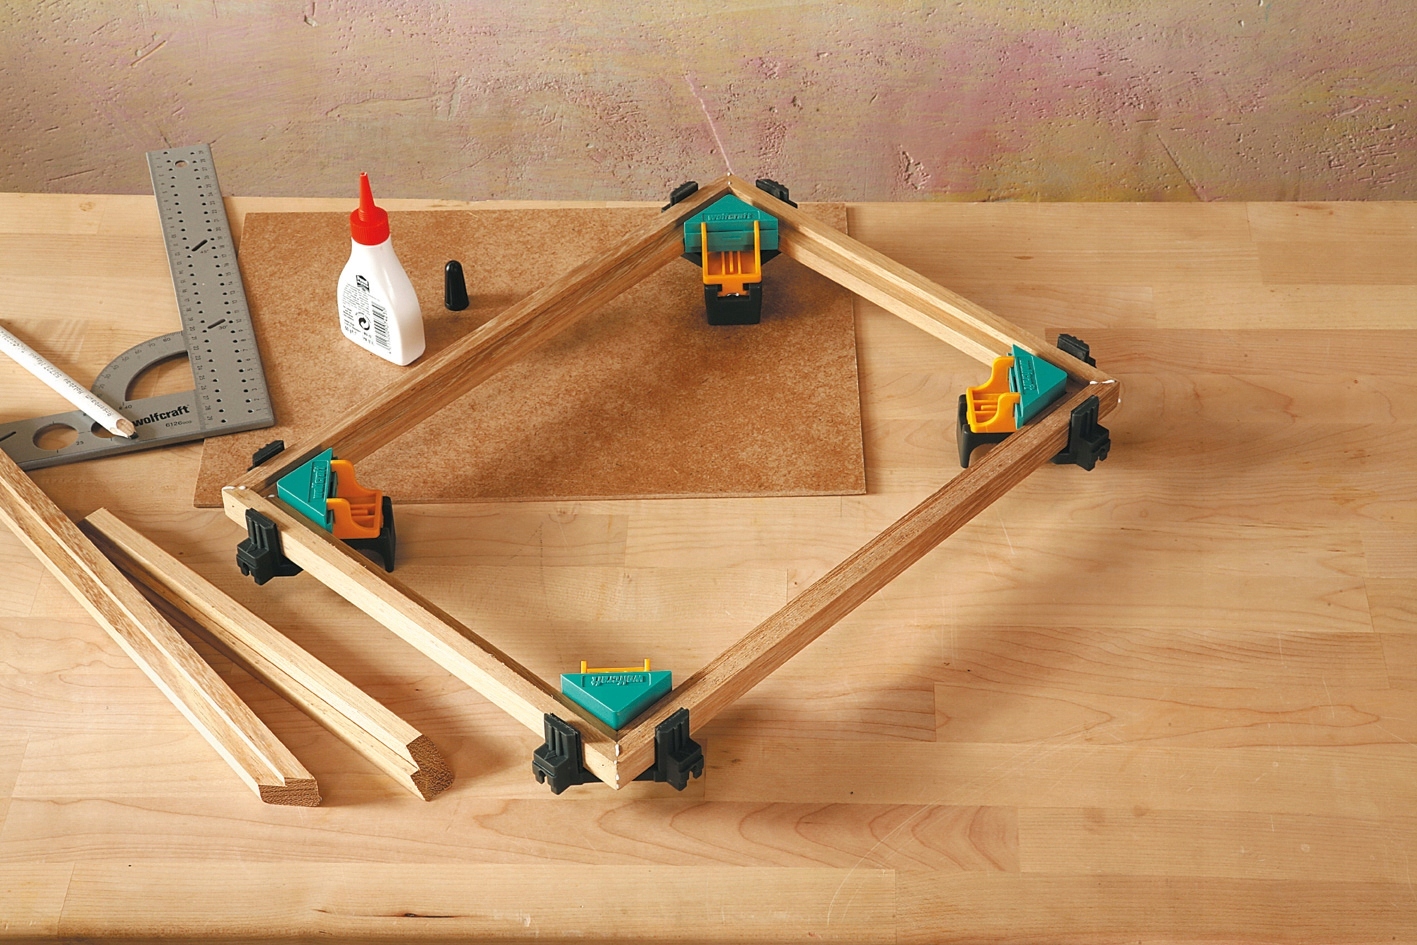
Wood is used to create wooden clamps:
- larch;
- hornbeam;
- beech;
- birch.
It has high strength characteristics, elastic properties and the ability to restore its original shape. The wood of these species is much harder than the material from which most furniture structures are made. In order not to damage the workpieces, it is advisable to use protective heels. They are made of wood, leather, felt. It is allowed to use light-colored rubber so that no colored trace remains on the surface.
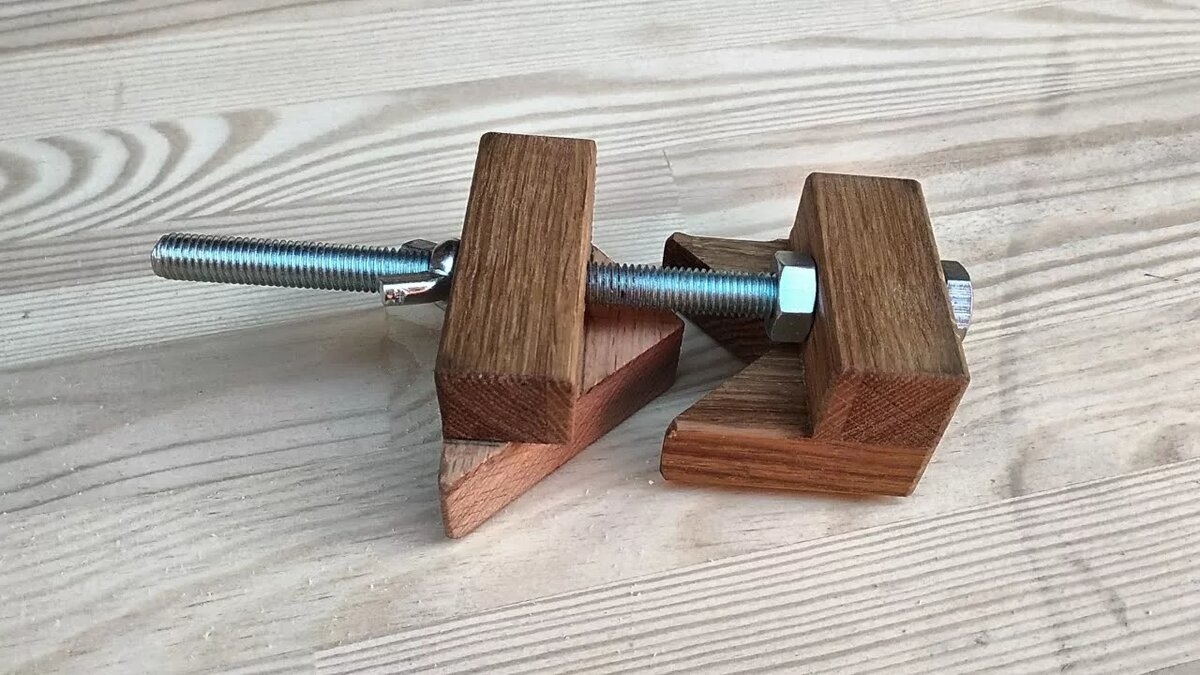
Clips in the form of frames are made of metal. For this, profile pipes or steel corners are usually used. Metal parts must first be cleaned so that scratches do not appear on the workpieces during the assembly process. After that, the product is covered with paint. This is to ensure that the metal is not damaged by corrosion and does not leave traces of rust on the surfaces with which it comes into contact. After that, wooden planks are fixed to the frame.
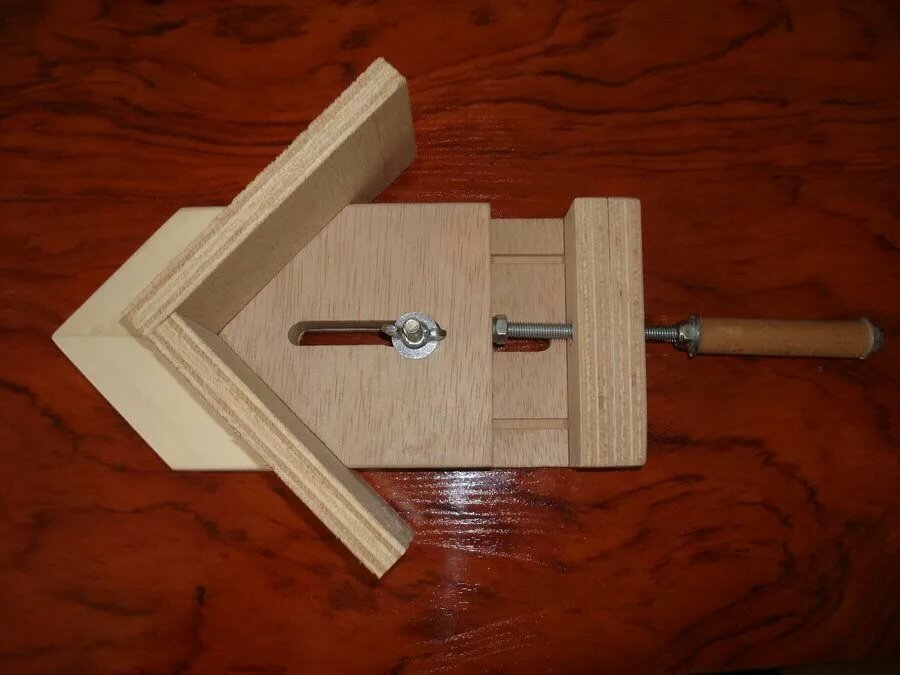
How to use correctly
The angle clamp greatly simplifies the process of joining two workpieces. This device simultaneously supports them in the desired position and fixes them.
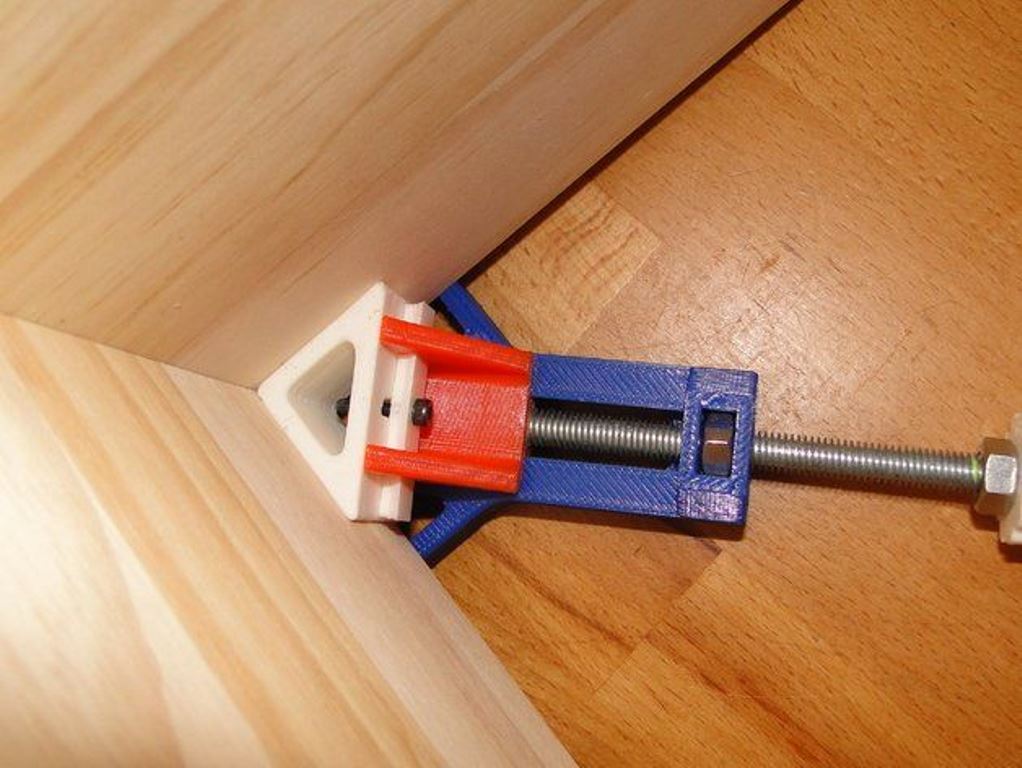
It is not difficult to use the clip, it is enough to adhere to the basic rules:
- No deviations are allowed, the angle of the tool must be strictly right.
- It is imperative to ensure that the working part of the vise is completely adhered to the surface.
- To clamp the workpieces, you need to turn the heel handle, which fixes them.Reverse rotation - frees the parts.
- When the workpieces are fixed, they can be drilled and fastened without any problems.
- For some work, for example, machining parts, you will need to additionally fix the clamp on the workbench. For this, a vice is used.
- It is very important to monitor the pressure so as not to damage the top layer of the furniture.

In general, no special skills are required to use the clamps. This tool is very easy to use.
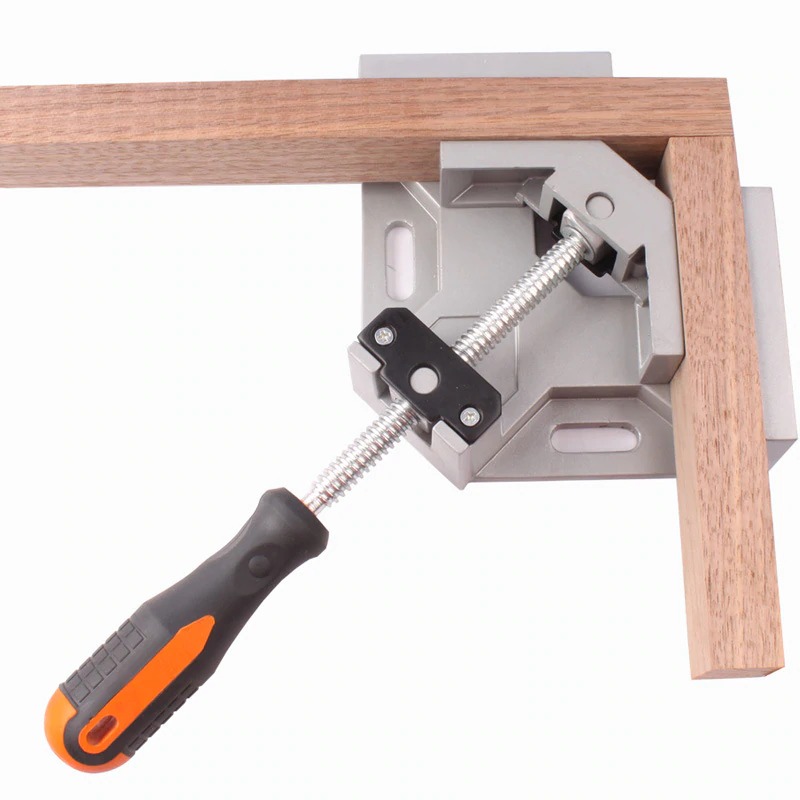
Methods for making clamps for assembling furniture
The way clamps are made depends on what purpose and how often they will be used. Particleboard is often used to assemble furniture. To secure parts made of this material at an angle, you can use homemade plywood or wood clamps. Metal workpieces are held in place with stronger and more reliable clamps, since the processing of such materials creates greater stress.
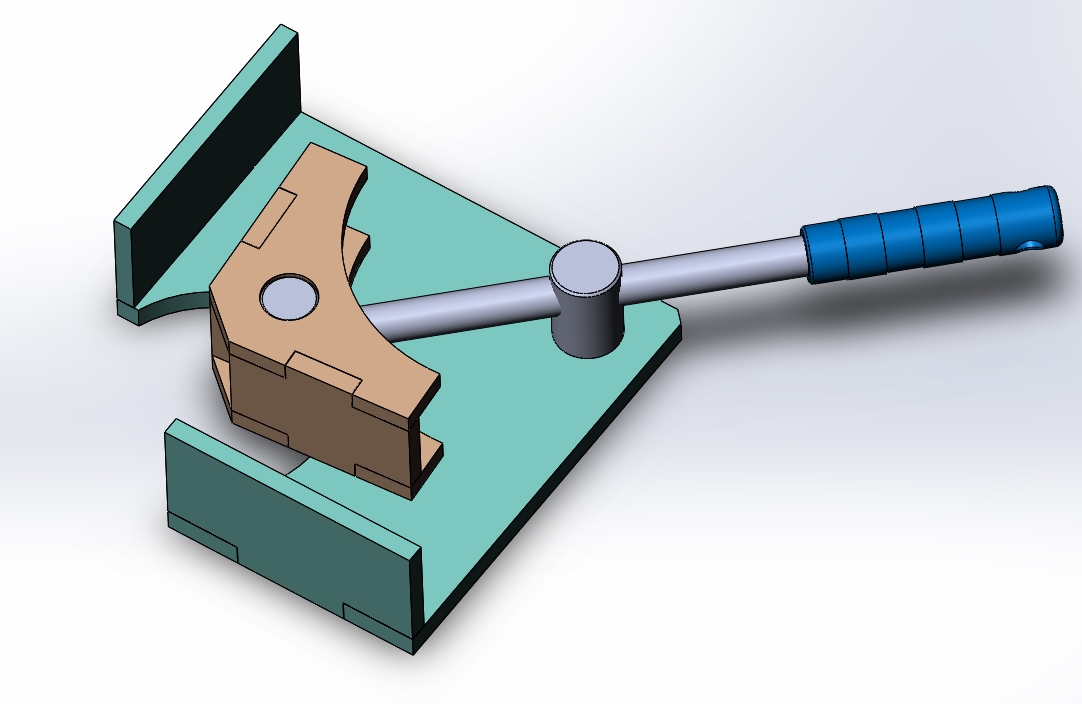
The technology of creating a clamp with your own hands from plywood
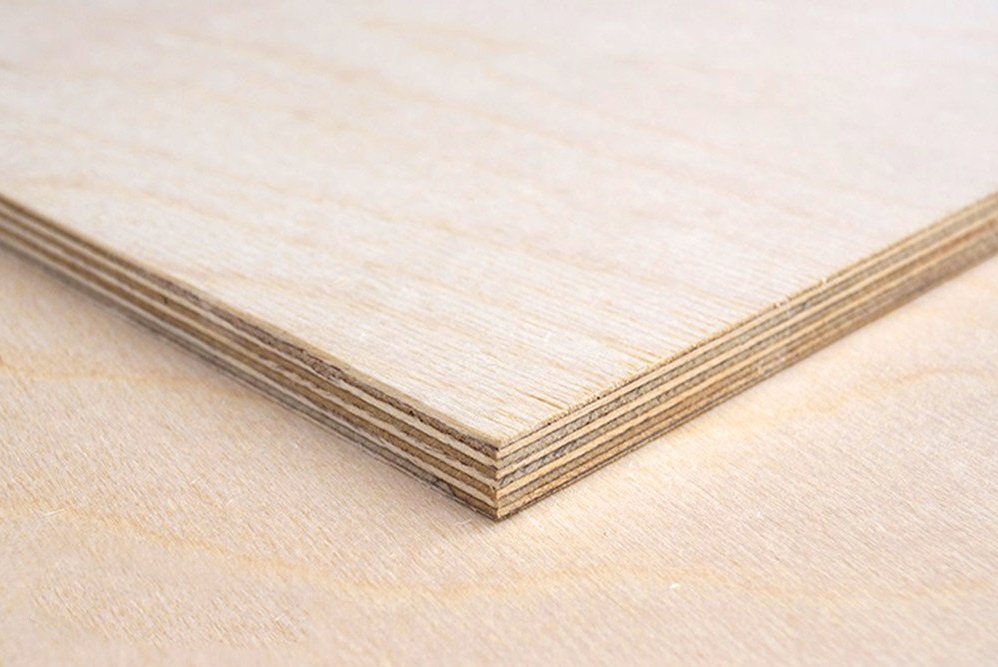
For work, you will need a plywood sheet or chipboard. The main thing is that the material has a smooth surface. The plywood furniture clip can be in the shape of a rectangle or a triangle. Details of the future clamp are cut according to the drawing. Regardless of the shape chosen, a right angle must be present in the design.
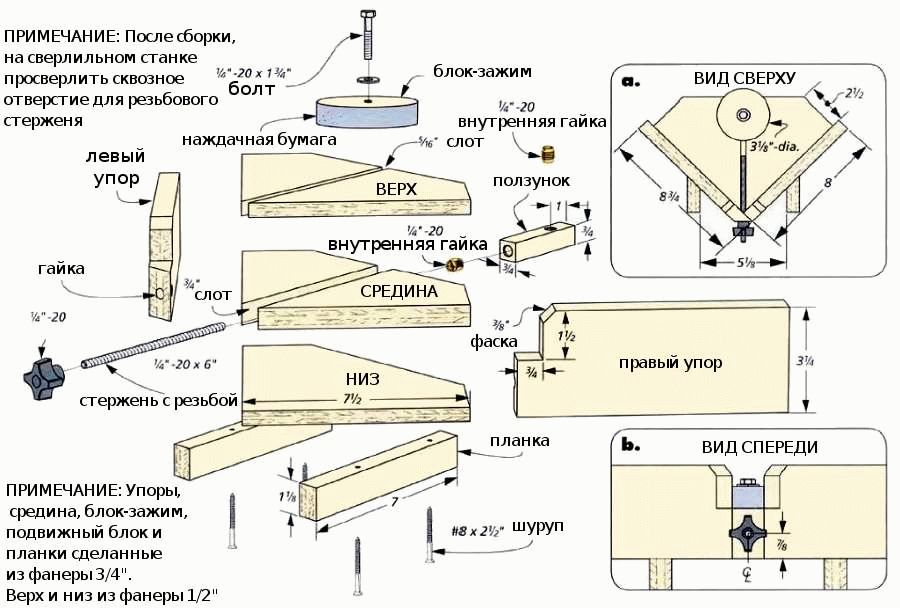
For work you will need:
- sheet plywood (thickness - 8 mm);
- long bolt with nut (120 mm);
- PVA adhesive composition;
- self-tapping screws equipped with a press washer (6 pcs.);
- electric drill and drills (6mm and 3mm);
- angle grinder and sanding disc;
- electric jigsaw;
- wooden block.
The plywood sheet is laid on a flat surface. The markings must be transferred to the material according to the drawings. Since the clamp will be in two parts, a half size is used.
General dimensions of the furniture clip:
- Height - 13 cm.
- Width - 10 cm.
- The thickness of the lower sponge is 3 cm.
- The thickness of the upper sponge is 2 cm.
Using an electric jigsaw, two identical blanks are cut from a plywood sheet, according to the markings. For a neat cut, it is advisable to use a fine-toothed file. The resulting parts must be fastened with self-tapping screws. Pre-holes are made in the sheet so that the material does not burst. To do this, use a 3 mm drill.
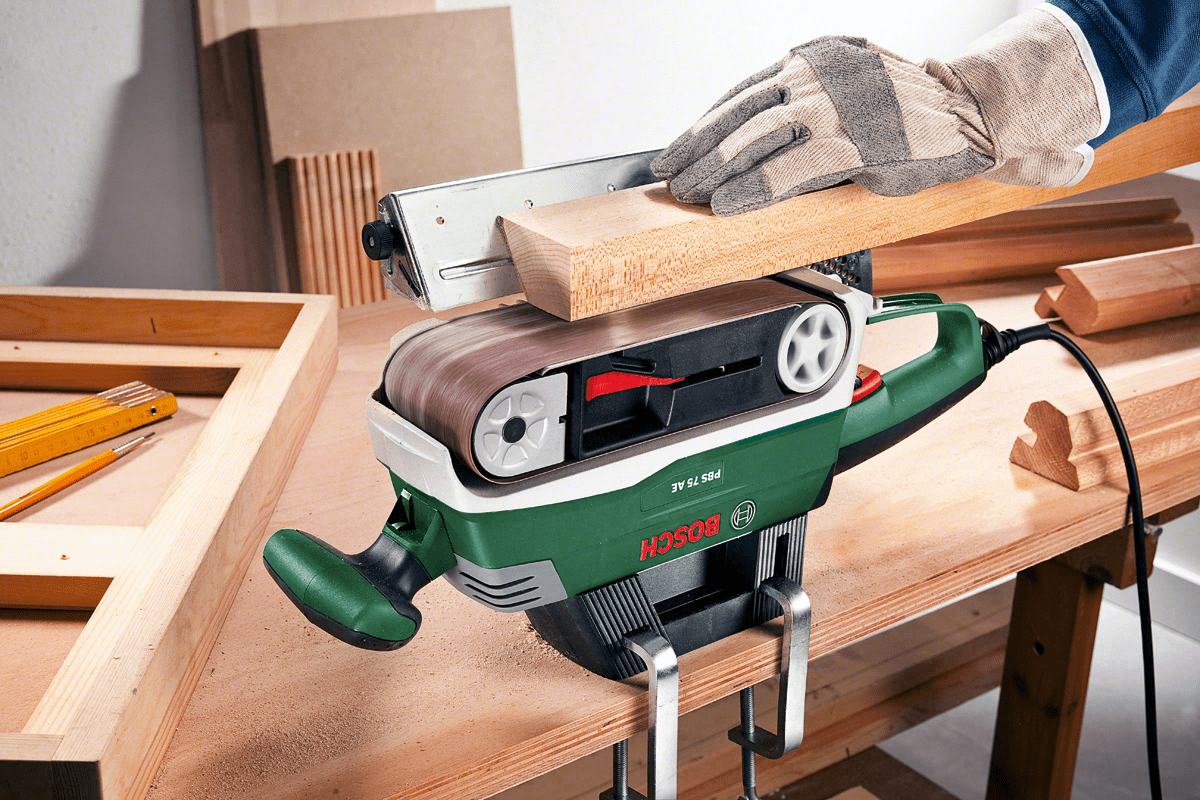
When the parts are secured, they need to be sanded with a grinder. It is advisable to use a special machine for these purposes, since the use of angle grinders is not too safe.
On the basis of a bolt and a nut, a movable clamp mechanism is formed. It is necessary to unscrew the screws and make a small cut in the blanks. To do this, you can use a hacksaw. The cut will help to avoid skewing when drilling holes. Then the screws are screwed back and a hole is formed with the help of a grinder. In addition, a groove for the nut is made with a hacksaw.
Assembling the furniture clip:
- The surface of the adjoining parts is evenly lubricated with glue.
- Bolt and nut are installed.
- The parts treated with glue are fastened together with self-tapping screws.
When the glue has set a little, you need to remove the excess. A round handle is made from a wooden block, carefully ground and installed on a bolt.To prevent it from slipping out, you can make small notches.
How to make a metal corner clamp
The work will require skills in handling the welding machine, so not every master can cope with this task.
Necessary materials:
- The M14 bolt and nuts to it are a movable hairpin.
- M12 bolts with nuts.
- Reinforcement rod with a cross section of 12 mm - a knob.
- Profile pipe measuring 20x40 mm or 30x60 mm - clamping elements.
- Sheet steel 5 mm thick.
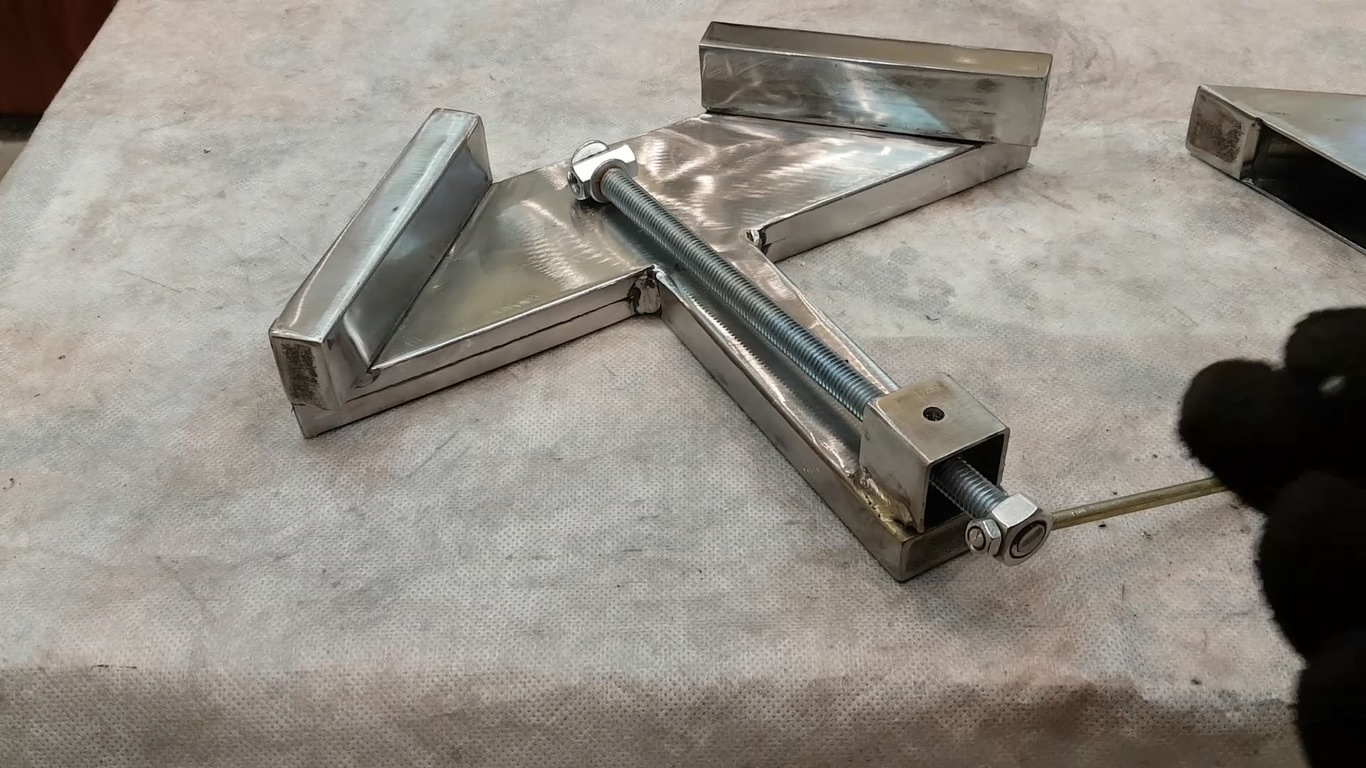
Steel will need to make a running strip (150x40 mm), a square piece (200x200 mm) and small pieces of 40x40 mm for a box assembly, it will serve as a guide.
The assembly is carried out in the following order:
- Sections of the profile tube are welded to the steel sheet. They are pre-set at an angle of 90 °.
- A box-shaped structure is assembled from pieces of 40x40 mm and lock nuts are welded into it.
- A hole is made in the box-shaped element, after which, by welding, another one is attached to the lock nuts - fixing. You need to screw a bolt into it.
- The running nut is welded against the lock nut. It is attached to the fixed part of the clamp.
- The lead screw in the nut must turn freely. To do this, you need to unscrew it and grind the end. In this area, it is necessary to completely remove the thread or slightly blunt it. A knob is attached to the free end of the lead screw.
- In the area where the screw connects with the movable part of the clamp, it is necessary to form a sleeve. To do this, it is enough to weld two plates with holes (14 mm) or use a piece of a profile pipe.
- The lead screw should be screwed into place so that it fits strictly into the bushing holes. After that, several washers must be welded to it. In the future, this area will need to be lubricated periodically to keep it in good working order.
- When assembling the sleeve, it is advisable to check the operation of the clamp before the top plate is welded and the entire structure will be fixed by the bolt.
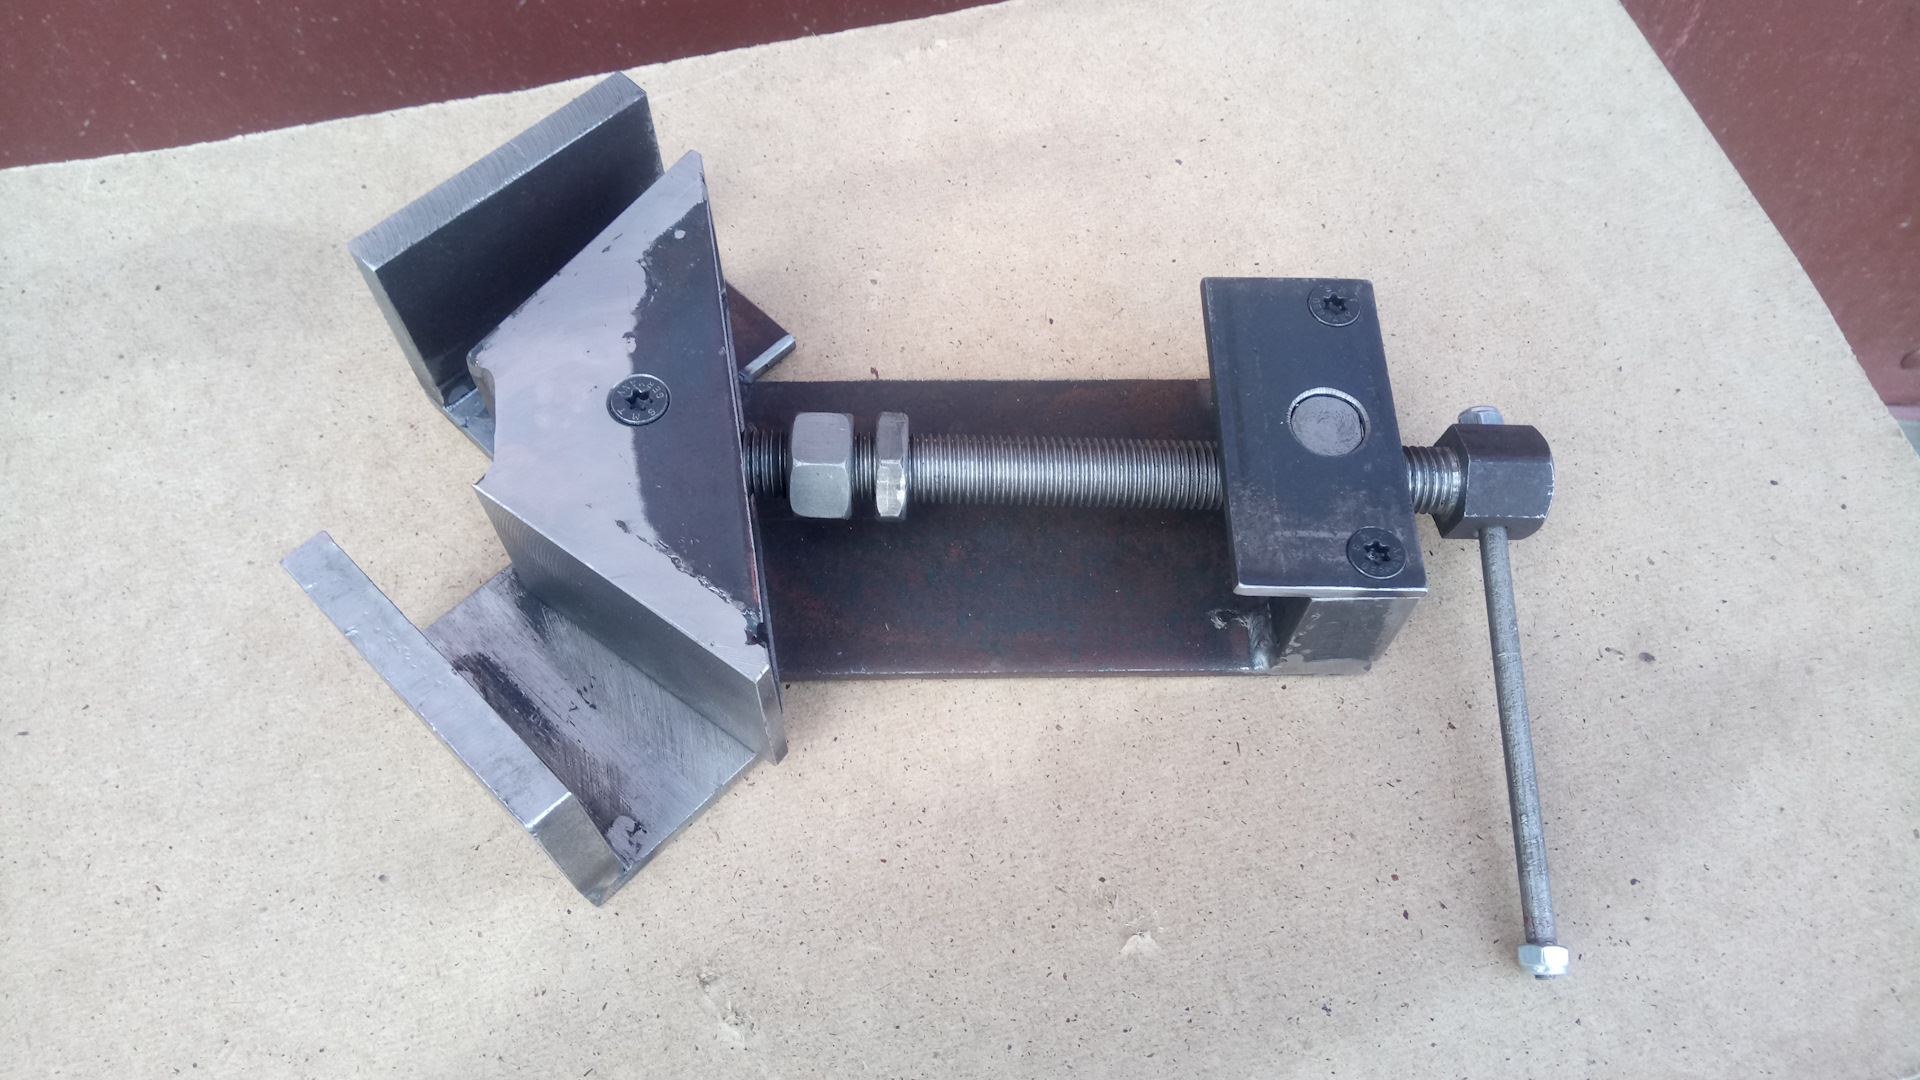
The welds must be strong and of good quality. It is imperative to make sure that the clamping angle is 90 °.
Making a corner clamp from wood
For work, you can use not only wood, but also plywood, sawn timber trimmings. Take two identical pieces of the board. On each of them, one of the sides is trimmed at an angle of 45 °. The resulting blanks must be screwed to a wooden square so that an angle of 90 ° is obtained.
Then 4 small rectangular bars are made. Their length should be 2-3 cm less than the width of the board. Holes are drilled in these parts. Long bolts will be passed through a couple of bars. The holes on the two remaining elements must be hammered with elongated nuts with a hammer.
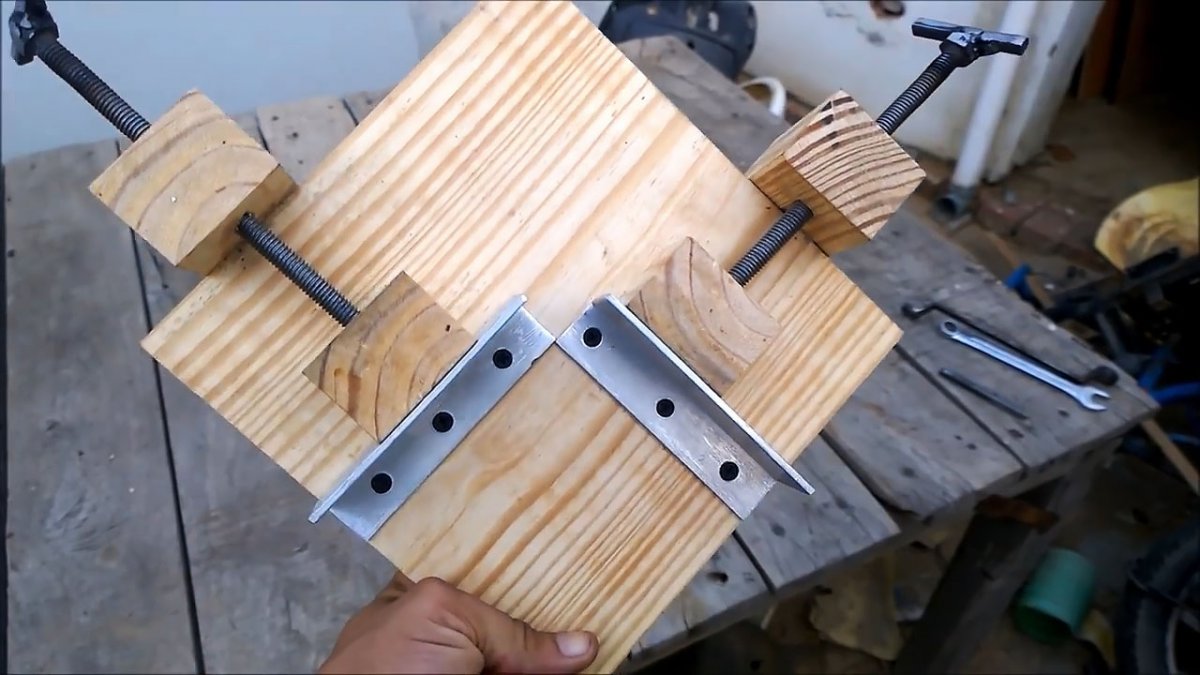
To make the clamp convenient to use, you can make two handles from wood. This will require a lathe. All parts of the clamps need to be assembled. The bars are connected in pairs. For this, parts with bolts are screwed into blanks with long nuts, and a handle is put on the free end.
The result is two clamps. They should be fixed with self-tapping screws on the boards, which are part of the corner piece made earlier. To hold the handle securely, you will need to drill a hole in it through the bolt and secure with a screw.
Helpful hints and tips for making
Before starting work, you need to prepare and free up space. It is advisable to carry out all operations on a workbench, if it is not there - on any clean and level surface.You can use a construction square to control the position of the parts.
On metal clamps, it is imperative to remove the protruding sections of the welding seams. They can be grinded with a grinder using a metal grinding disc. It is recommended to use stainless steel for the manufacture of these devices. If the usual one was used, you will have to paint it.
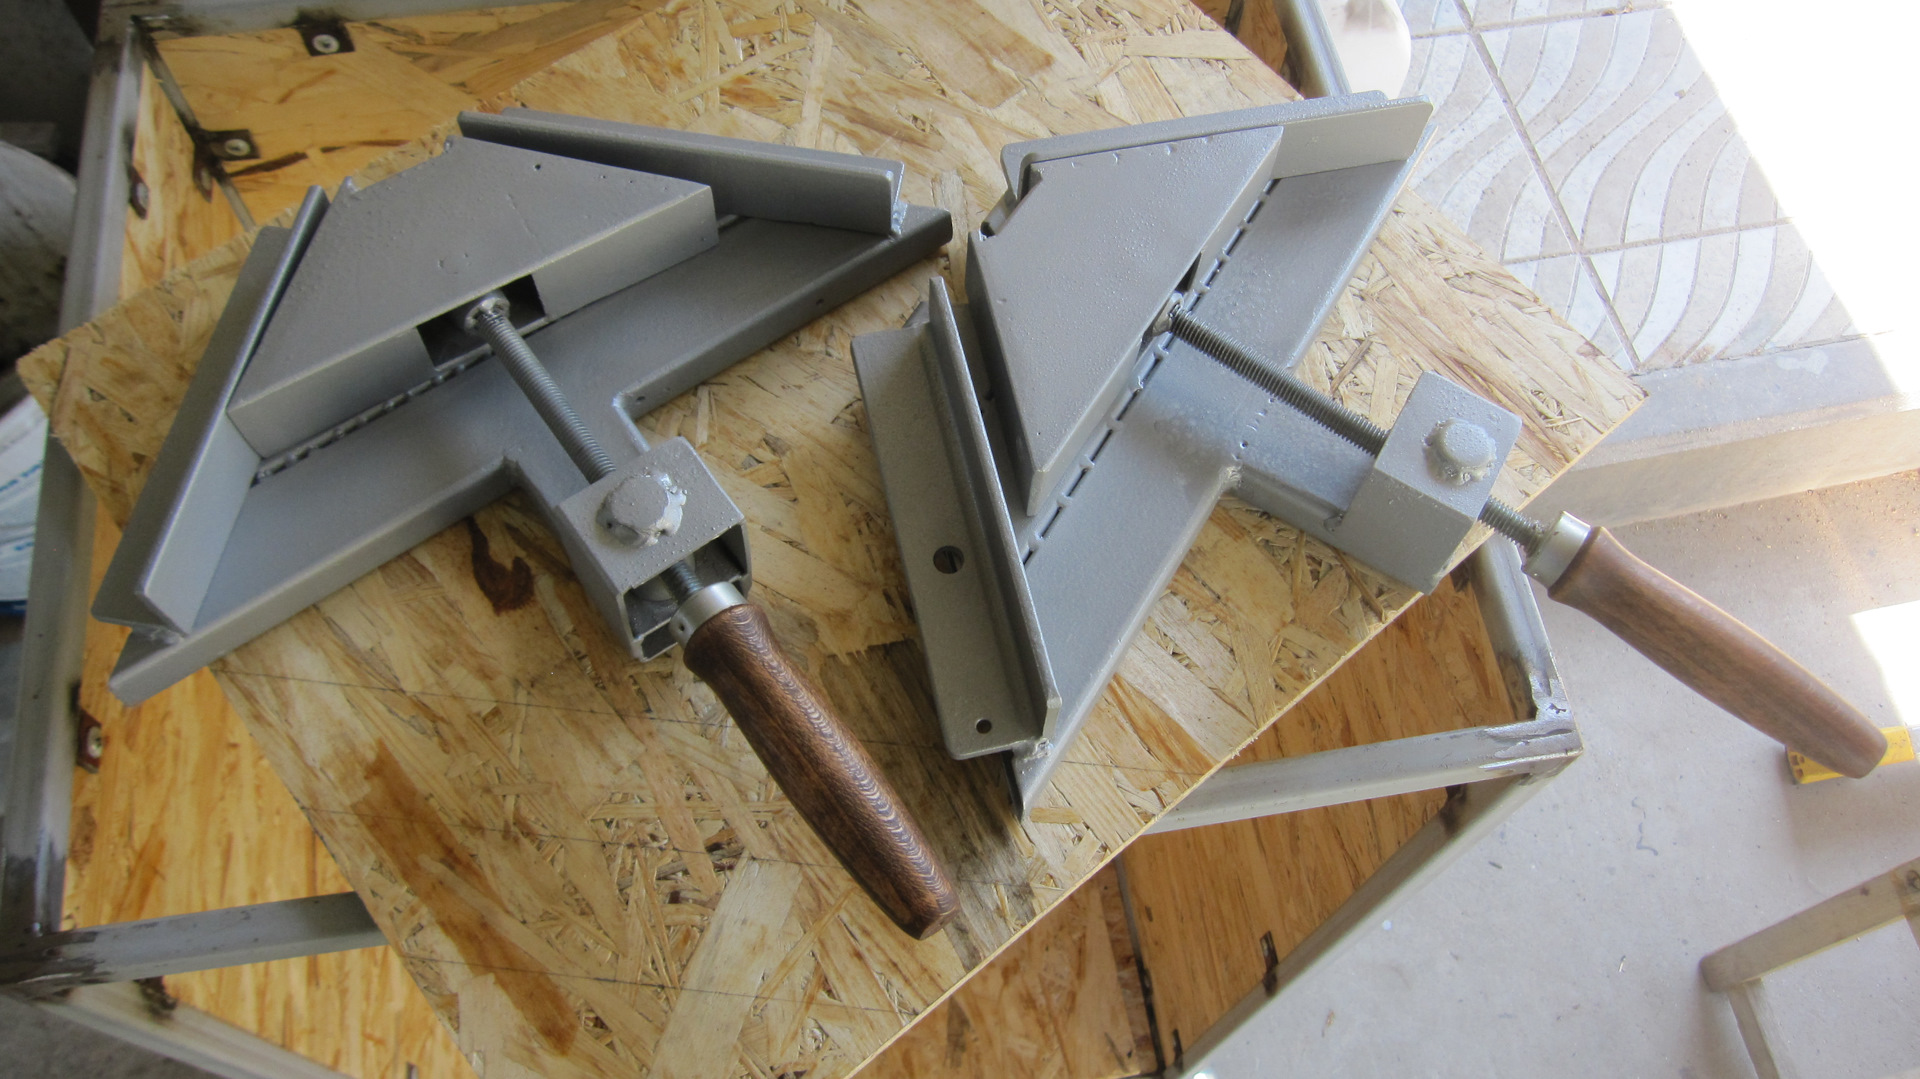
It is advisable to provide a special place in the garage or workshop for storing the clamps. For this, a toolbox or shelf is suitable.
Video: corner clamp for furniture assembly


