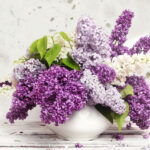
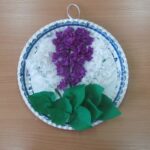
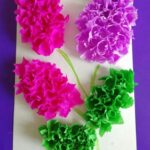
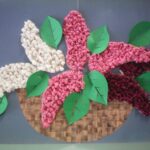
Sprig of lilac from napkins
Modern hand-made products are distinguished by a high variety both in style and technique. The use of paper napkins is quite widespread, with the help of which interesting compositions and panels are created.
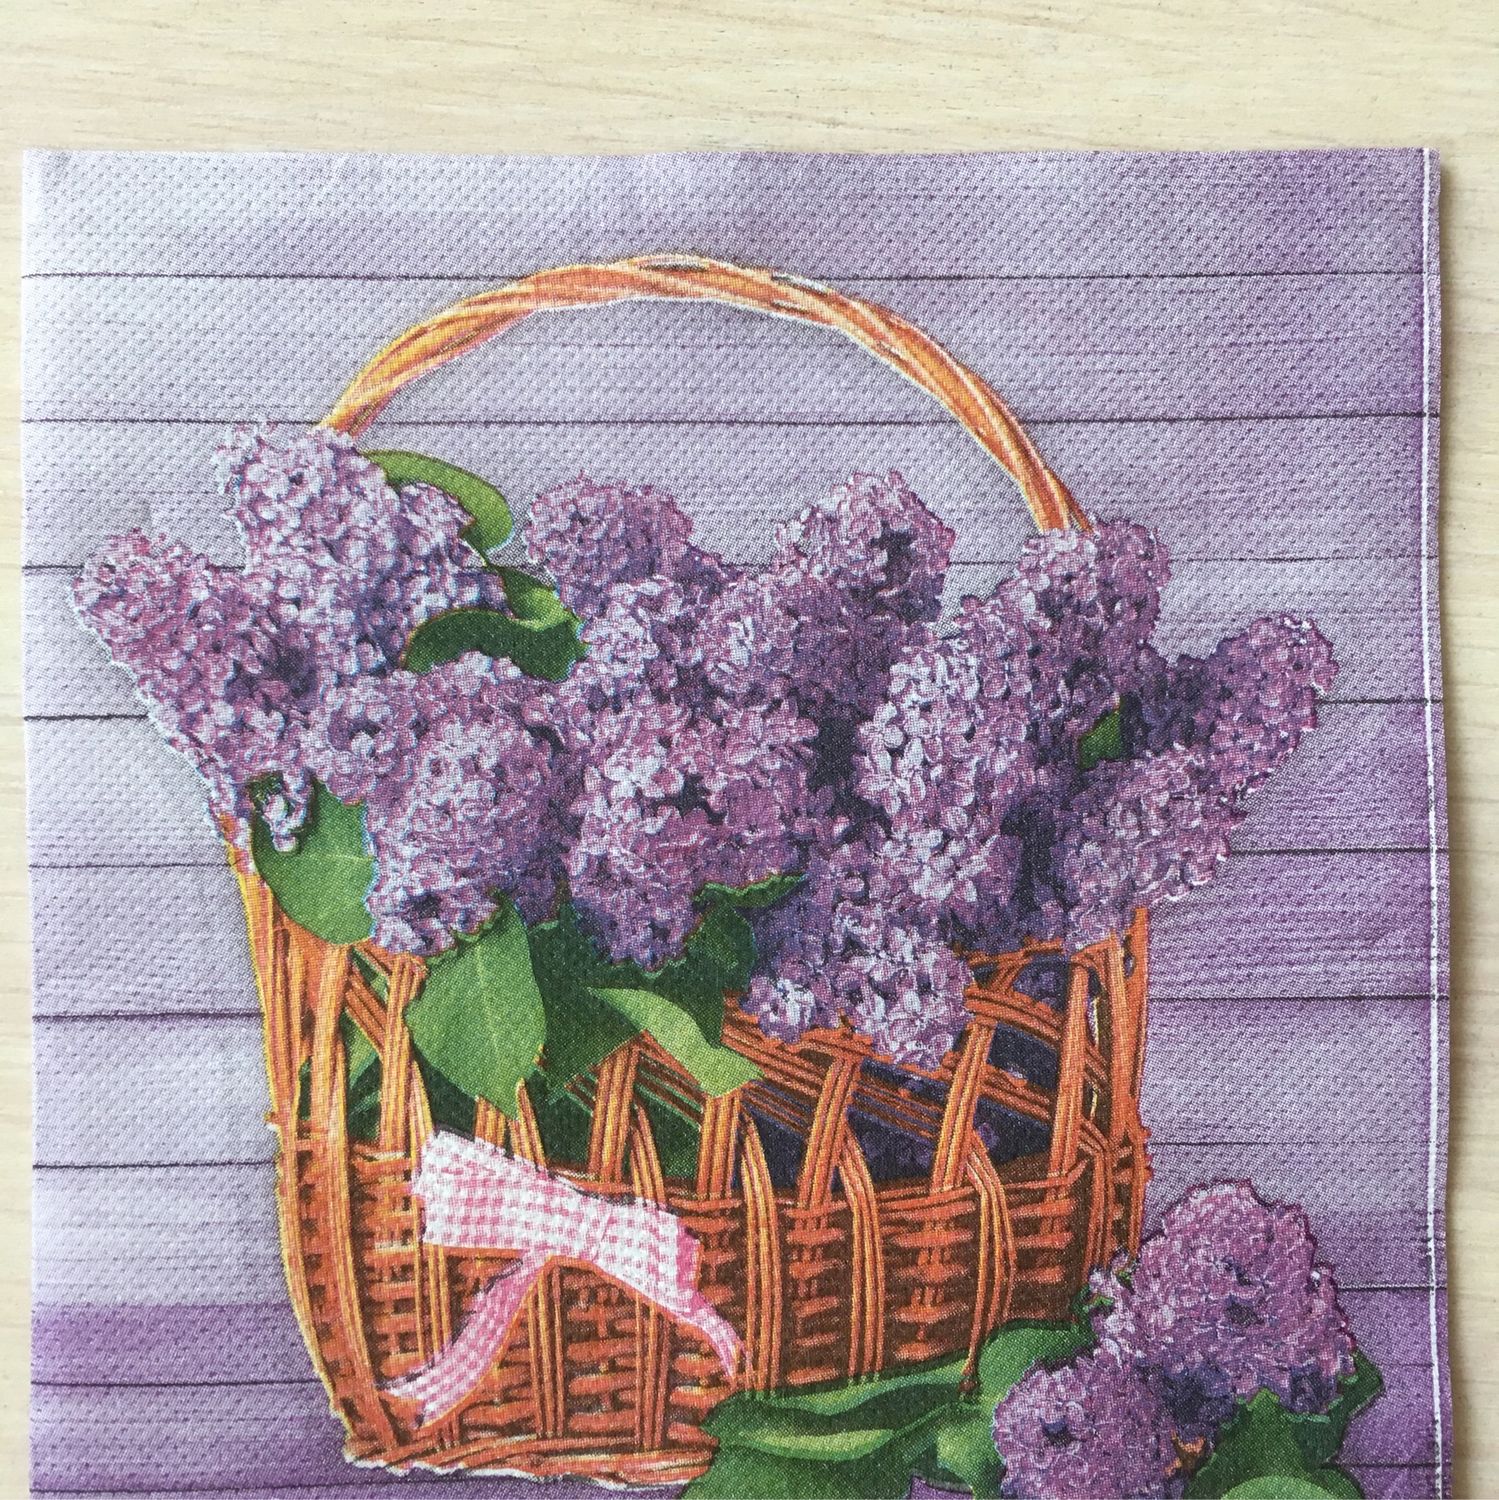
Various applications of lilac from napkins
You can make an applique from napkins using various techniques:
Decoupage
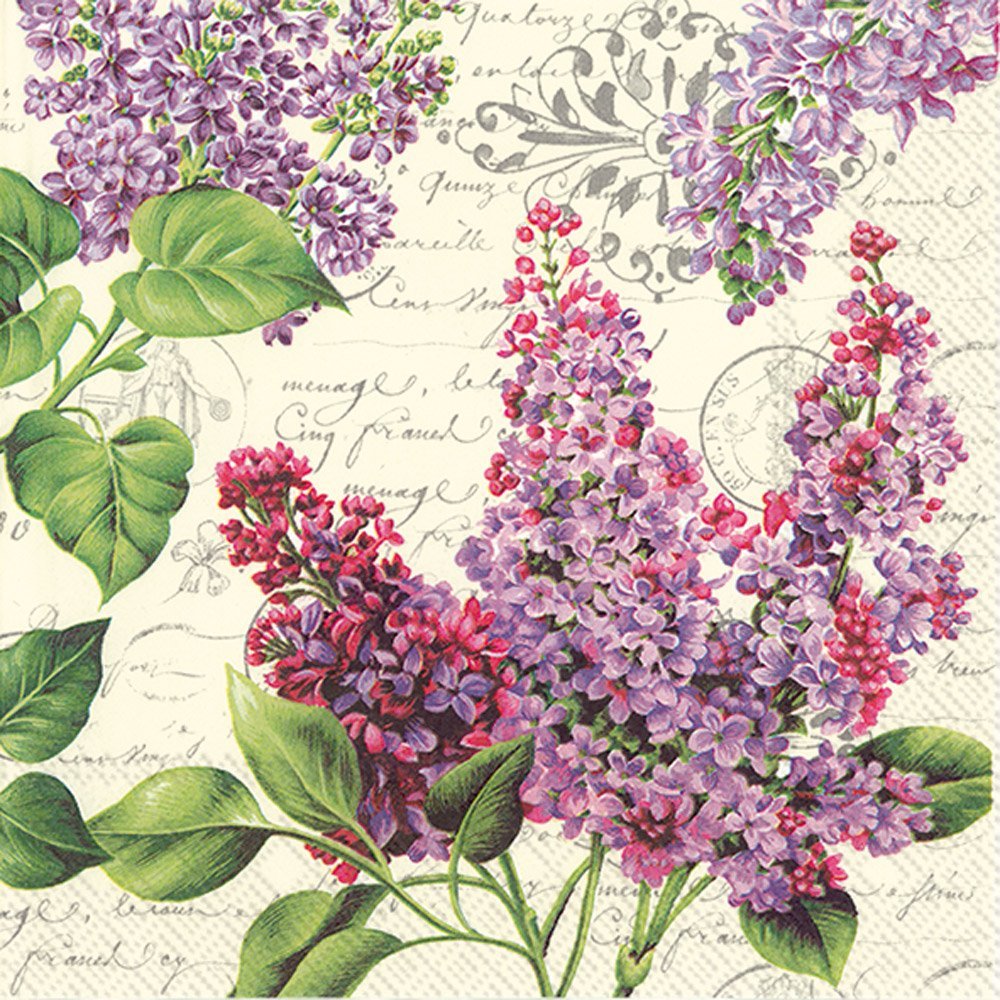
For the manufacture of such work, napkins with a lilac pattern are required, ordinary or special decoupage napkins.
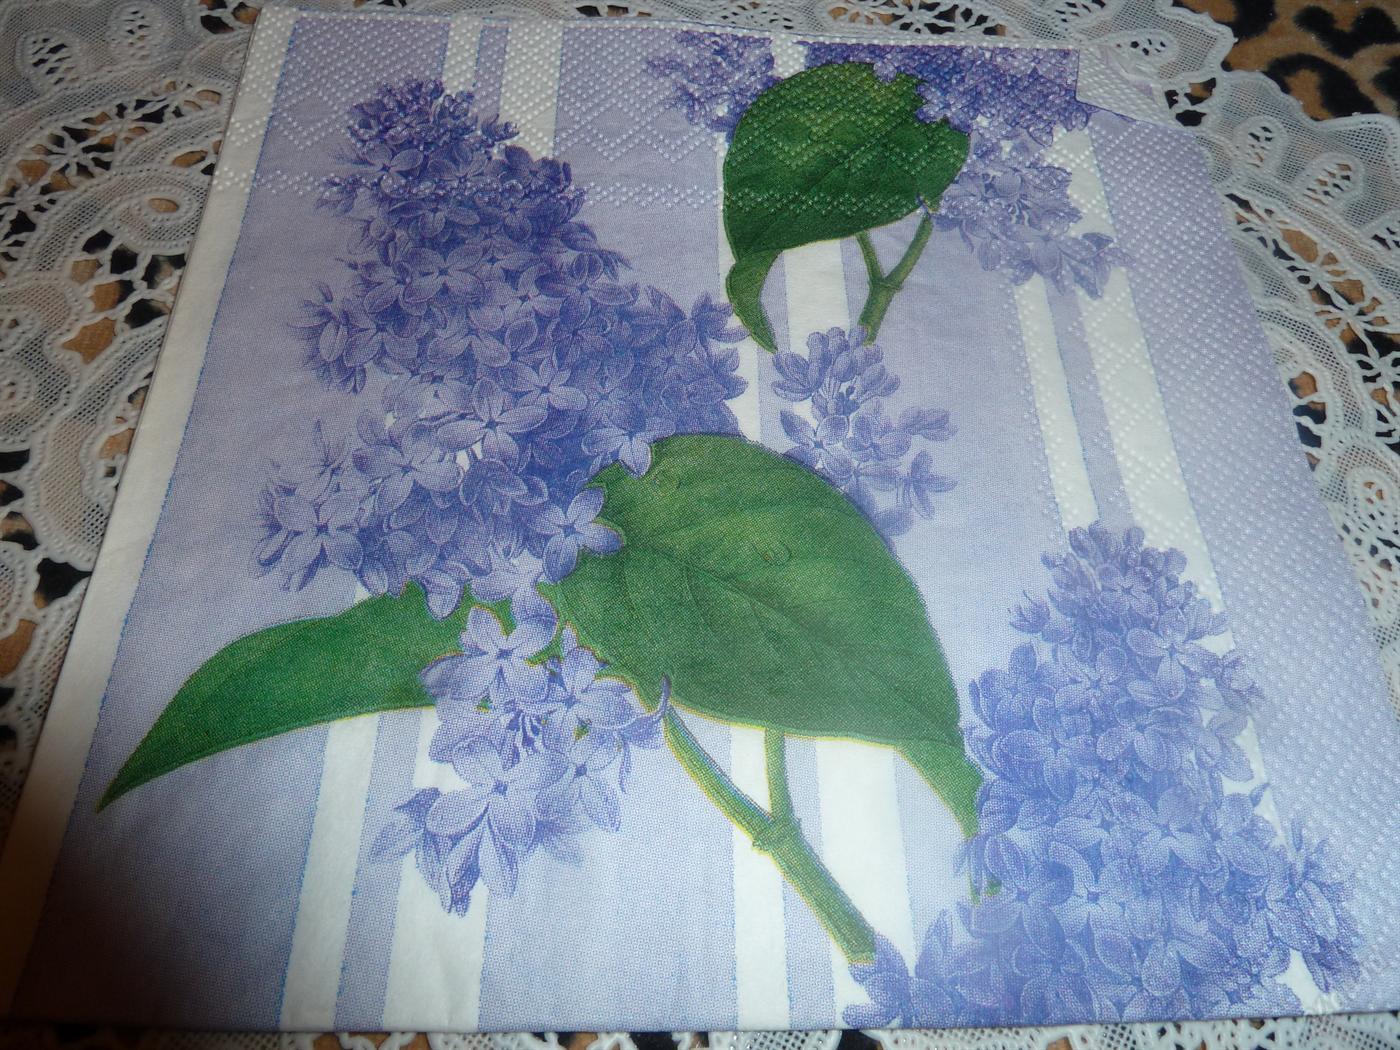
In addition, acrylic primer, varnish and paint, as well as special glue varnish are useful. The image can be applied to paper, although most often the technique is used to decorate furniture and accessories.
Facing
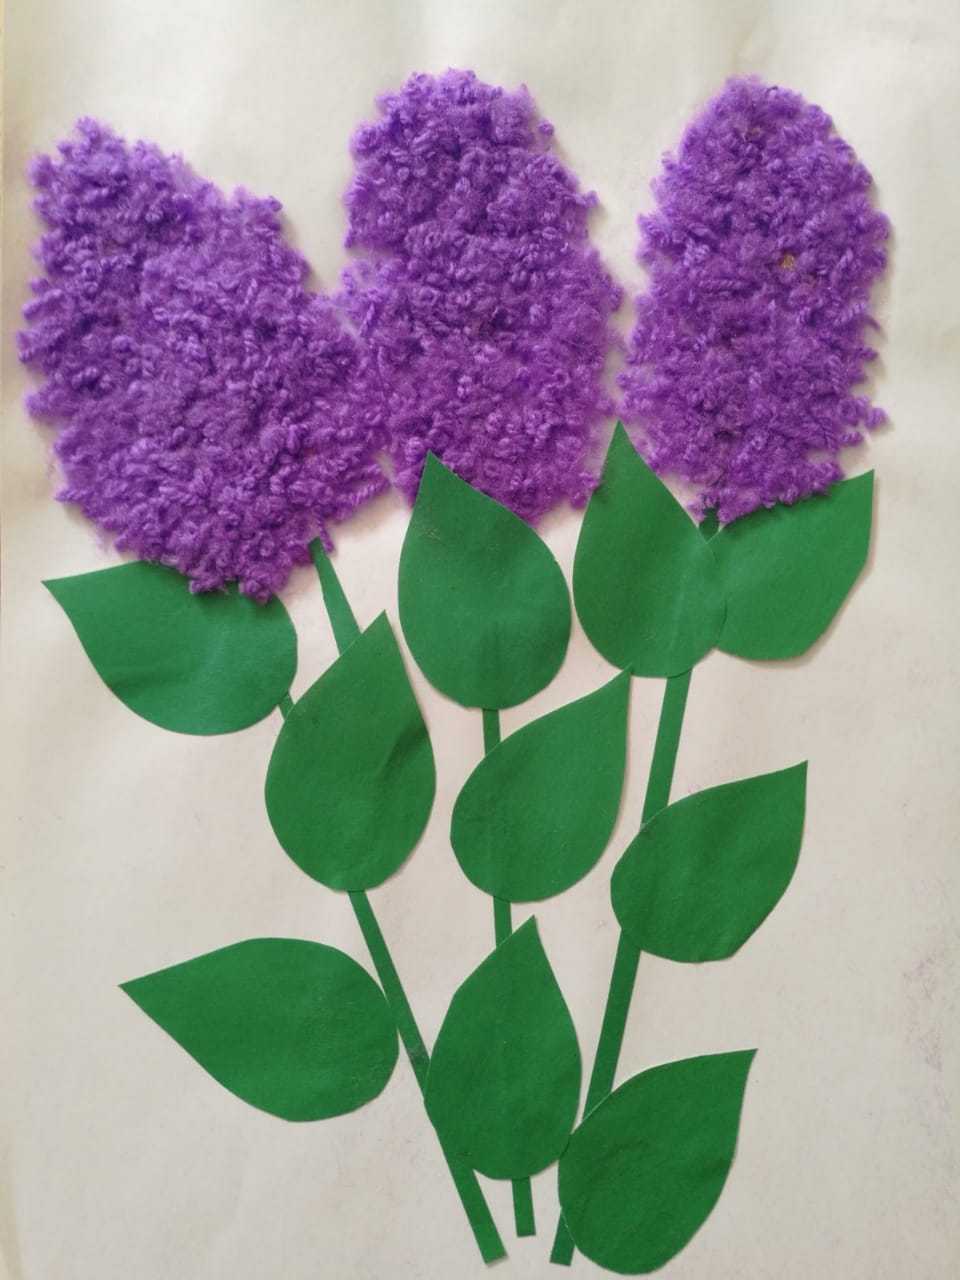
This is a fairly popular method for making volumetric appliqués. For it, not only napkins are used, but also crepe or corrugated paper. The work is quite painstaking, but not difficult, and therefore can be done together with the child.
Note! For trimming, choose a napkin that is thick enough to avoid breaking.
Pape art
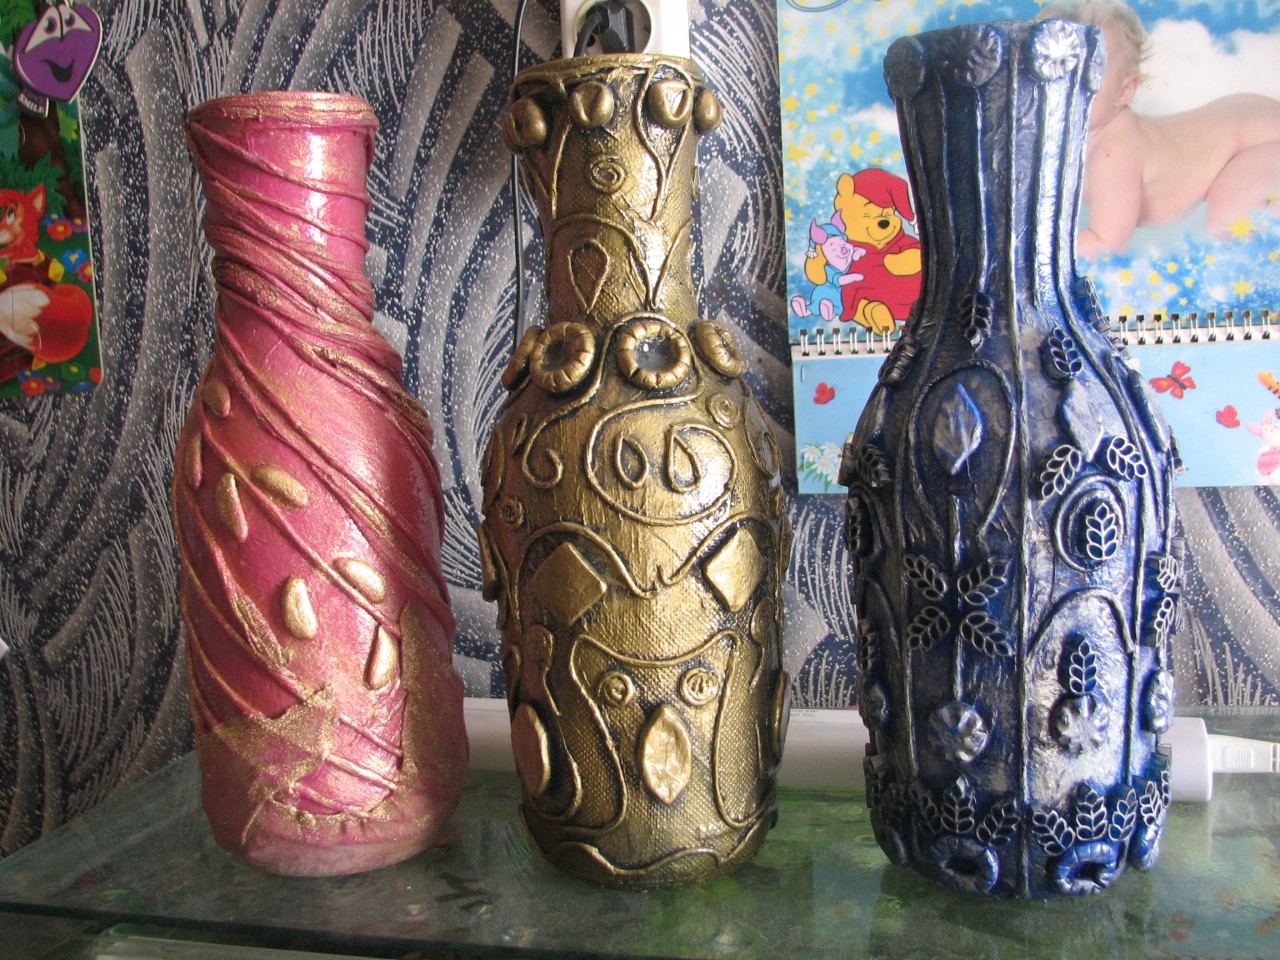
This is a relatively young technique, the essence of which is to decorate objects with paper napkins twisted into a thread. It can be used to imitate more expensive techniques such as embossing and filigree, as well as create attractive appliqués.
Rolling napkins
This is the simplest version, suitable for small children. In the case of lilacs, it fits best, since each individual spool corresponds to a separate flower.
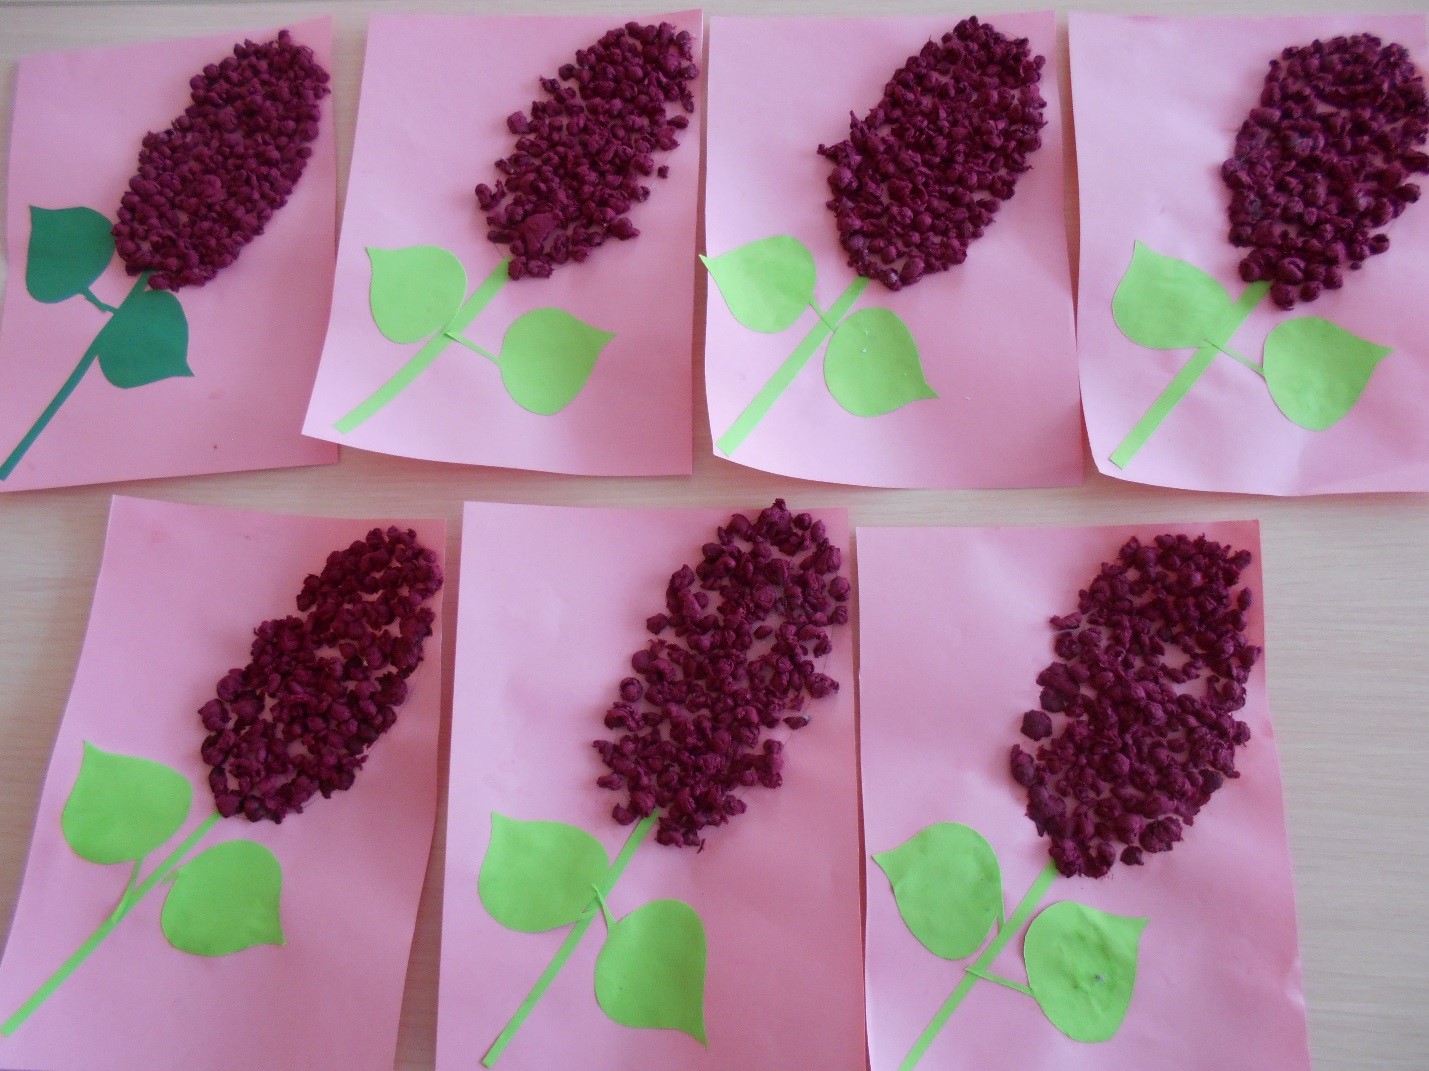
Preparation of materials and tools for manufacturing
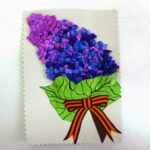
The lilac branch will be made using two techniques at once - trimming for flowers and piping art for leaves. For work you will need:
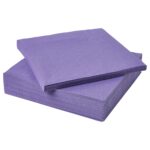
- thick paper napkins of green, white, pink and various shades of lilac colors;
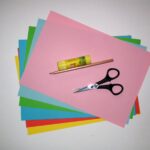
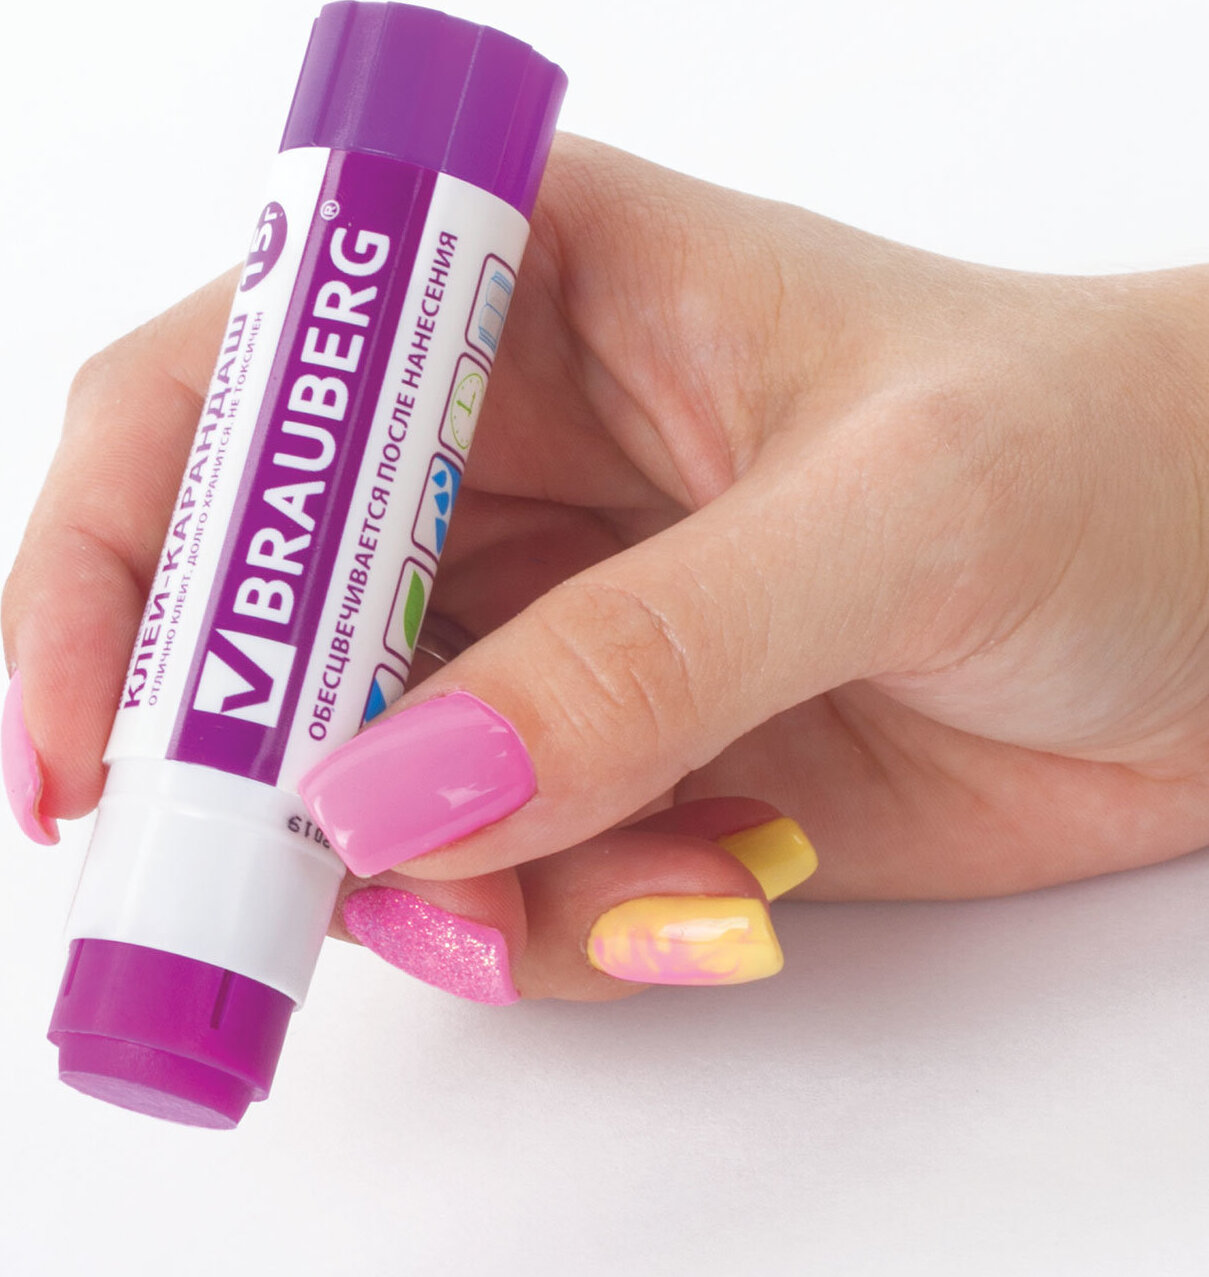
- glue stick;
- cardboard (a piece for cutting plus a background substrate);
- scissors;
- ruler;
- wooden skewer or rod from the handle;
- simple pencil.
Note! A dry glue stick should be used for gluing, since PVA or silicate glue will unnecessarily wet thin wipes, making them unusable.
Making lilacs from napkins
Creation of the base
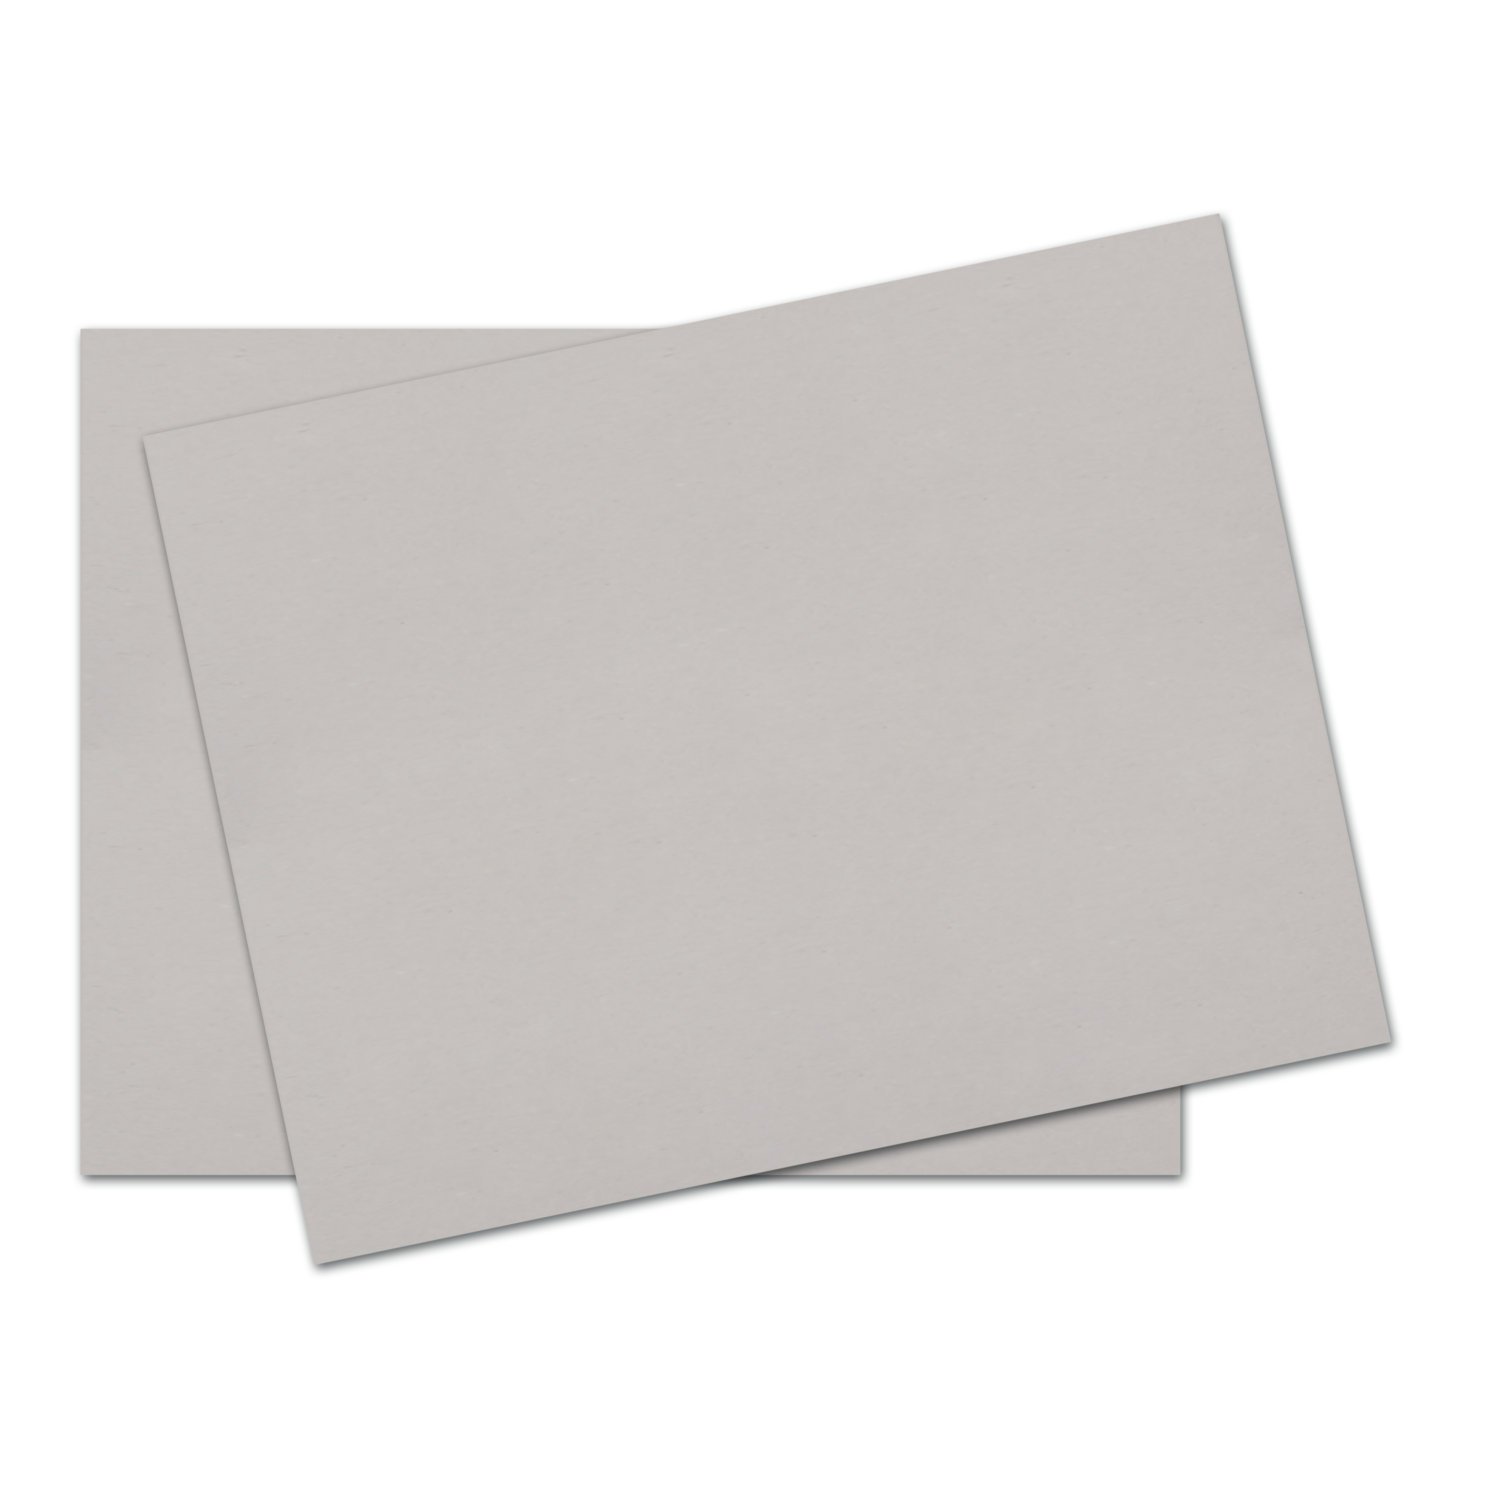
As a base, you can use a thick cardboard backing with a colored front side or any other durable material. The use of paper is not recommended, because, due to its thinness, it will not be able to withstand the weight of the craft, and the work will lose its presentable appearance.
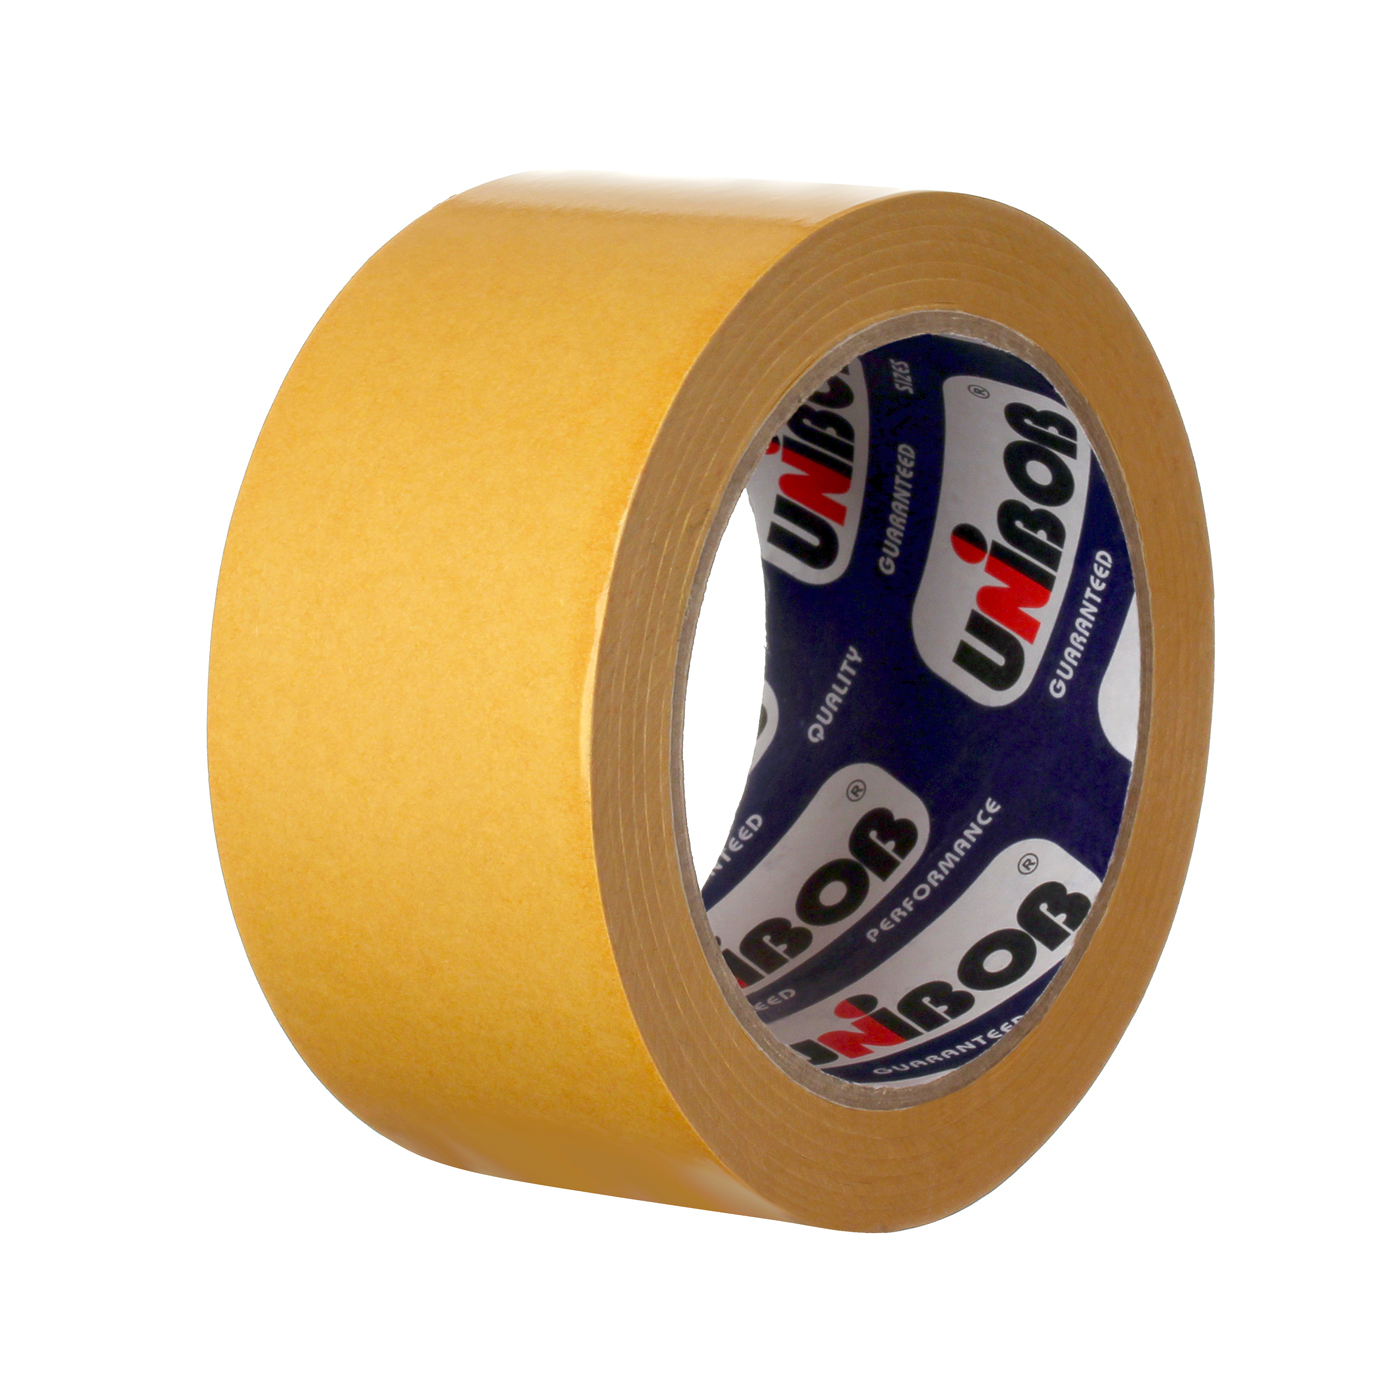
On the back of the base, you can stick several pieces of double-sided tape in order to hang the work in the future. You should choose a reliable tape so that the applique does not fall off due to its weight. It is optimal to use double-sided foam tape for interior work.
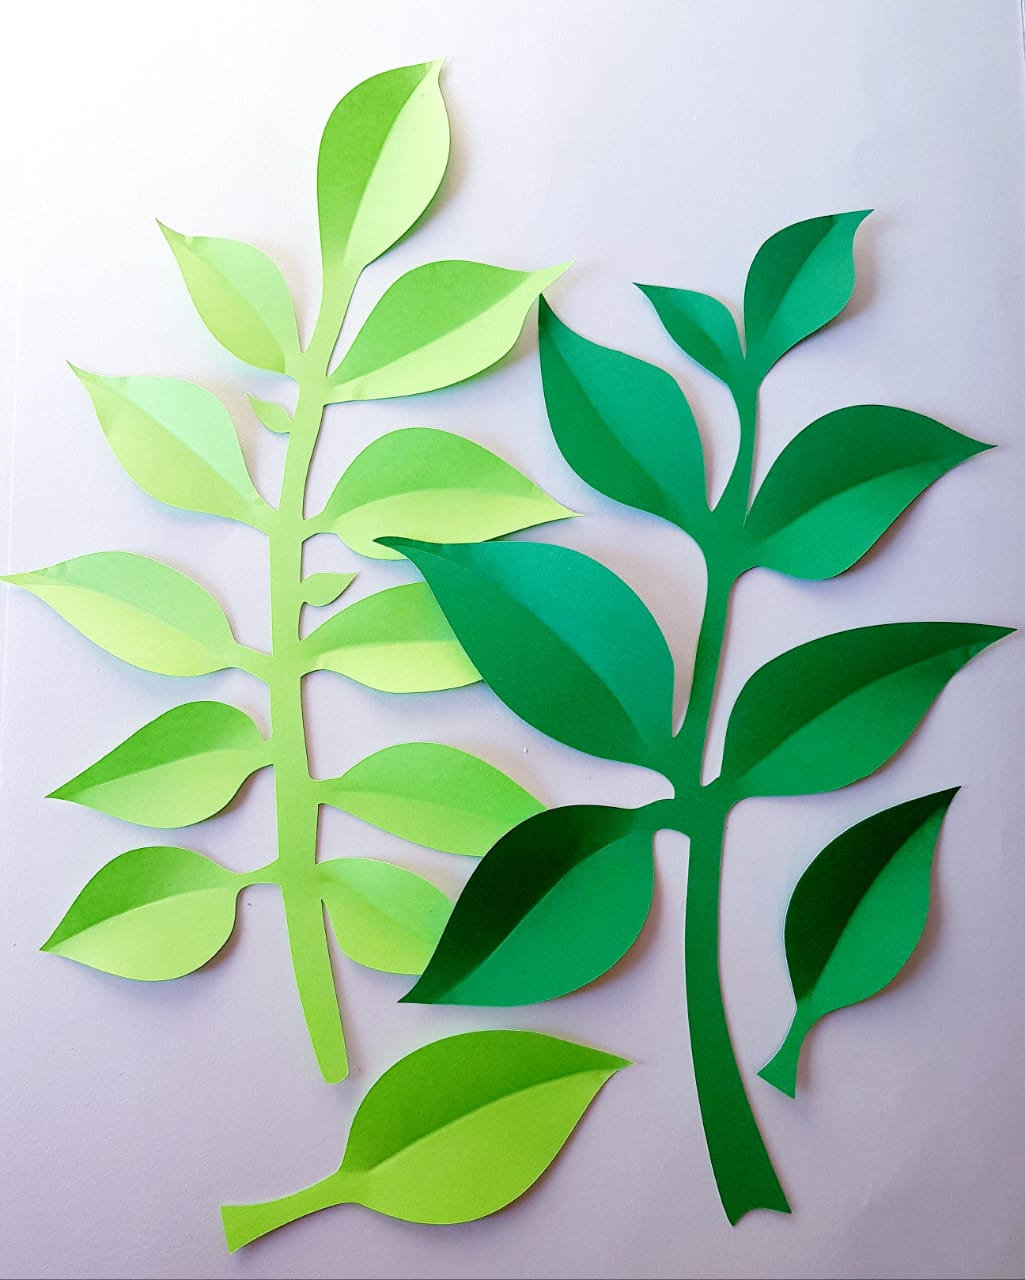
The contours of the future twig should be applied to the front side of the substrate. Clusters of inflorescences can be denoted by asymmetric ellipses, one end of which is slightly dumber than the other. Leaves can also be depicted schematically. After that, these elements should be copied onto a working piece of cardboard, from which they need to be cut.
Making lilac inflorescences
Inflorescences are performed according to the following scheme:
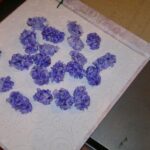
- Cut white, pink and lilac napkins into squares with a side of 1.5 cm. It is more convenient to first cut the strips, and then divide them into squares.
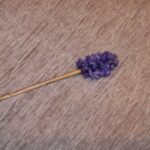
- Place the blunt end of the skewer in the center of one of the squares. A skewer is used as a base, around which a napkin is slightly crumpled and wound. This should be done carefully so as not to tear the workpieces.
- Apply a little glue to the cut-out cardboard ellipse and glue the square of the napkin upside down. In this case, the skewer is not removed and is used for better fastening.
- Repeat the procedure until all cardboard ellipses are completely filled.
Note! Each new part must be placed as close as possible to the previous one so that there are no gaps between them.
Add greenery
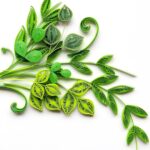
The leaves framing the inflorescences are made of paper tows. The manufacturing process is as follows:
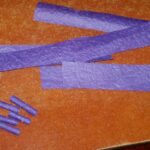
- Fold the green napkin in half and cut into strips 1.5 cm wide.
- Lightly moisten the strips with water and twist tight bundles. This manipulation must be carried out very carefully in order to preserve the integrity of the workpieces as much as possible. Leave the finished harnesses to dry completely.
- Glue the dried strands on the pieces of cardboard that are responsible for the leaves. This should be done gradually, moving from the edges to the center. New elements are added after firmly fixing the previous ones. First, the largest veins are laid out, then the remaining space is sequentially filled. As a result, the leaves can be in the shape of hearts or a peak, depending on the concept.
Note! To fix the paper bundles with high quality, you can replace the glue stick with a liquid, quick-drying analogue.
We fasten all the parts
All parts of the applique must be attached to the cardboard base. It is worth starting with the foliage, which can be partially covered with inflorescences.
Each next fragment should be glued after fixing the previous one.

It is better to use a glue stick so as not to deform the substrate. After gluing all the details, if necessary, you can additionally fill in the gaps with new inflorescences.
The finished work can be framed or glued to the wall using double-sided tape. It should not be placed in direct sunlight, as this can cause the wipes to tarnish.
Before you make a branch of lilac from napkins with your own hands, you need to decide on the purpose of the craft and the desired technique. The work can be done with children, which is beneficial for the development of fine motor skills. The finished product will become a pretty home decoration.
Video: how to make a lilac applique from napkins
