Do-it-yourself protection and bumpers in the crib
It is so important for every new mother that the precious baby is healthy, protected and always in comfort, comfort and safety! A crib is a place where a newborn baby will spend most of its time in the first year of its life. Therefore, it is so important that the crib is comfortable, safe and designed for the healthy growth of the baby. Mothers always try to make her beautiful, cute, buy the best bedding, decorate the bed with soft pillows, pendants and a variety of decor.
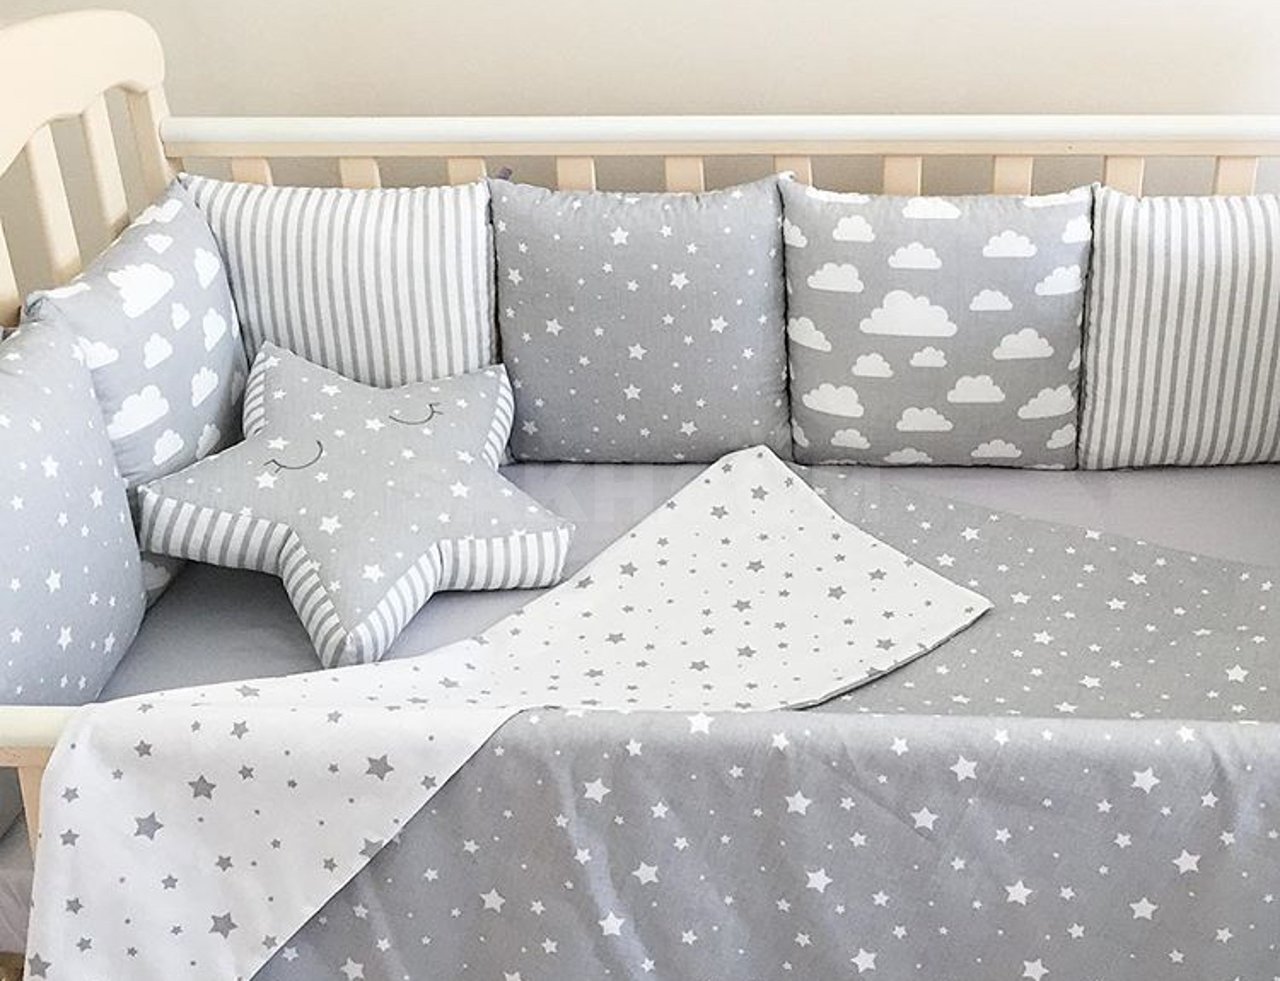
But in addition to the correct bedding and decor, you need to take care of special bumpers. Many caring mothers make bumpers for newborns with their own hands, because it is very simple and much cheaper than buying ready-made ones in a store. Even if you have never been involved in needlework, it will not take you any trouble to sew such a product for your beloved baby, but on the contrary, you will get sheer pleasure!
What are the sides in the crib for?
The main purpose of the crib bumpers is to protect the baby from injury. Young parents should understand that for the first couple of weeks the baby lies almost motionless in its bed, but before you have time to look back, it will begin to crawl and roll over its bed, and will constantly beat with tender arms and legs against the hard walls and the headboard.
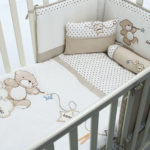
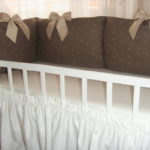
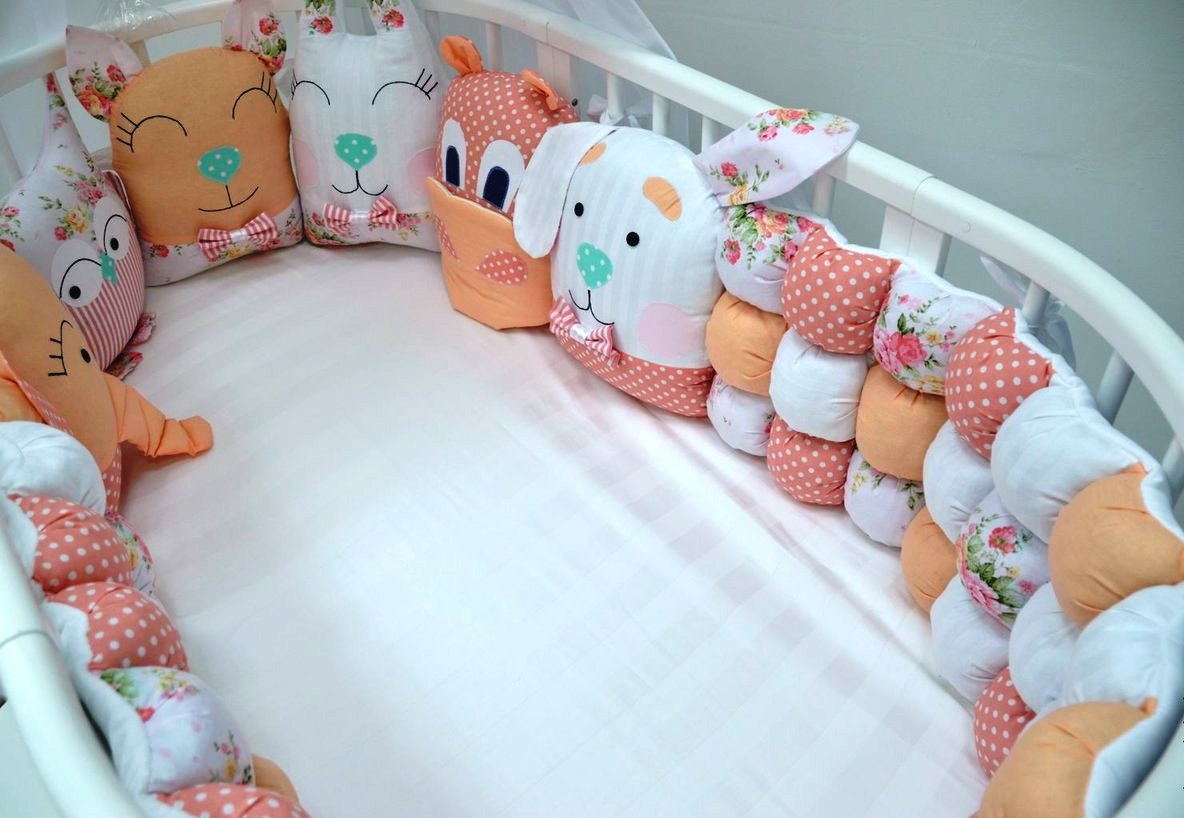
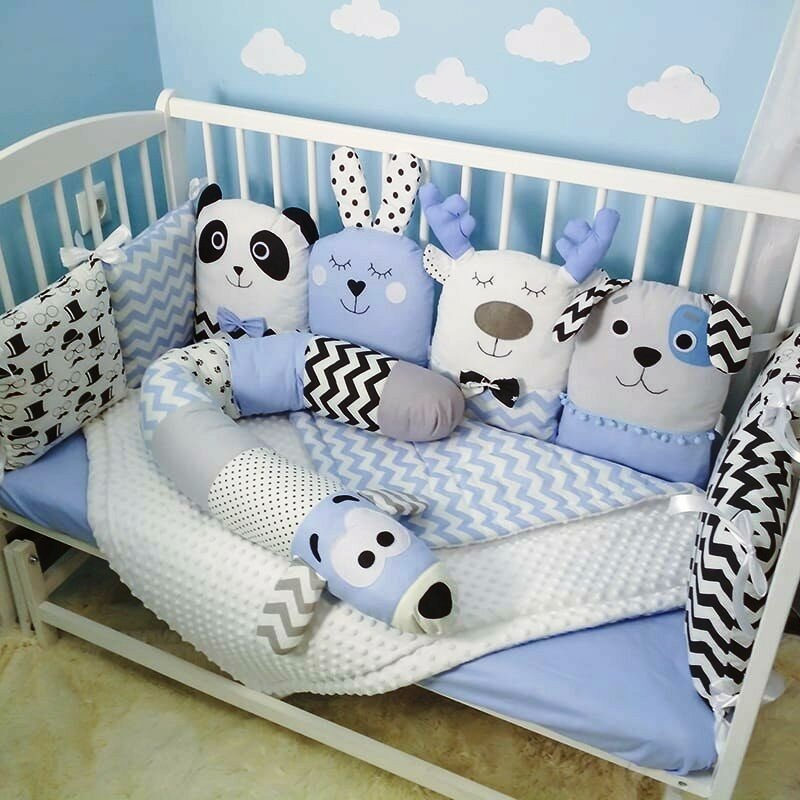
For protection, special soft sides are sewn - in the form of pillows, a continuous soft strip of fabric or in the form of unusual shapes and even animals. They are attached from the inside along the entire perimeter of the child's bed and reliably protect the child from pain and bruises, and the sleeping place will become even more comfortable and beautiful!

Also, the sides protect the child from drafts, which is also extremely important, because the crumbs' immunity is still very weak, and the baby is susceptible to disease from the slightest draft. The dense soft fabric also provides partial noise isolation, and the crib will be calm and quiet, the baby will be calm and less capricious.
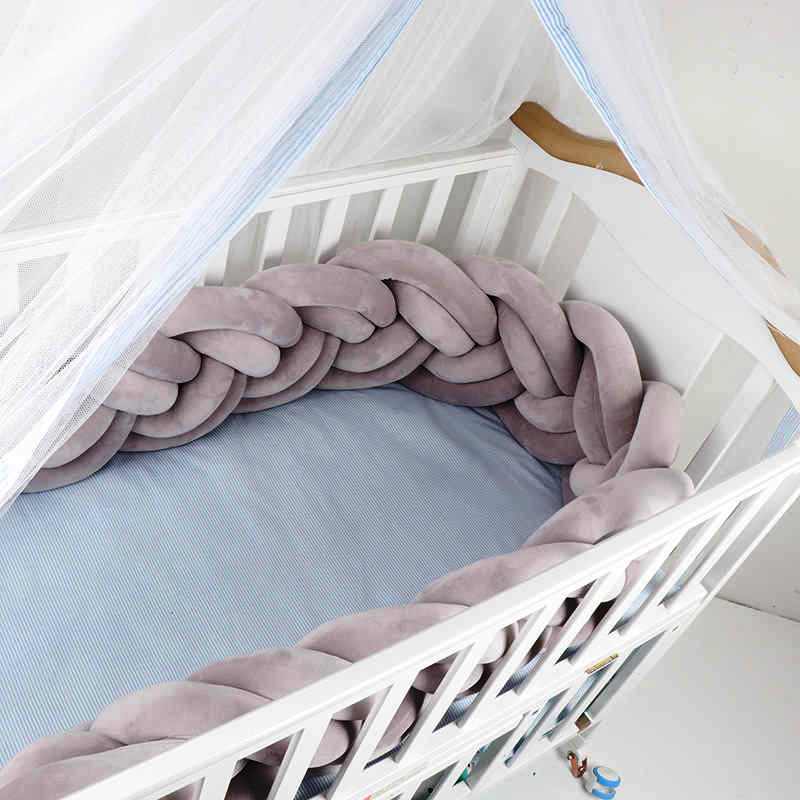
Bumpers are made of natural cotton fabric or other soft and natural material suitable for a child, for example, from a bike. A synthetic winterizer or holofiber is used as a filler, but it is not recommended to use foam rubber, as it dries poorly and can become a breeding ground for fungus.
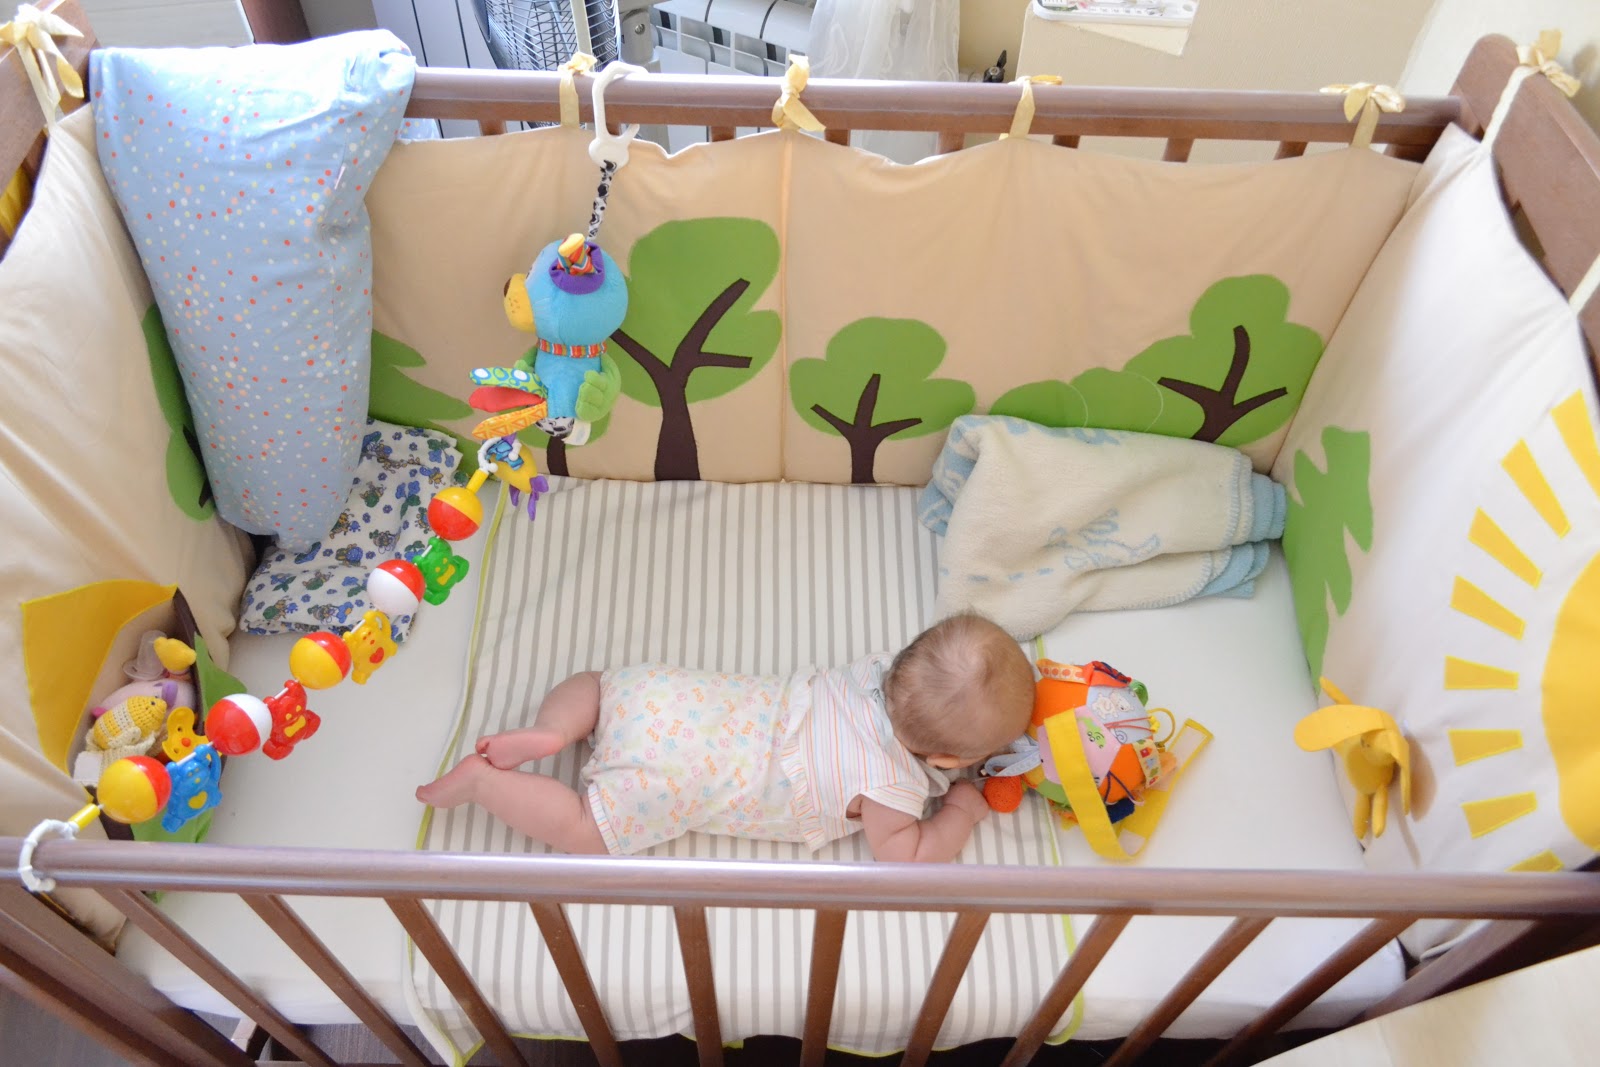
Varieties of sides for newborns
Before you sew the bumpers into the crib, you should choose its type and shape. They can differ in size, height, difficulty in manufacturing. And most importantly, they look different, so choose according to your personal taste.
Snake
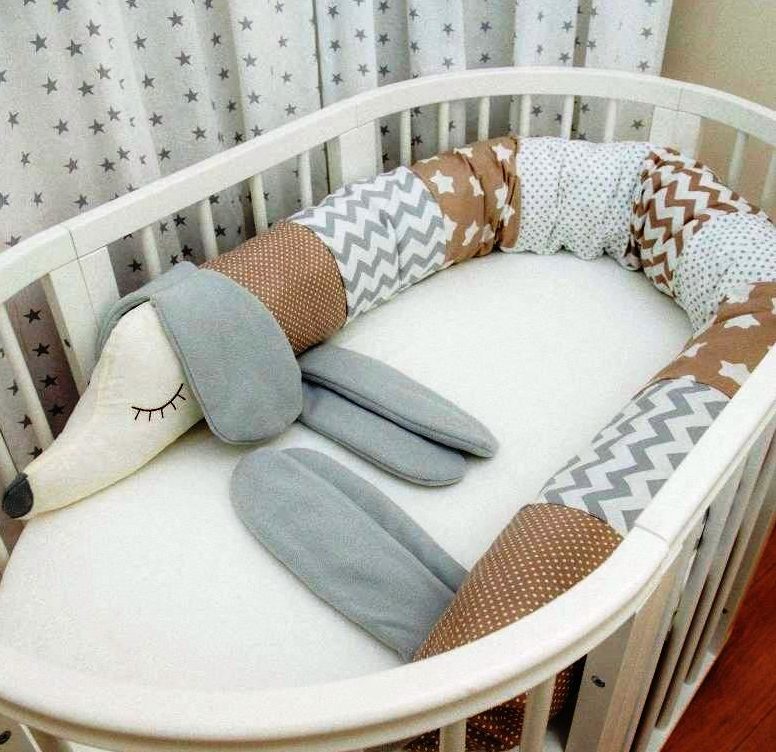
An excellent choice for you if you are "friends" with a thread and a needle. The snake is a long round roller that is laid out at the bottom along the perimeter of the bed and looks like a fun toy.
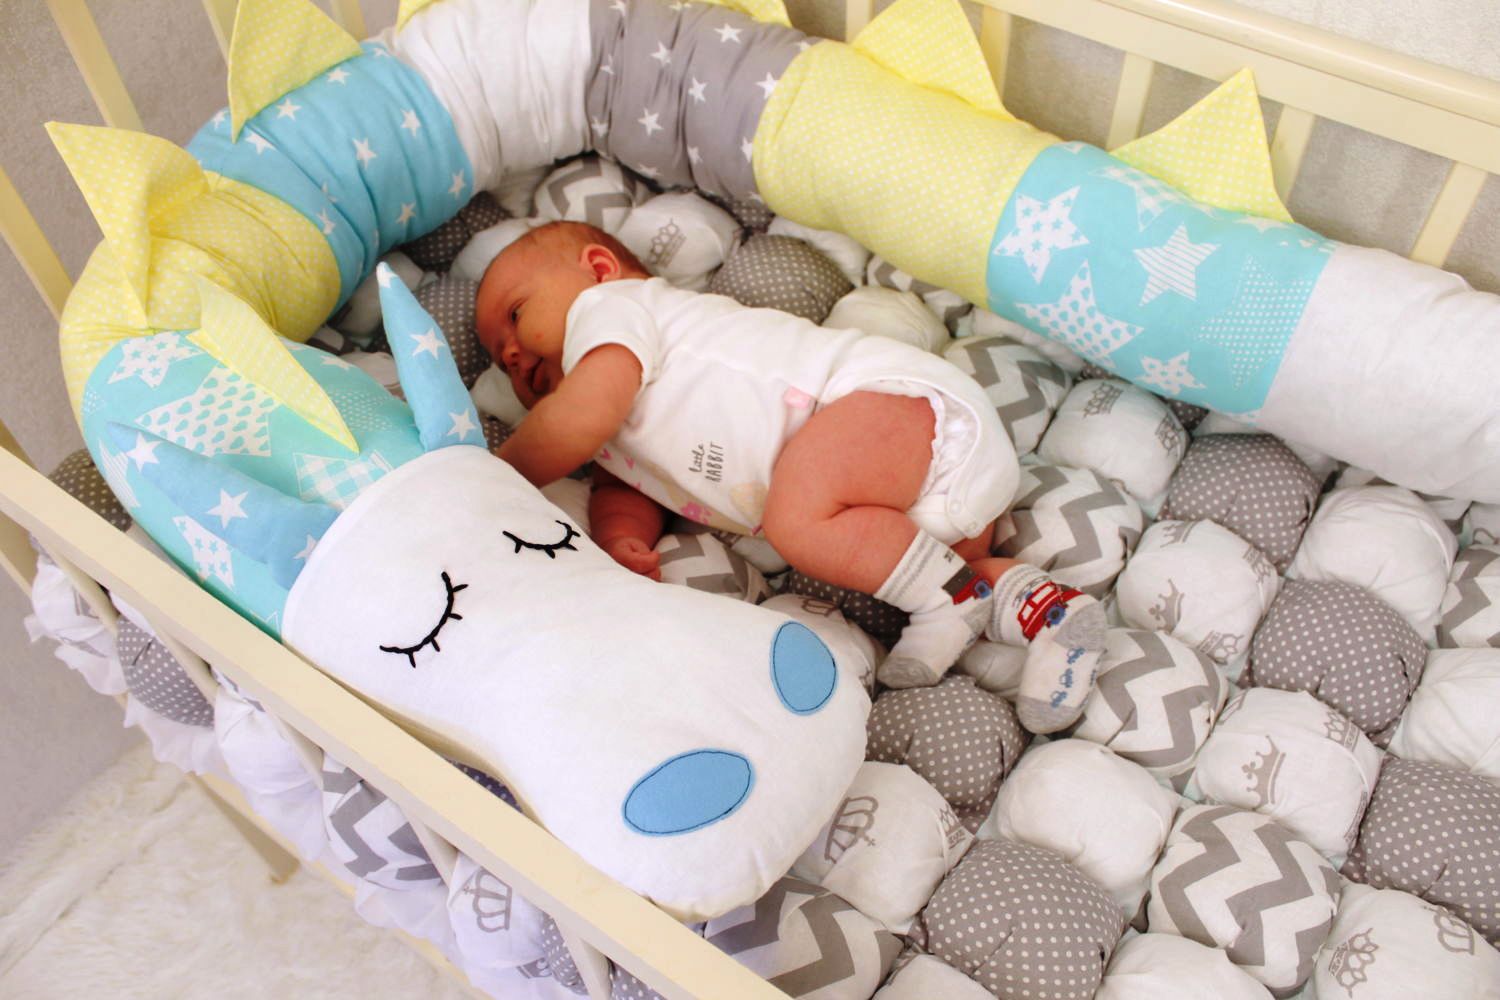
The snake can be made in the form of just a bright multi-colored roller made of beautiful fabric, or in the form of an animal: a funny long dachshund, a family of seals, fish or a boa constrictor from a cartoon. The main thing is to show your imagination!
Clouds
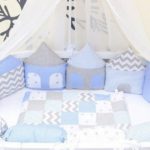
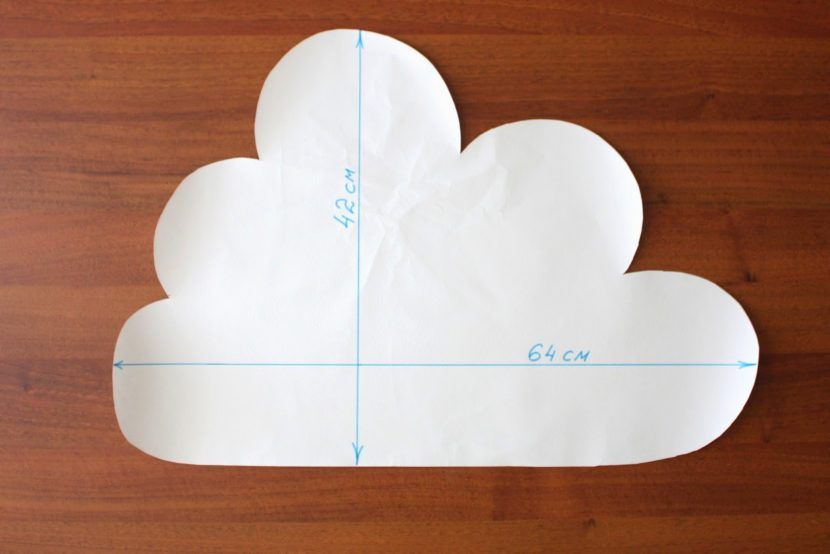
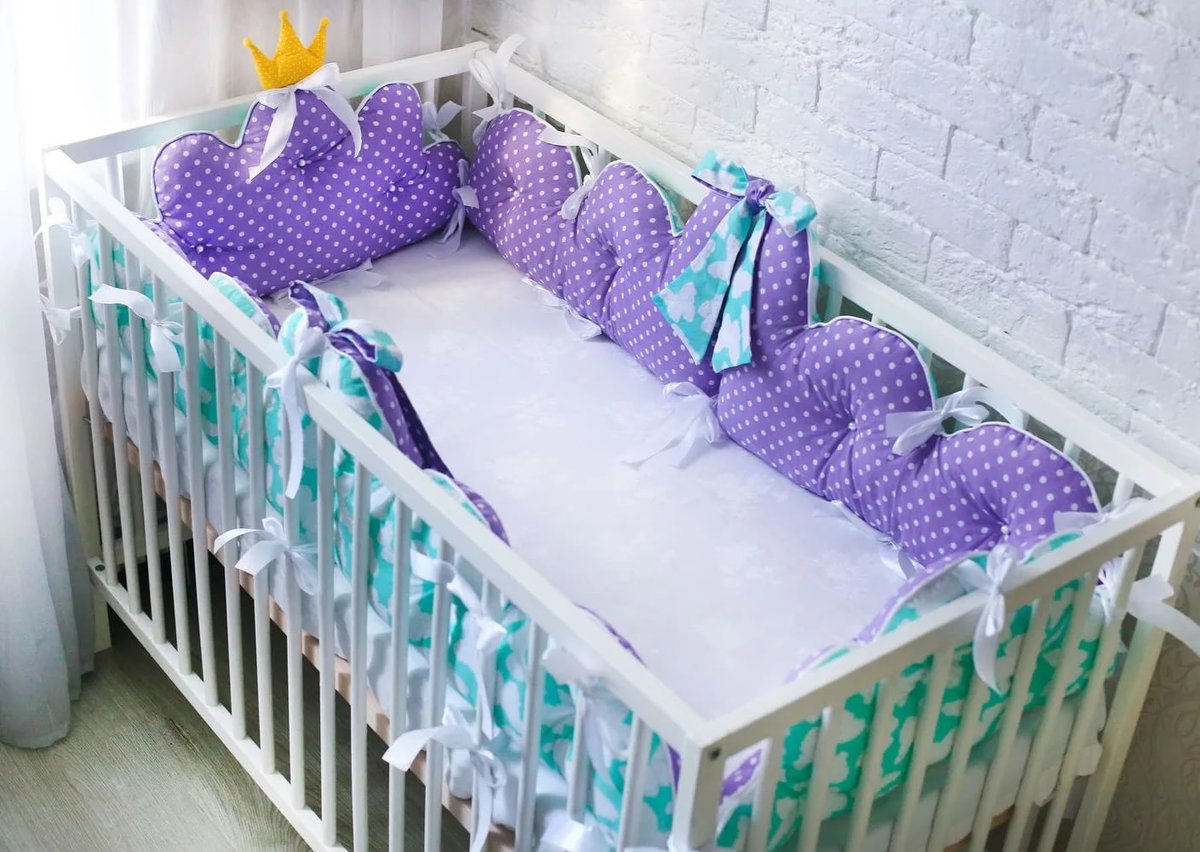
Clouds are a very popular form of bumpers among mothers. These are essentially bumpers in the form of small pillows in a crib for a newborn baby, but each pillow is in the shape of a cloud. It is better to make such sides from fabric of a delicate shade, combine white with blue, pink, cream. Such clouds look incredibly gentle, and they are sewn very simply! You don't even need a pattern, just cut a cloud out of the fabric - the bottom is flat, and the top is bumps, and you're done!
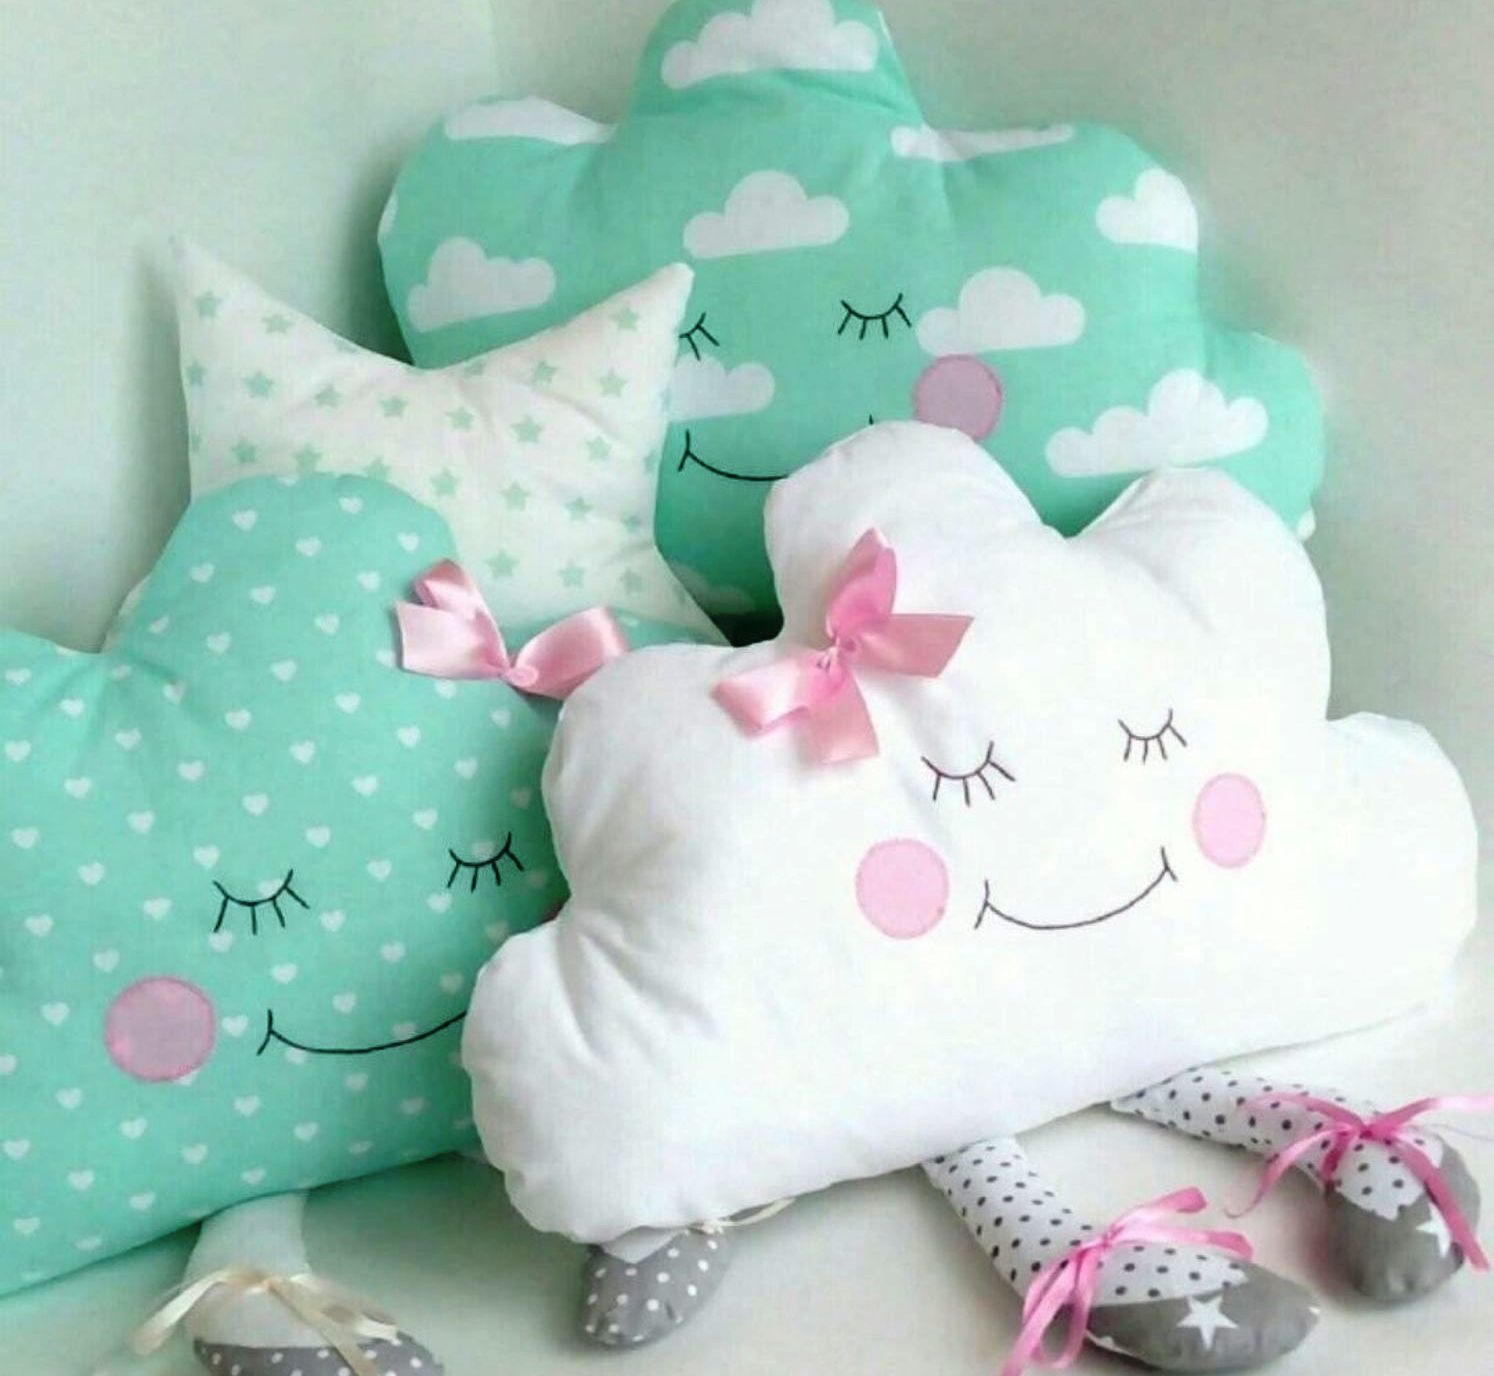
Clouds can be of the same shape and size, or they can be different. It's up to you. More often they make the same shape, cutting out all the clouds from one template, but they take different fabrics and alternate, for example, white and blue clouds. It turns out very nicely.
Pigtail
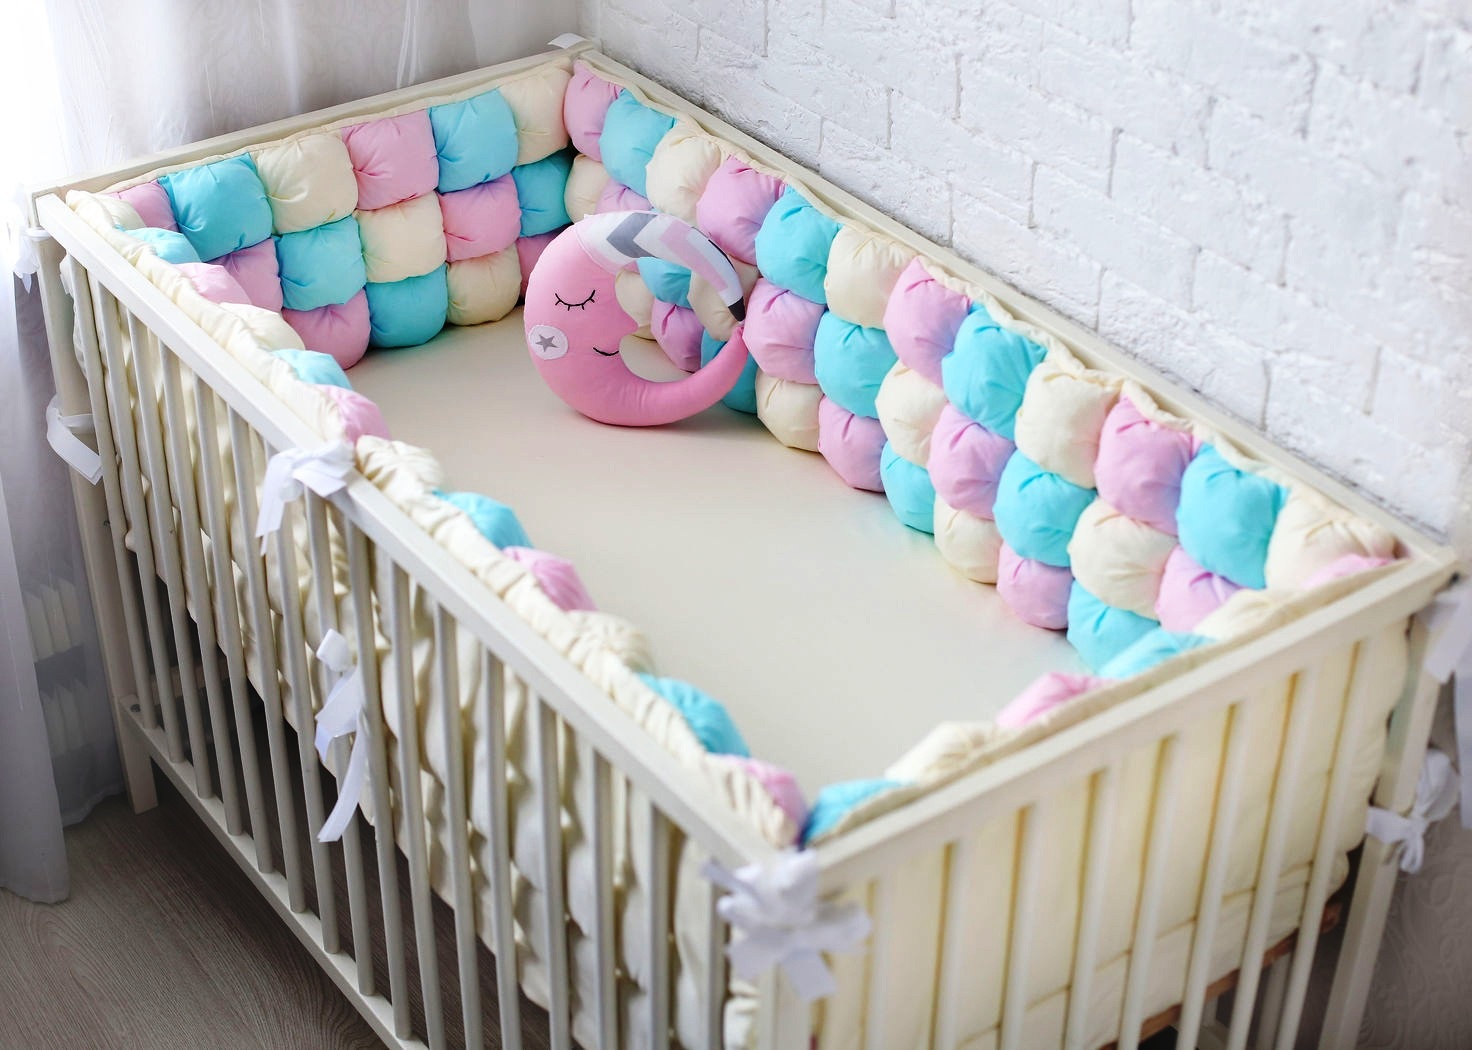
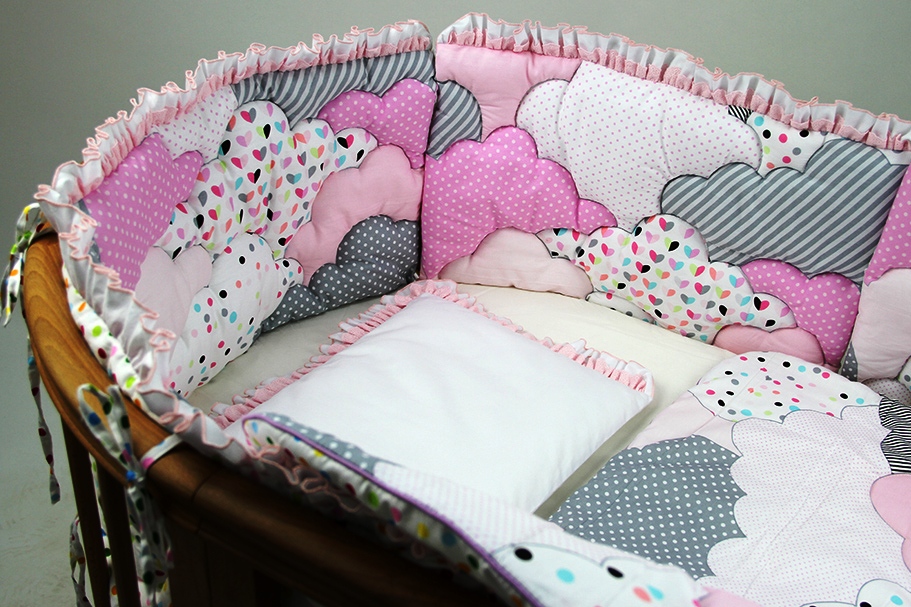
The name speaks for itself: the side in the form of a pigtail looks like a large soft braid, woven from three thick fabric rollers. It is easy to do, especially if you have a sewing machine. You just need to sew three long sausages from a soft fabric, and it is better that the fabric stretches a little, then it will be easier to weave the braid. Fill the "sausages" with soft filler, sew at the base and tie a pigtail, and fasten the other end with threads.
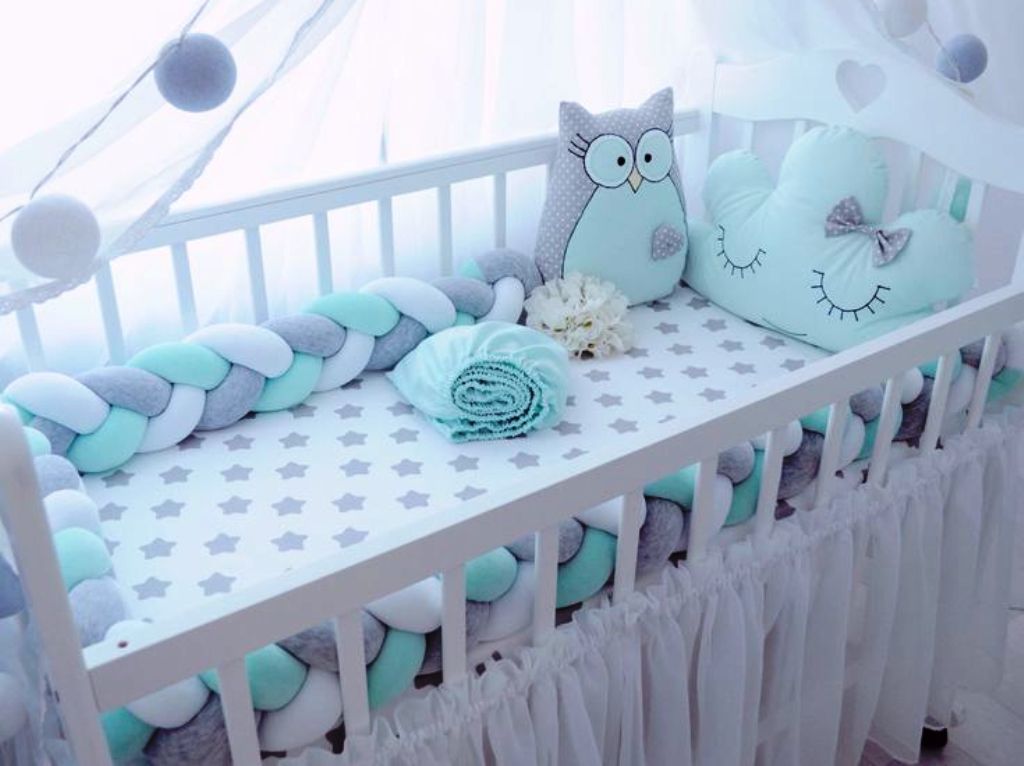
For the braid, you can use the fabric of three related, but different shades, so that they are harmoniously combined with each other. For example, soft turquoise, sky blue and cream. One of them may have a small pattern, but not all of them, otherwise it will turn out too colorful.

Little animals
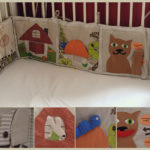
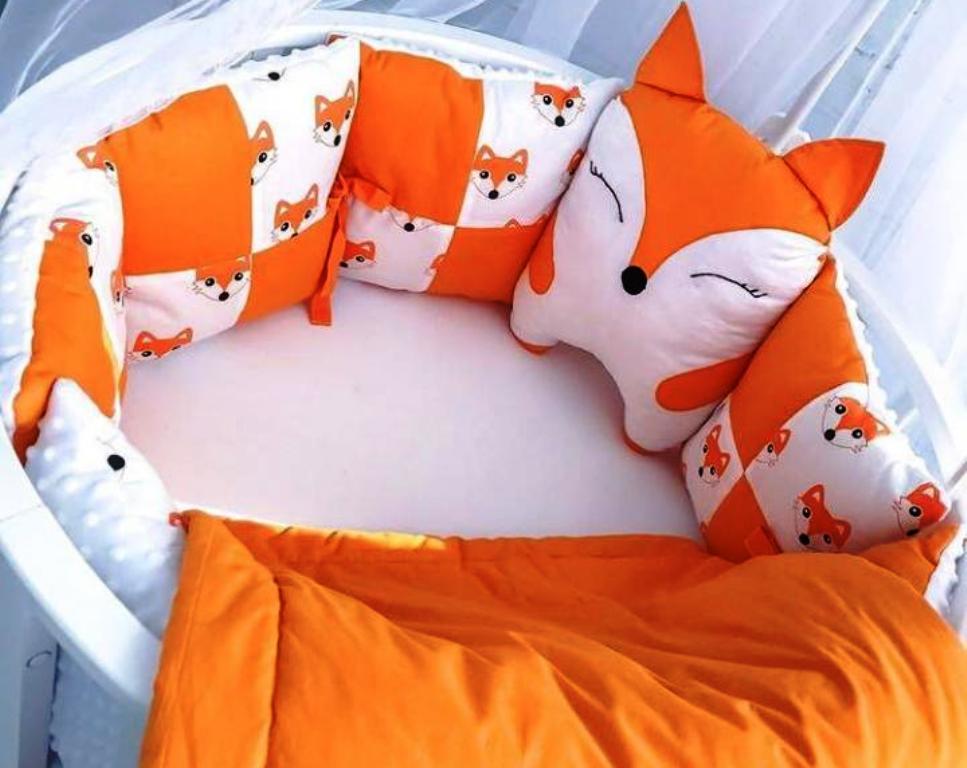
Another type of pillows are animals. There is a place where fantasies can roam! And making them with your own hands is much easier than you might think at first glance. The easiest way is to make square, rectangular or rounded pads, and make an animal out of them using fabric applique - create an original face of a cat, dog, owl.
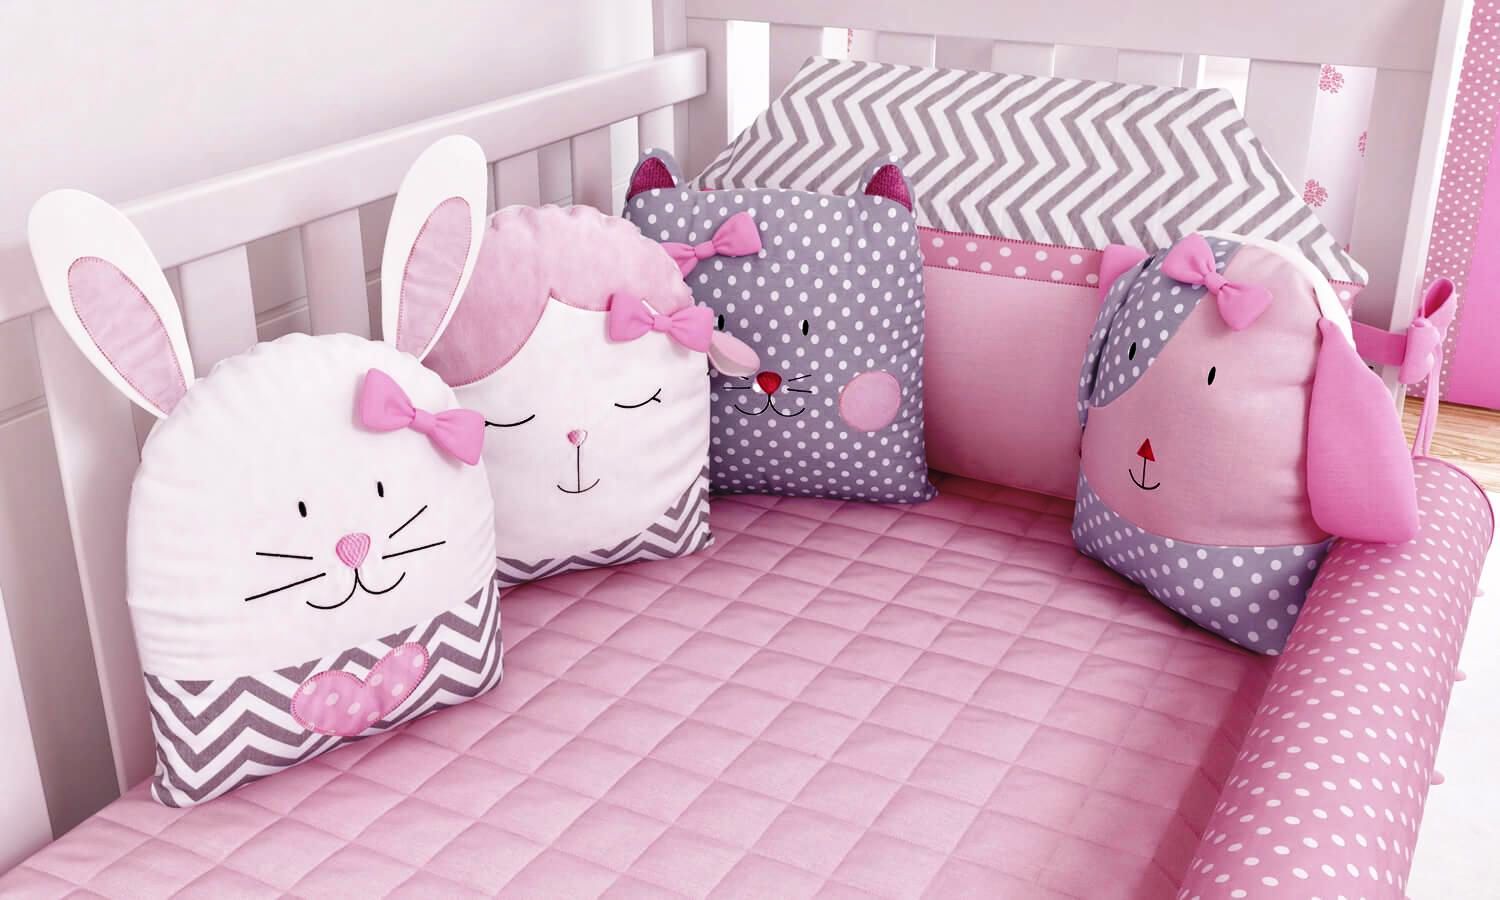
You can make ears or horns, even paws. But you should not use decorative elements made of plastic and other hard materials: sew eyes, nose and other details only from fabric, because the side must be safe, and any hard parts can injure the baby.

How to sew bumpers in a crib with your own hands
When you've decided what your side will look like, pick up the fabric. She should not only be beautiful and fit in style, but most importantly, she should be safe, soft and pleasant for the child.Synthetic fabrics lead to allergies, irritation of the child's skin, fungus develops on them, well, and other troubles. So the material must be exclusively natural and of high quality, this is the main requirement. The following materials are suitable:
- Satin;
- Cotton;
- Plush;
- Bike;
- Calico;
- Ranfors;
- Chintz;
- Bamboo.
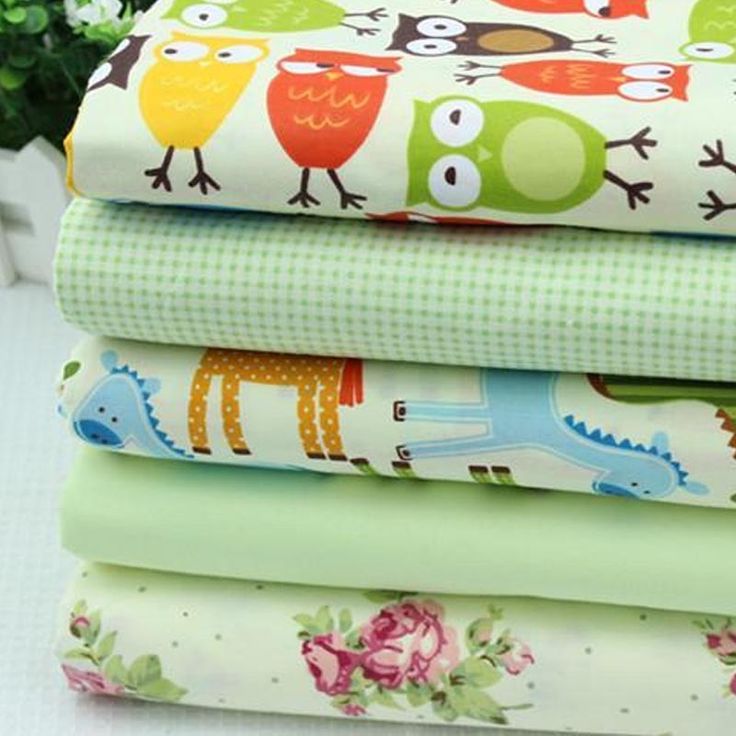
Be sure to feel the fabric, make sure of its natural composition, pay attention to the threads, their strength and weave.
As for the filler, there are several options:
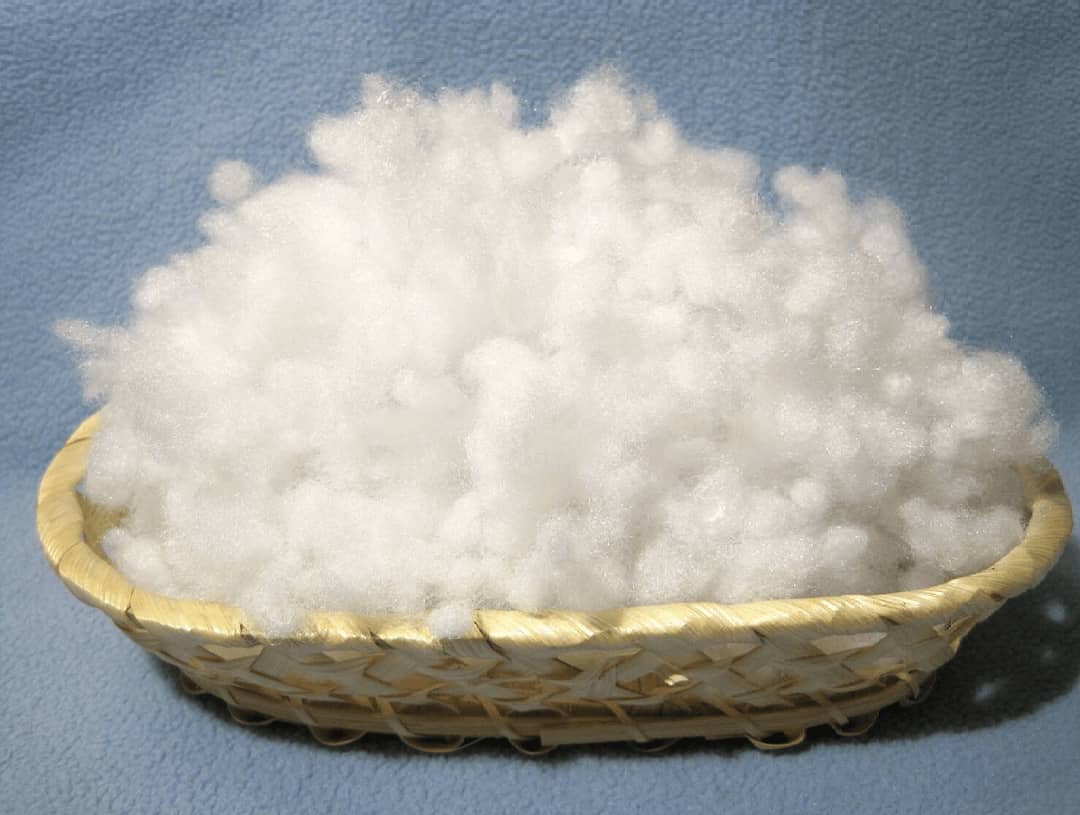
- Sintepon is the most inexpensive, affordable and widespread material for children's toys, handicrafts and pillows. It is sold in any fabric store and is perfect for making bumpers.
- Holofiber is a more modern material, similar to a synthetic winterizer. It is more expensive, but its quality is also higher: the product will dry instantly, is completely non-toxic and safe for the child, perfectly keeps its shape and is highly durable.
- Periotec is another new material that is used to make various soft products. It is also similar to a synthetic winterizer, but much more expensive and better in quality. Perfectly holds its shape after washing, does not wrinkle, does not deform. Hypoallergenic, suitable even for sickly children prone to allergies and irritations.
When you have selected the fabric and filler, it is worth choosing a pattern. There are many ready-made patterns and patterns on the Internet, but in fact, you can make bumpers in a crib with your own hands and without a ready-made pattern, but on your own. Just decide what shape the border will be, draw the shape on a large piece of paper and cut it out. That's all! You have a blank that you will need to trace on the fabric, cut out, sew the halves together and fill with filler.
It is more important to choose the right size. Determine it yourself. Take a centimeter and measure the height of the side: the product does not have to reach the very top of the sides of the bed, it can only go up to half, as long as the baby does not hit. Measure the length you want - around the perimeter of the crib. You've got the size you want.
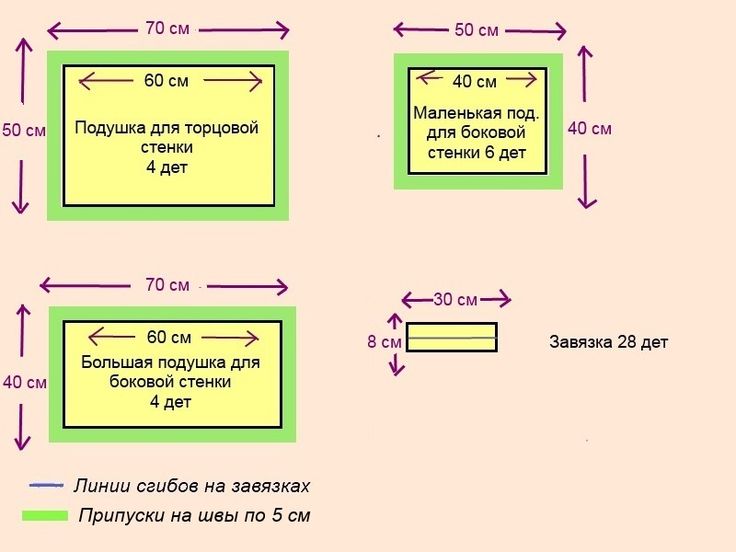
Multiply the resulting amount by two, since the sides will be made of two halves. And if you make a pigtail - then three times, because it is made of three long strips. Only when you calculate the size, go for the fabric, knowing how much you need. Take fabric with a small margin, just in case.
How to tie bumpers on a crib
There are several ways to attach the sides to the crib. It is important that they stand firmly in place and do not crawl all over the bed. So the safest and easiest way is with strings. You have to cut out small strips from the remnants of the fabric, sew them along the edge and turn them out, and then iron them. Sew the resulting laces on the back of the sides, where the crossbars of the bed are located, so that each lace is firmly tied to the crossbar. The more there are, the stronger and more reliable you will tie the sides.
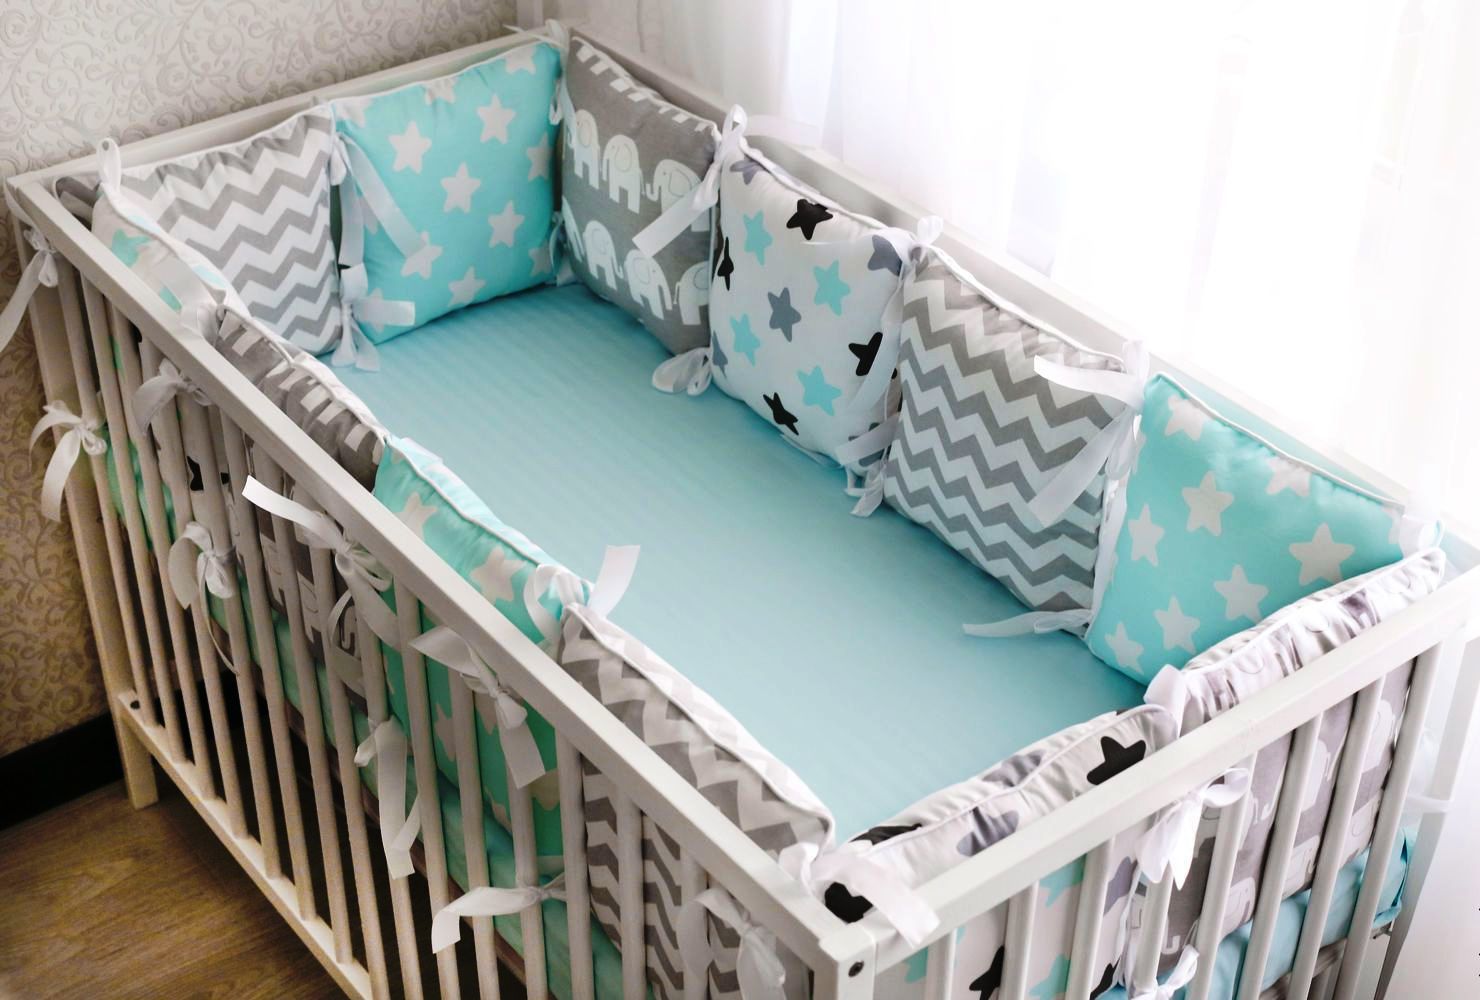
The second option is Velcro. You will have to tinker with them, but when you remove the sides for washing, you will not need to untie the knots on the strings.To make velcro sides, you need to sew thick strips of fabric with velcro sewn onto them from behind. Likewise, you can use buttons, buttons, or even a zipper.
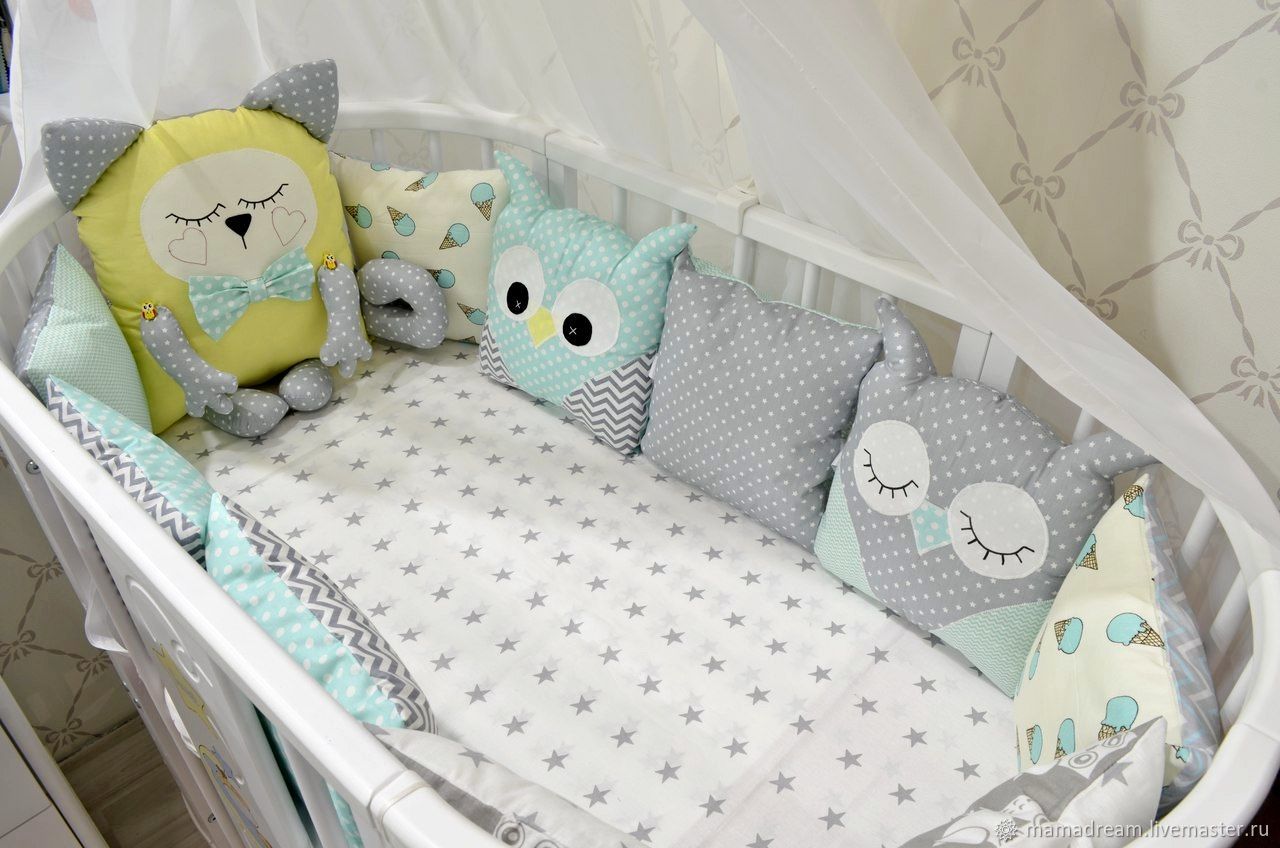
To sew the fasteners in the right places, first sew the sides and try on the finished product on the crib. So you will see exactly where to sew strings, Velcro or other fasteners.
DIY crib protection
We will tell you in more detail how to sew a "bumper" for a crib with your own hands without a pattern, the easiest way for those who rarely sew and do not want to spend too much time on this process.
- So, take several types of fabric, for example, three colors. Measure with a centimeter to what height the "bumper" should reach, and take this figure as a basis: this will be the height of the side of the square. Take one fabric and fold it in half, right side in.
- Cut out a square (the side should be the same size that you got when measuring the crib).
- Separate the two halves, wrap an edge on one side about 5 mm on each, and sew. Then reconnect the halves.
- Sew three sides together, and leave the fourth (finished edge) unstitched.
- Sew a zipper, Velcro, or buttons to the fourth side to remove the filler or wash the pillowcases separately if desired.
- Turn the pillowcase right out.
- Take four pieces of fabric or a wide satin ribbon, about 30 cm long, and sew to each corner of the pillowcase.
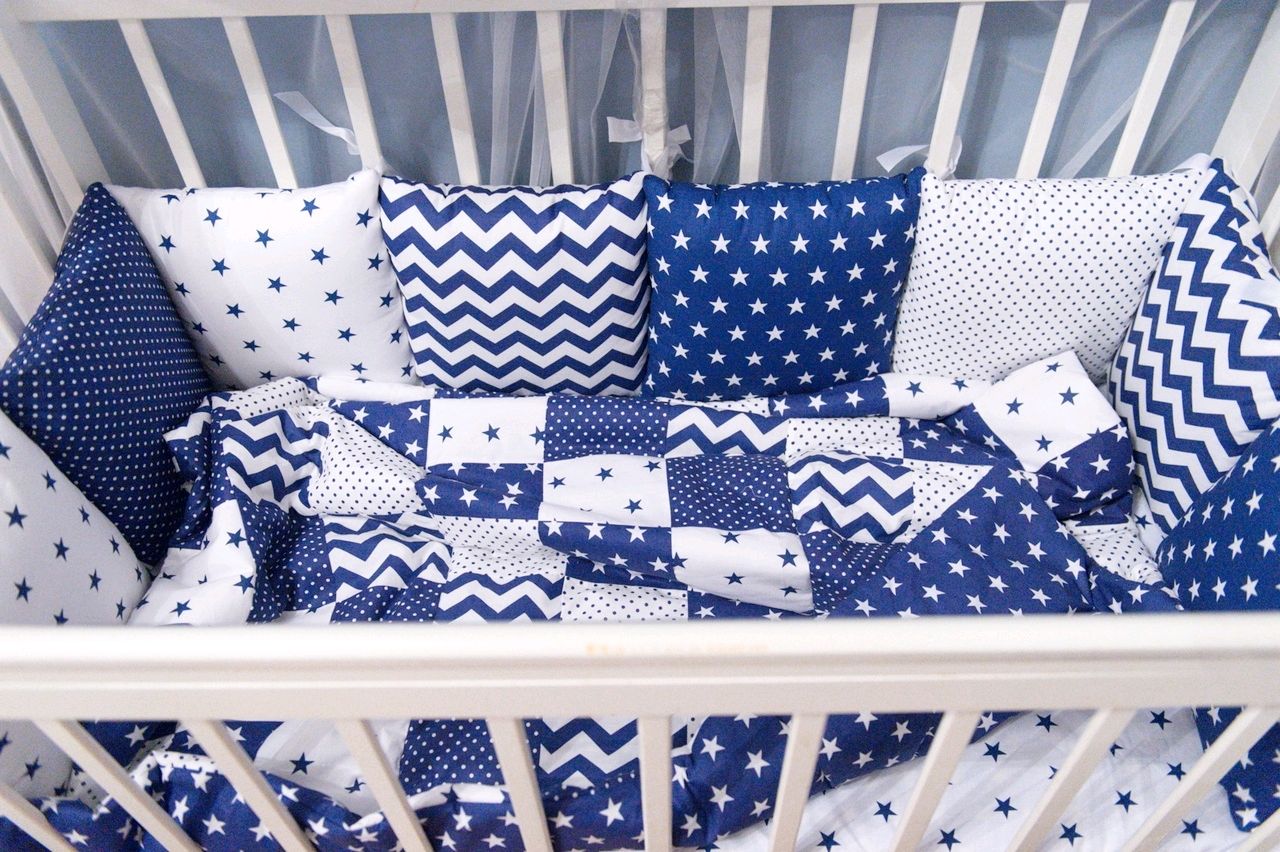
- Now fill the pillow with filler and close. You will get a square pad with ribbons at the four corners.
- Sew a few more pillows in the same way.
- Now use ribbons to tie your pillows in a long round dance, alternating in color.
Product care rules
You need to take care of the bumpers in the same way as you take care of children's bedding and pillows. You need to wash them regularly, you can just wash them with the baby's bedding. If the sides are made of natural fabric with a good filling, then they will dry quickly and will not cause trouble. You can wash them entirely without removing the filler from the covers.
Wash as soon as it gets dirty, and if the baby does not get dirty, then just once a week. Choose the washing mode yourself - the usual one, as you usually wash children's clothes. Feel free to machine wash, but with a special powder or gel for washing children's clothes. Dry the product thoroughly. With such simple care, the sides will last a long time, and when the baby grows up, they can become a decor for his bed!

VIDEO: How easy it is to sew bumpers in a baby cot.
Ideas for beautiful bumpers in a crib for newborns
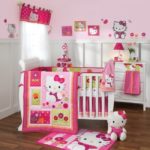
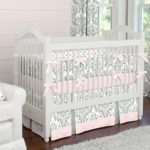
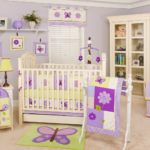
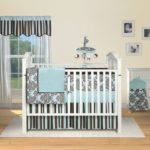
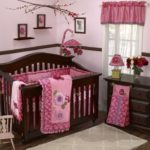
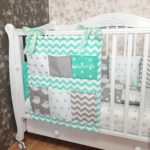
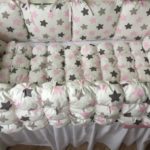
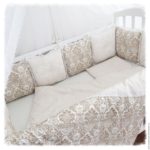
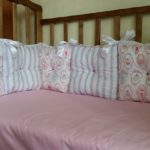
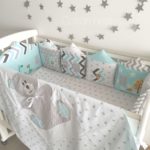
Open pictures on the Internet, and you will be surprised how many unusual and beautiful sides you can make with your own hands! Owl, dogs, cats, flowers, bright pillows, quilted bumpers, clouds, bright braids - a huge selection. The main thing is your ideas!
Take a stroll through the fabric store and bright, beautiful baby materials will definitely inspire you for ideas. Treat this process as a creative flight of imagination, and a good idea will come to you by itself, and the result will delight you for a long time!
