How to remove earwax from headphones
In the modern pace of life, we can no longer imagine life without headphones. Listening to music and audiobooks, lectures and radio, voice messages and videos have become an integral part of everyday life.
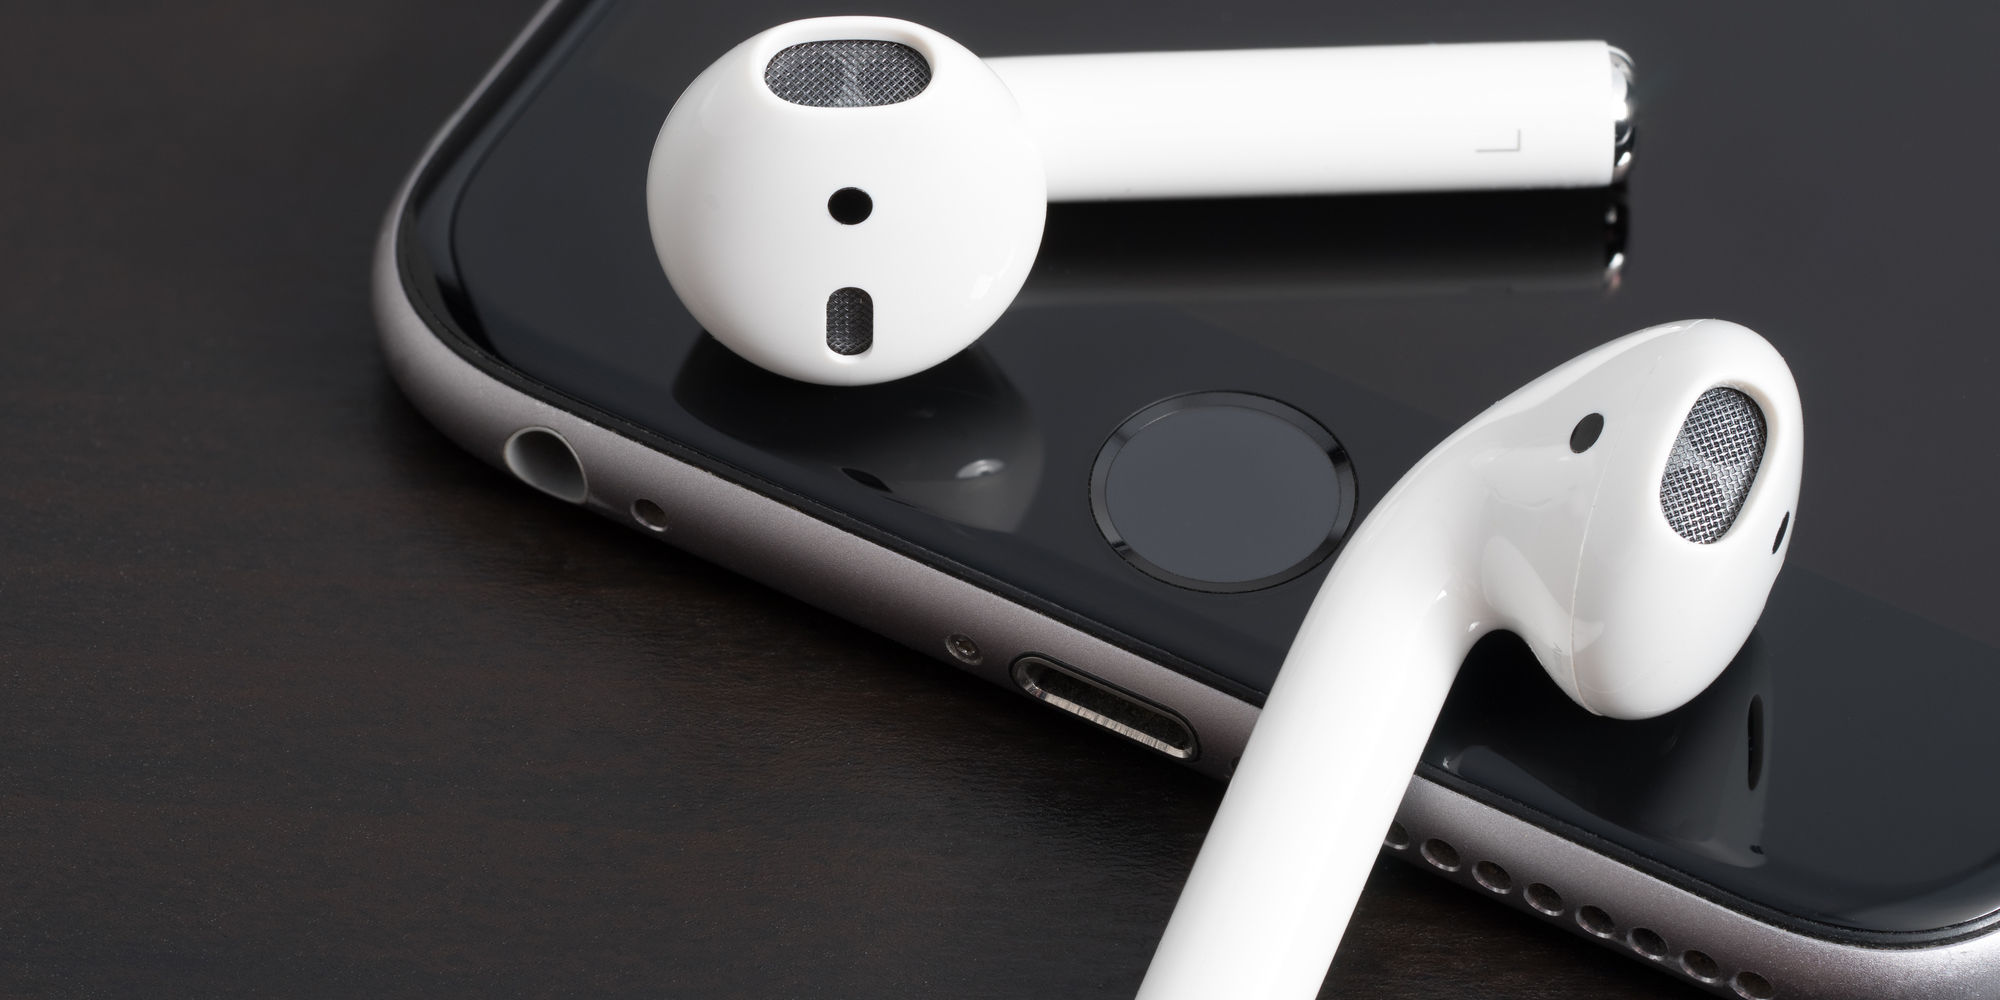
Unfortunately, with prolonged use, they become dirty, clogged with dust and earwax. How do I clean my headphones at home to avoid damaging fragile parts?
How to deal with sulfur in headphones
Earwax build-up is one of the common problems with earbuds. The human body is designed in such a way that it actively protects itself from the negative effects of the environment. Earwax is a protective component that keeps dust, pathogens and dirt away from the sensitive auricle.
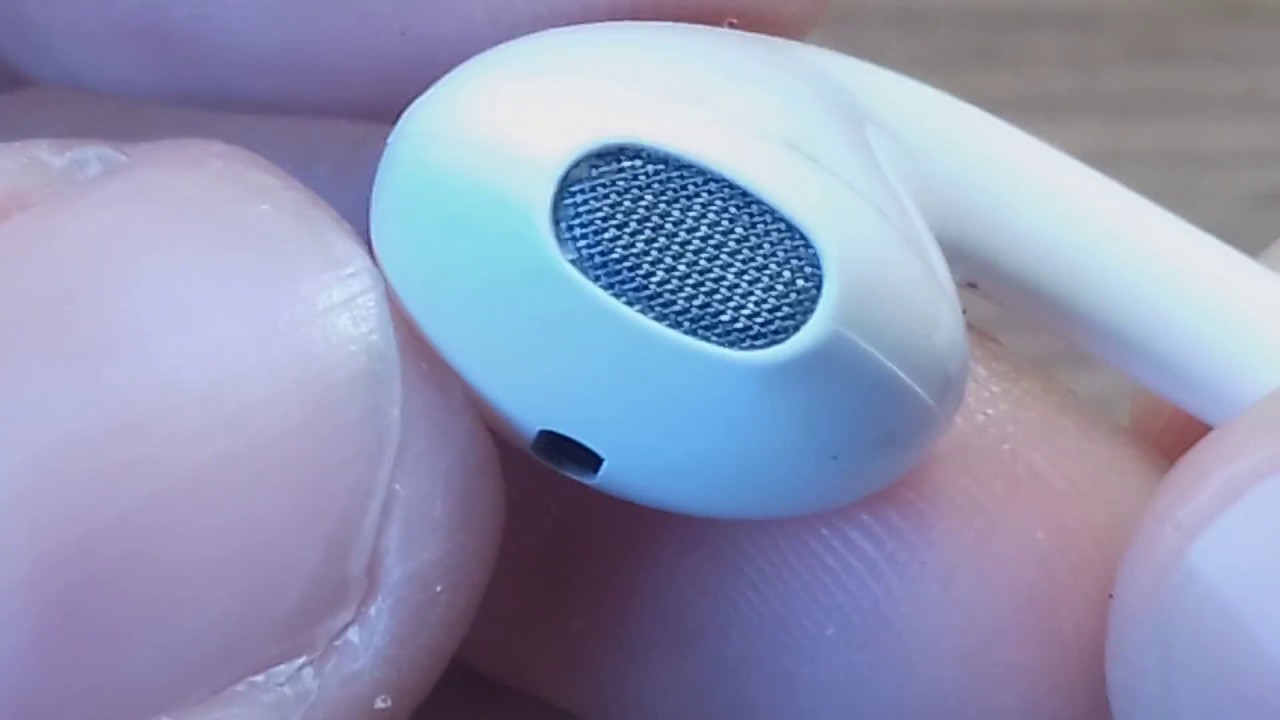
The accumulation of sulfur in headphones is a cumulative phenomenon. You do not notice this until you detect sound degradation and volume damping. If left untreated, sulfur can seep into the accessory's case and cause serious damage.
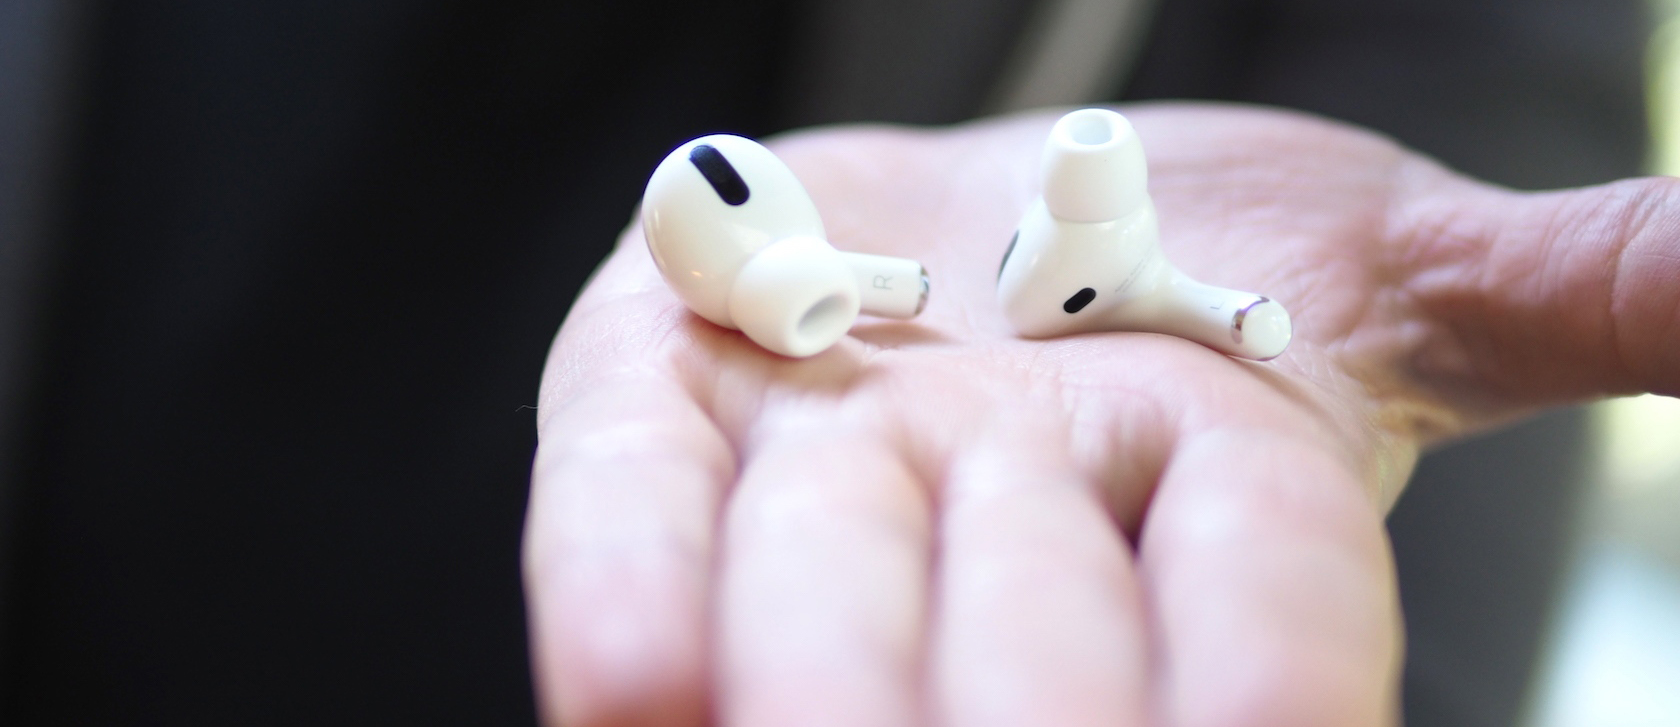
It is easy to fight sulfur in headphones with good habits. Hygiene and prevention, timely removal of sulfur from the ears, visits to the otolaryngologist significantly reduce the amount of sulfur deposits. Wash your ears regularly with warm water to keep your headphones clean for a long time.
Cleaning the headphones correctly
Vacuum
Vacuum earmuffs get their name from the way they are positioned inside the ear. Silicone pads fit so tightly to the skin of the auricle that they block extraneous noise.

Vacuum headphones are easy to clean:
- gently pull the silicone pads out of the holders;
- immerse in water with the addition of alcohol for 30 seconds;
- spread out to dry on a paper towel or napkin.
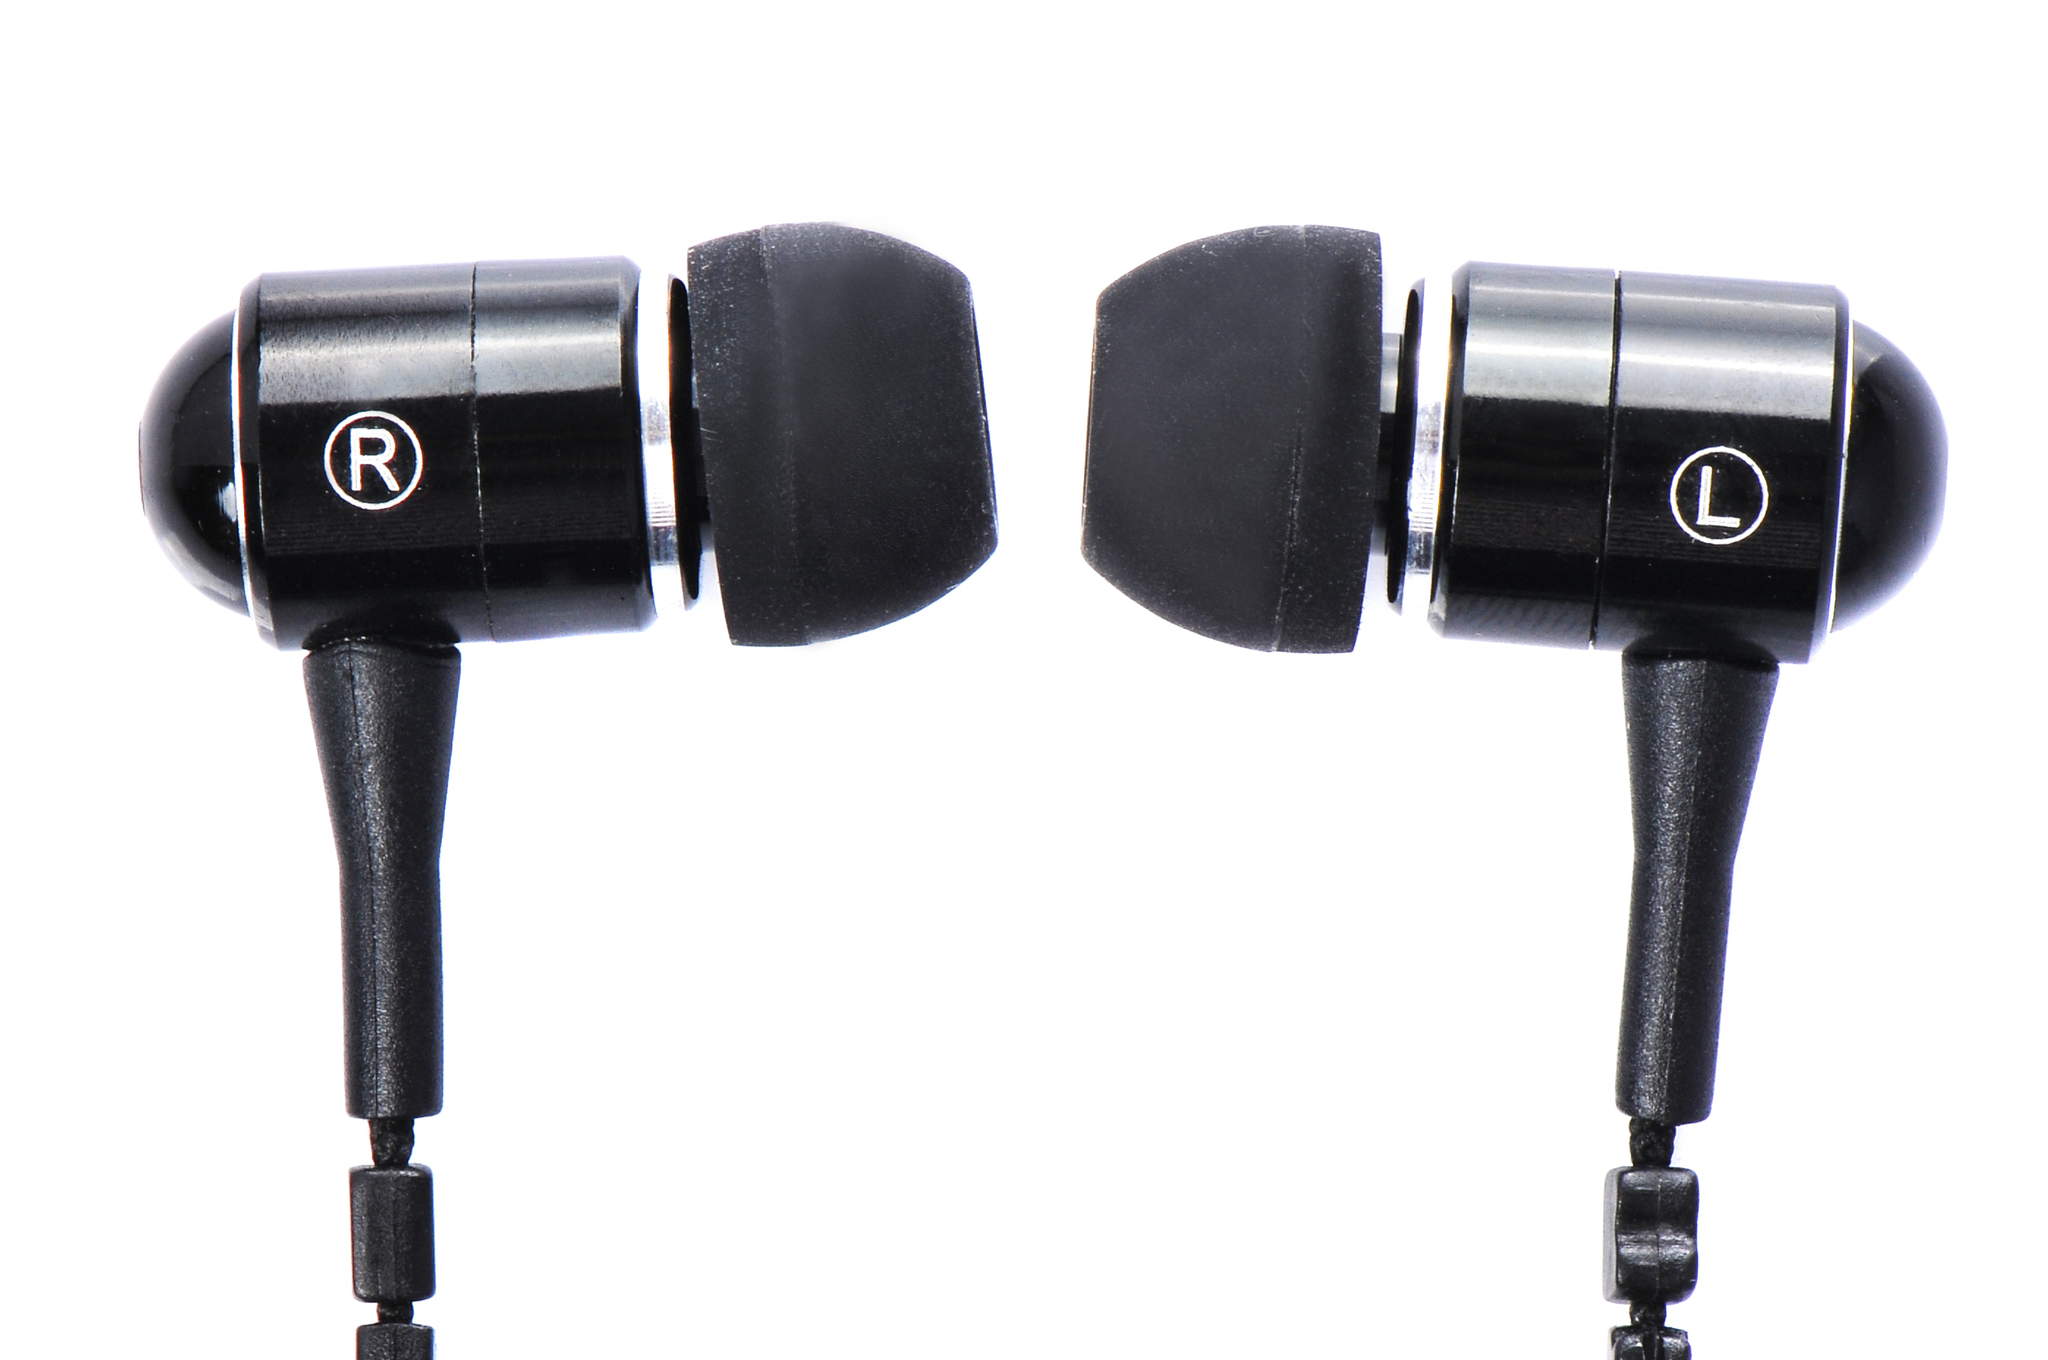
It is more difficult to clean the nets. They can be replaced with new ones. If this is not possible, partially immerse the headphones in an alcohol solution or in hydrogen peroxide with the nets down. This position must be strictly observed so that liquid does not get into other elements of the accessory.

If you can fix it in this state, then leave it for 10 minutes. Wipe the headphone housing and outgoing wires with a cotton pad moistened with hydrogen peroxide or alcohol solution. Let all parts dry completely for 2 hours.
Wireless
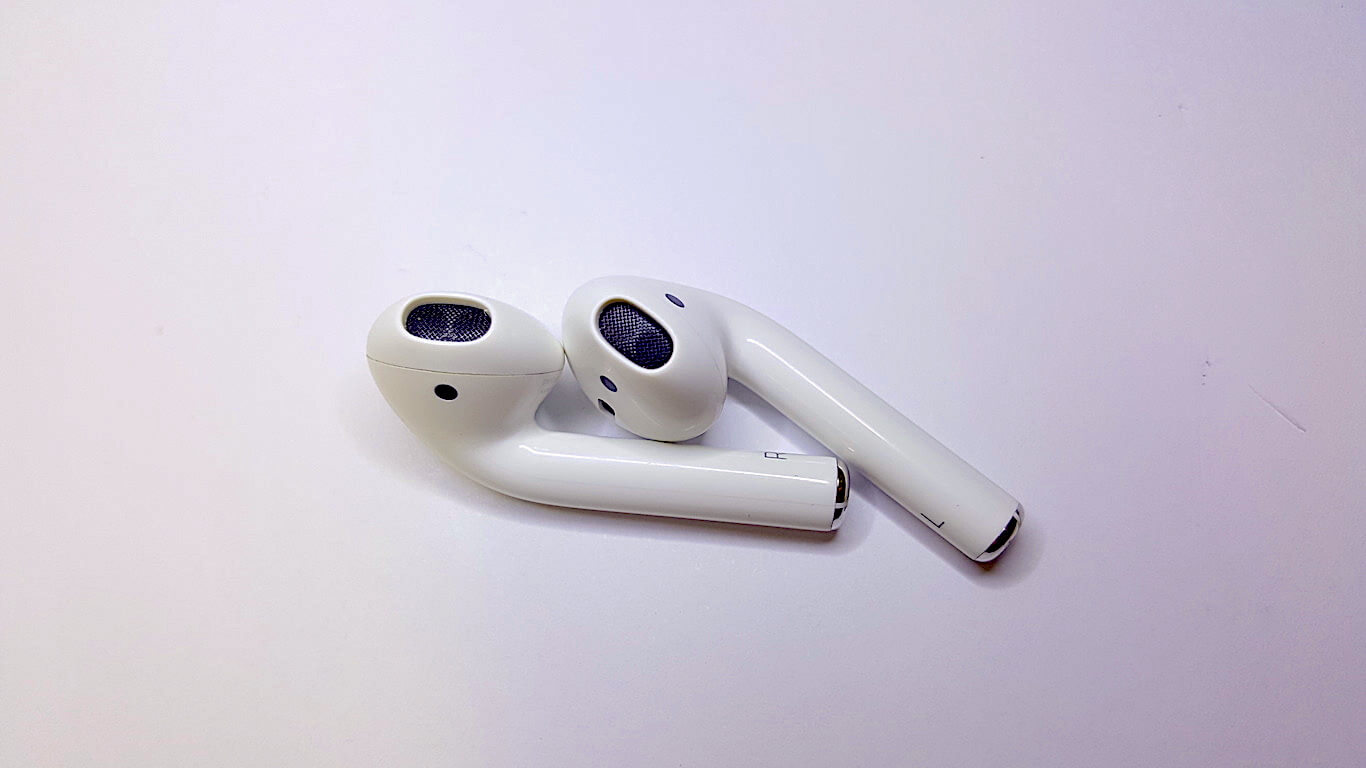
Wireless headphones are hugely popular. They are convenient to use, do not require a telephone connection, and provide complete freedom of movement.
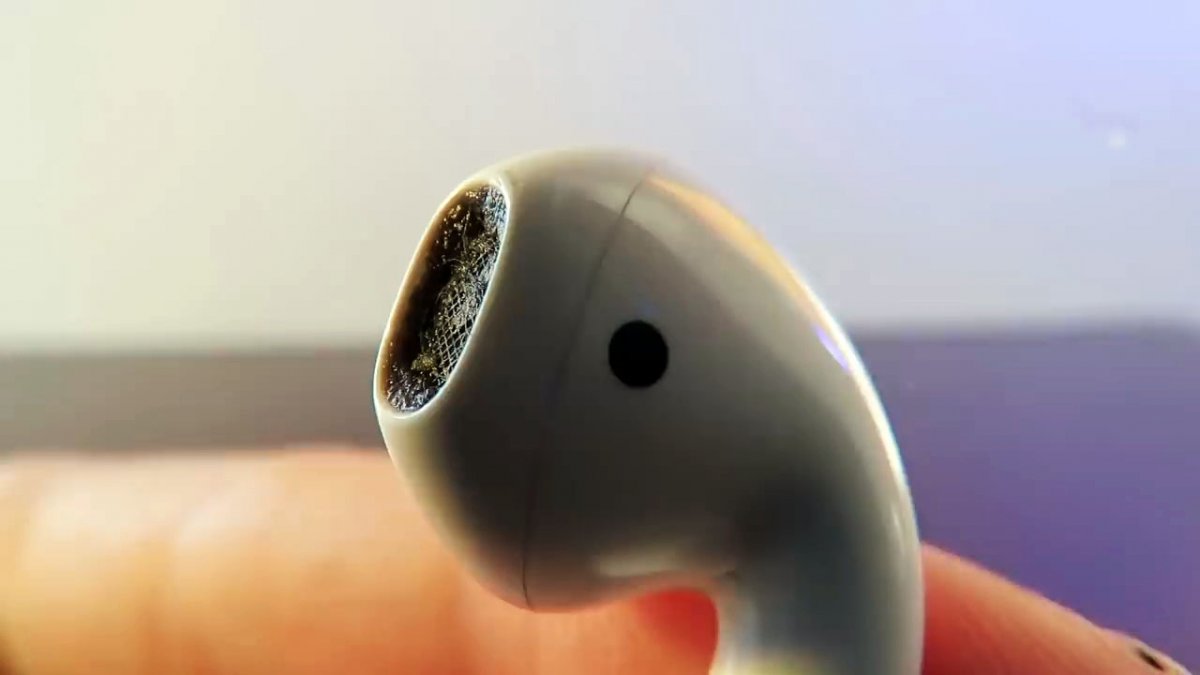
To clean these headphones you will need:
- Soft, clean cloth that does not leave lint or lint
- cotton buds;
- a clean brush with a soft, natural bristle.
Use a cloth to remove dust and sebum from the headphone housing.
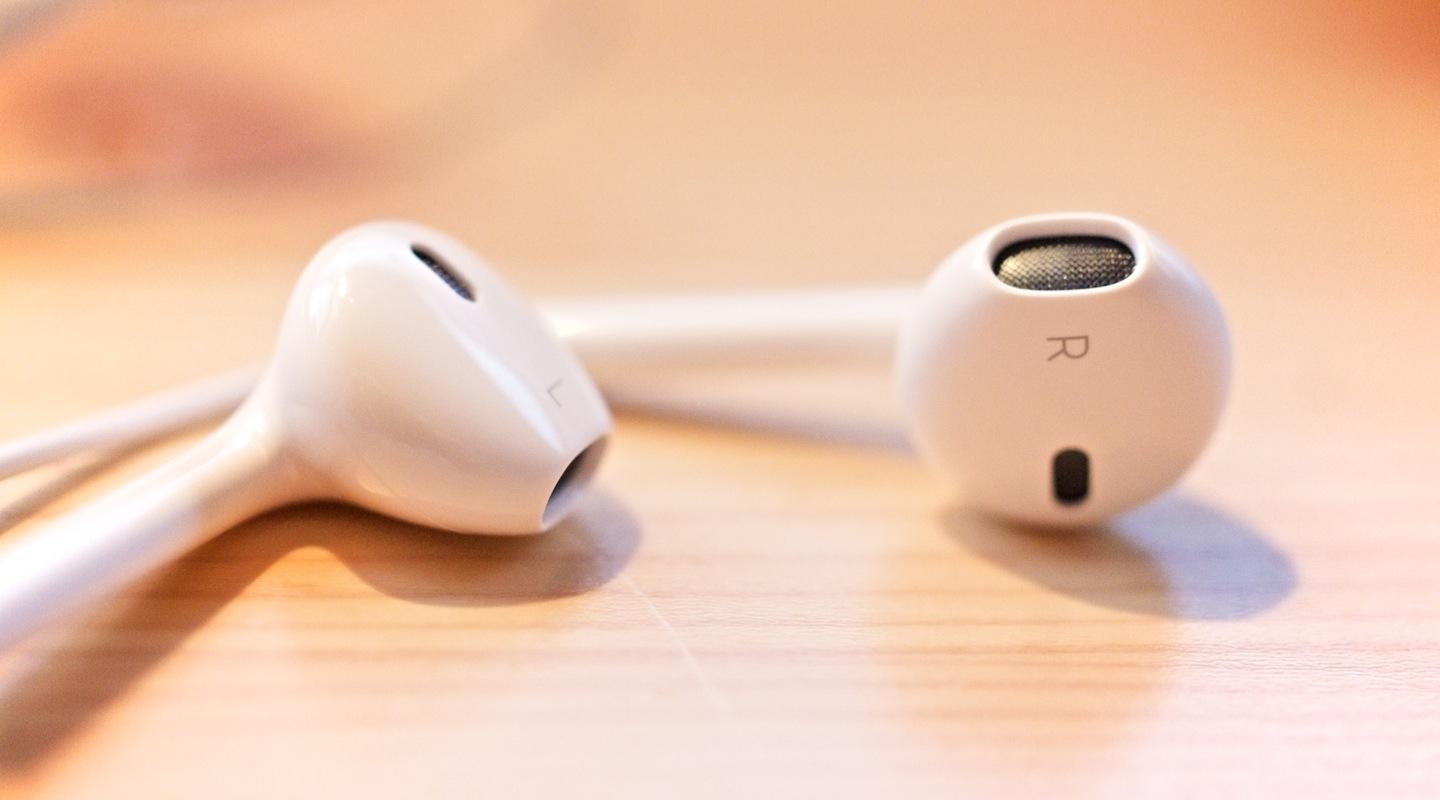
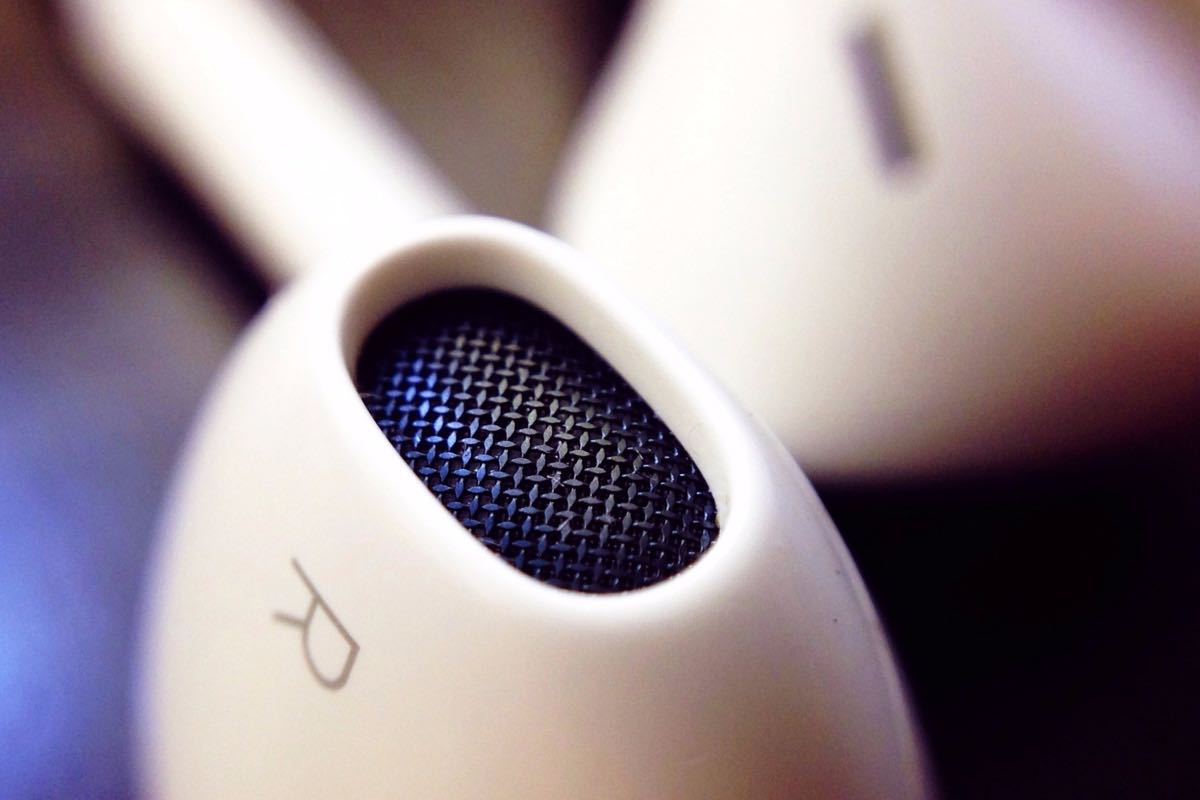
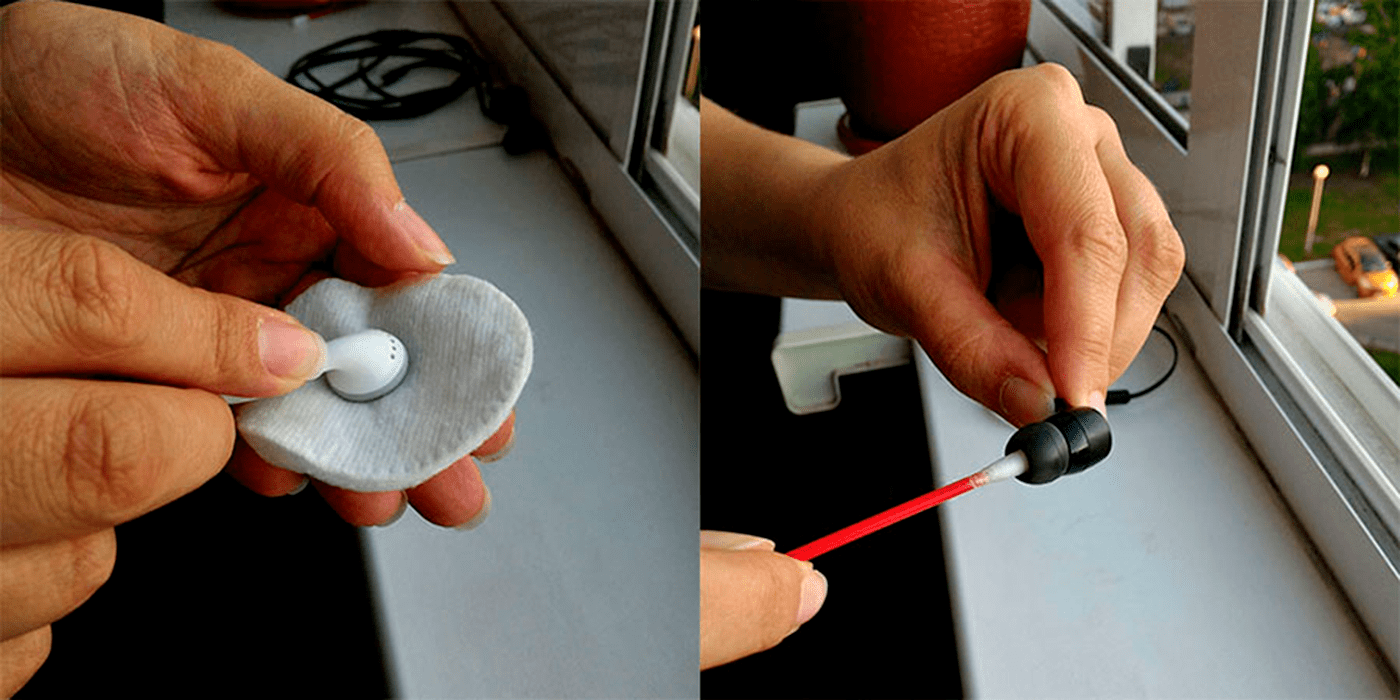
Then, use a cotton swab to remove dirt from the microphone and nets. Use a soft brush to brush over hard-to-reach areas to remove earwax and dirt. Such an accessory should not be wet, pierced with pins or other sharp objects.
Overhead
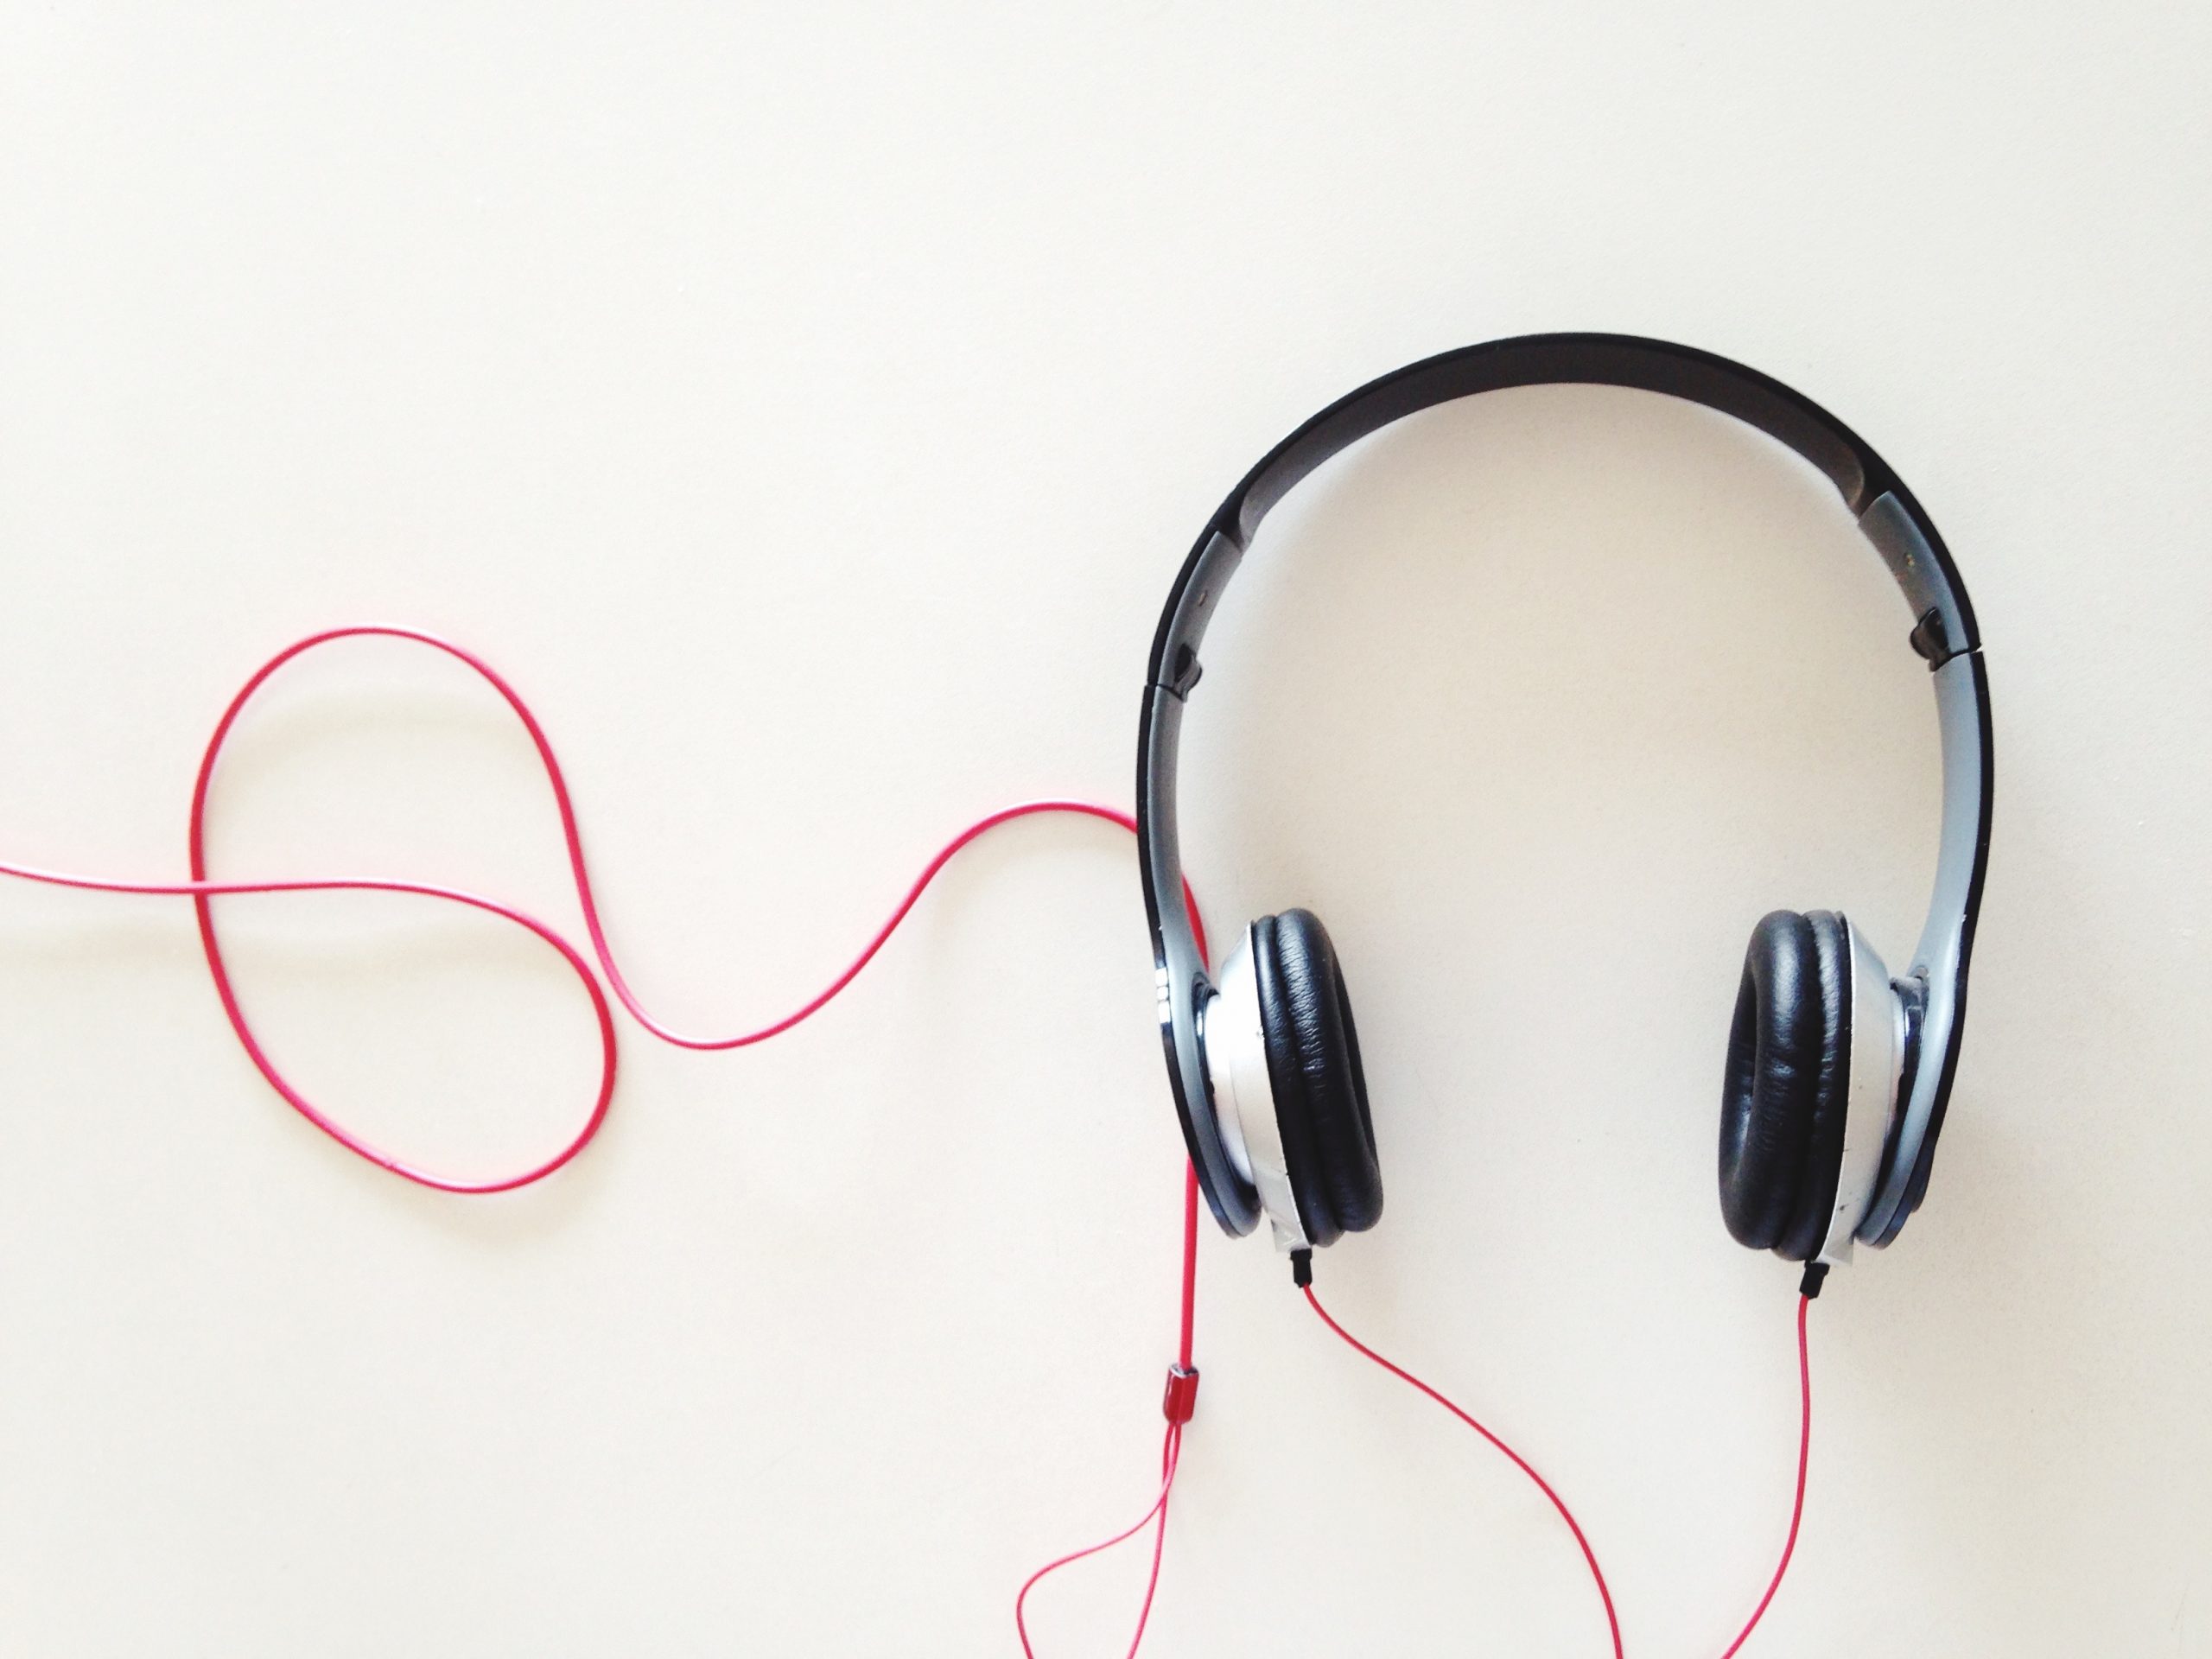
In on-ear headphones, the sound passes through special soft ear cushions. They can only be cleaned dry, otherwise you risk ruining them forever. The ear cushions are usually removable, so they make it possible to clean the speakers and other parts from dirt. Wipe the parts with a cotton swab dipped in alcohol.

If the on-ear pads do not separate from the headphone frame, gently clean them using a soft brush dampened with alcohol. Make sure that no liquid gets inside the case.
Liners
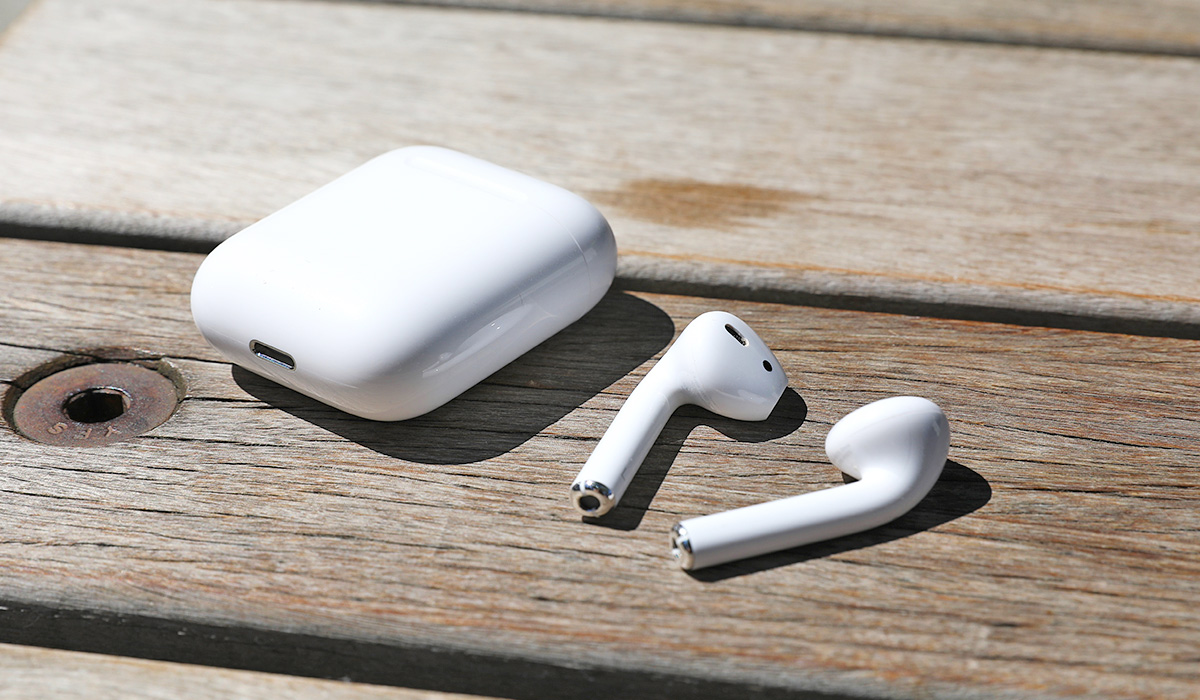
For these headphones, the mesh is the main source of contamination, which is protected by a plastic cover. It can be unscrewed or opened by turning to the right. There are models where the headphones cannot be disassembled and parts cannot be removed.

To clean the liner meshes, immerse them in formic alcohol for a couple of minutes. It is an excellent cleaner and antiseptic that removes dirt and pathogens. Use a cotton swab to remove the remaining sulfur and dry thoroughly.
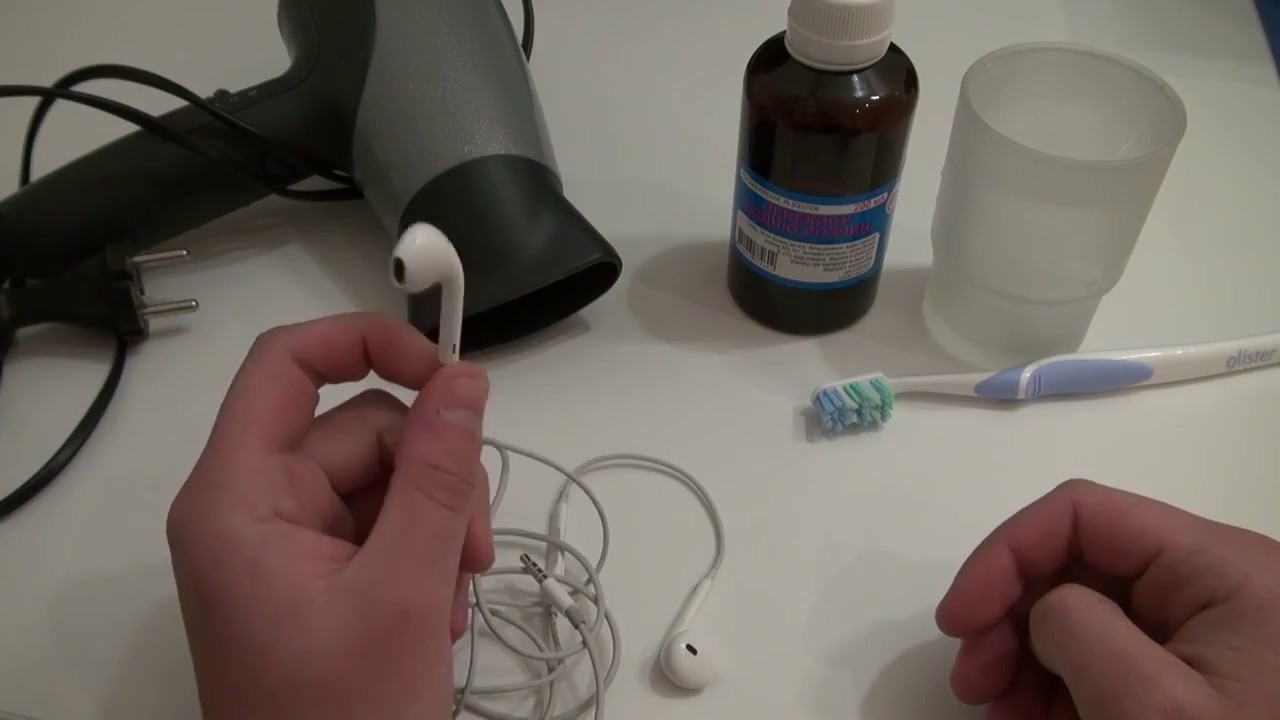
A model that cannot be disassembled is cleaned along the outer case with a cotton pad dipped in alcohol. If large sulfur fragments are stuck in the mesh of the mesh, pry them off with a toothpick. After cleansing, leave the headphones to dry on a paper towel.
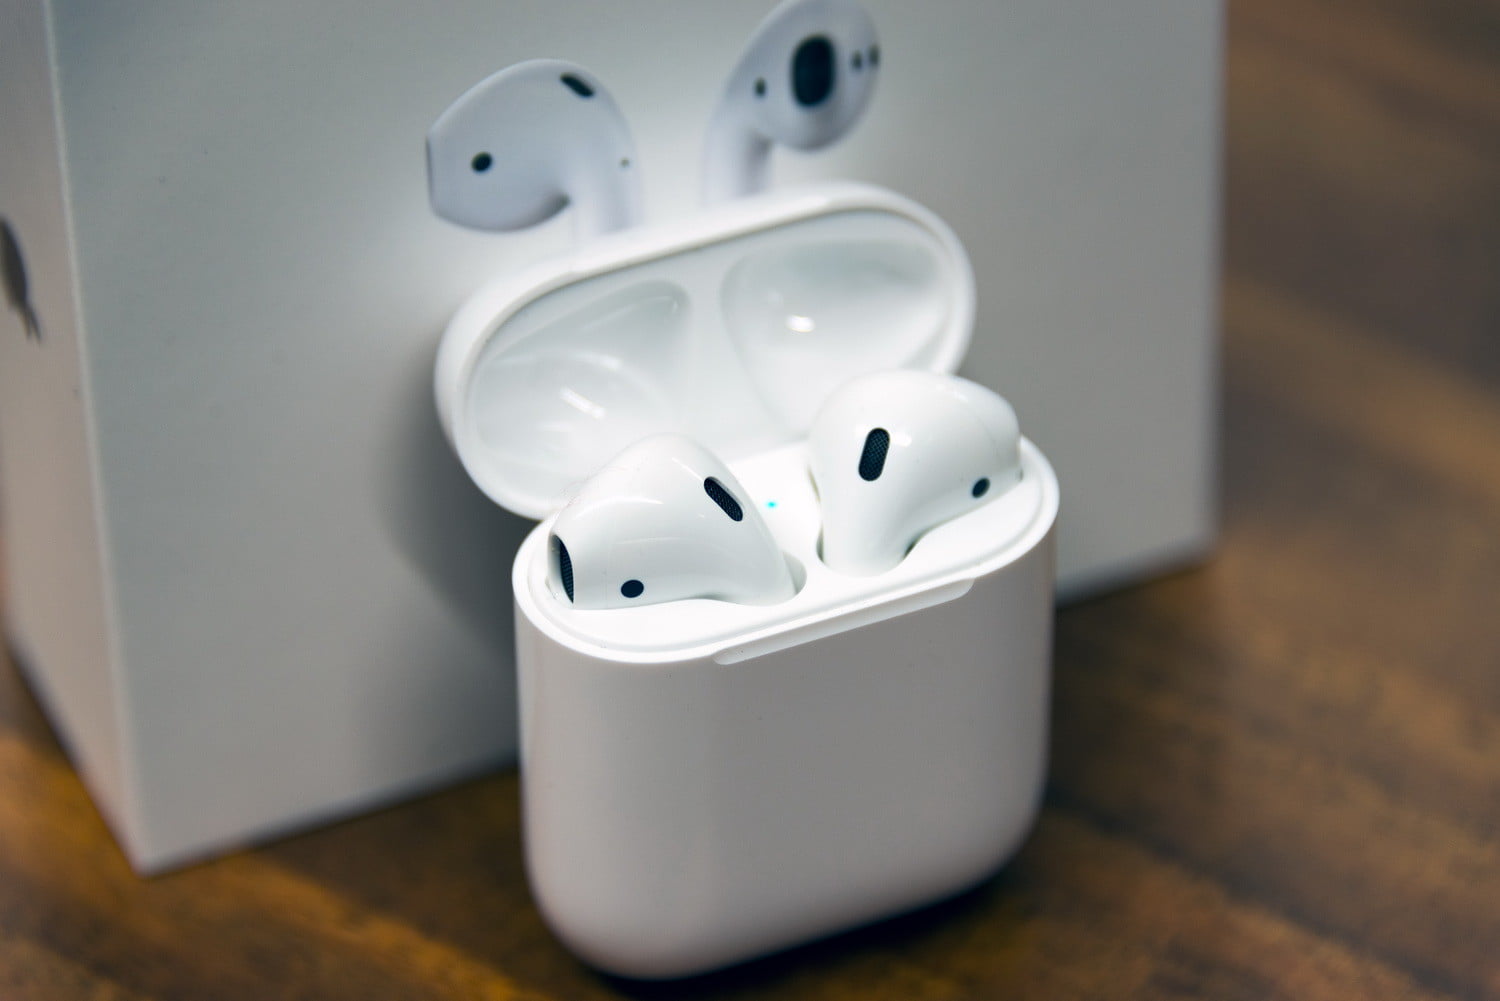
How to quickly clean your EarPods and AirPods Pro
The accumulation of earwax in such headphones immediately affects the sound quality. Excessive noises and interference appear, voices are distorted during a conversation. It is even possible that an allergy occurs in the owner of the headphones. To avoid these troubles, you need to know how to clean earwax from iPhone headphones. Accessories are cleaned at service centers. But this can be successfully done at home.
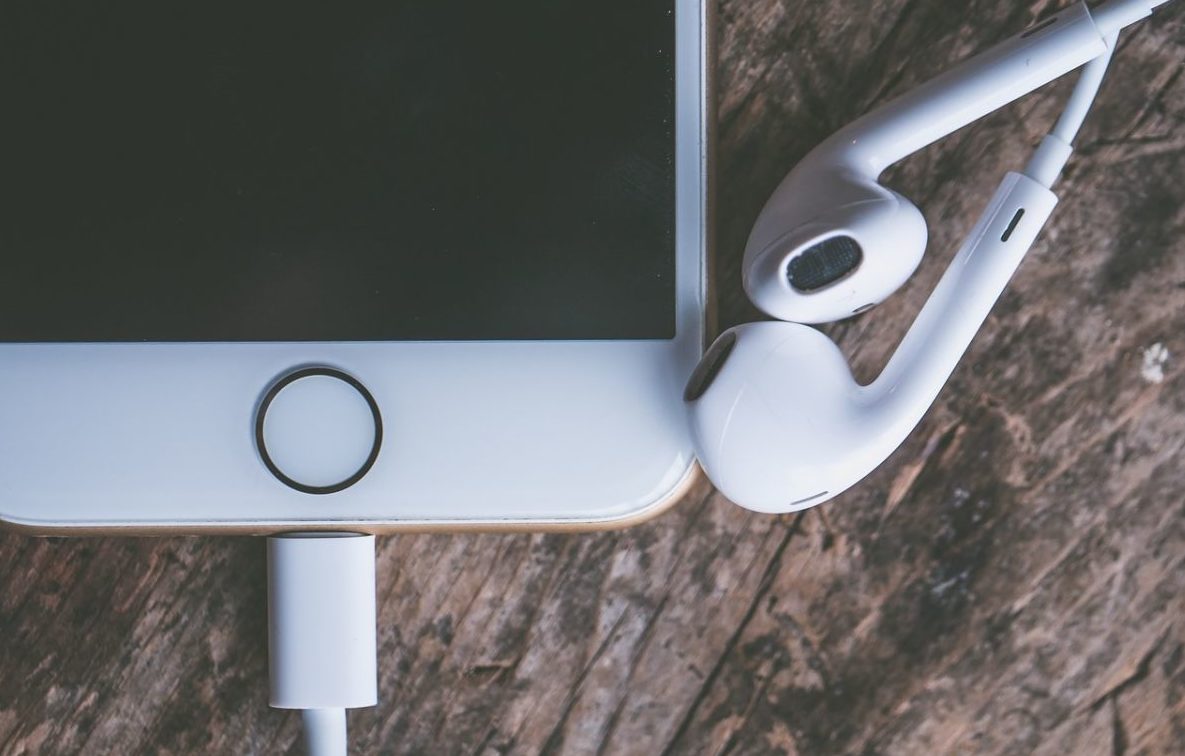
Interaction with solvents and aggressive aerosols is contraindicated for headphones. Cleaning with sharp objects such as a toothpick or needle is not suitable. There is a risk of damaging the sensitive elements. For a cleansing procedure, it is best to use a lint-free cloth.
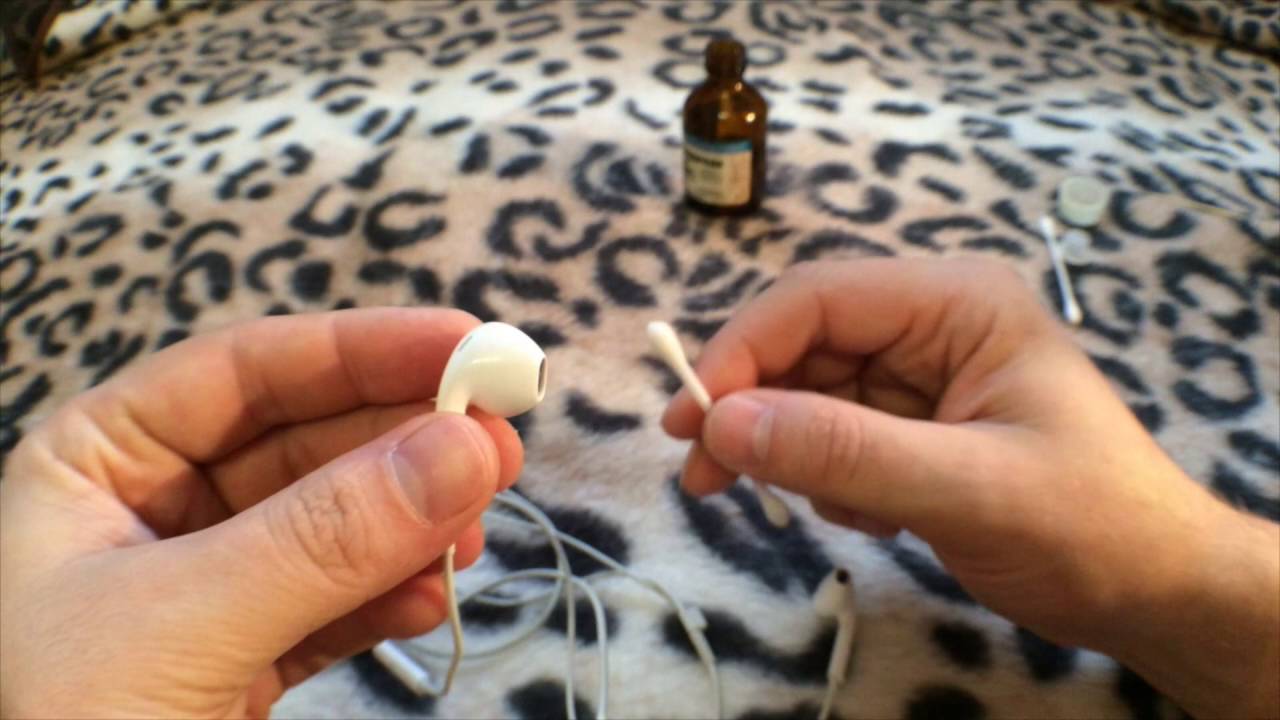
- Treat iPhone earbuds with a cotton swab dipped in hydrogen peroxide.
- Headphones-drops of an iPhone cannot be disassembled into elements and cleaned each separately. To do this, gently wipe all accessible places with a cotton swab dipped in hydrogen peroxide so that moisture does not get inside.
- The case is wiped with dry soft microfiber only. Be very careful not to damage the contacts.
- The mesh can be cleaned dry or with a cotton swab dipped in hydrogen peroxide.
- Make sure the cotton swab is tightly wrapped. If lint is sticking out of it, gently peel off the top layer or smooth it by squeezing firmly between your fingers wrapped in a clean cloth.
- Alternatively, cover the tip of the toothpick with a soft cloth. This can remove earwax fragments from the mesh and other hard-to-reach areas.
- There are special masses on sale that can take any shape and have a sticky base. With this device, gray dust and dirt are easily collected from parts of the headphones.
Cleaning products
Cleaning your headphones can be budget friendly if you use the handy tools available in your home medicine cabinet. Do not allow moisture to enter the headphone housing. This is the main rule for accessories to serve you for a long time and efficiently.
Hydrogen peroxide
Hydrogen peroxide is used in medicine to cleanse the auricle of impurities and wax. Therefore, the product is ideal for the task at hand. It is used to clean the nets, plastic case, silicone parts. Peroxide keeps the headphones whiter, removes yellow deposits and stains, and can whiten plastic.
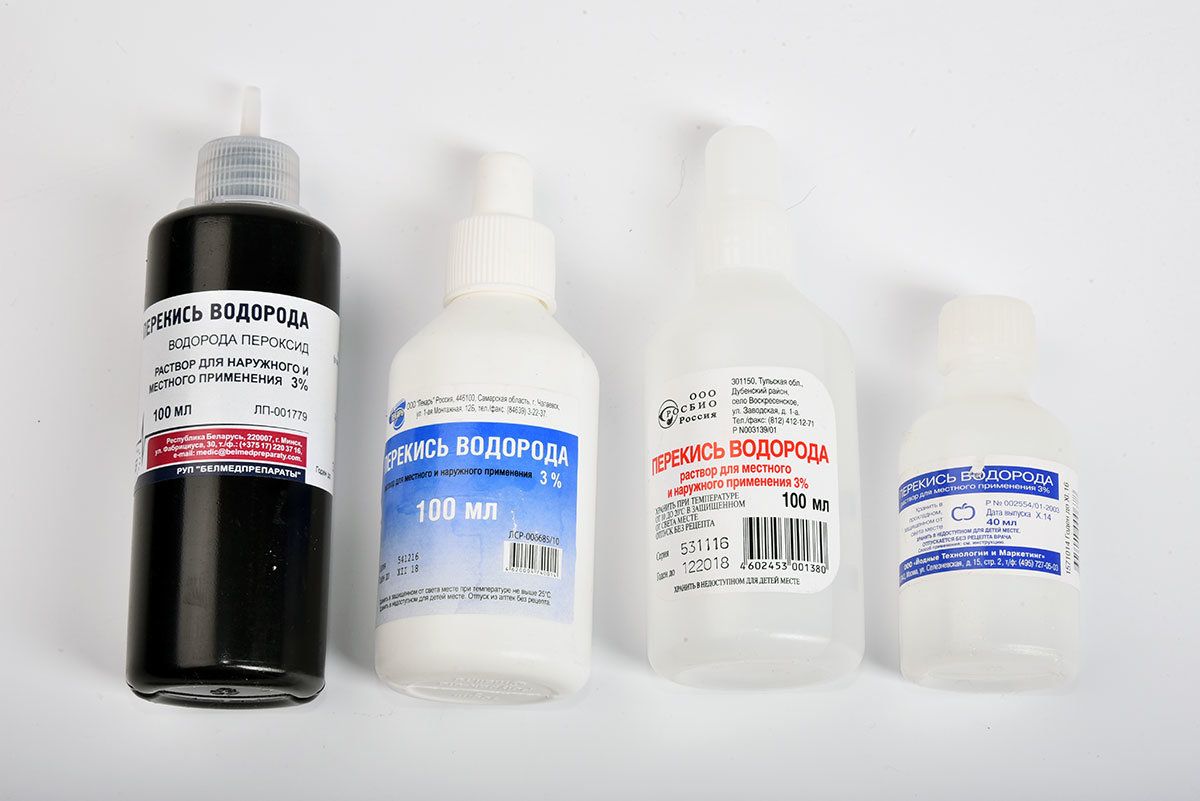
How do I clean my headphones with hydrogen peroxide? To do this, prepare the necessary tools in advance:
- toothpicks;
- cotton buds;
- hydrogen peroxide;
- a few clean napkins;
- small capacity;
- clip for fixing the headphones if they are non-separable.
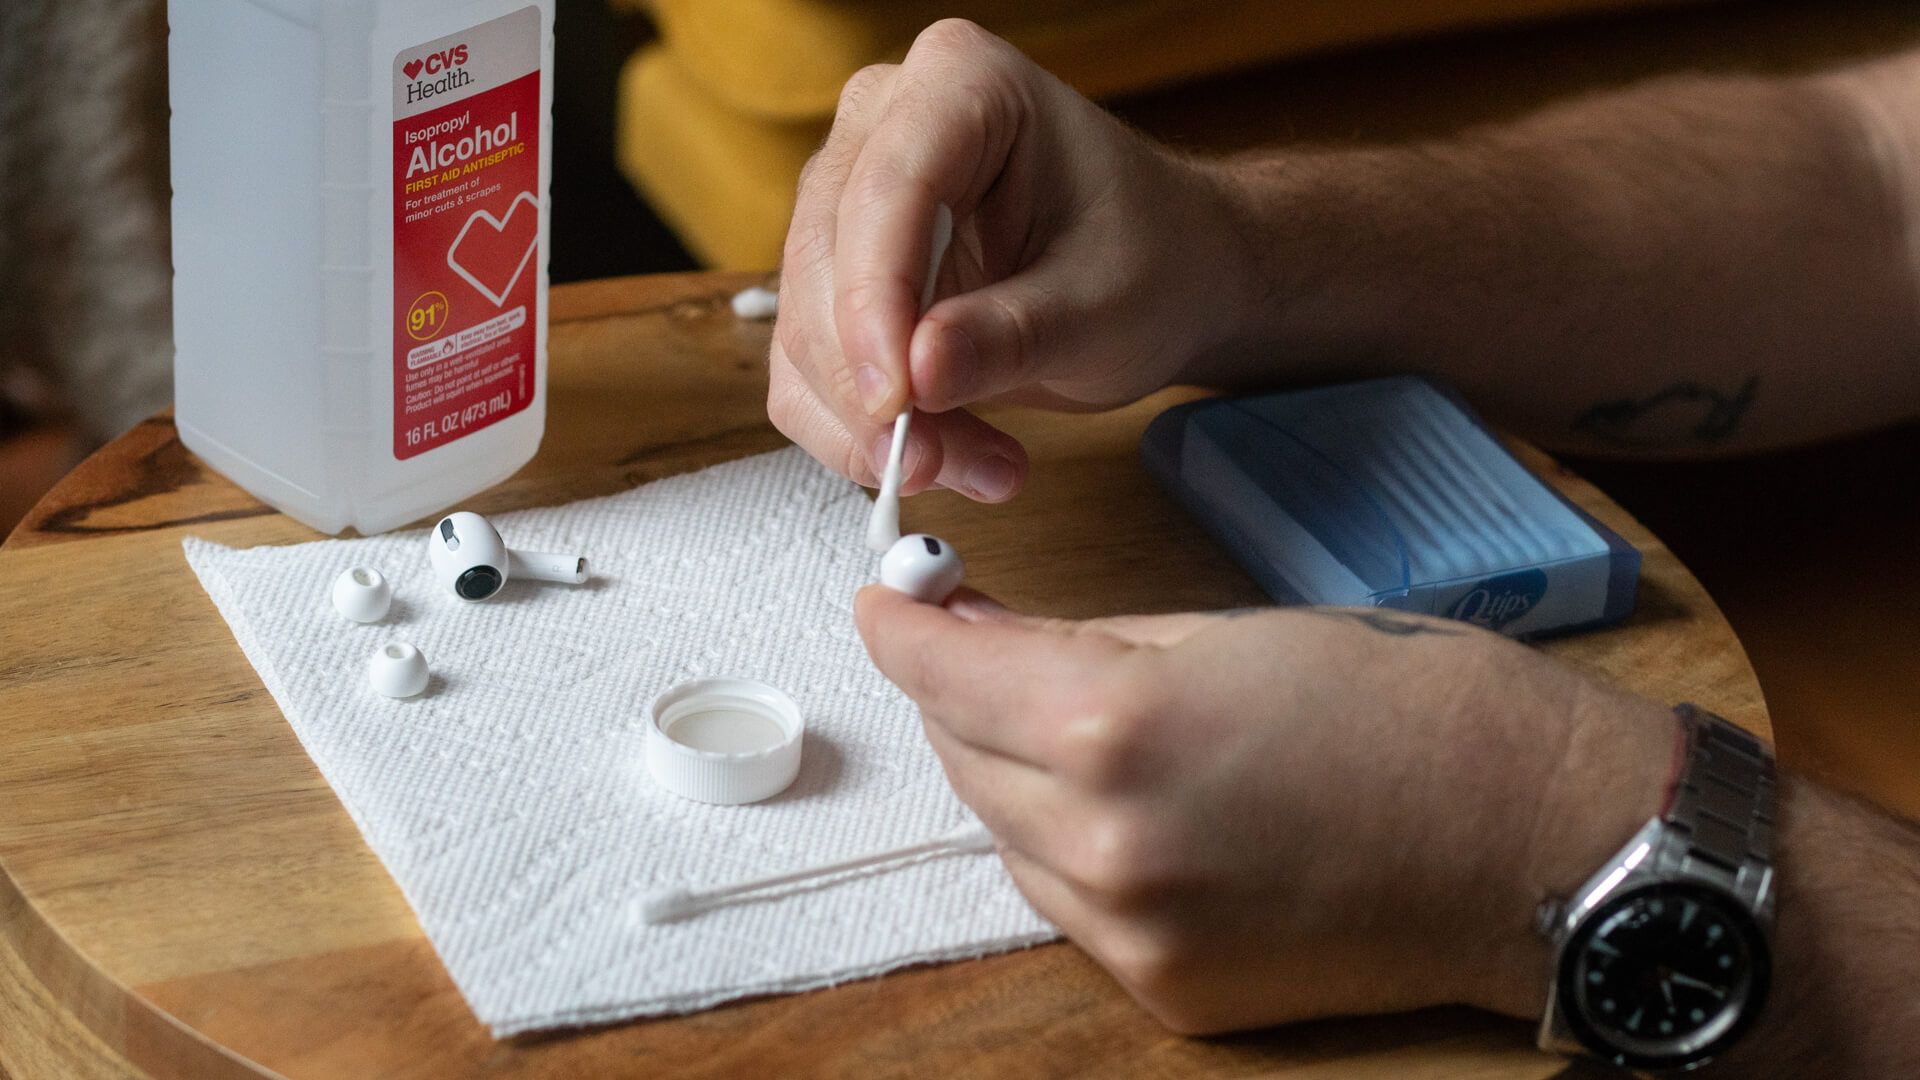
The sequence of actions for cleaning the headphones with hydrogen peroxide will be as follows:
- Turn off your headphones. They only need to be cleaned when switched off.
- Dip a cotton swab in peroxide and squeeze well. The cotton head should be slightly damp.
- Wipe the outside of the earbuds and clean the mesh with light pressure so as not to deform the parts.
- Do not try to purify the sulfur the first time. If the fragments do not come off immediately, leave them for a couple of minutes to soak the peroxide and separate it from the plastic.
- If sulfur residues are tightly stuck in the cells, gently pry with a toothpick.
- The side sensors can be gently wiped clean.
- Peroxide maintains the white color of the plastic housing.
Alcohol
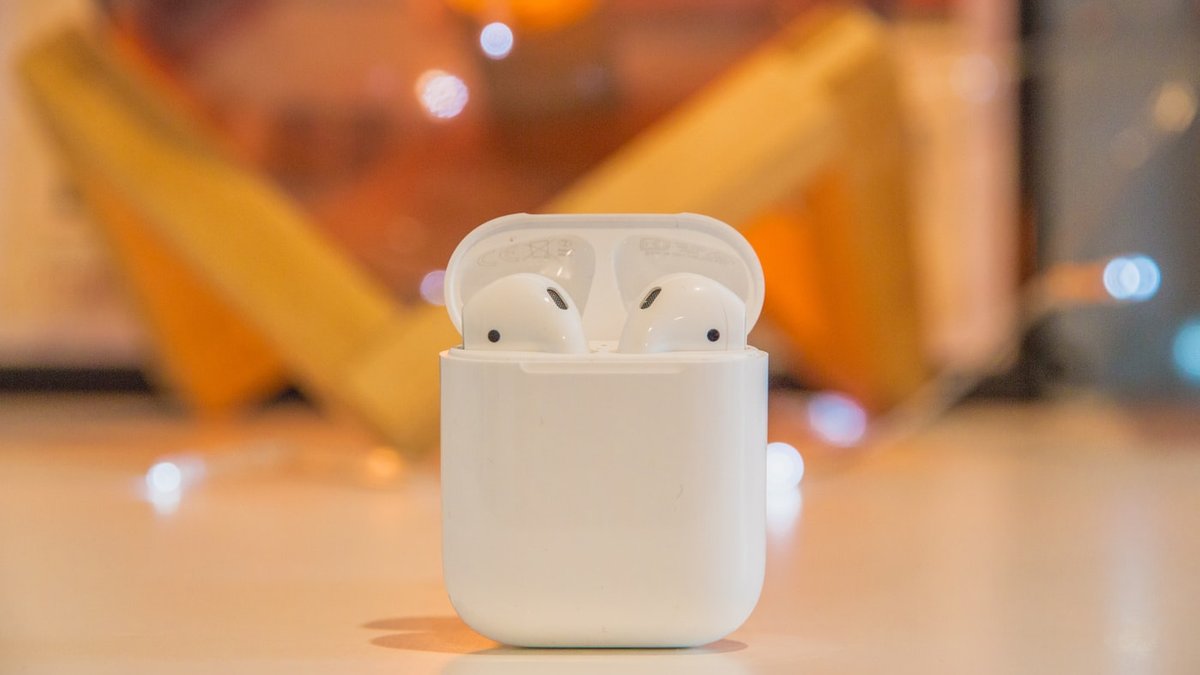
Alcohol or vodka is commonly used to remove dirt and sulfur deposits from headphones. Due to the fact that the liquid evaporates quickly, the risk of moisture entering the housing is reduced to zero. Alcohol perfectly removes finger stains, dirt and dust, removes sulfur.
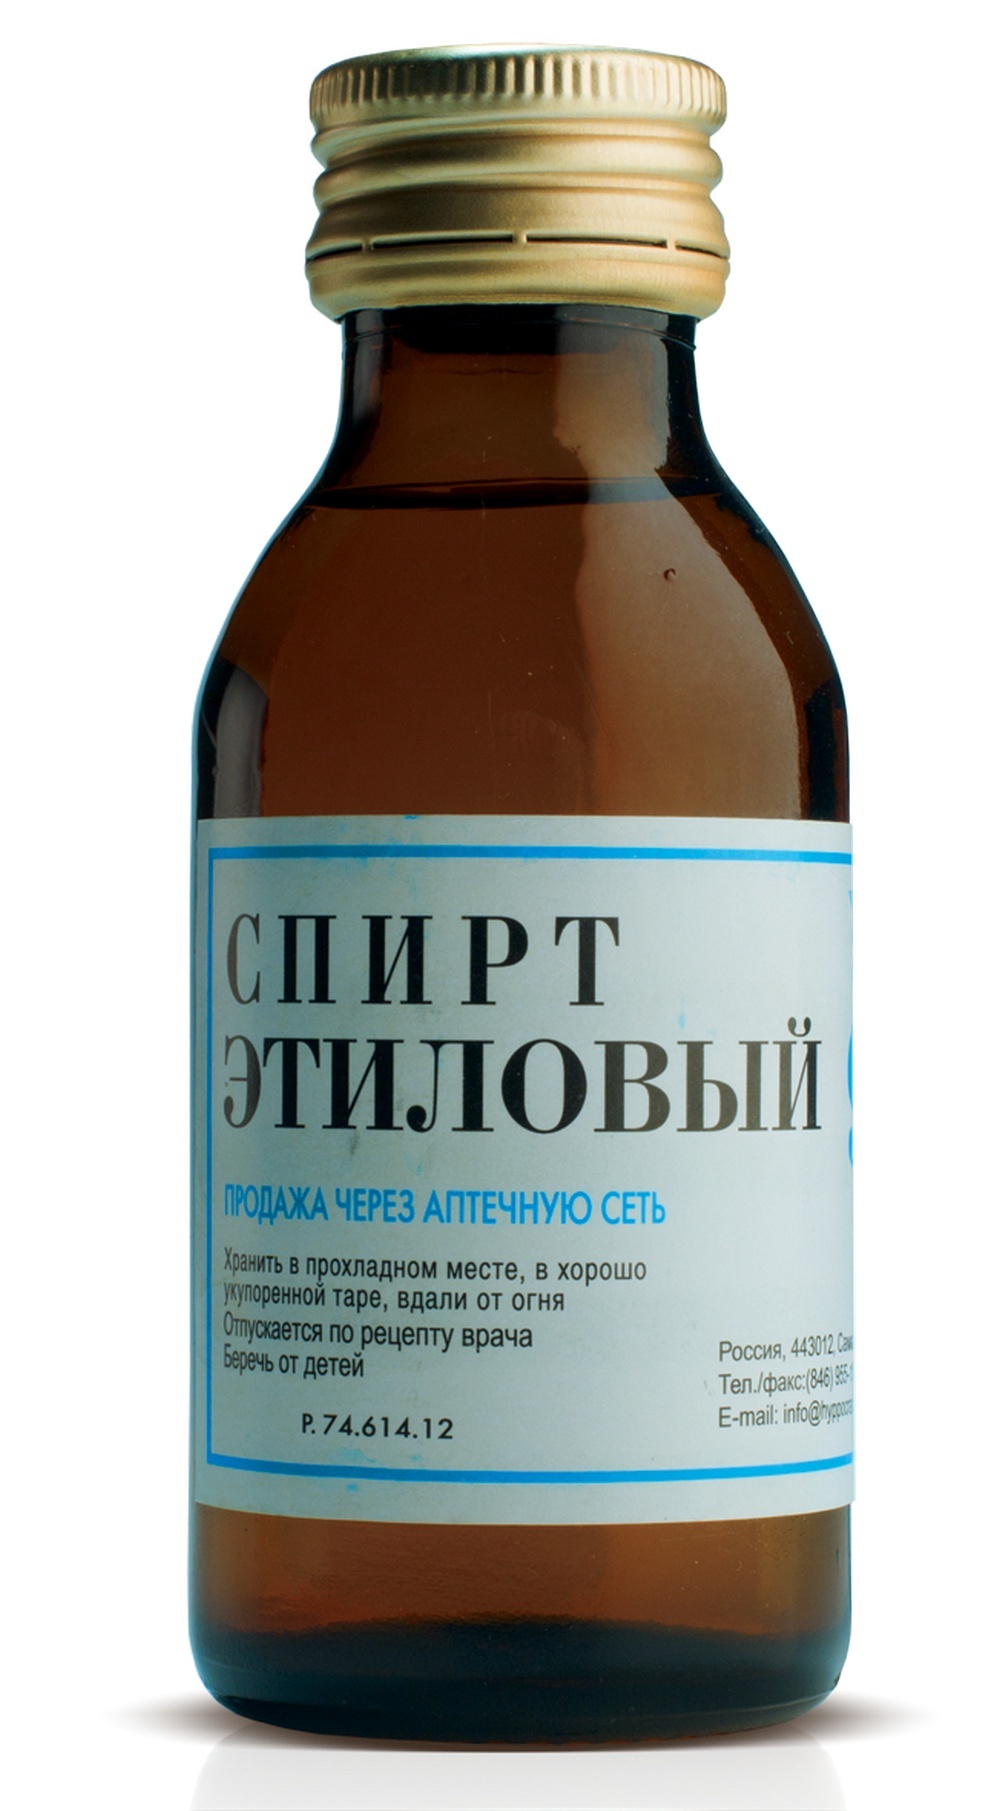
It can be used to clean almost all parts of the headphones, including the nets and earbuds. This is a great disinfection, especially if you like to let your friends and family listen to music through the earphone.
- Disassemble the headphones if possible.
- Soak the silicone ear pads in alcohol solution for 5 minutes.
- Treat hard-to-reach areas with a cotton swab dipped in alcohol.
- Blot with a clean, dry cloth to absorb any moisture.
- Allow the device parts to dry for about 2 hours.
Chlorhexidine
Chlorhexidine works well with earwax. The solution is a disinfectant that kills germs and pathogens. You can use the product to clean your headphones every day, especially if you let other people use them.
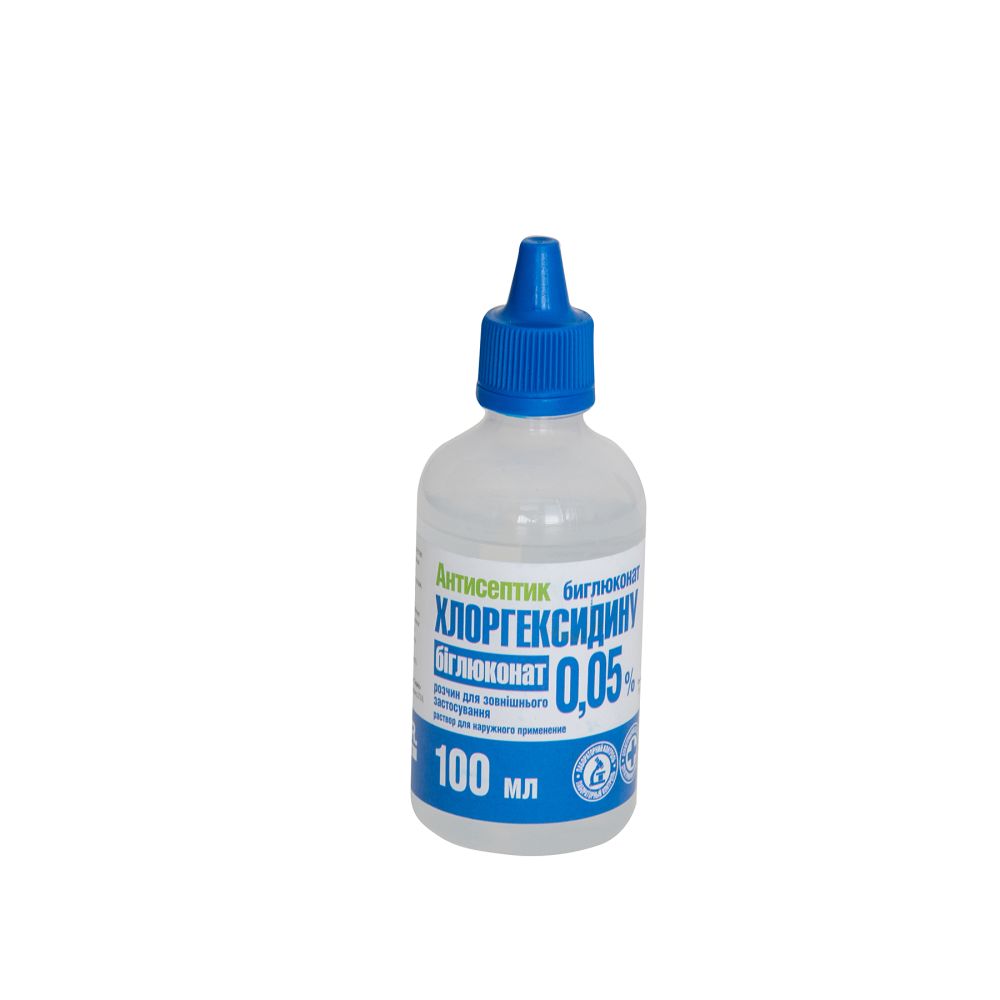
Since chlorhexidine is liquid, it can get inside the case and cause breakage. Therefore, the product is suitable for cleaning the case, external wires and ear pads.
What can be cleaned
Handy items help to get earwax stuck in hard-to-reach places, at joints or in mesh cells. But you need to use them carefully, without strong pressure, so as not to damage the fragile parts of the device.
Toothpicks and needles
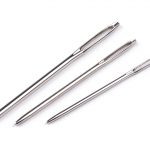
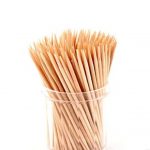
They are indispensable when you need to pry off a stuck piece of sulfur or pick up dirt. Using a toothpick, it is convenient to disassemble the headphones, it is easy to pry off the case or cover. When choosing between a toothpick and a needle, it is better to opt for the first one.
Wood is softer than metal, it does not scratch plastic so much and does not leave marks on the surface. If you have a mesh with very small cells, then only a sharp needle will come to the rescue. Use it carefully so as not to deform the part.
Cotton buds
The cotton swab is handy for cleaning small parts. It is designed to have a long handle. This is convenient for working with small items. Tightly wrapped cotton wool absorbs a small amount to clean the area. There is a danger that it can leave behind cotton fibers, which can impair the performance of the headphones.
In this case, it is recommended to check the working part of the stick for how tightly it is wrapped and whether cotton fragments stick out. You can also press the moistened end tightly with a clean cloth. This will remove excess liquid and make the cotton head denser.
Cotton pads
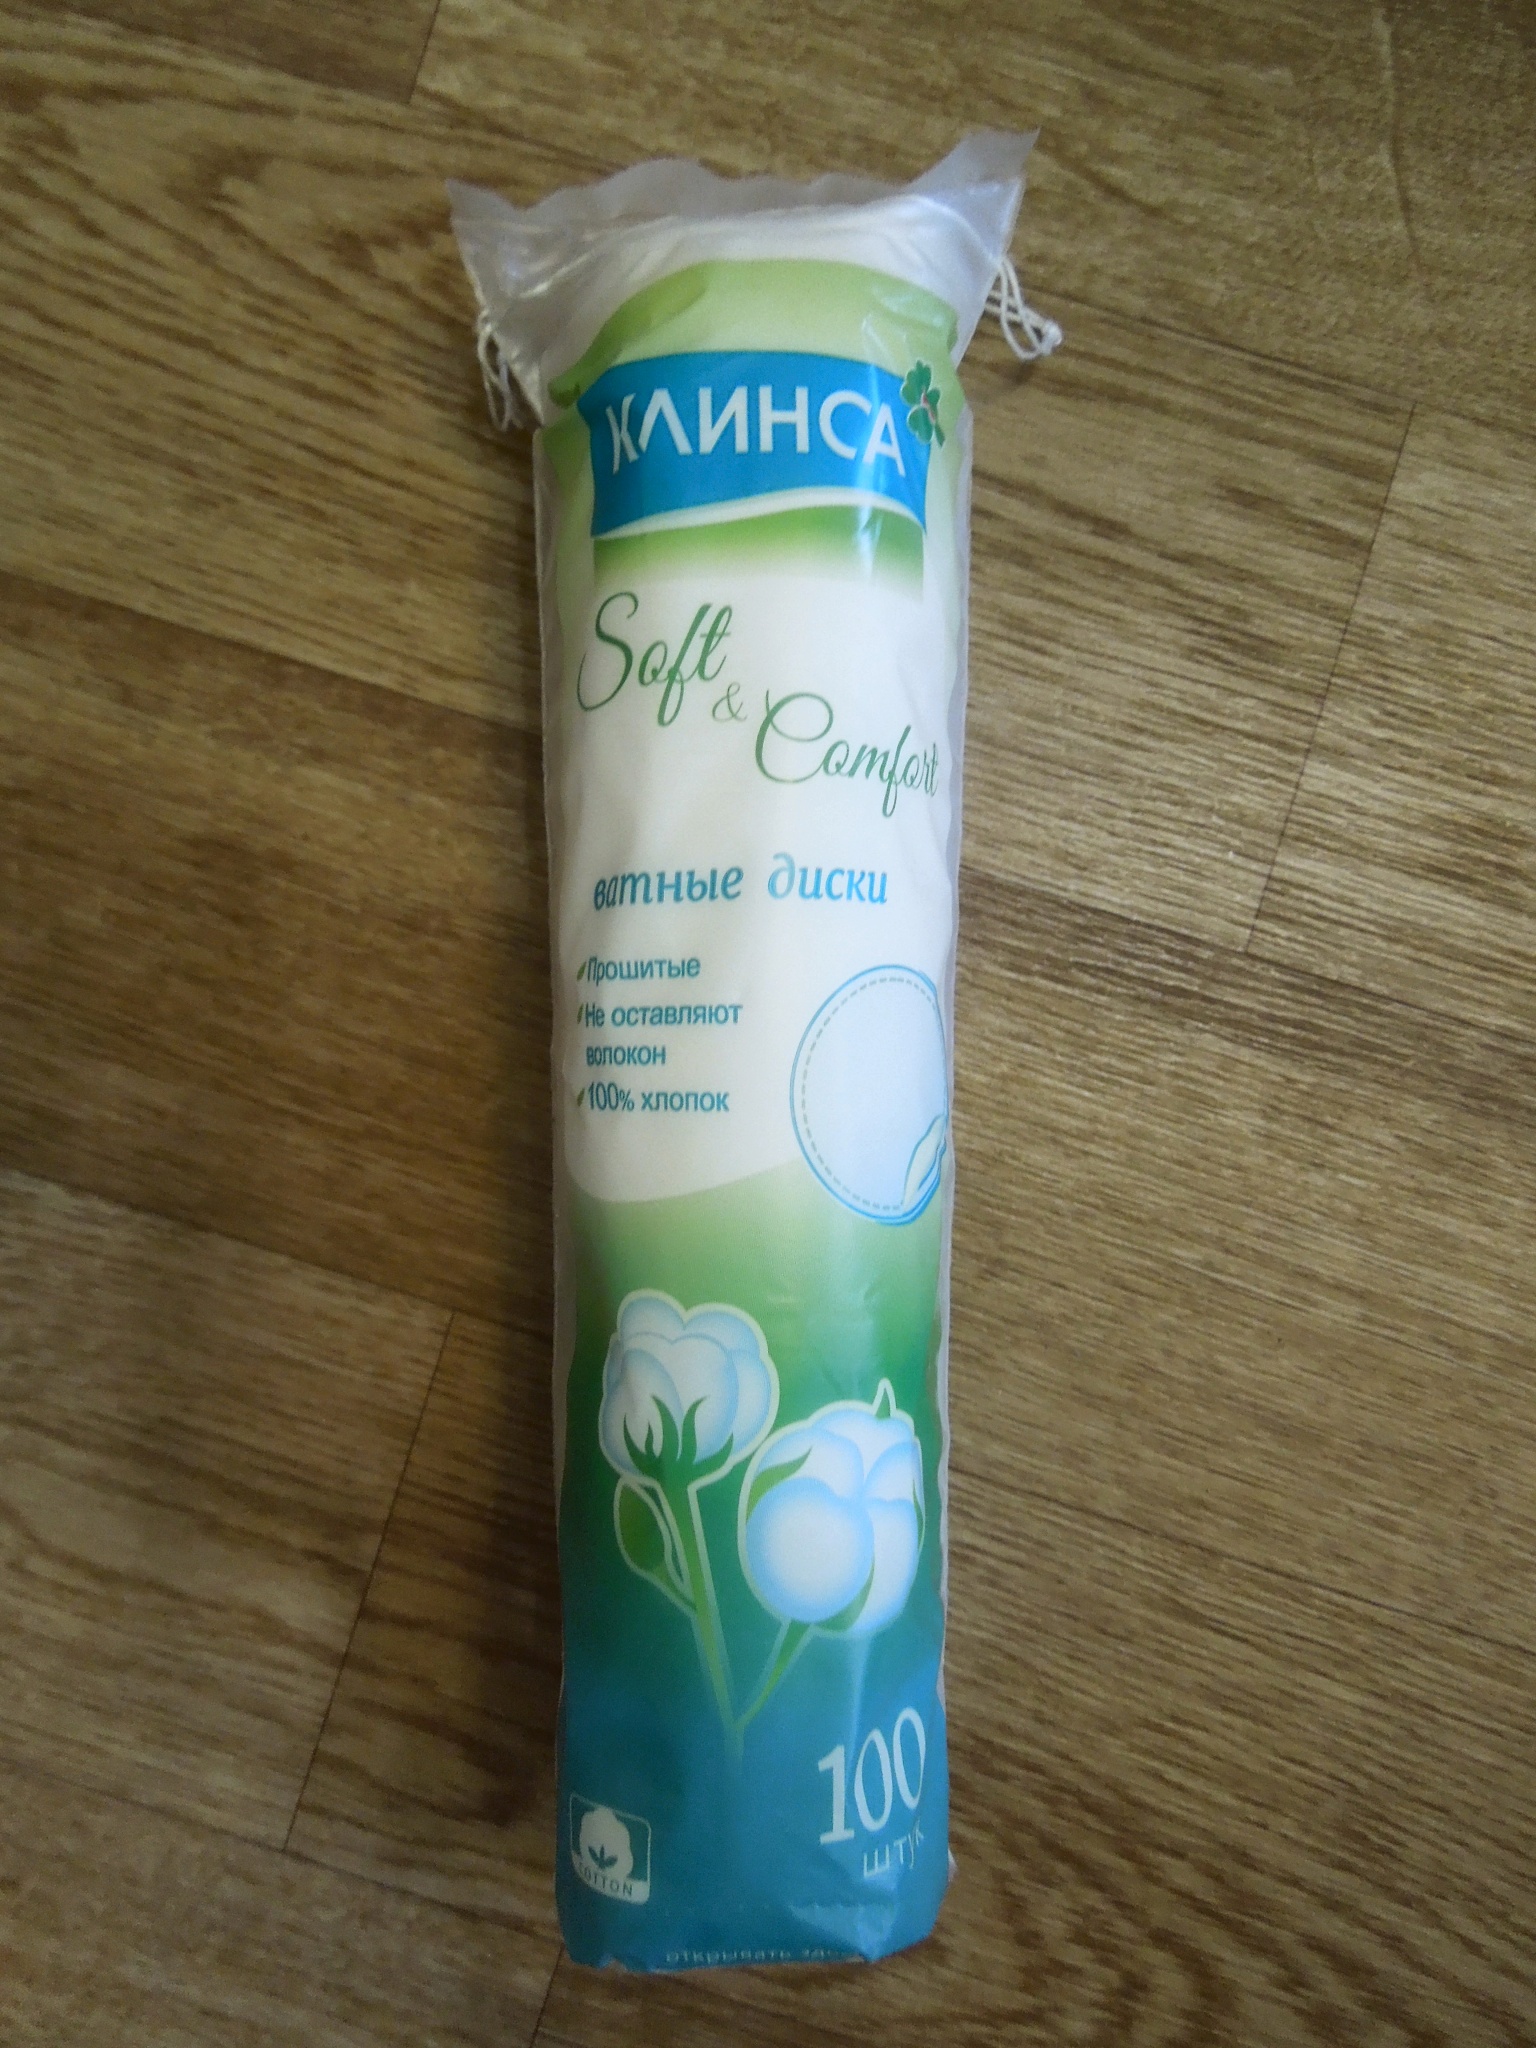
Experts recommend giving preference to cotton pads over pieces of cloth. It is a great helper to wipe the case, wires, large parts. The disc fits comfortably in the hand, does not slip, folds up several times.
What can not be used for cleaning
In addition to helpful tips and advice on how to clean your headphones, there are a number of warnings and contraindications.
- Whole headphones should not be soaked in any liquid. Moisture penetration into the housing will result in irreversible damage to the device.
- With the help of liquid products, you can clean external parts, housing, wires. In this case, leave the parts to dry for several hours. And avoid getting moisture inside the parts.
- Headphone parts, mounts and connections are delicate and fragile. Any careless movement can provoke a malfunction. Therefore, you cannot make sudden movements. Do not pull, press or jerk parts of the device.
- Disassemble the headphones only after you first become familiar with their device. To do this, read the instructions or find the diagram on the Internet. Otherwise, there is a possibility of incorrect assembly.
- Do not use soap products, dish gels and other detergent concentrates for cleaning.
Cleaning the headphone jack
Jack-in headphone jack collects dust and dirt from your pockets, fingers and the environment. It should be cleaned regularly as this will affect the sound quality of your headphones.
- use a cotton swab dipped in alcohol;
- make sure that no liquid drips from the cotton;
- insert the stick into the connector and twist it several times in different directions;
- if the cotton wool is very dirty, repeat the procedure several times;
- Use a toothpick to remove dried dirt, lint or loose debris.
Care tips for your headphones
Some tips, at first glance, may seem obvious. But it is precisely the observance of simple rules that will preserve your health and extend the life of your mobile device.
- Clean the earbuds regularly to avoid critical build-up of dirt and earwax.
- Even waterproof headphones are afraid of moisture getting inside. Do not take risks and do not test the device in water.
- Do not wind the wires tightly to avoid damaging the contacts. Store the earbuds in a dedicated case or loose.
- Try not to listen to music at maximum volume. This not only impairs hearing, but also shortens the life of the device.
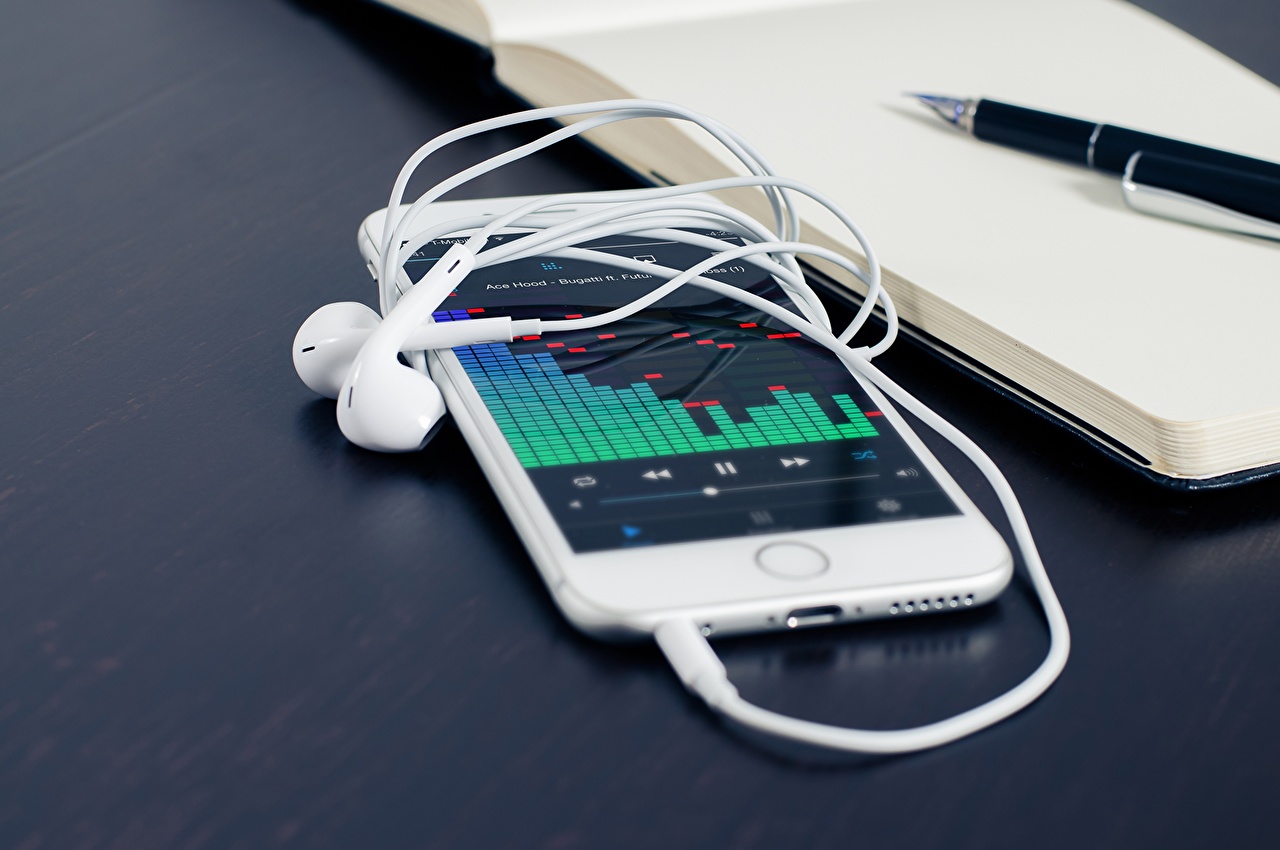
Earwax is a natural defense reaction of the human body to the environment. Try not to allow it to accumulate on the objects used in order to protect yourself and others from infection and pathogenic microbes.
Video: how to clean headphones from wax
