How to disassemble a washing machine
In order to fix the problem, you should take advantage of the warranty and return it to the service center. If there is no possibility or the warranty has expired, even a beginner is quite capable of disassembling and assembling the car with his own hands.

It is important not to throw away the instructions for the washing object and follow safety precautions.
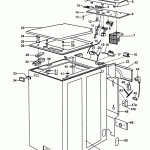
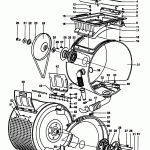
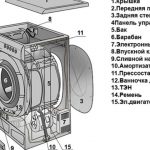
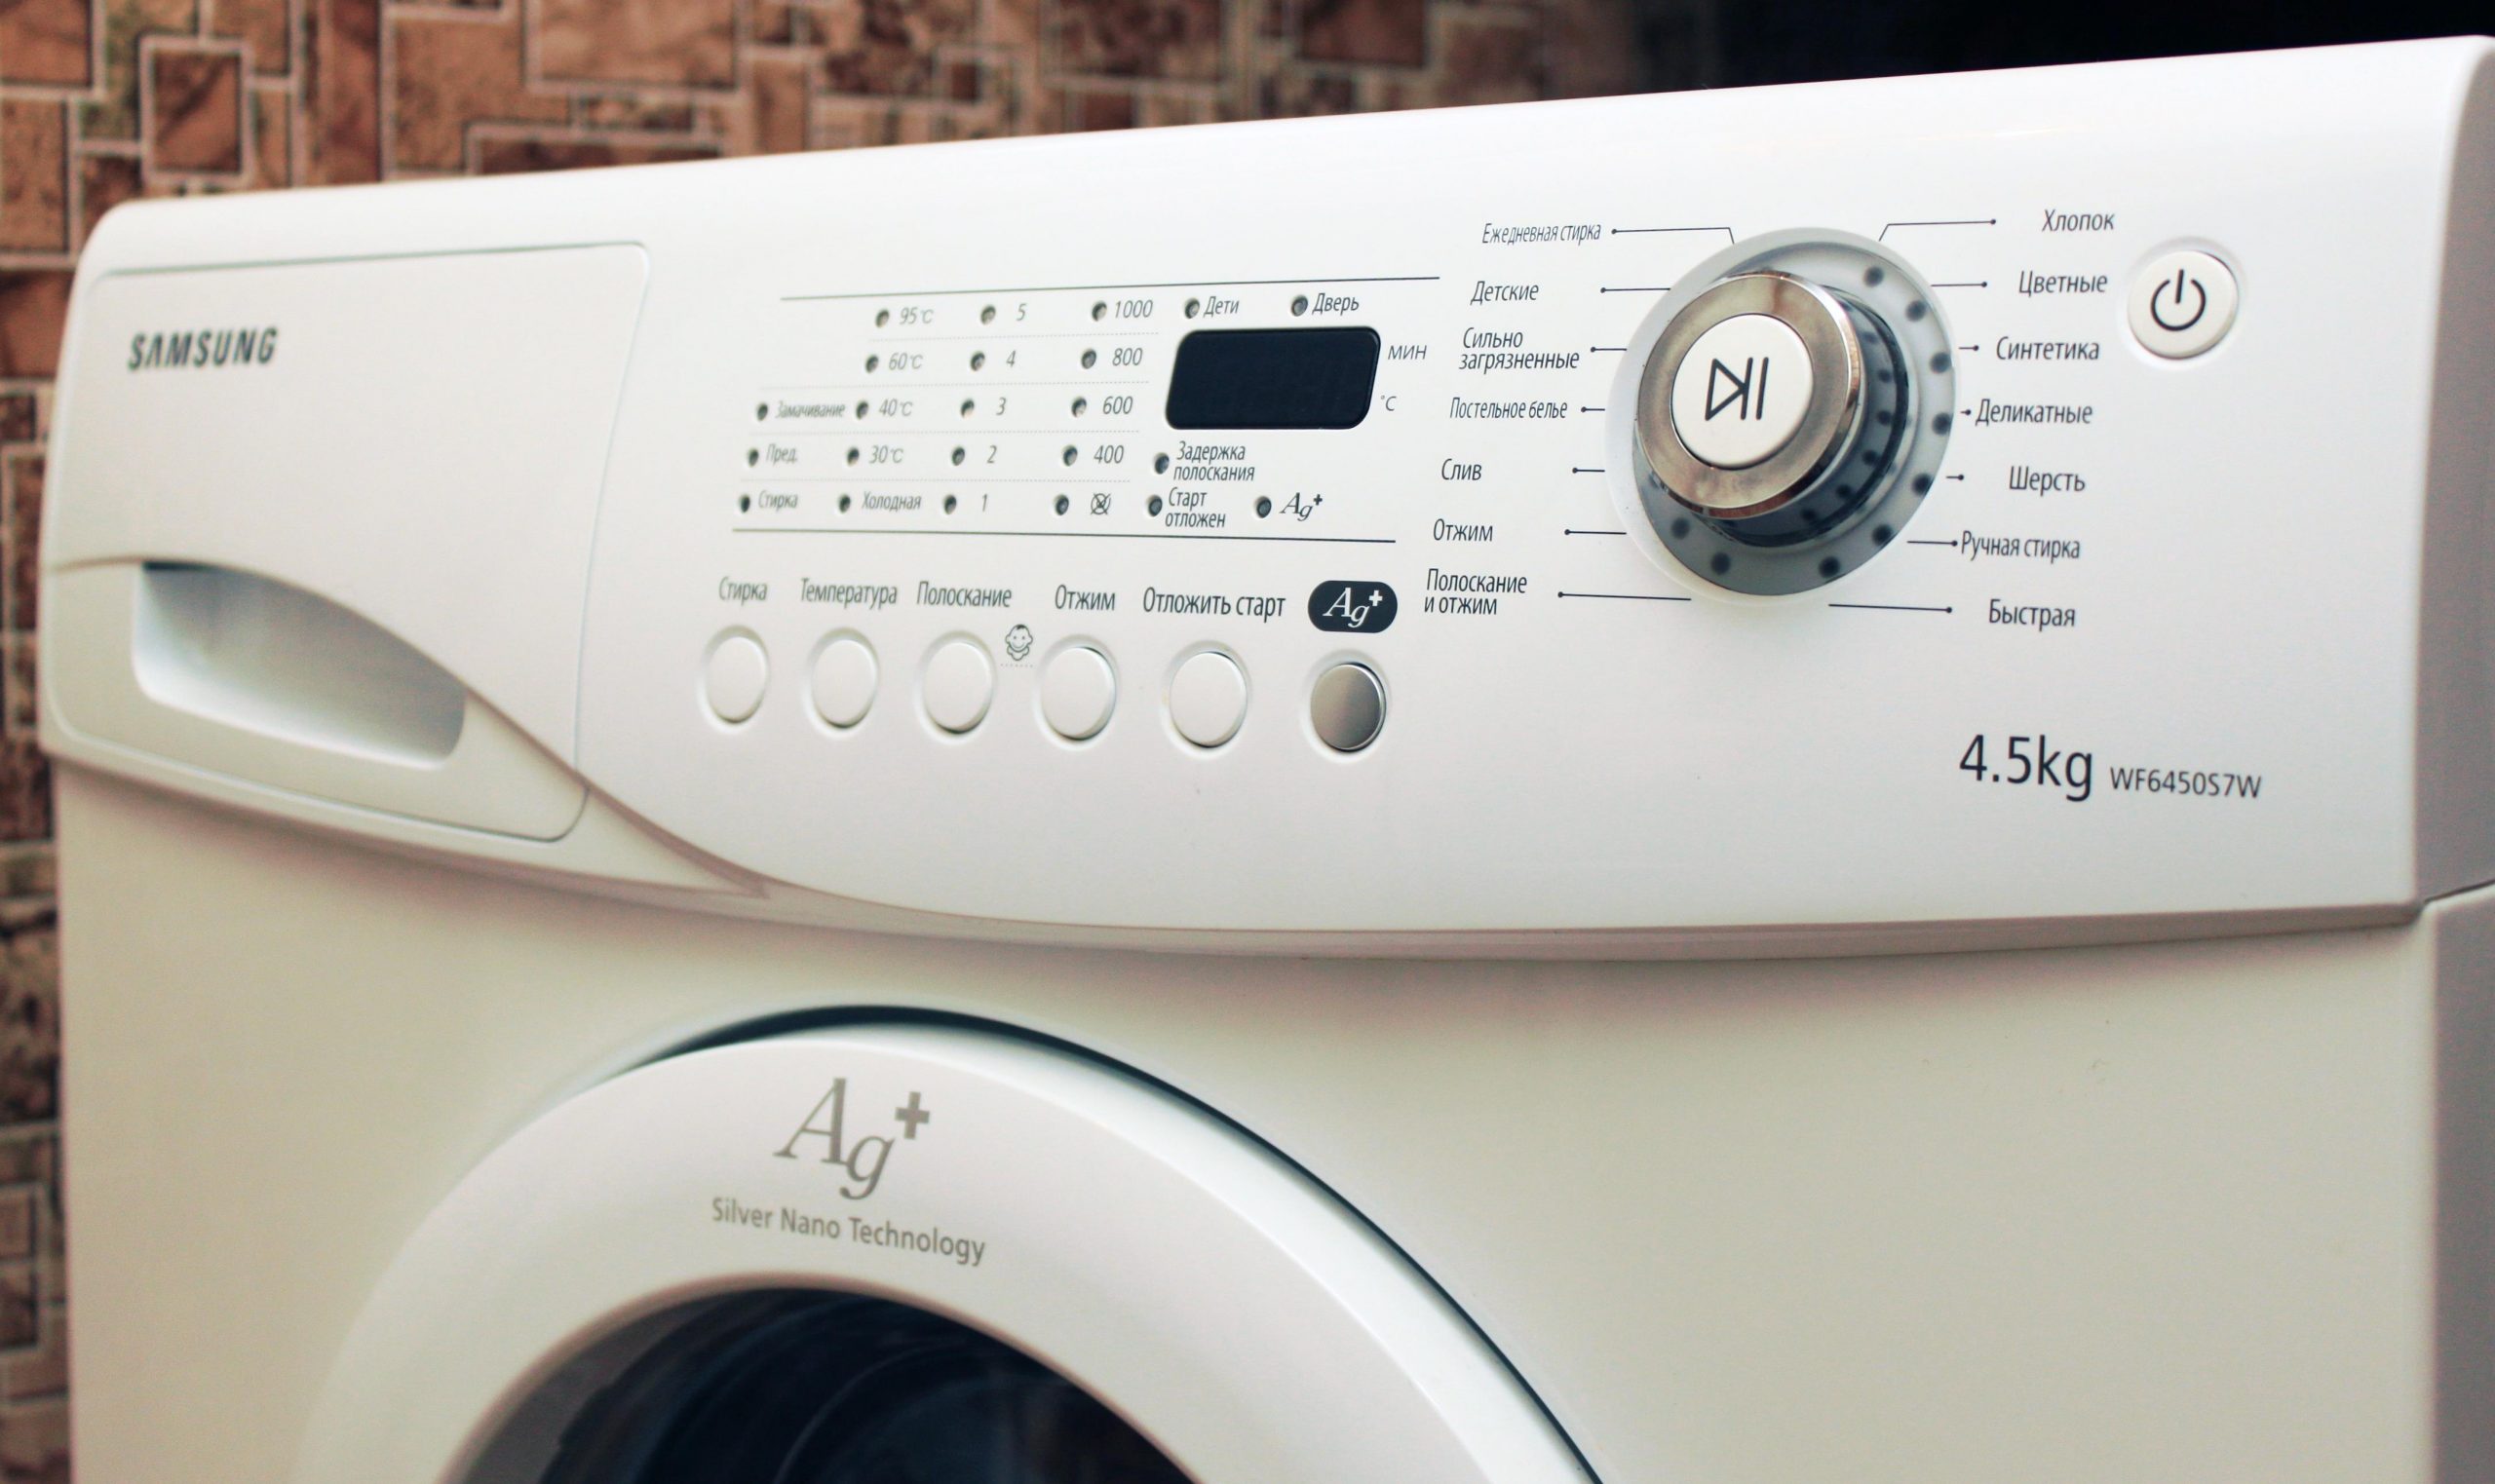
Samsung washing machine diagram
The diagram becomes a repair assistant if you understand how to read it. For a master, working according to the scheme is a couple of hours of employment. For a beginner, it takes much more time, since you first need to find out what each letter means, and what it refers to.
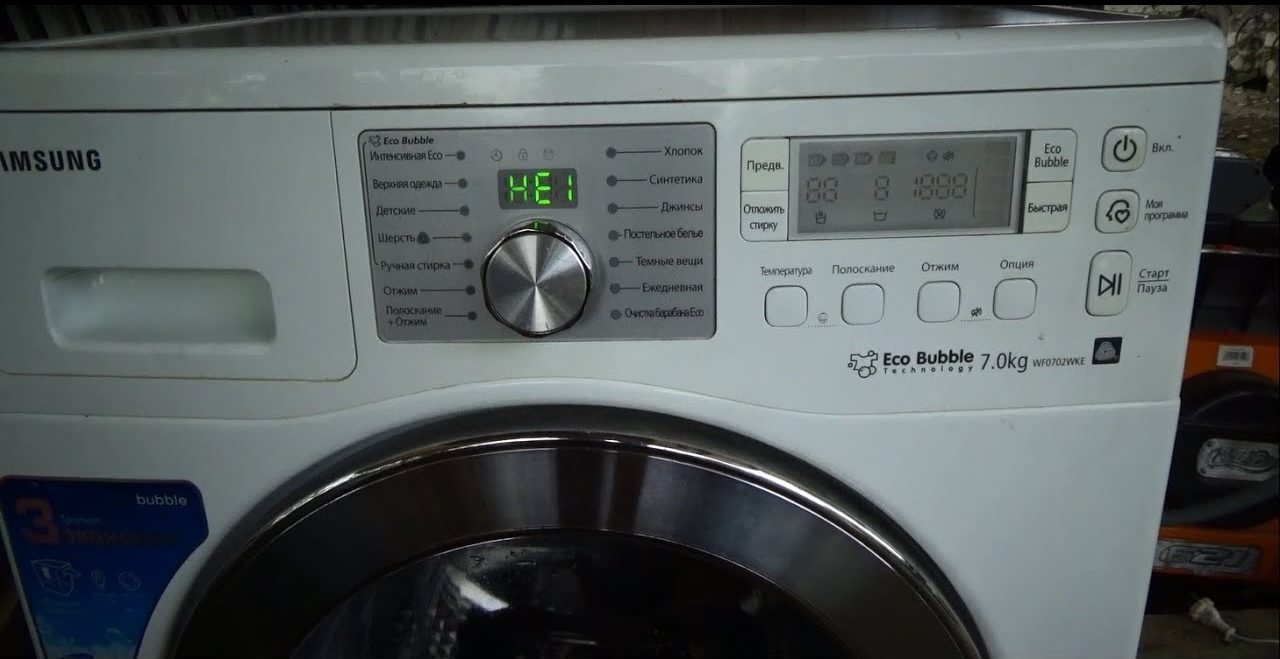
If a breakdown occurs in the machine, it is directly connected to the control module, and a letter and a number appear on the display, which is responsible for the problem. There is a separate scheme for it.
We indicate the designations of the codes:
- E1 - the problem lies in the water supply. Check the correct connection with the installation, pay attention to the relay and EC.
- E2 - the problem is in the drainage of water. It could be a blockage, a problem with the relay, or kinked tubing.
- E3 - the water in the tank is overflowing. Probably the problem is with the relay.
- dE - either a problem in the locking system, or better close the hatch door.
- E4 - clothing imbalance in the drum.
- E5, E6 - heating element is broken. Make sure it is working properly, check the resistance, if necessary, replace it.
- E7 - relay breakdown.
- E8 - the water temperature does not correspond to the selected mode.

More complex problems, part replacements or repairs, are easily handled by a washing machine master. Not everything can be done on your own, especially if a beginner takes over.
Washing machine repair (+ most frequent breakdowns)
Getting started, first of all determine the cause of the malfunction and the breakdown itself.
The most common ones are:
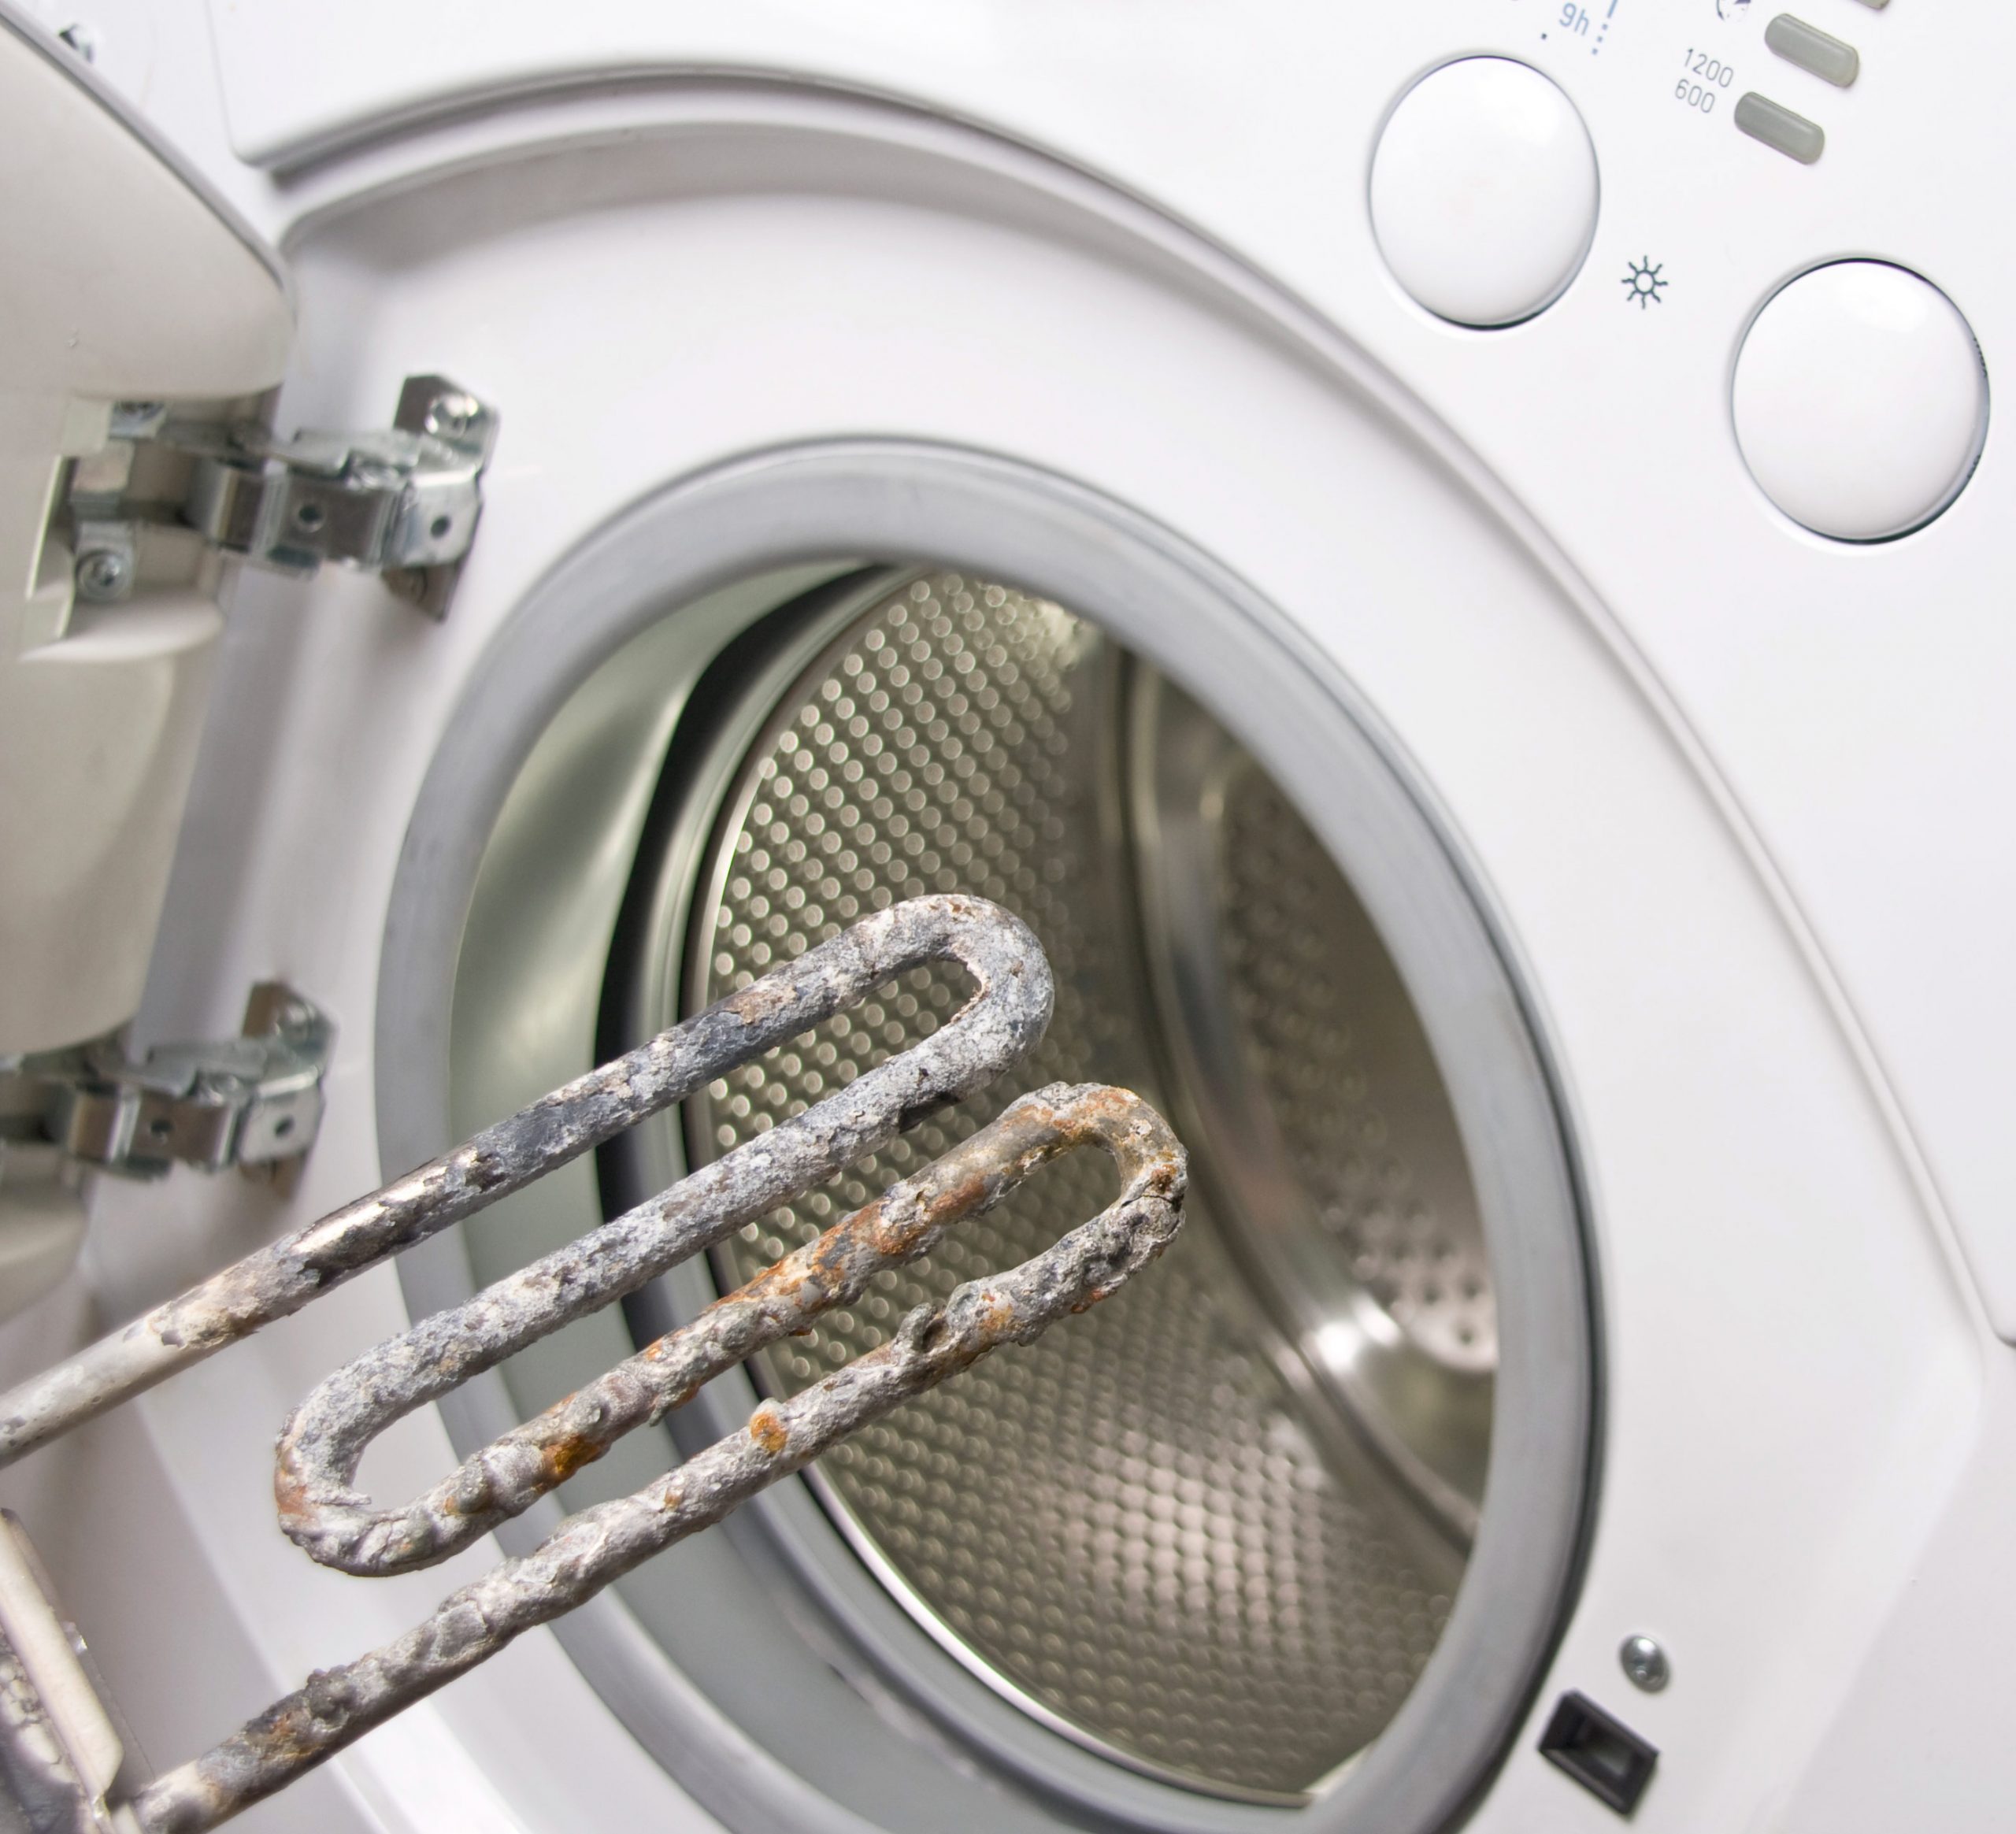
- broken heating element. The reason for this: voltage drops and poor quality water. This type of problem includes heating element connections and a temperature sensor. If there is a lot of scale, the sensor refuses to work, and in case of a short circuit, the contacts of the heating element will burn out.
- Malfunction of the AGR. The reason for this is the wear of the drive belt. This is indicated by the washing stopped during operation and the drum does not spin. Replace only with the original belt.
- Breakage of inlet valves. When the rubber wears out, water flows into the tank. If there is a blockage in the valve, water will not flow into the machine.
- Bearing problem.
- Greasy pump.
- Drain pump.
Nothing said about electronics. This is all due to the fact that the company creates the highest quality equipment and breakdowns in the electrical or wiring area are extremely rare.
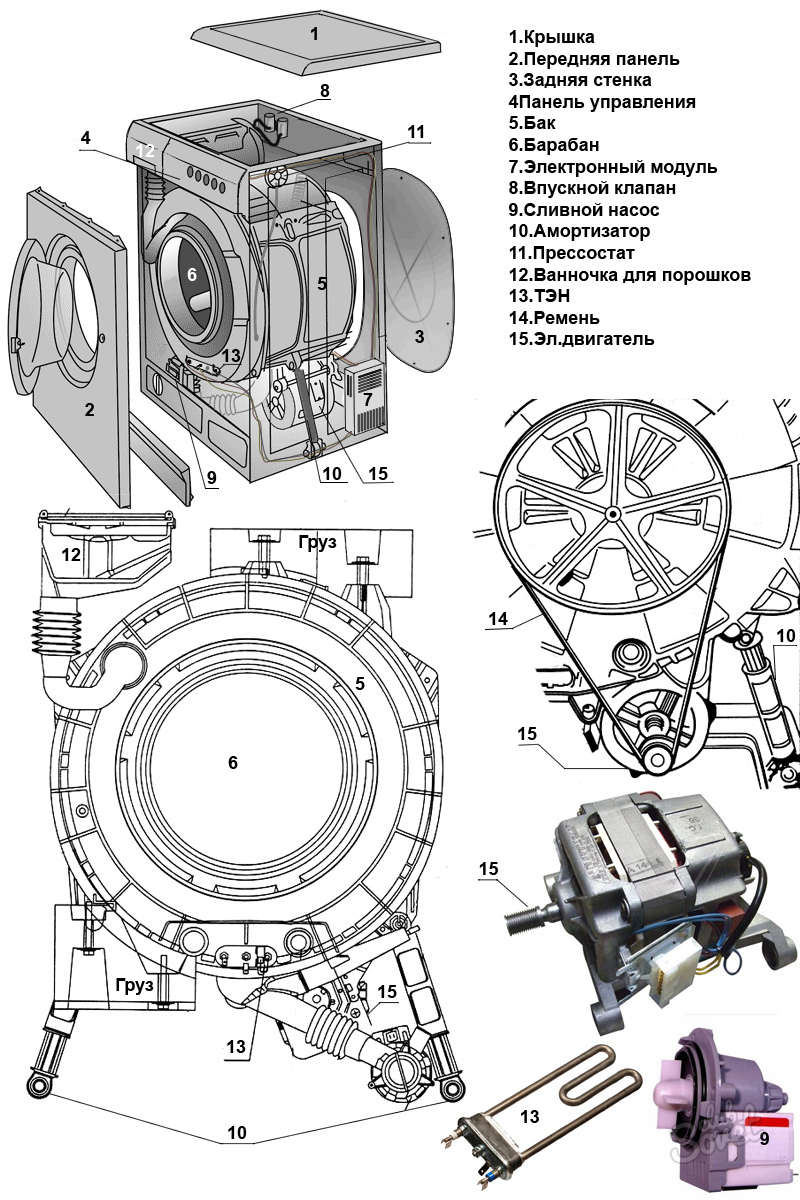
If the horizontal loading machine does not heat the water:
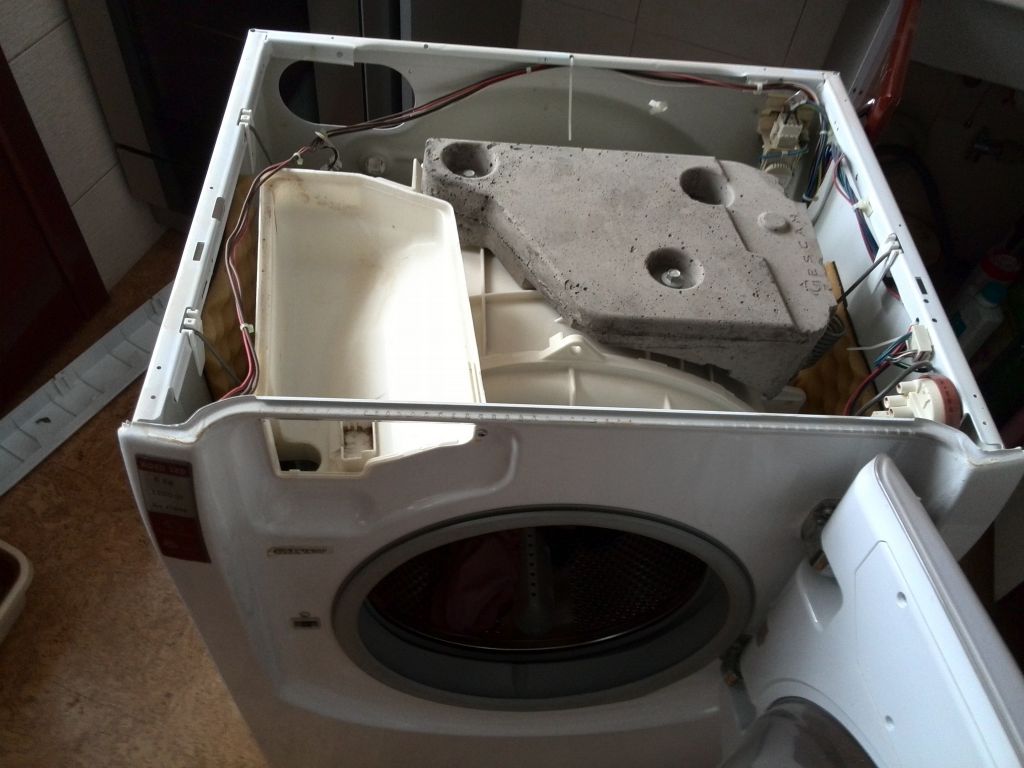
- Observe safety precautions - disconnect the machine from the mains.Unscrew the screws securing the top panel and remove it.
- Remove the dispensing tray. The bolts behind the tray must be unscrewed.
- Remove the bottom panel.
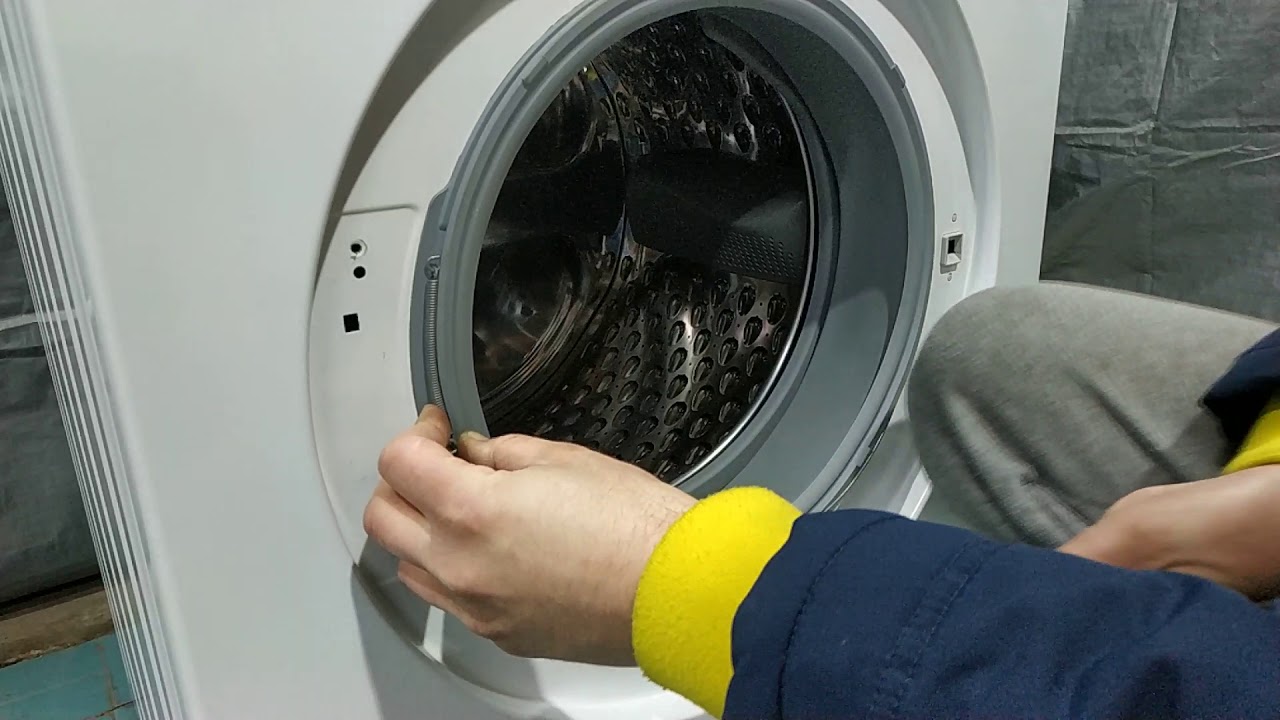
- Remove the hatch cuff: move it, pry the clamp (metal), pull.
- Place the cuff inward.
- Here's how to remove the front panel of the washing machine correctly: loosen the screws that block the door and disconnect the wires.
- At the base you will see a heating element.
- Disconnect the heating element wires.
- Do not unscrew the center nut completely.
- To get the heating element, you need to push the central bolt.
- Pull out the thermostat.
The assembly will be carried out upside-down. This will not work with vertical loading.
- Complete the preparatory phase. Prepare your work area and tools. Don't forget your smartphone.
- Remove the control panel. All machines have an automatic vertical loading "Indesit", "Atlant" or others, a different removal system. Somewhere you need to unscrew the screws on the sides and back, but somewhere you just need to remove the latches.
- Set the panel aside. If the contacts on it interfere, you can take a picture and then remove them.
- The mounting screws are located behind the block.
- Unscrew them (screws) and remove the cover. In some machines, the side panel is removed for this and the door latch is loosened.
- Dismantling the filling valve. The clamps are unclenched, the hoses are removed from the seats. The wires must be disconnected, the latch is pressed and it is possible to squeeze out the valve.
- Keep the side panels on self-tapping screws - remove them.
- The walls slide down and retract.
- Access to the front is open. To unscrew the panel, unscrew the screws.
- Access to the nodes is open. You can remove the wiring that is attached to the tank.
- If the bearing needs to be replaced, this is done on site. Since the tank may not be removed.
- The drive belt is removed from the pulley.
- To get the heater, you need to: turn off the power of the heating element, twist the nut and push the central bolt inward.
- We remove the motor: pull out the contact pieces and twist the mounting bolts.
- We release the drain pump: we unclench the clamp of the pipe and hose. We shoot.
- Turn the pump in the opposite direction from clockwise to unscrew the bolts.

You can handle the parsing of both types of downloads yourself. You don't need to make a lot of effort and buy special tools for this.
How to disassemble a Samsung washing machine
How to disassemble a washing machine without the help of a pro? You can carry out the above points before working with the heating element.
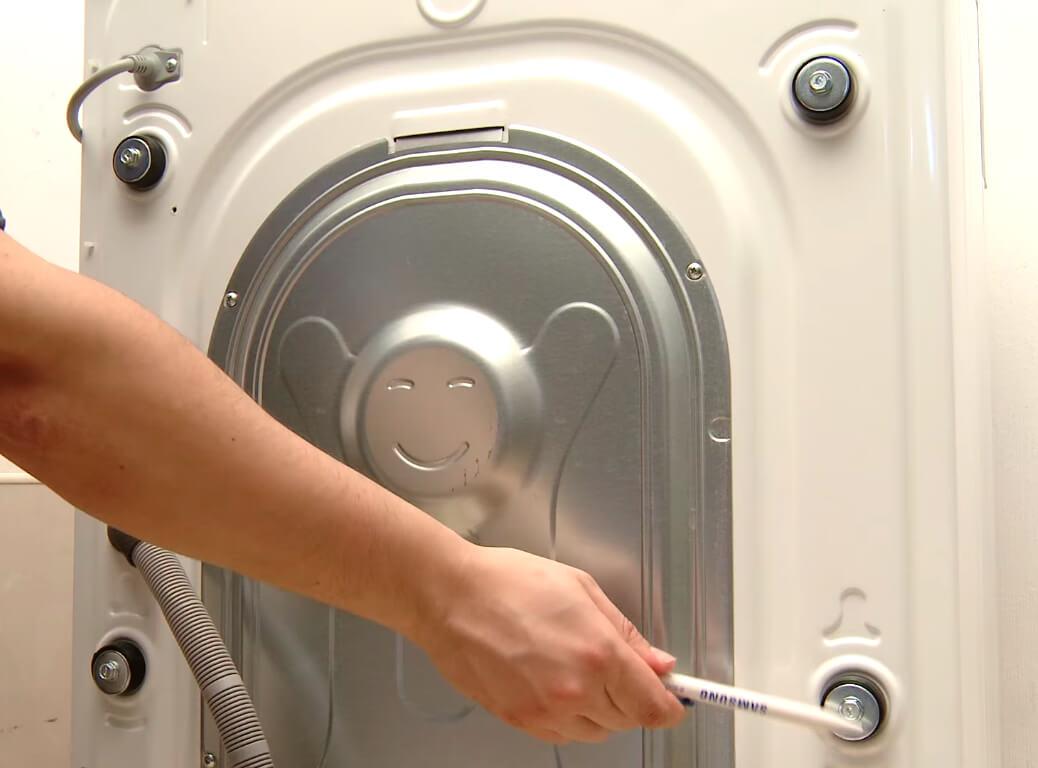
Next, you can:
- Remove the cover at the bottom of the machine. There is a plug and a hose. The hose is needed for emergency drainage of water, and the drain is cleared through the plug.
- To unscrew the control circuit, you need to unscrew two self-tapping screws and then unfasten the fastening latch.
- To remove the electrical module (on the inner part of the control panel), you need to unscrew the 3 self-tapping screws of the upper fastening on the front panel.
- To remove the front panel, unscrew the 4 self-tapping screws on the bottom panel.
- The tank is held on the body by means of shock absorbers and springs.
- An electric motor is located under the tank.
Preparatory stage
Convenience and high-quality disassembly of the washing machine will depend on good preparation.
Therefore, without skipping or "jumping" on each of the points, do them like this:
- de-energize.
- Drain the tank and pipes.
- Prepare your tools.
- Select a location for renovation work. It should be well lit and free to move around the vehicle comfortably.
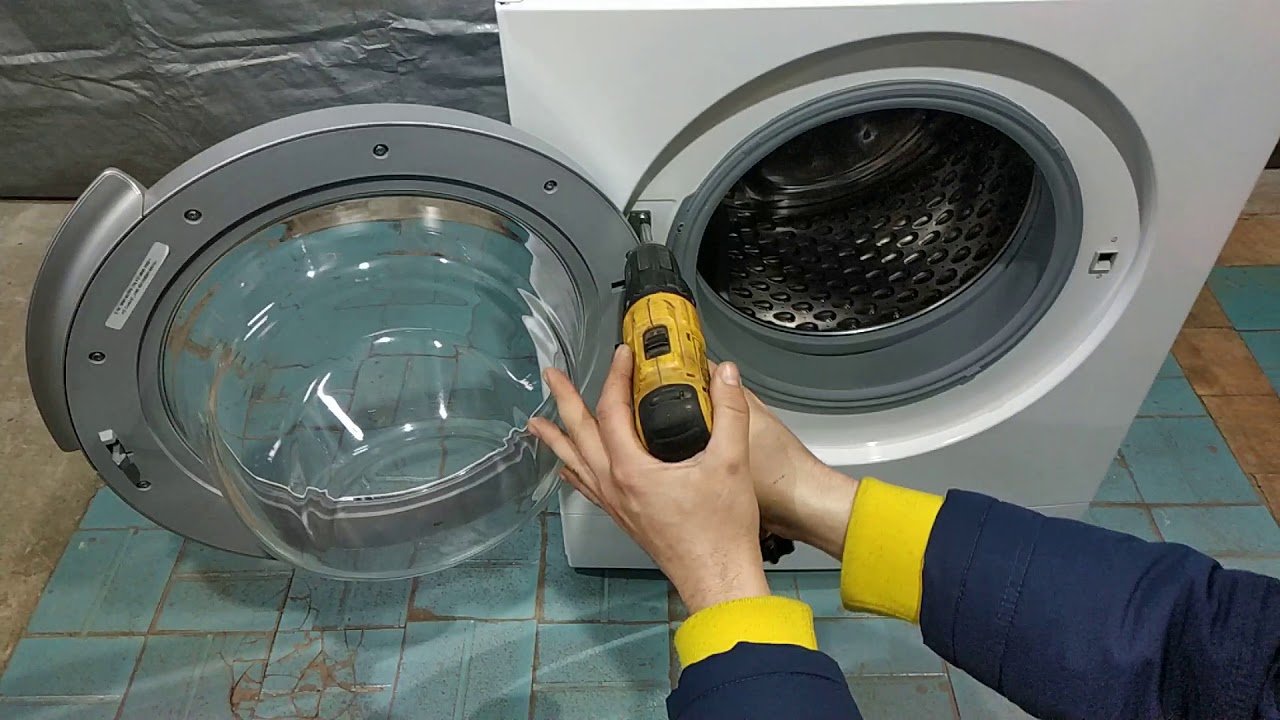
To repair a Samsung washing machine with your own hands No special tools are needed, everything is at home. Arm yourself:
- Screwdrivers;
- Pliers;
- Heads of different sizes;
- Small hammer.
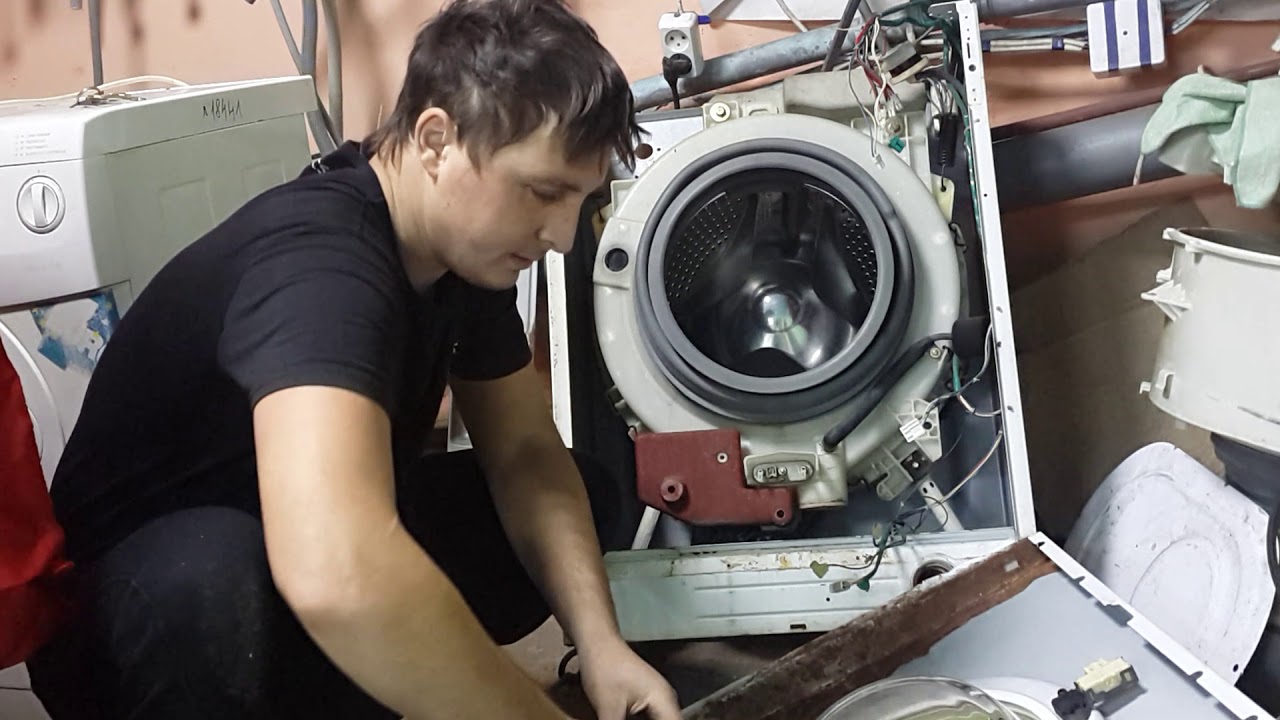
Of the special items, there can only be a WD-40 solution, it helps to remove the sealant, tightly screwed nuts and CV joints. Do not fold your smartphone away. He will be needed, not only to spy on the next step in the work, but also to take a photo.
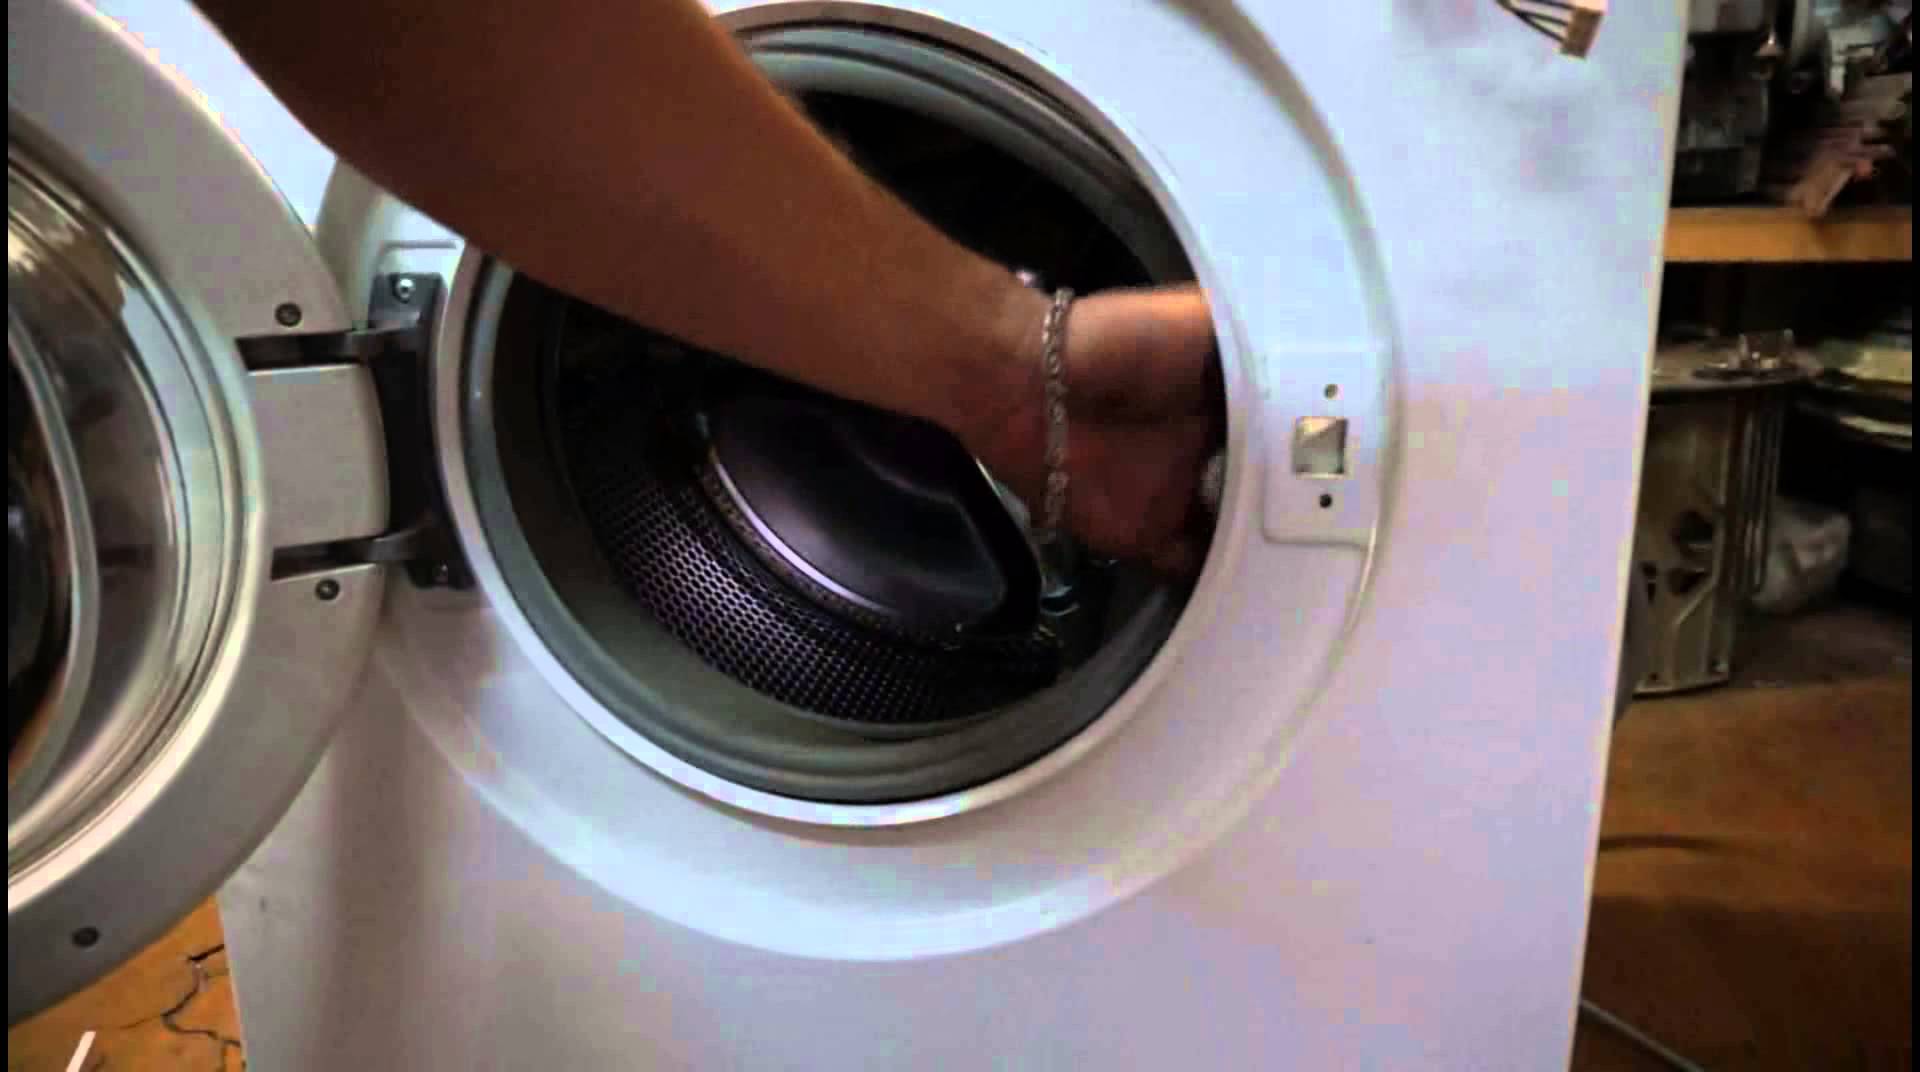
Photos will help you then put the machine back in order.
Troubleshooting
Breakdowns have a different nature of manifestation. Often they are shown on the display in the form of a special code, which is written at the beginning of the article. All vehicles can be divided into vehicles with and without display.
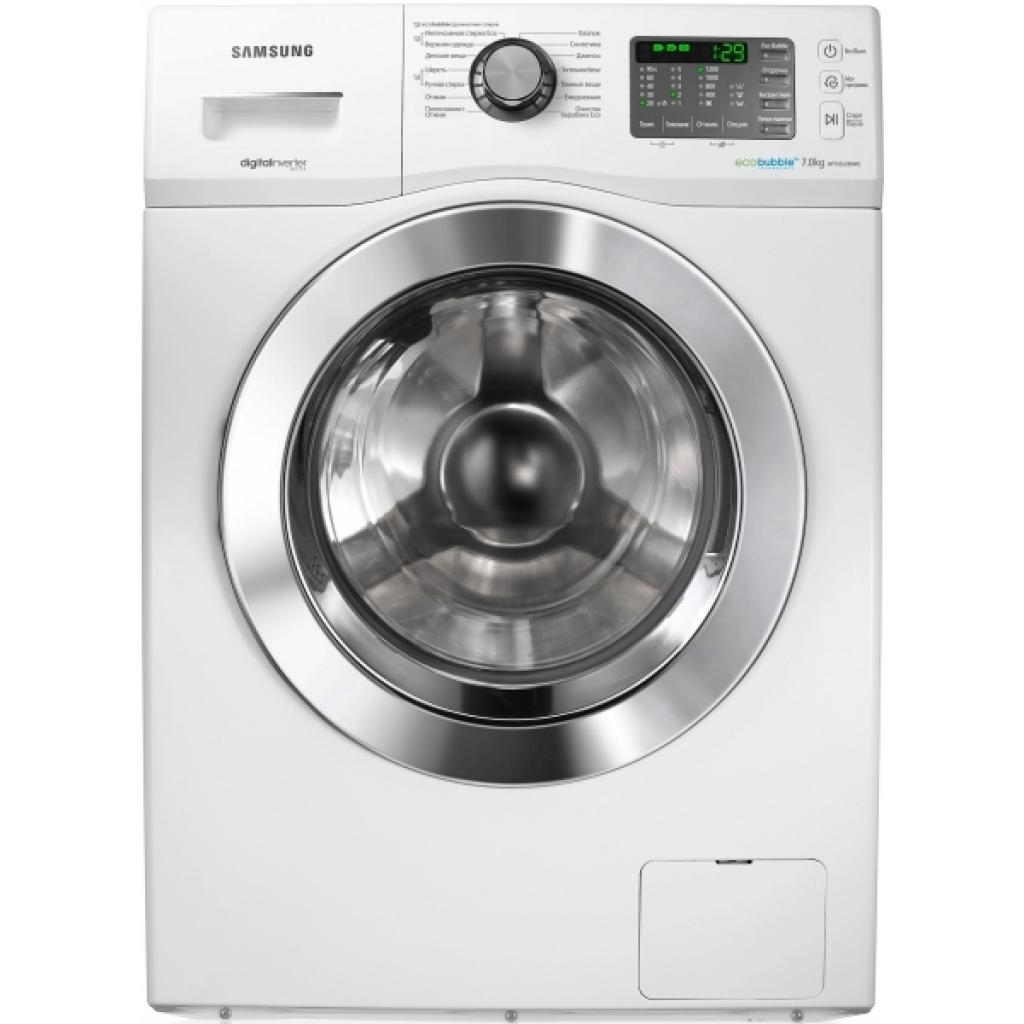
Cars without a display show the problem with the light bulbs.
- The lower temperature indicator and all the wash mode lamps come on. Problem: water is not being poured.
- The 2nd from the bottom temperature indicator and all the same lamps of all modes are on. Problem: no water draining.
- All the lamps for the washing modes are on and the two lower lamps with the temperature. Problem: too much water.
- All the lamps for the washing modes are on and either the 2 medium temperature lamps, or the second from the top and the second from the bottom. Problem: water does not heat up.
- All washing mode lamps and one upper one with two lower temperature sensors are on. Problem: faulty buttons.
- All the washing mode lamps and the two upper temperature sensors came on. Problem: there is no signal from the temperature sensor.
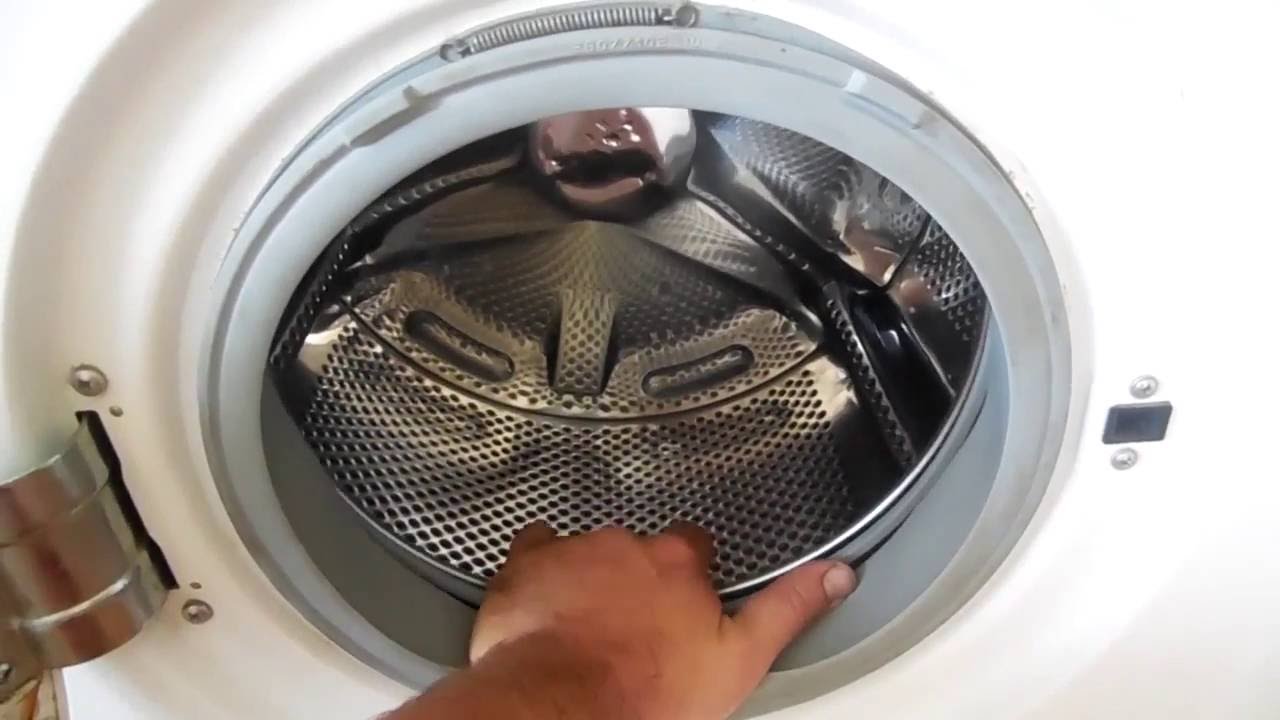
Based on the knowledge of the codes, further actions can be determined.
Safety engineering
When working with any equipment, you must follow safety precautions. All work must be started with de-energizing the equipment. It is also important to do all the work with dry hands.
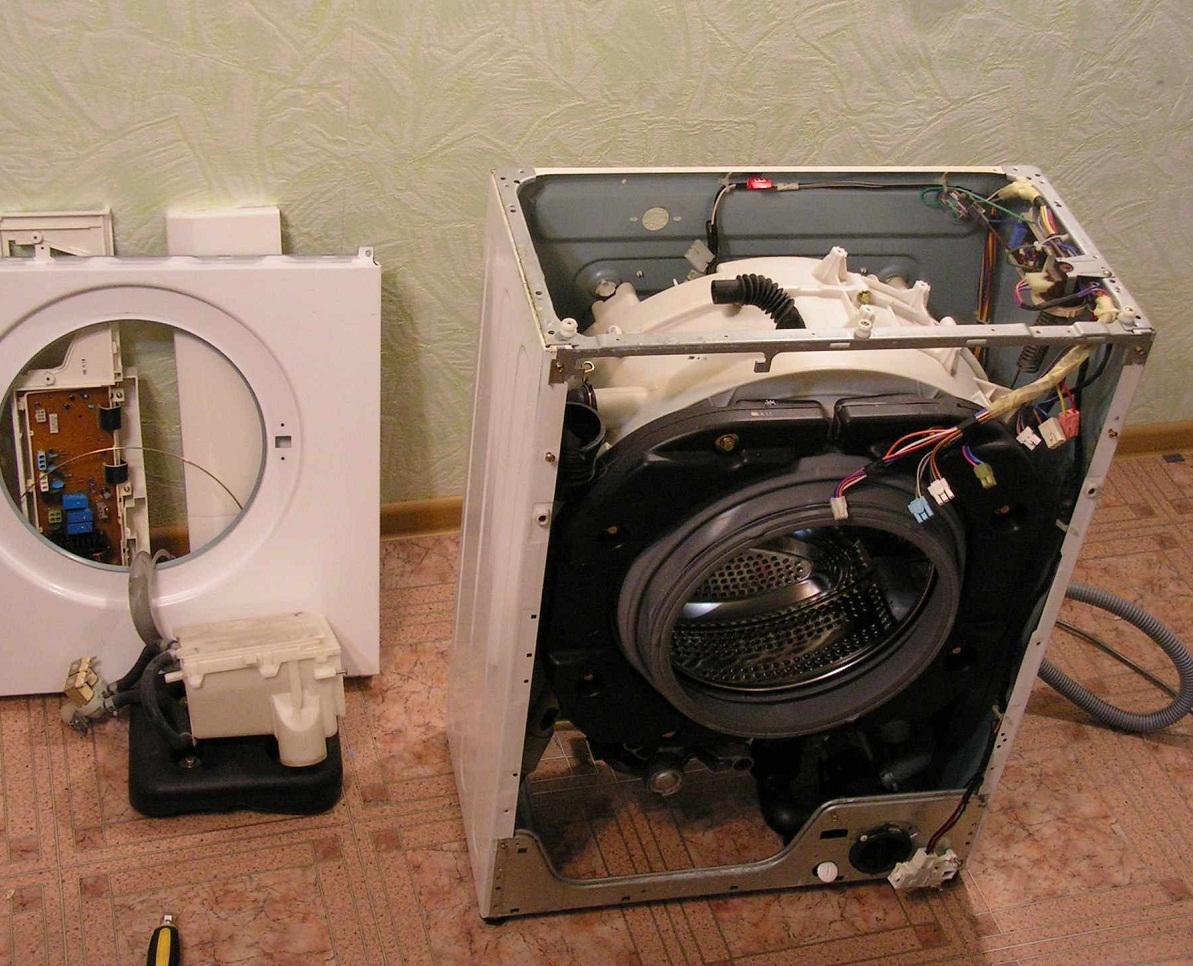
How to assemble a Samsung washing machine
Dismantled, disassembled, but you can't put it back together? To prevent this from happening, you should use either a notebook or a smartphone. In the case of a notebook, you will need to write down every step of the disassembly, so that later you can, reading what was written down the points from the bottom up, collect it.

The time for all the work will increase several times. It's much easier to do this with a smartphone. Take a photo of each step and at the end scroll from the last to the first photo and collect.
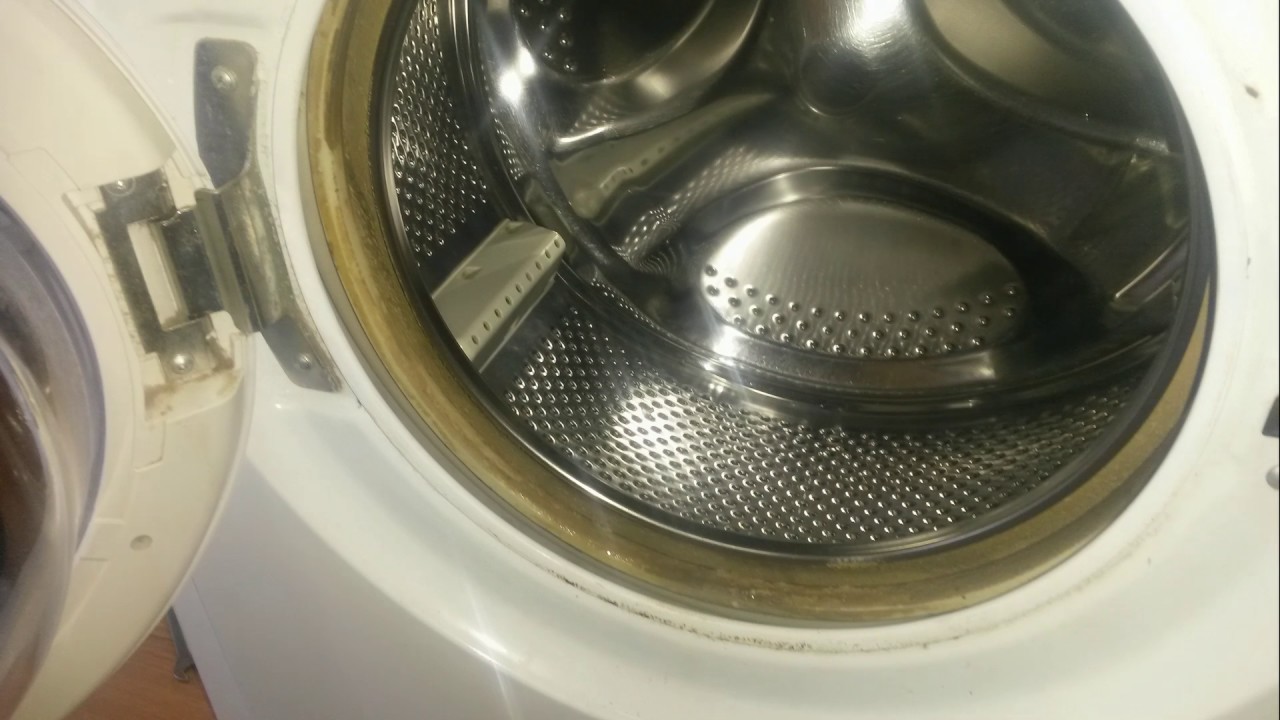
Washing machine care
You need to take care of every thing. Also with a washing machine.

Therefore, adhere to 5 basic rules:
- If the load is designed for 5 kg, you do not need to load it under the top, and you should not try more than 5.
- Before putting things in, check all things for small items. They can get stuck in the car and damage it. The tray for powders and gels is easy to remove and should be washed periodically. After washing, leave the door open to ventilate the machine and avoid creating unpleasant odors.
- Take time to care for the outer parts, at least once every 7 days.
- It is worth listening to the advertisements and buying a water softener after all. It will not only improve the quality of washing, but also save the internal parts of the washing machine.
- The operating instructions should always be at hand and worth reading. Manufacturers have created it with the expectation that it would be easier for you to cope with car care.

There is nothing shameful that you give the machine to the master. But if you do the repair yourself, stay safe and be attentive to detail.
Video: how to disassemble a SAMSUNG washing machine
