How to replace bearings in a washing machine
The washing machine bearing is a key link that allows the drum to rotate with a minimum level of resistance. During operation, the main load falls on the bearing. That is why they are so susceptible to wear, and replacement of the bearing in the washing machine is periodically necessary.

Functionality of bearings in a washing machine
The bearing performs the following functions when the washing machine is running:
- allows the drum to spin;
- reduces frictional force during rotation;
- minimizes noise and vibration.
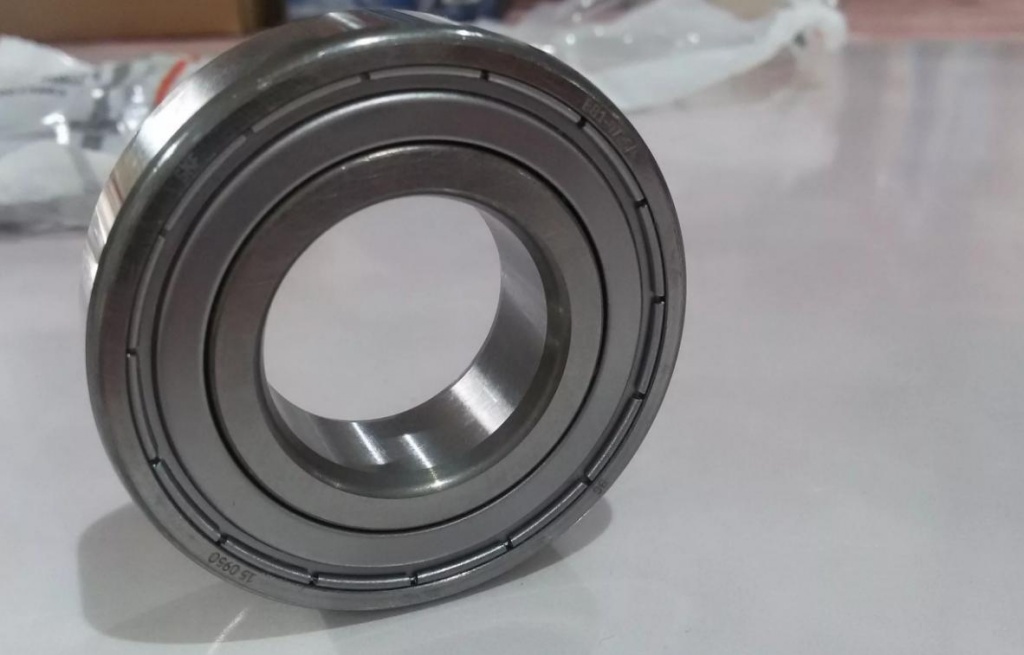
Modern models of washing machines have bearing rings of two types - plastic and metal. Metal bearings are in demand. They are distinguished by the strength of the material, but the ingress of water is dangerous for them - rust may appear.
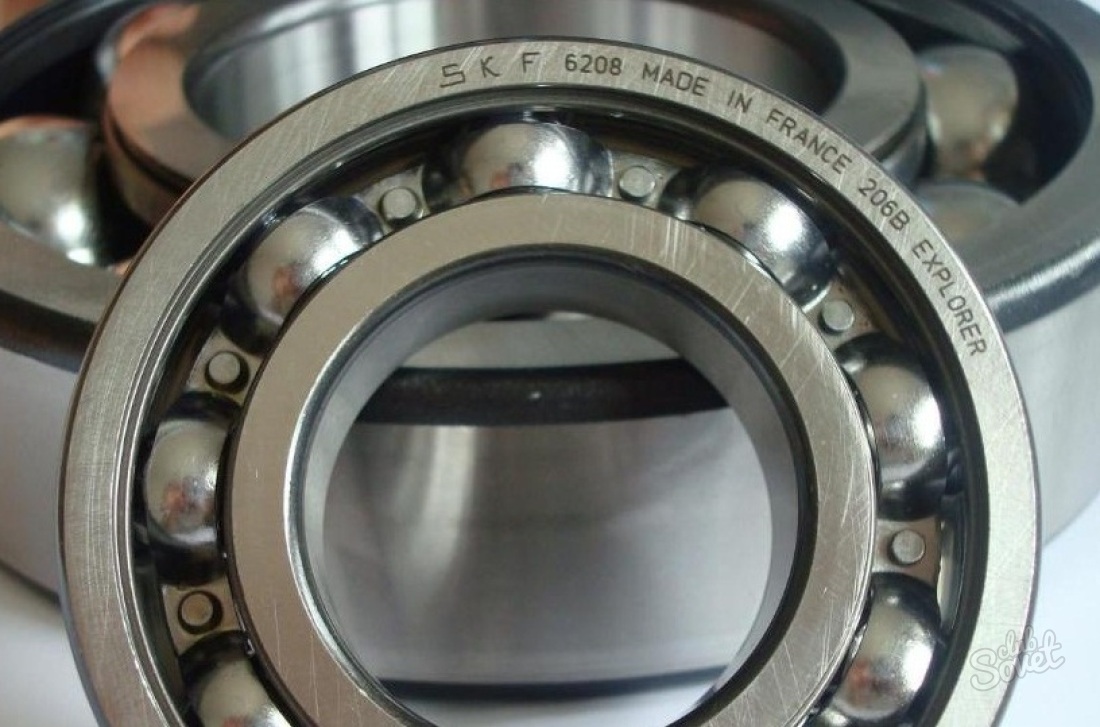
Plastic bearings are considered more reliable. They are made of a plastic coated metal base. Therefore, they are additionally protected from the influence of moisture.
How to diagnose bearing wear
You can understand that it is necessary to replace the bearings in the washing machine by the following signs:
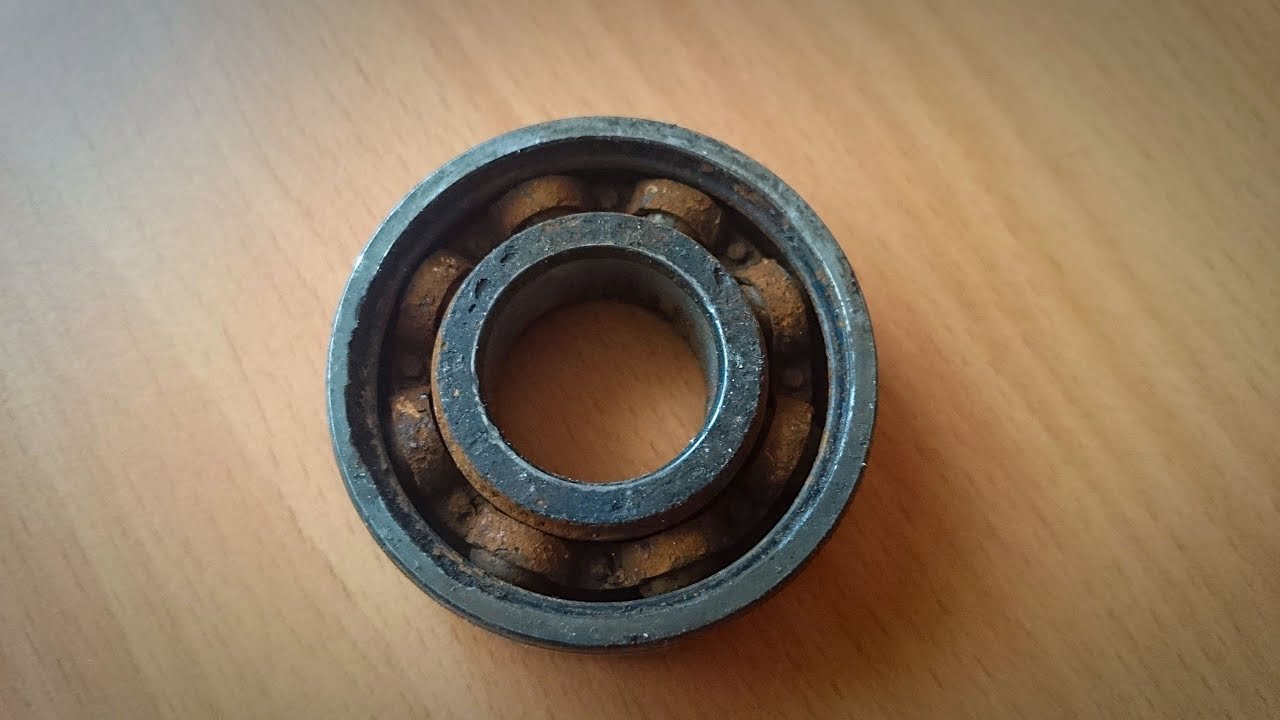
- the machine starts washing much louder than usual, you can hear it especially well during spinning;
- the drum rotates "harder" than usual - this is due to the fact that the resistance increases during rotation;
- when manually turning the drum, noise and grinding noise are heard.
Important! If the washing machine vibrates a lot during washing and spinning, it is recommended to check the shock absorbers first. Worn bearings generate noise, but not vibration, throughout the machine body. Also, the deterioration of the shock absorbers can be distinguished by the characteristic knock due to drum vibrations.
Step-by-step instructions for replacing
Required tools
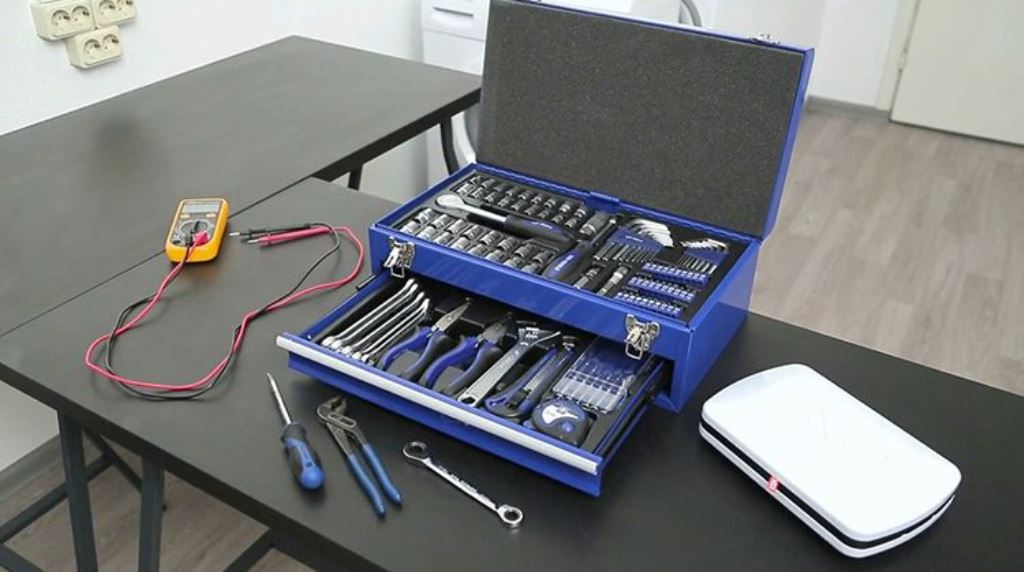
To replace a worn bearing with your own hands, you will need the following tools:
- adjustable wrench;
- a small hammer with a bump of soft material - preferably copper or rubber;
- pliers;
- slotted and Phillips screwdrivers;
- open-end wrenches of different sizes;
- small diameter metal bar or blunt chisel.
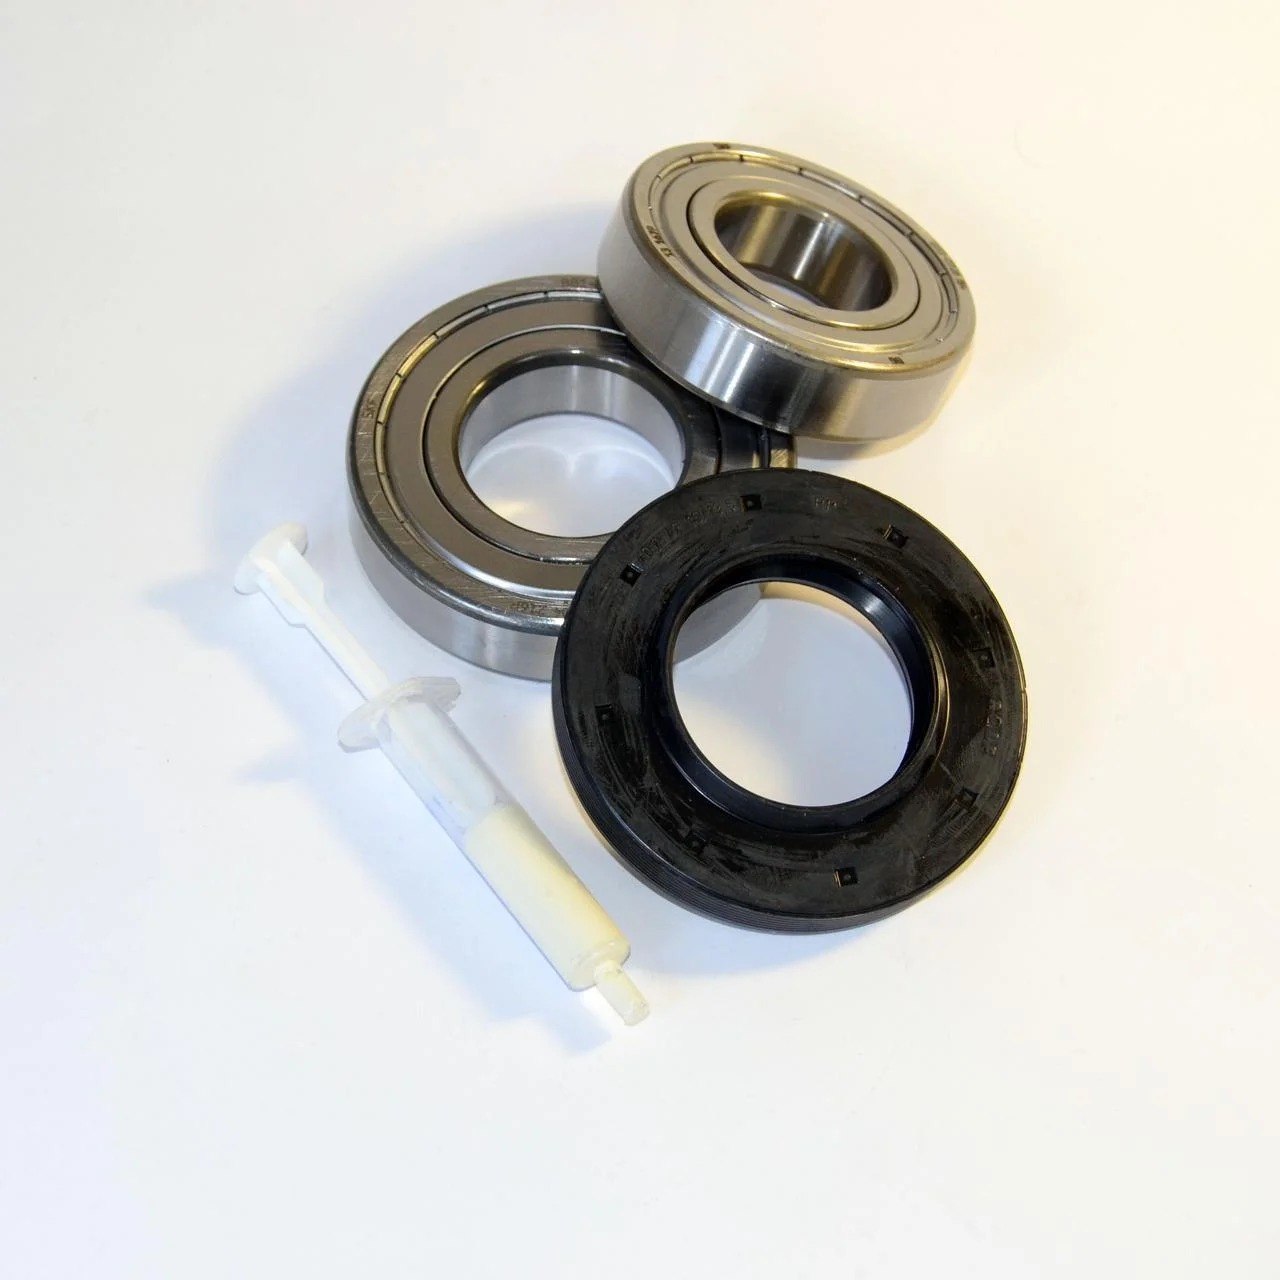
It is advisable to have with you also silicone sealant and WD-40 type grease (you can use its analogues). You must first purchase an oil seal and two bearings.
Empty the water tank
Before proceeding with the disassembly of the washing machine, it is necessary to free the tank from any water that may have remained after washing. It is imperative to do this if the machine refused to work during the washing process, the door remained locked, and it is impossible to drain the water using the program method.
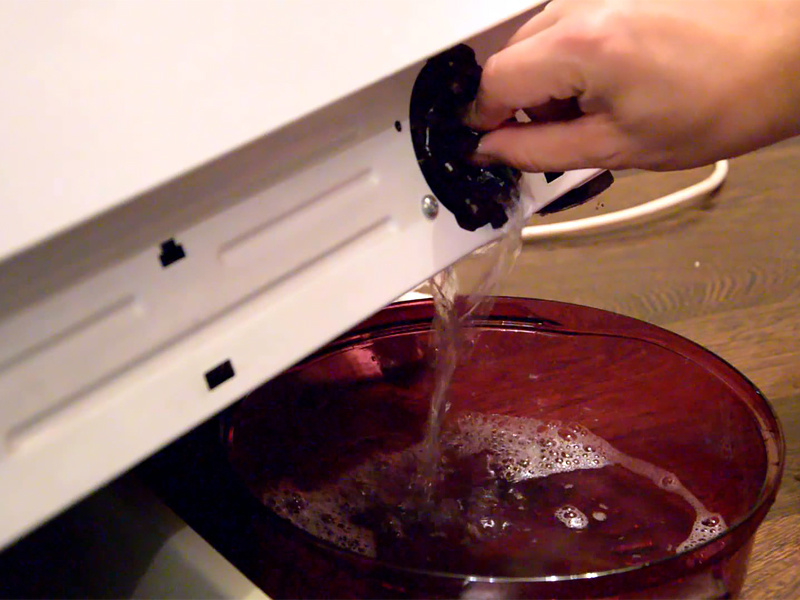
There are several ways to drain the water from the tank:
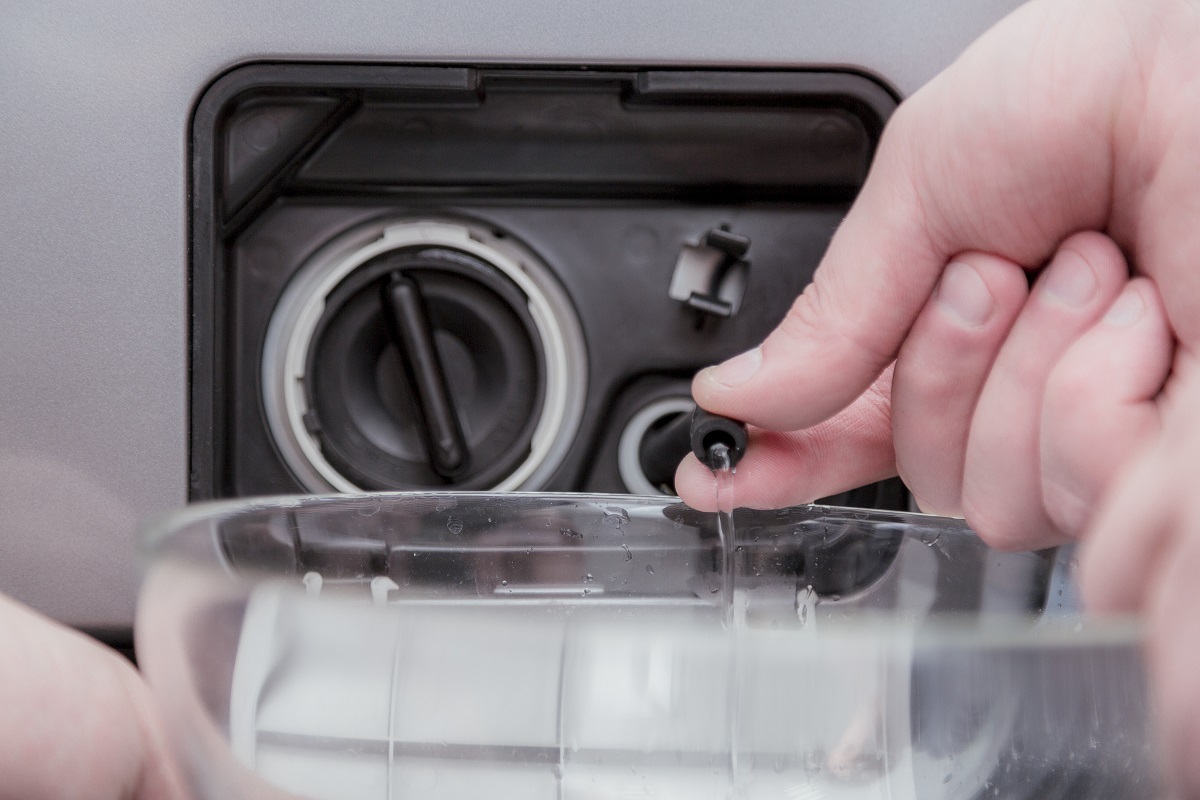
- Through an emergency hose - most modern washing machines are equipped with such a device. You need to open a small hatch on the front wall, pull out the emergency hose, and wait until the water is completely drained;
- Emptying the water from the drum is possible if the door is not locked. It is enough to carefully open the door and scoop out the water with a bucket or other container;
- Through the drain hose - pull the hose out of the connection with the sewer, stretch it to its full length, so that the lower edge is below the level of the washing machine and drain the water. For some models of washing machines, this method is not suitable, since part of the hose inside the machine has the shape of a loop;
- Through the drain filter - it is necessary to open the hatch located at the bottom of the machine, unscrew the filter grate, loosen the filter fastener and drain the water into a small flat container;
- Through the drain pipe - this is the most time consuming method. First, the rear wall and the volute connecting the hose and pump are removed. Then the branch pipe itself is removed. If water does not start pouring out of the hole, it is necessary to clear the blockage.
Disassembling the washing machine
When replacing bearing rings, it is necessary to disassemble the washer almost completely. In stages it looks like this:
- it is necessary to remove the upper part of the machine and the back or front wall - depending on the design;
- then carefully dismantle the control panel;
- open the hatch and disconnect the outer collar of the cuff and the door lock;
- disconnect the dispenser hopper from the washer tank branch pipe;
- remove the load (counterweight);
- disconnect the wires of the heating element;
- if the design requires it, remove the heating element itself. In some models it is not necessary to do this, it is enough to disconnect the wires;
- remove the drive belt from the engine, dismantle the engine;
- twist the screws fixing the shock absorbers;
- remove the washing machine tank.
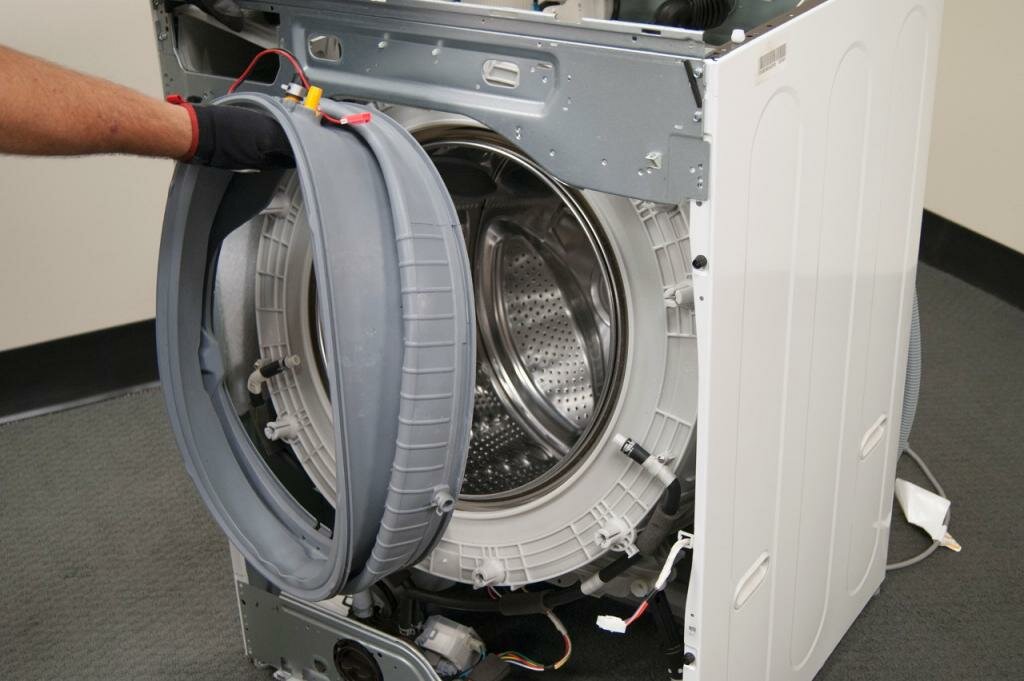
Important! Before proceeding with the repair of the washing machine, be sure to disconnect it from the mains and turn off the water.
Next, you should disassemble the tank itself. It is positioned so that it is most convenient to remove the pulley. After disconnecting the pulley, the shaft must be slightly "sunk" inward. Then the tank is disassembled into two parts.
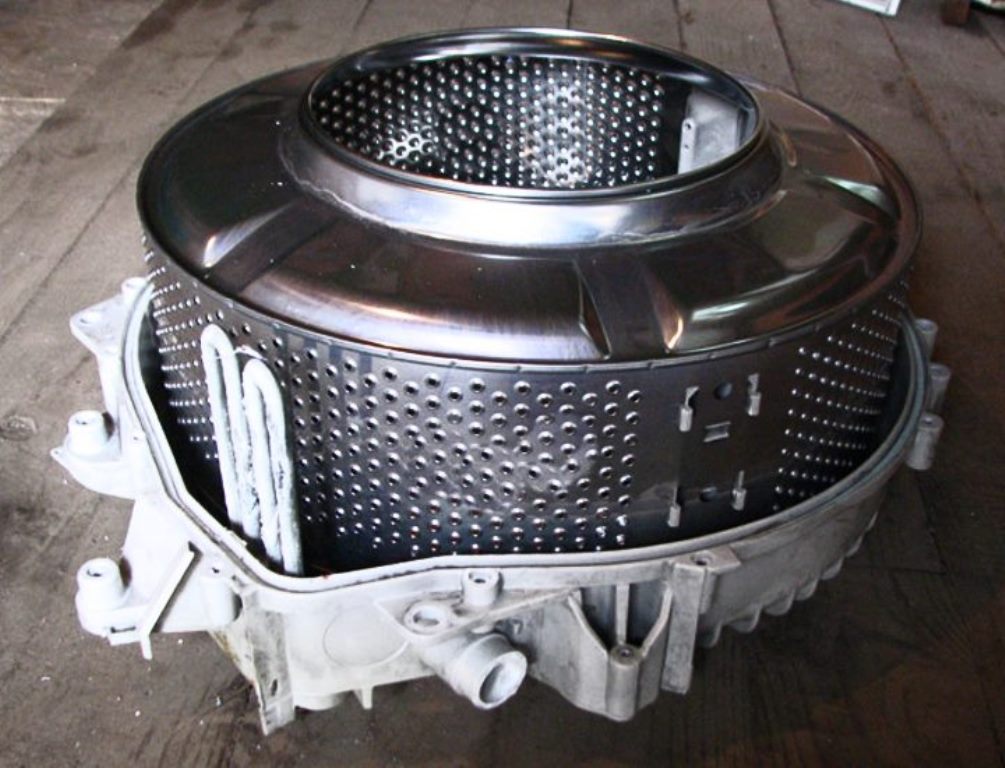
Removing a damaged part
After dividing the tank into parts, you can begin to dismantle the worn out bearings. There is a special tool for this - a bearing puller. But if it is not at hand, you can use a small hammer with a copper tipped part and a small metal rod.
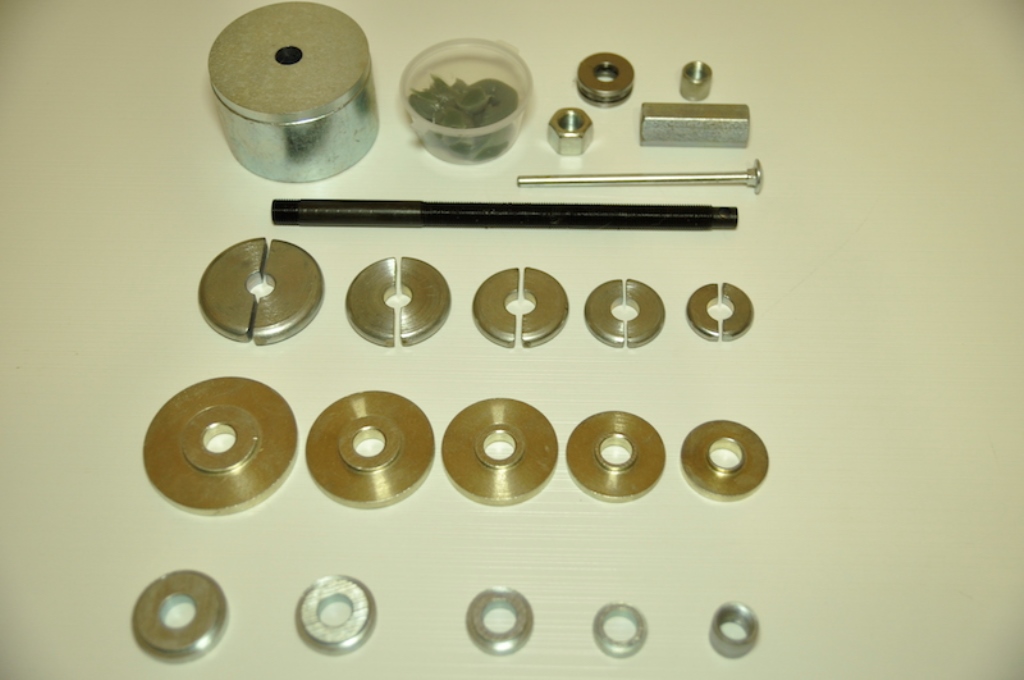
Attention! You can find advice to use a blunt chisel when removing old bearings and installing new ones. This tool must be used very carefully as there is a risk of damaging the new part or bushing.
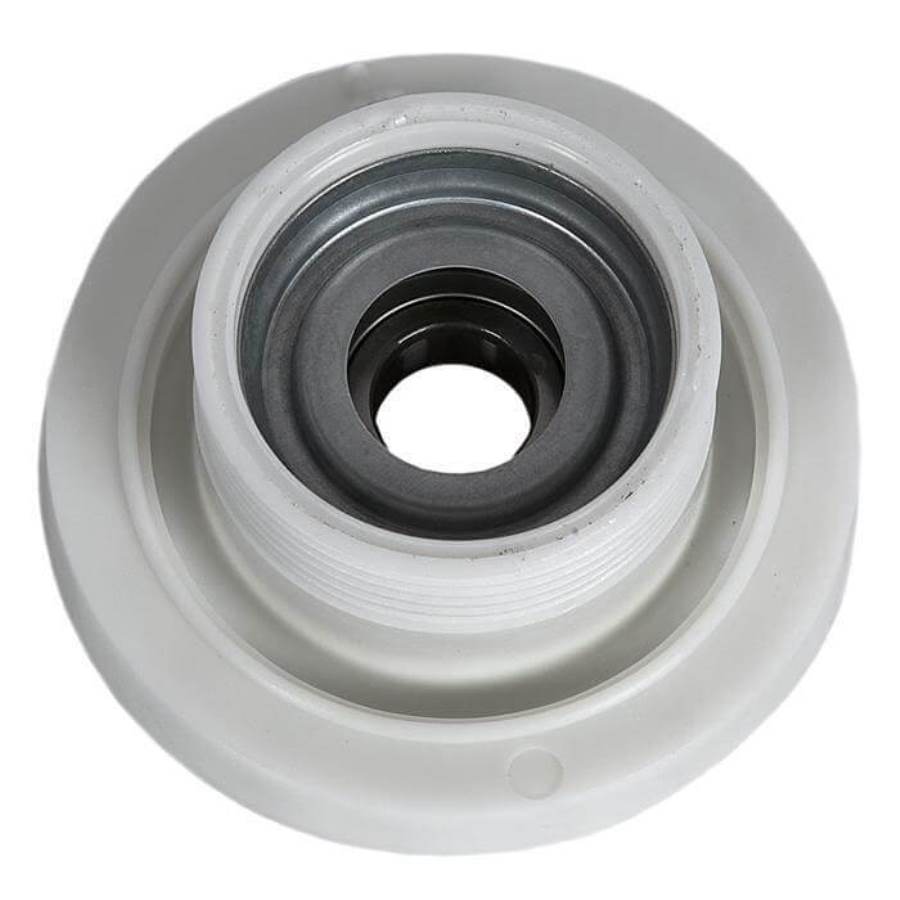
Using a hammer and a rod, the bearings are knocked out. The blows are applied to the circumference of the part socket. Usually the oil seal should also fall out. If it does not fall out on its own, it is removed to assess the condition. Often, together with the bearings, the oil seal has to be changed.

Mounting of new bearings
The bearing seats must be machined before mounting. They are thoroughly cleaned of dirt and lubricated.Then the oil seal is changed, and new parts can be installed - they are hammered into place with a hammer and a rod. This must be done very carefully so as not to damage the part.

Assembling the structure
After replacing the bearing rings, the structure should be reassembled in the reverse order. Particular attention should be paid to the junction area of the two parts of the tank - it is advisable to go through the seam with silicone sealant. The shock absorbers should also be inspected - if they are worn out, the car will not last long.

Some time after assembly (when the allotted time has passed for the sealant to dry), a test wash is carried out. It is needed to check the operation of new bearings.
Note! It is recommended to take a photo during the disassembly process. This is especially true for the sequence of wires. Fixation in the photo will help to avoid assembly errors.
Nuances of replacing bearings on different models
Ariston
Most Hotpoint-Ariston washing machines are equipped with a non-separable tub. In order not to have to change the entire tank instead of replacing the bearings, it can be disassembled:
- using a drill, holes are made at approximately the same distance (about 5 cm) along the entire weld seam of the tank;
- with a hacksaw for metal, the tank is sawn along the seam;
- during assembly, silicone sealant is applied to the cut and the two parts are bolted together through the drilled holes - this will simplify subsequent repairs.
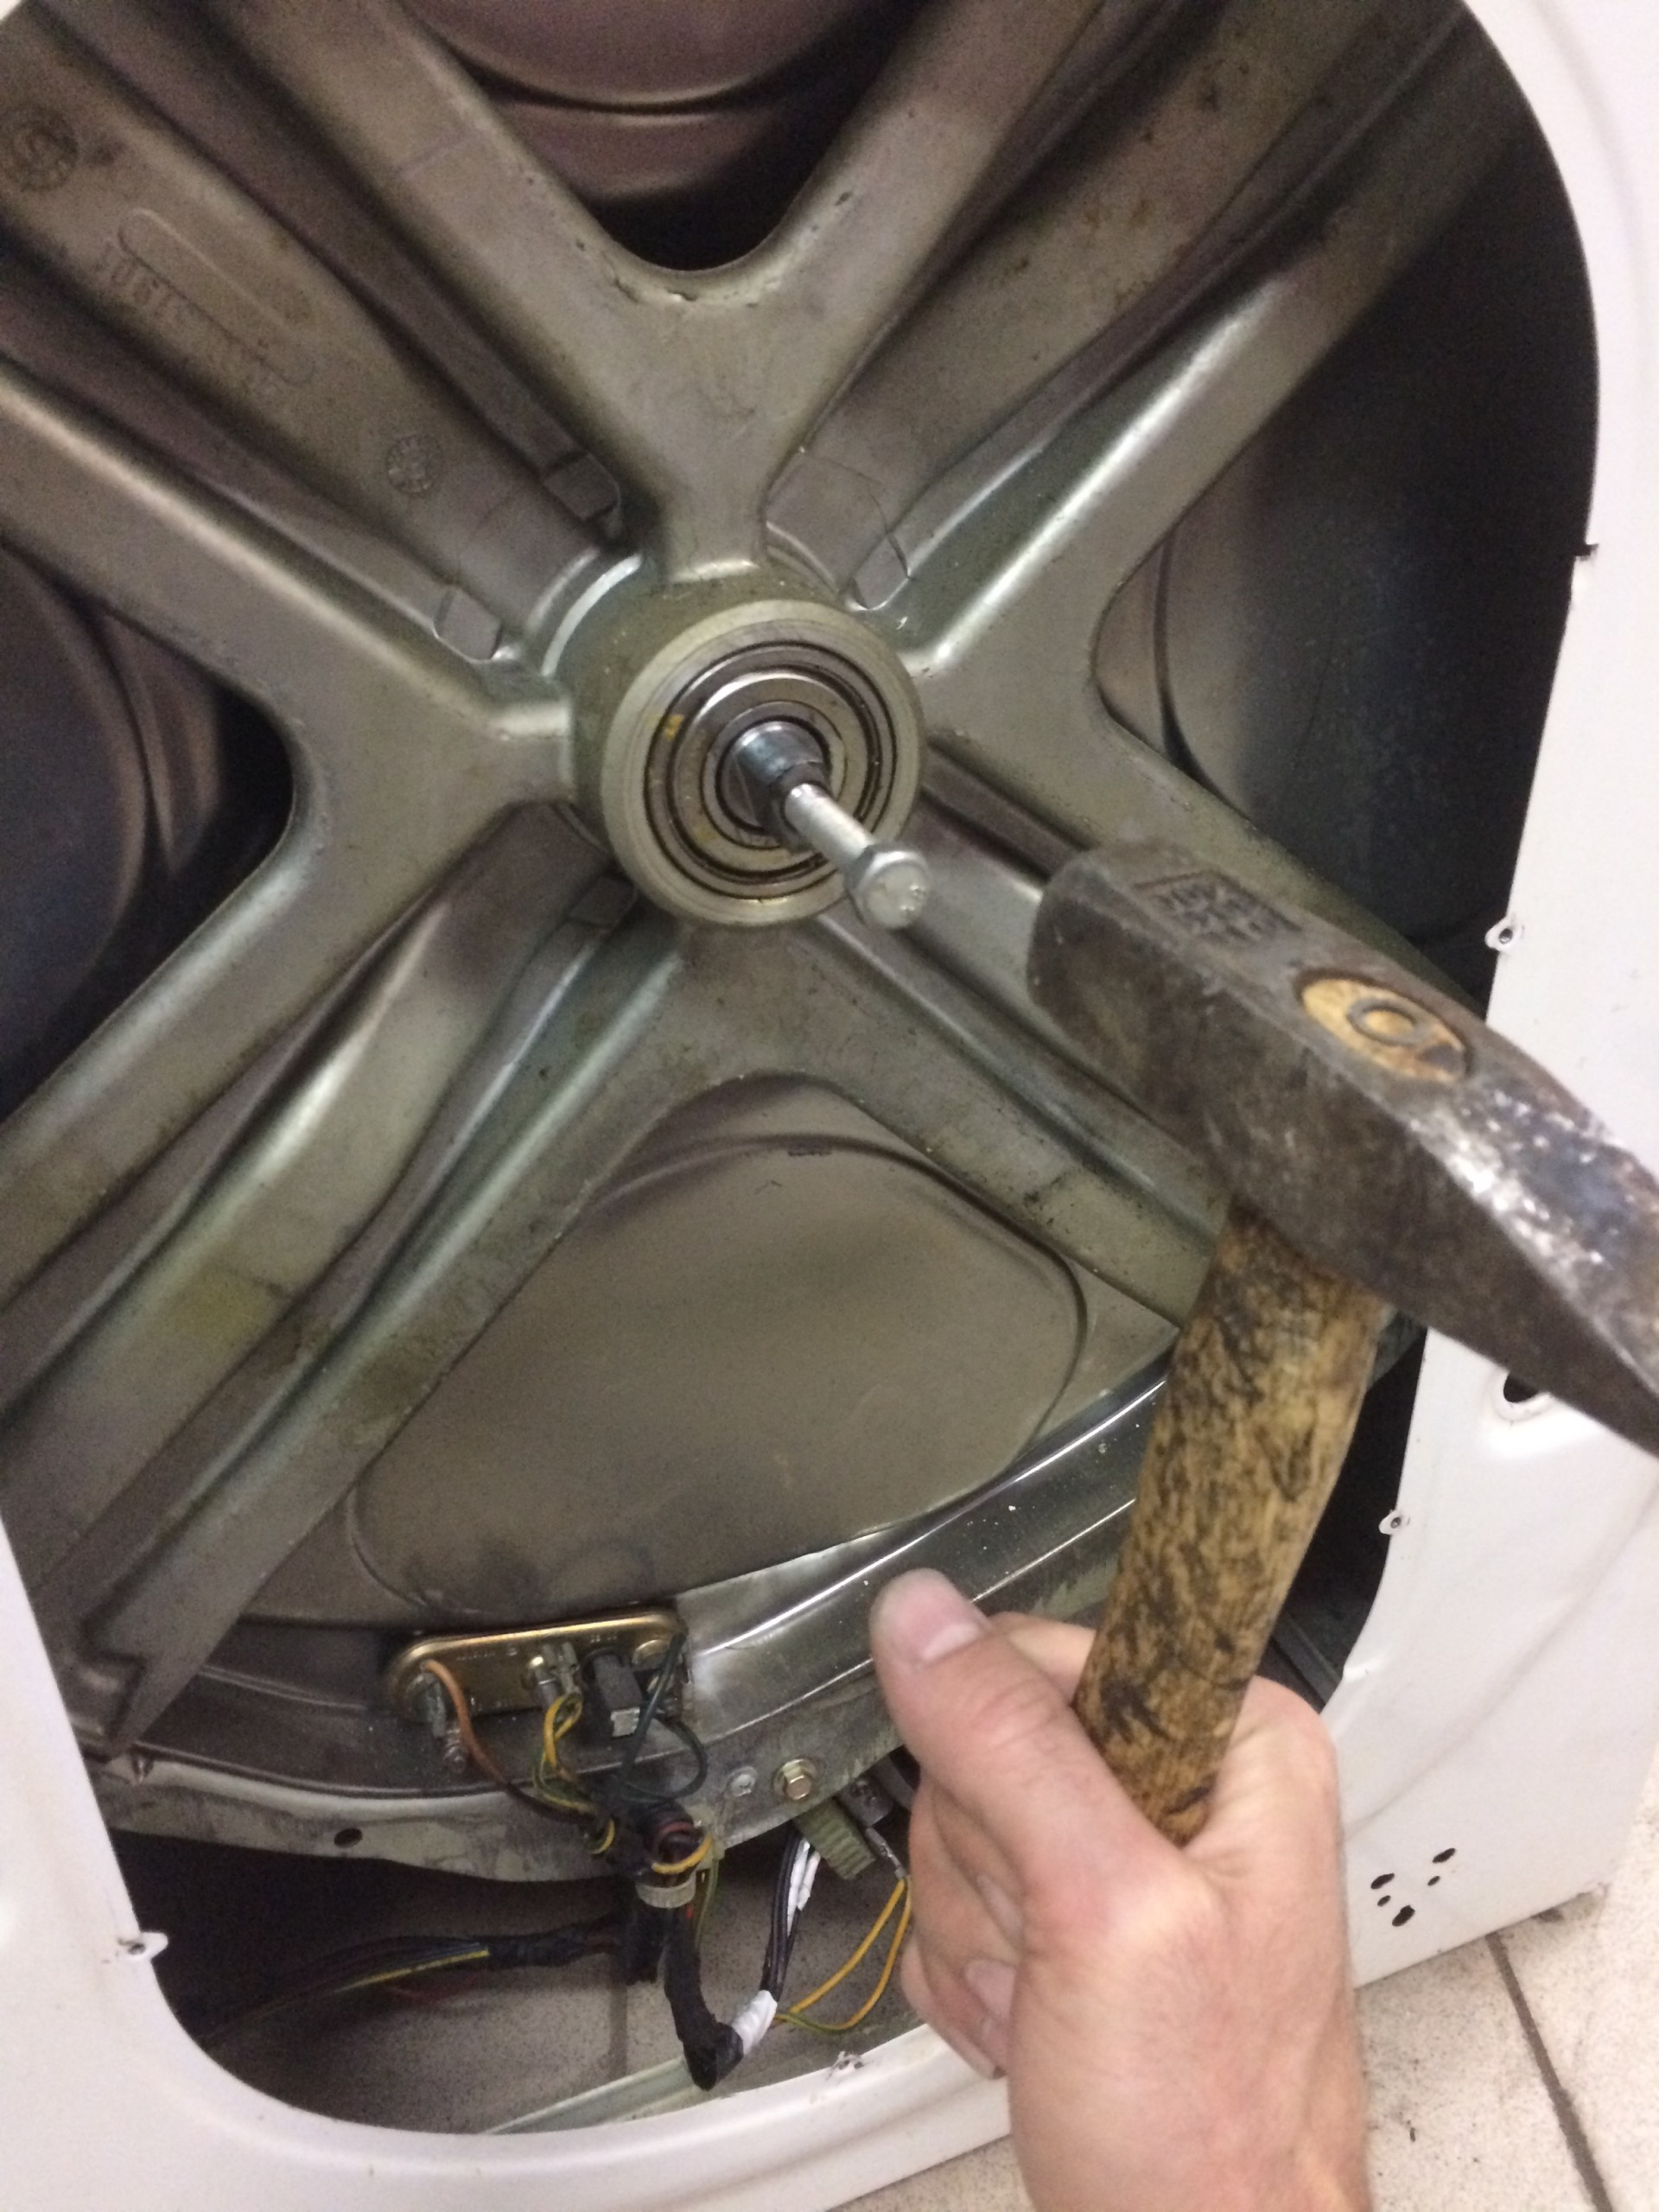
After disassembling the tank, the bearings can be removed. At Ariston, the replacement must be started with the outer bearing, then proceed to the inner bearing. Replacement is carried out in the same way with other brands of washing machines.
Indesit
Washing machines manufactured by Indesit can have either a collapsible or a disposable one-piece tank. In the case of a collapsible tank, you can change the bearings in the Indesit washing machine with your own hands according to the general scheme. If the tank is one-piece, you need to cut it with a hacksaw or grinder, by analogy with the Ariston tank, in order to gain access to the bearing mechanism.
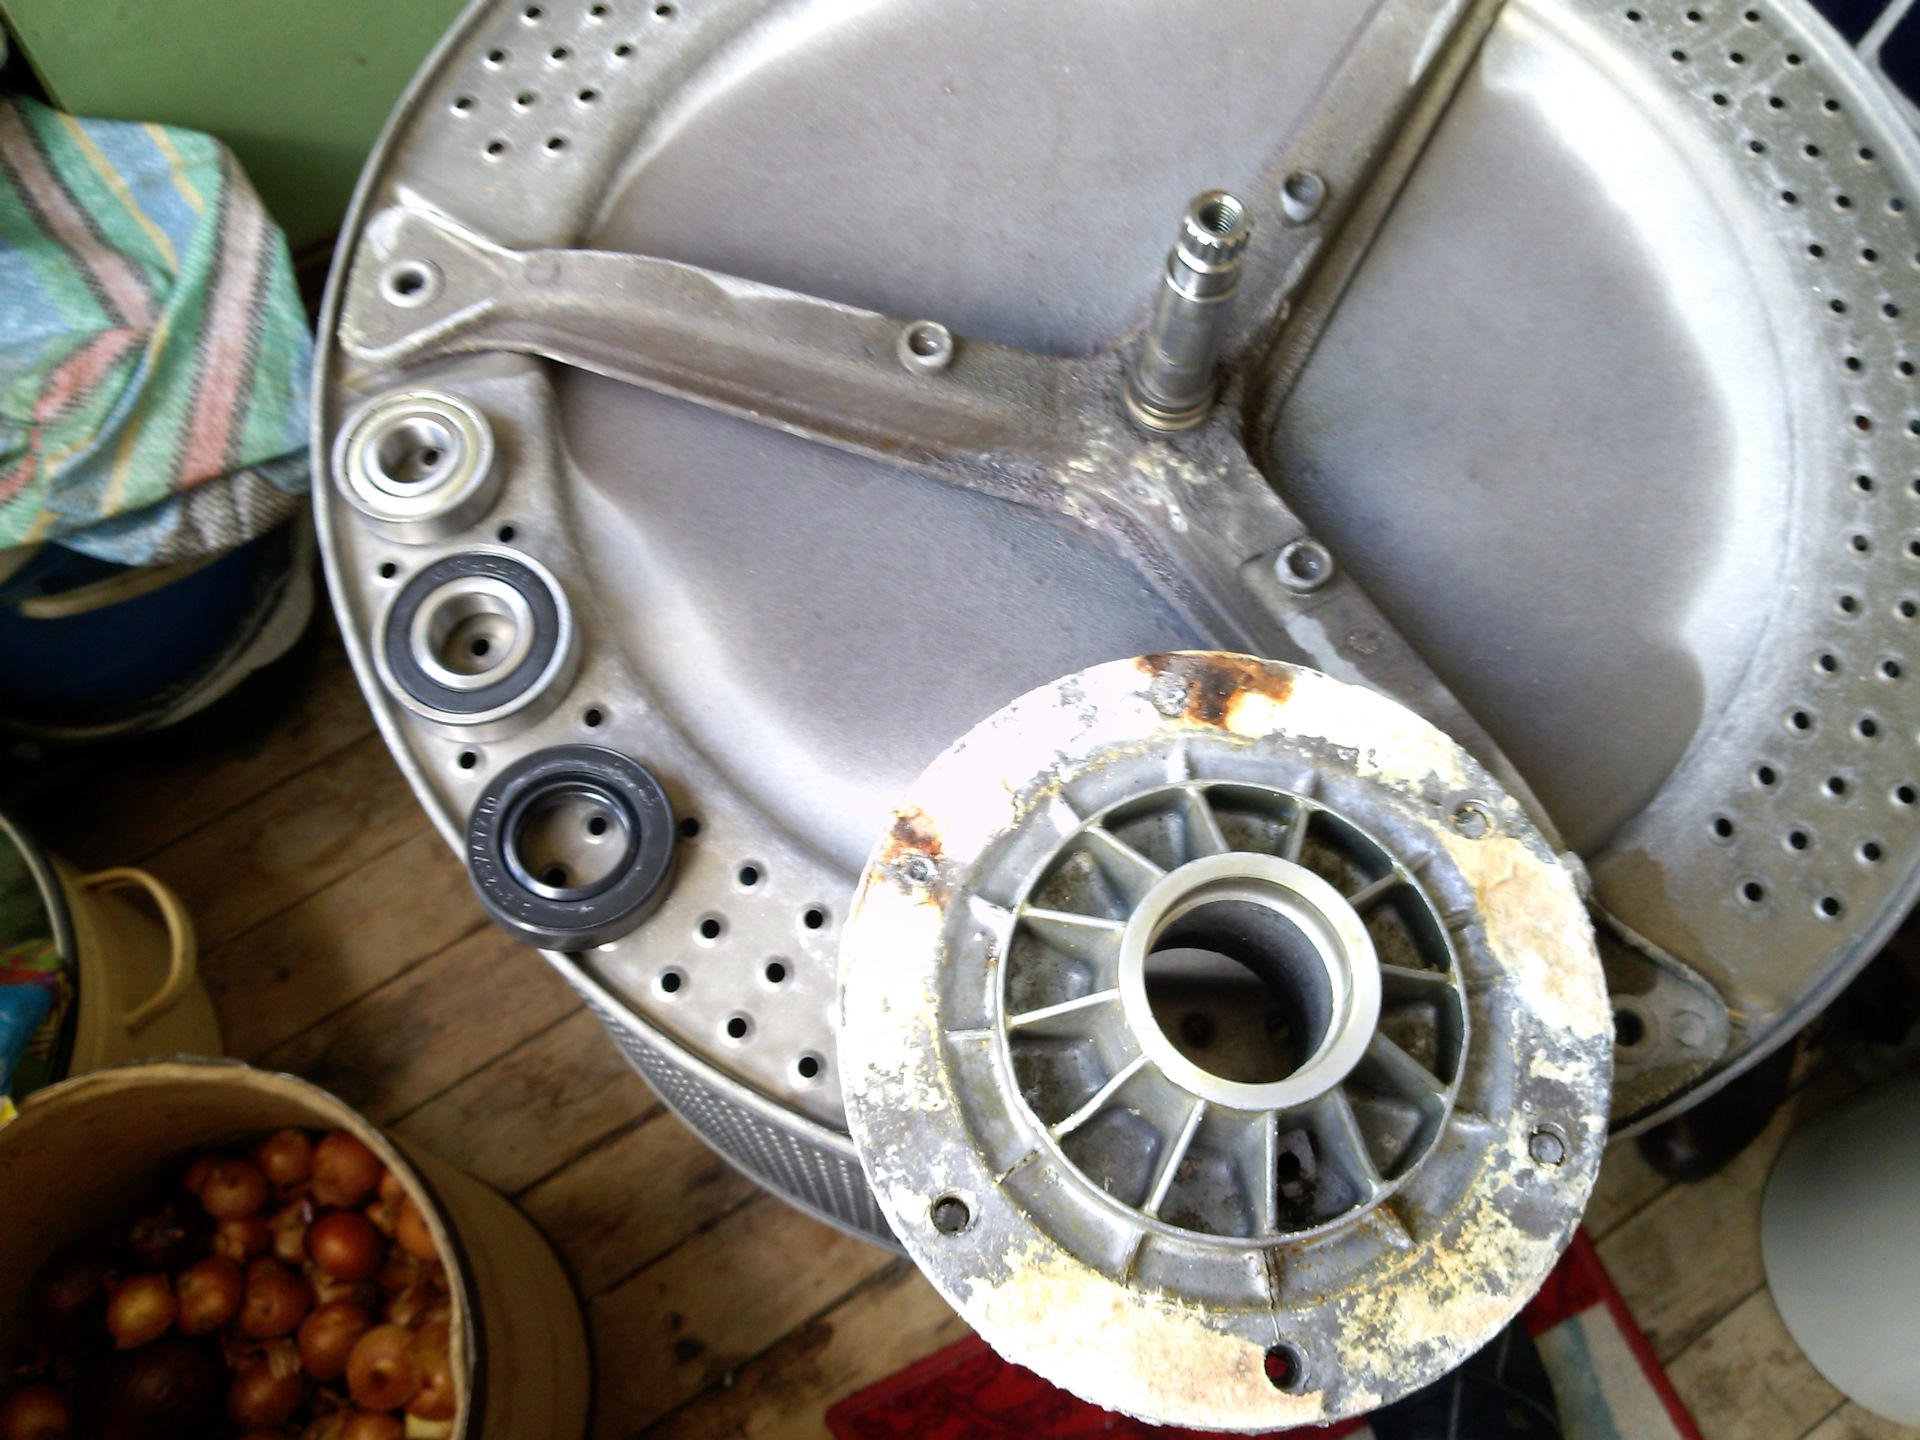
Important! It is recommended to use only original bearings designed for the specific model of the washing machine. Universal bearing rings are not adapted to the design and may wear prematurely.
Lg
Many LG washing machines are equipped with a direct drive. This means that there are no transmission elements from the engine to the drum - belt, pulleys, brushes. The motor is attached to the drum and transmits rotation using a special clutch. Despite all the advantages of the design, the bearings in such a machine experience increased stress. This is due to the fact that there is no pulley and bearing rings are located close to each other.
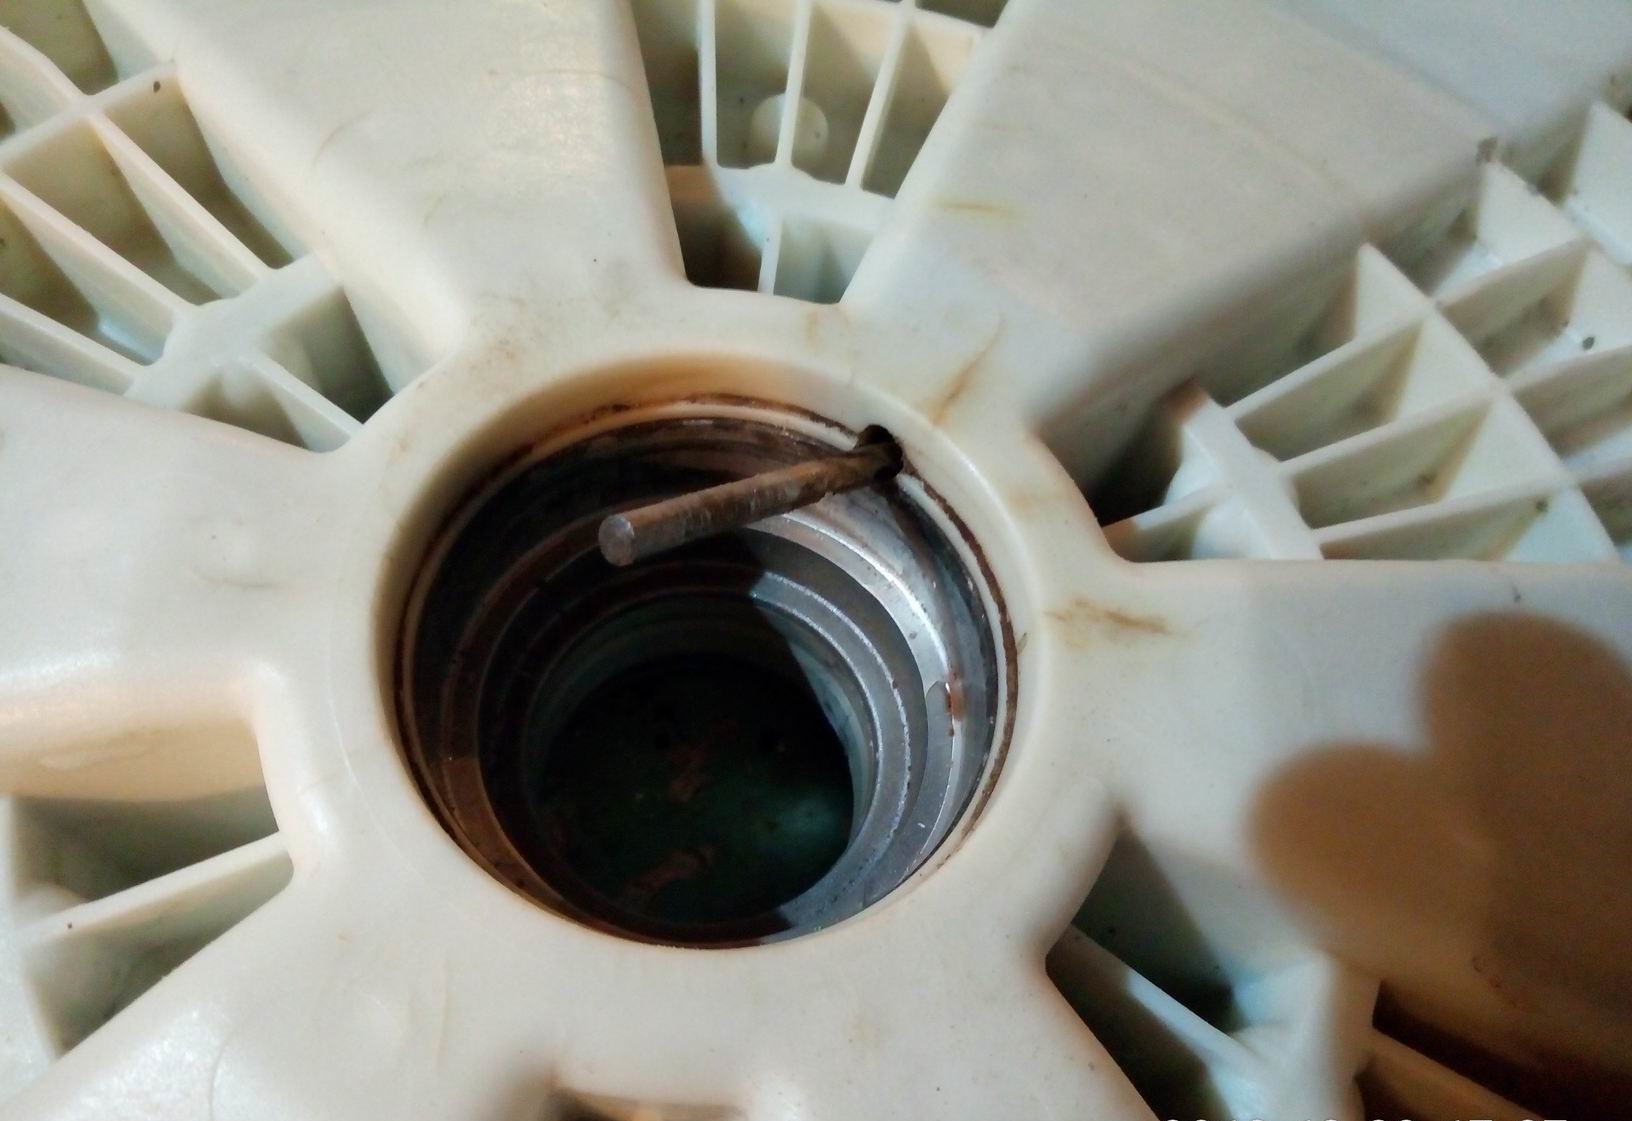
Replacing LG bearings also has its own peculiarities. The procedure for disassembling the washing machine yourself will be as follows:
- after dismantling the heating element, you need to remove the rear service panel;
- disconnect all parts associated with the tank - wires, pipes;
- remove the rotor by unscrewing the bolt that fixes it;
- remove the stator by tilting it down, disconnect all wire connectors;
- remove the front and side shock absorbers;
- remove the tank.

Bearings should be changed starting from the inner (bottom). It is carefully knocked out through the top. Then the outer bearing is removed. Installation takes place in the reverse order - first external, then internal.
Samsung
Samsung has predominantly split tanks, which simplifies the repair process. But the repair and replacement of Samsung bearings also has its own characteristics:
- It is not necessary to remove the top and back walls, but the bottom and side ones. The back wall of the Samsung is most often non-removable;
- When disassembling the tank, it turns out not two, but three large elements - the upper part of the tank with a hole for the hatch, the lower part with the heating element (you can not remove it, the main thing is to disconnect the wires), and the drum body with the axis of rotation;
- It is necessary to change two bearings at once - large and small. The small bearing should be knocked out from the inside out, the large one from the outside in.
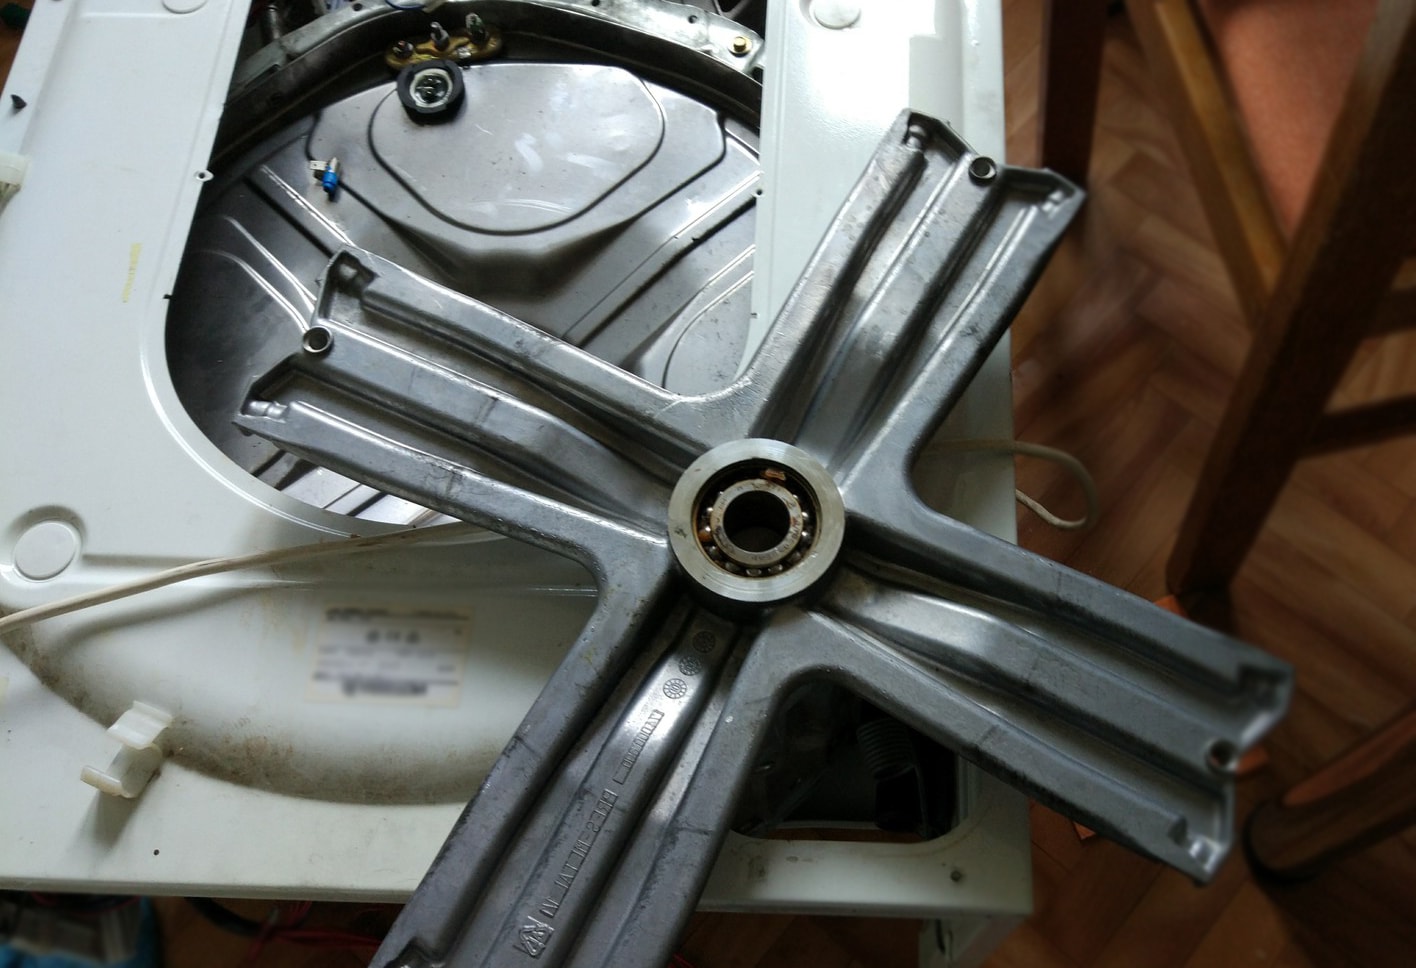
Important! The electronics of the machine must be handled with particular care. The wires can be easily torn or torn out, so you must disconnect them very carefully. It is advisable to record or photograph the location of the wires.
Bosch
The Bosch company is popular for the production of both front and top loading washing machines. The process of replacing a bearing for a front-type washer is carried out according to a general scheme. At the same time, separating the tank is even easier - Bosch has special plastic latches that connect the two parts of the tank.

For vertical automatic washing machines, the disassembly procedure is slightly different:
- the control panel is removed first;
- then - side walls;
- after dismantling the side walls, the front fasteners are released, and it can also be removed.
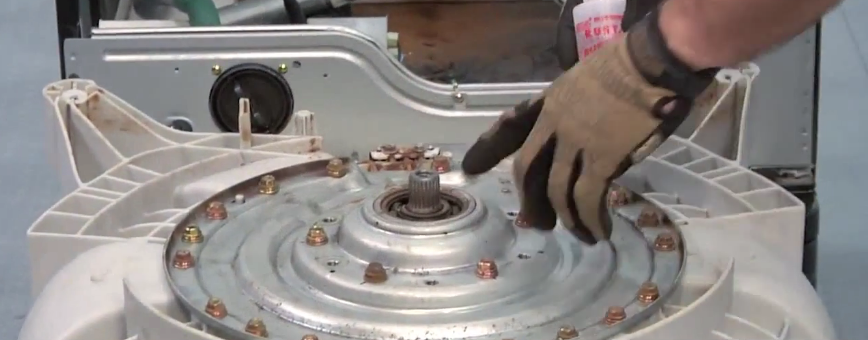
Bosch machines with vertical loading have two bearing assemblies, which are installed on the outside of the tank. The bearing is removed first from the side where the pulley is missing. To do this, unscrew the caliper counterclockwise. The caliper of the other bearing is unscrewed in the opposite direction. The bearing rings are knocked out neatly. Replacement is carried out in the same way as in the general scheme - you must first clean and lubricate the socket, and replace the oil seal.
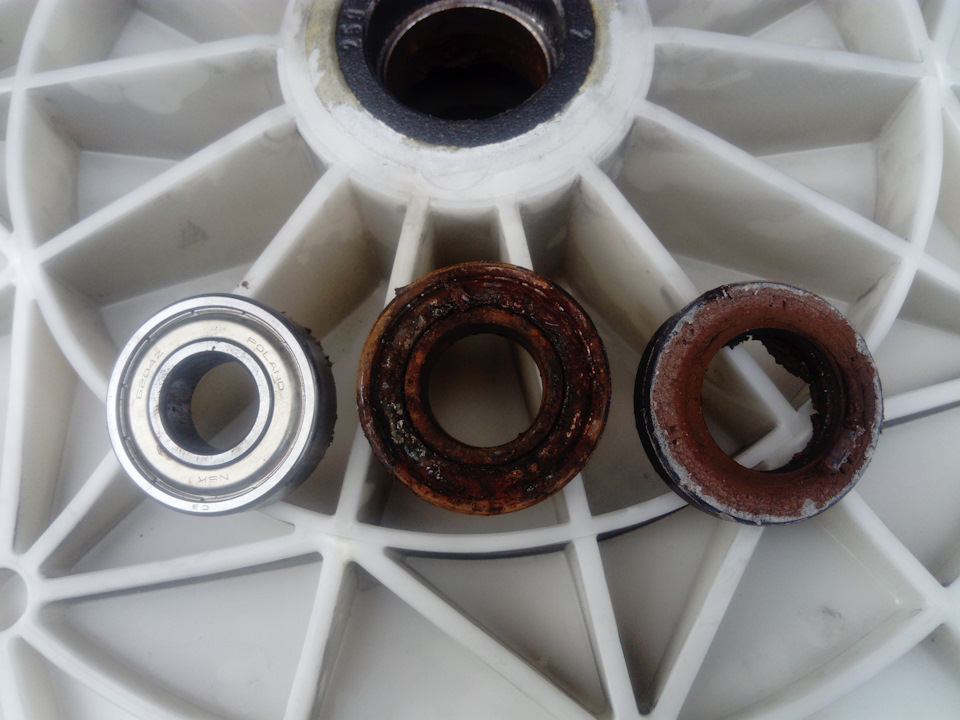
Thus, replacing bearings in a washing machine is a procedure that requires certain skills in the repair of complex household appliances. Different brands and models of washing machines have their own design features that should be taken into account when repairing bearing assemblies. If there is no experience, it is advisable to contact a specialist - a repairman for washing machines. But if the replacement is done independently, all operations must be performed carefully and accurately so that the new bearings serve for a long time.

VIDEO: Correct replacement of bearings in the machine.


