Features and rules for cleaning inkjet and laser printers
It happens that the printer suddenly starts to "play up". The print quality decreases, the letters are not so clear, the image is blurred in places and becomes blurry. To identify the cause of the printer malfunction, you need to understand its structure and basic "weaknesses".
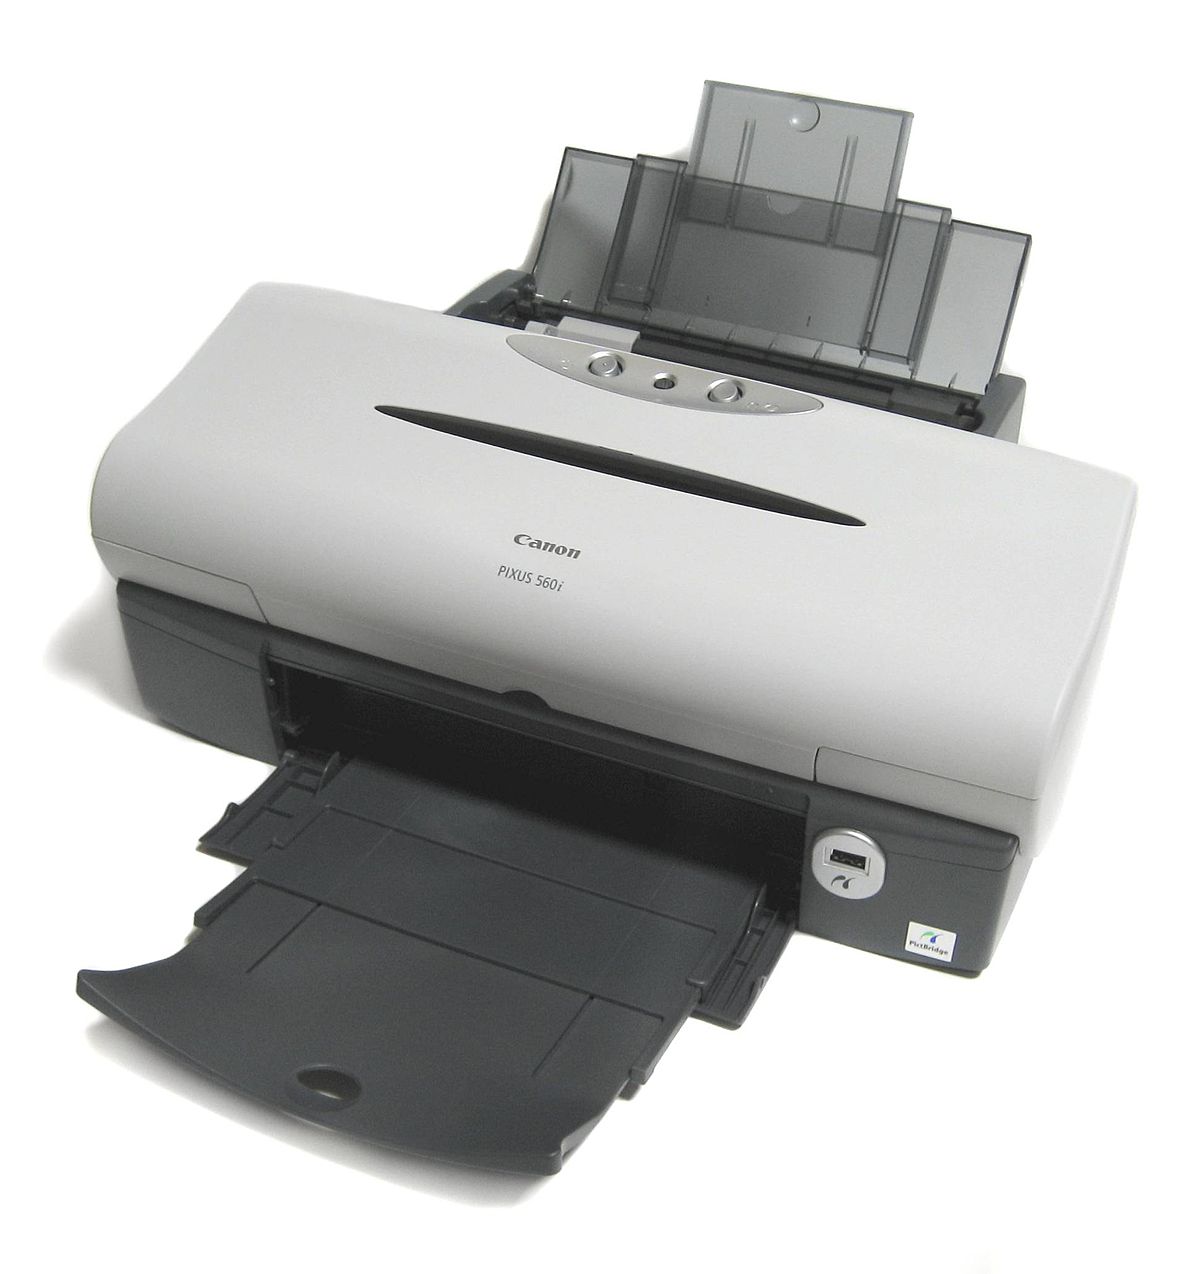
Contamination reasons
Most offices take care of printers from time to time, often right after a breakdown. Dark streaks are one of the main reasons employees look under the printer cover to find out what is wrong. As a rule, in technology, clogging and contamination of parts occurs due to unsuitable ink. Therefore, before purchasing a new ink kit, check if they are compatible with your printer model.
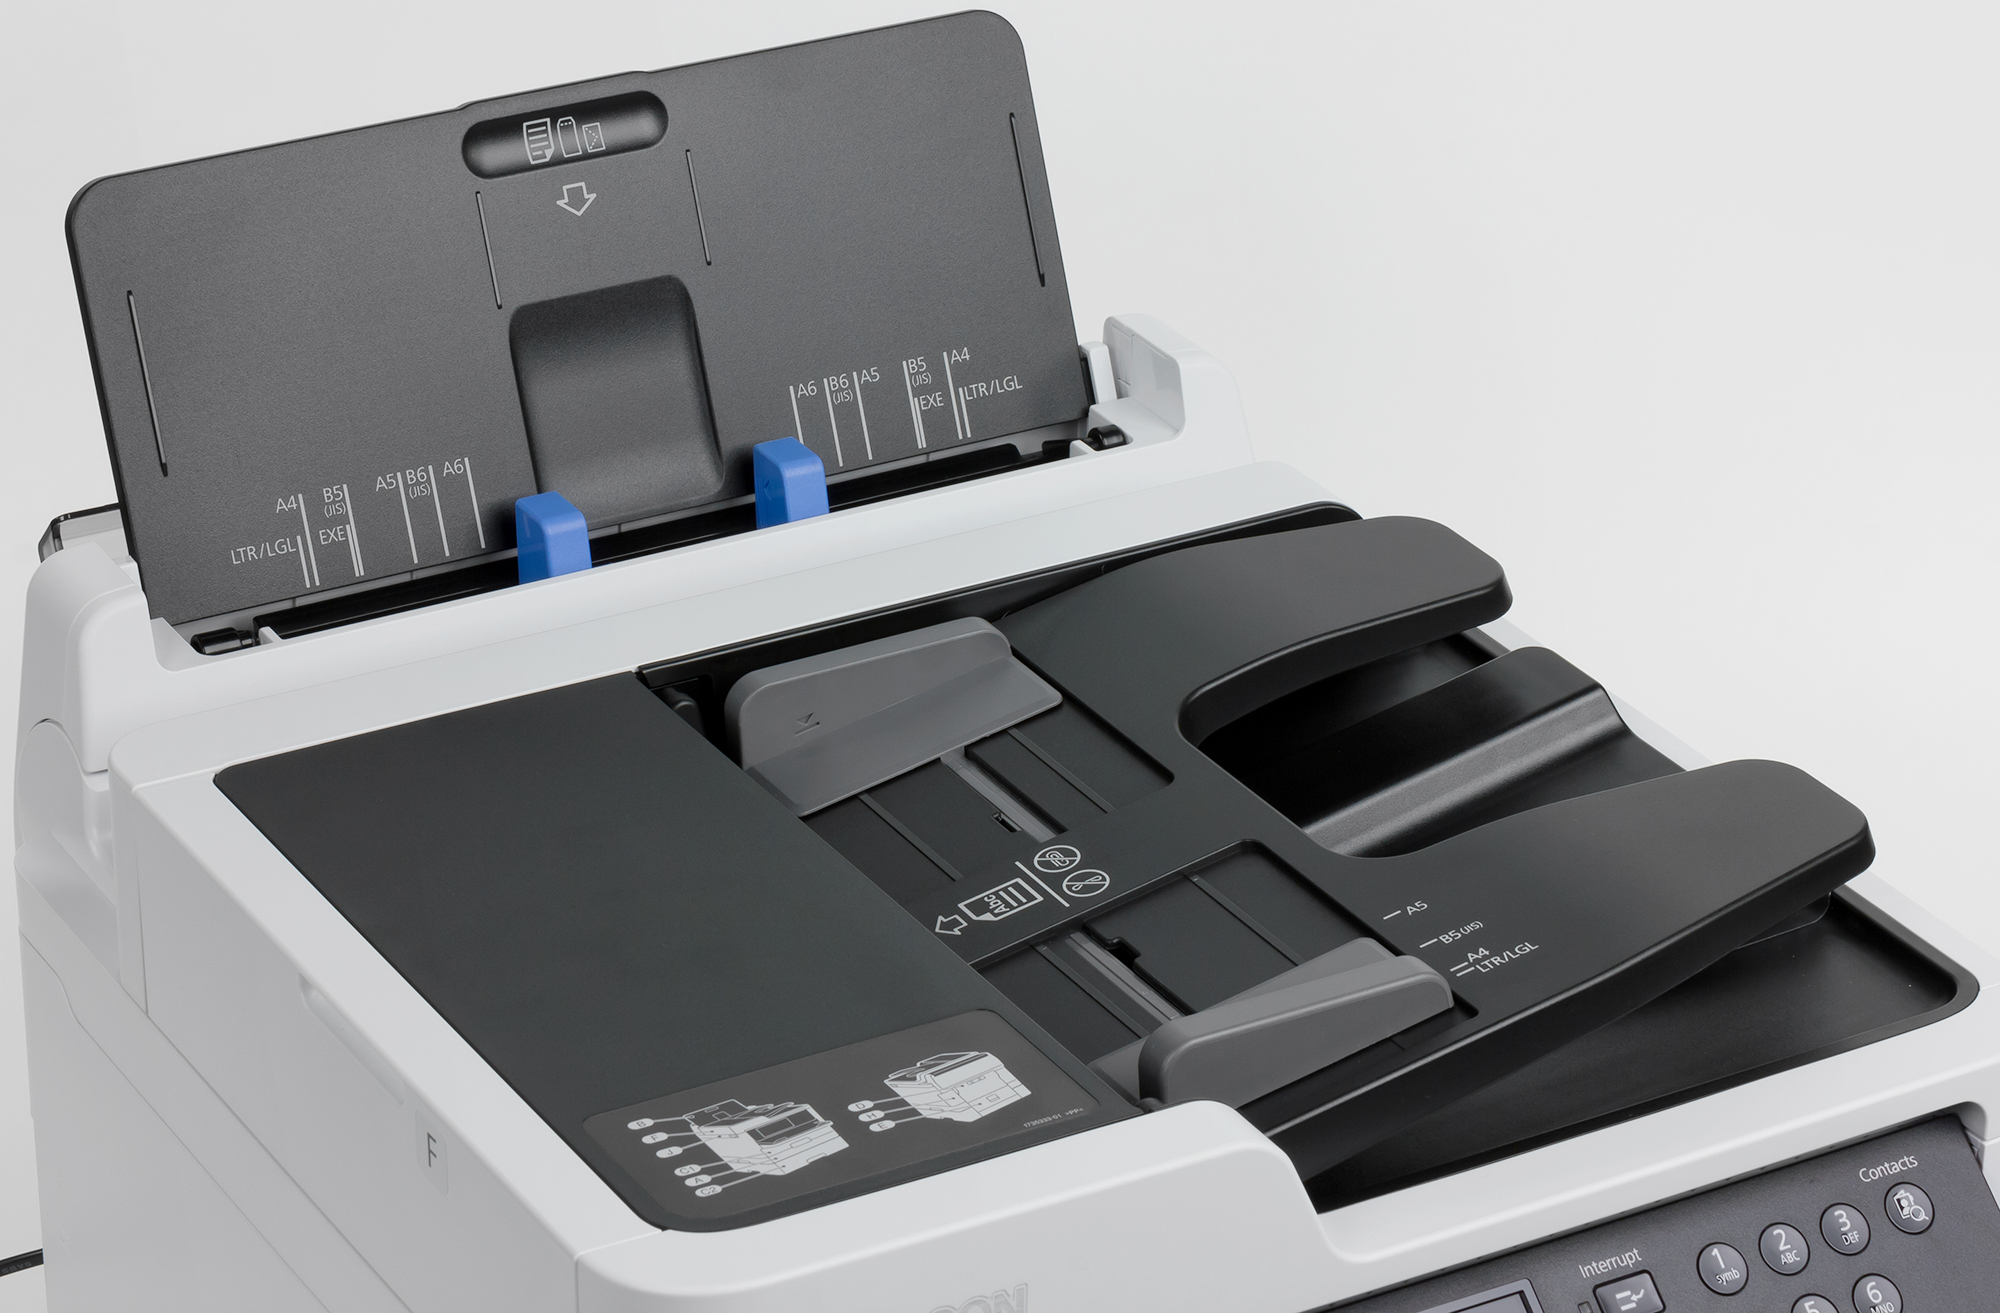
The second common cause of device malfunction is periodic downtime. Then the pigment thickens and dries up gradually. Ink fragments become clogged in the print head and degrade performance. As a solution to this problem - periodic cleaning of all parts, especially if the technique has not been turned on for a long time.
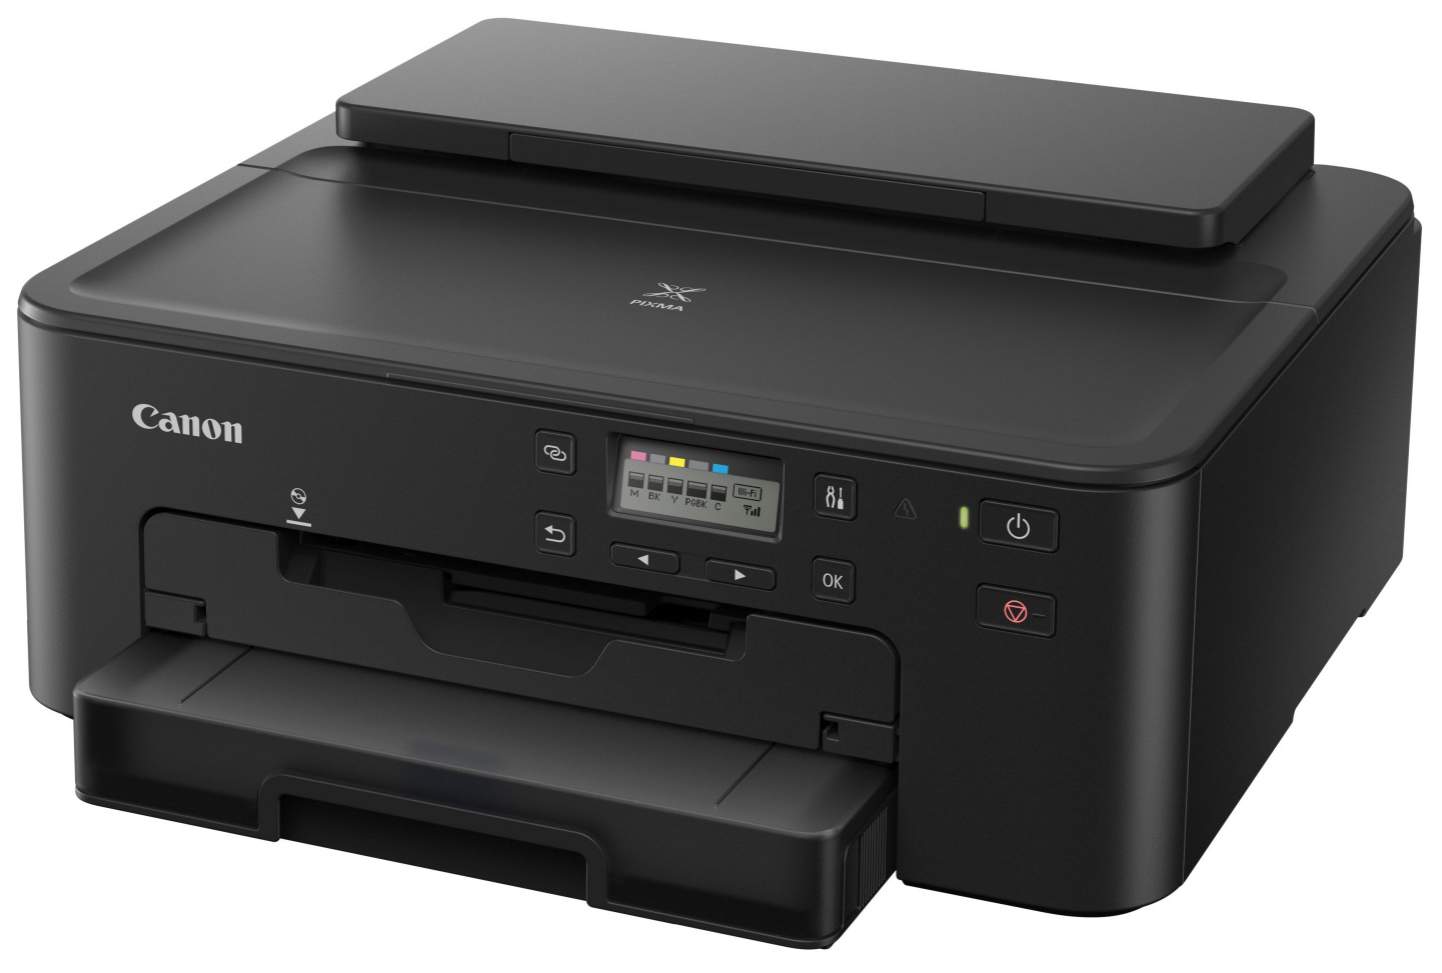
When do you need to clean
Regular cleaning of the equipment prolongs its service life. No matter how expensive and high-quality office equipment is, it needs periodic "airing" of the parts.
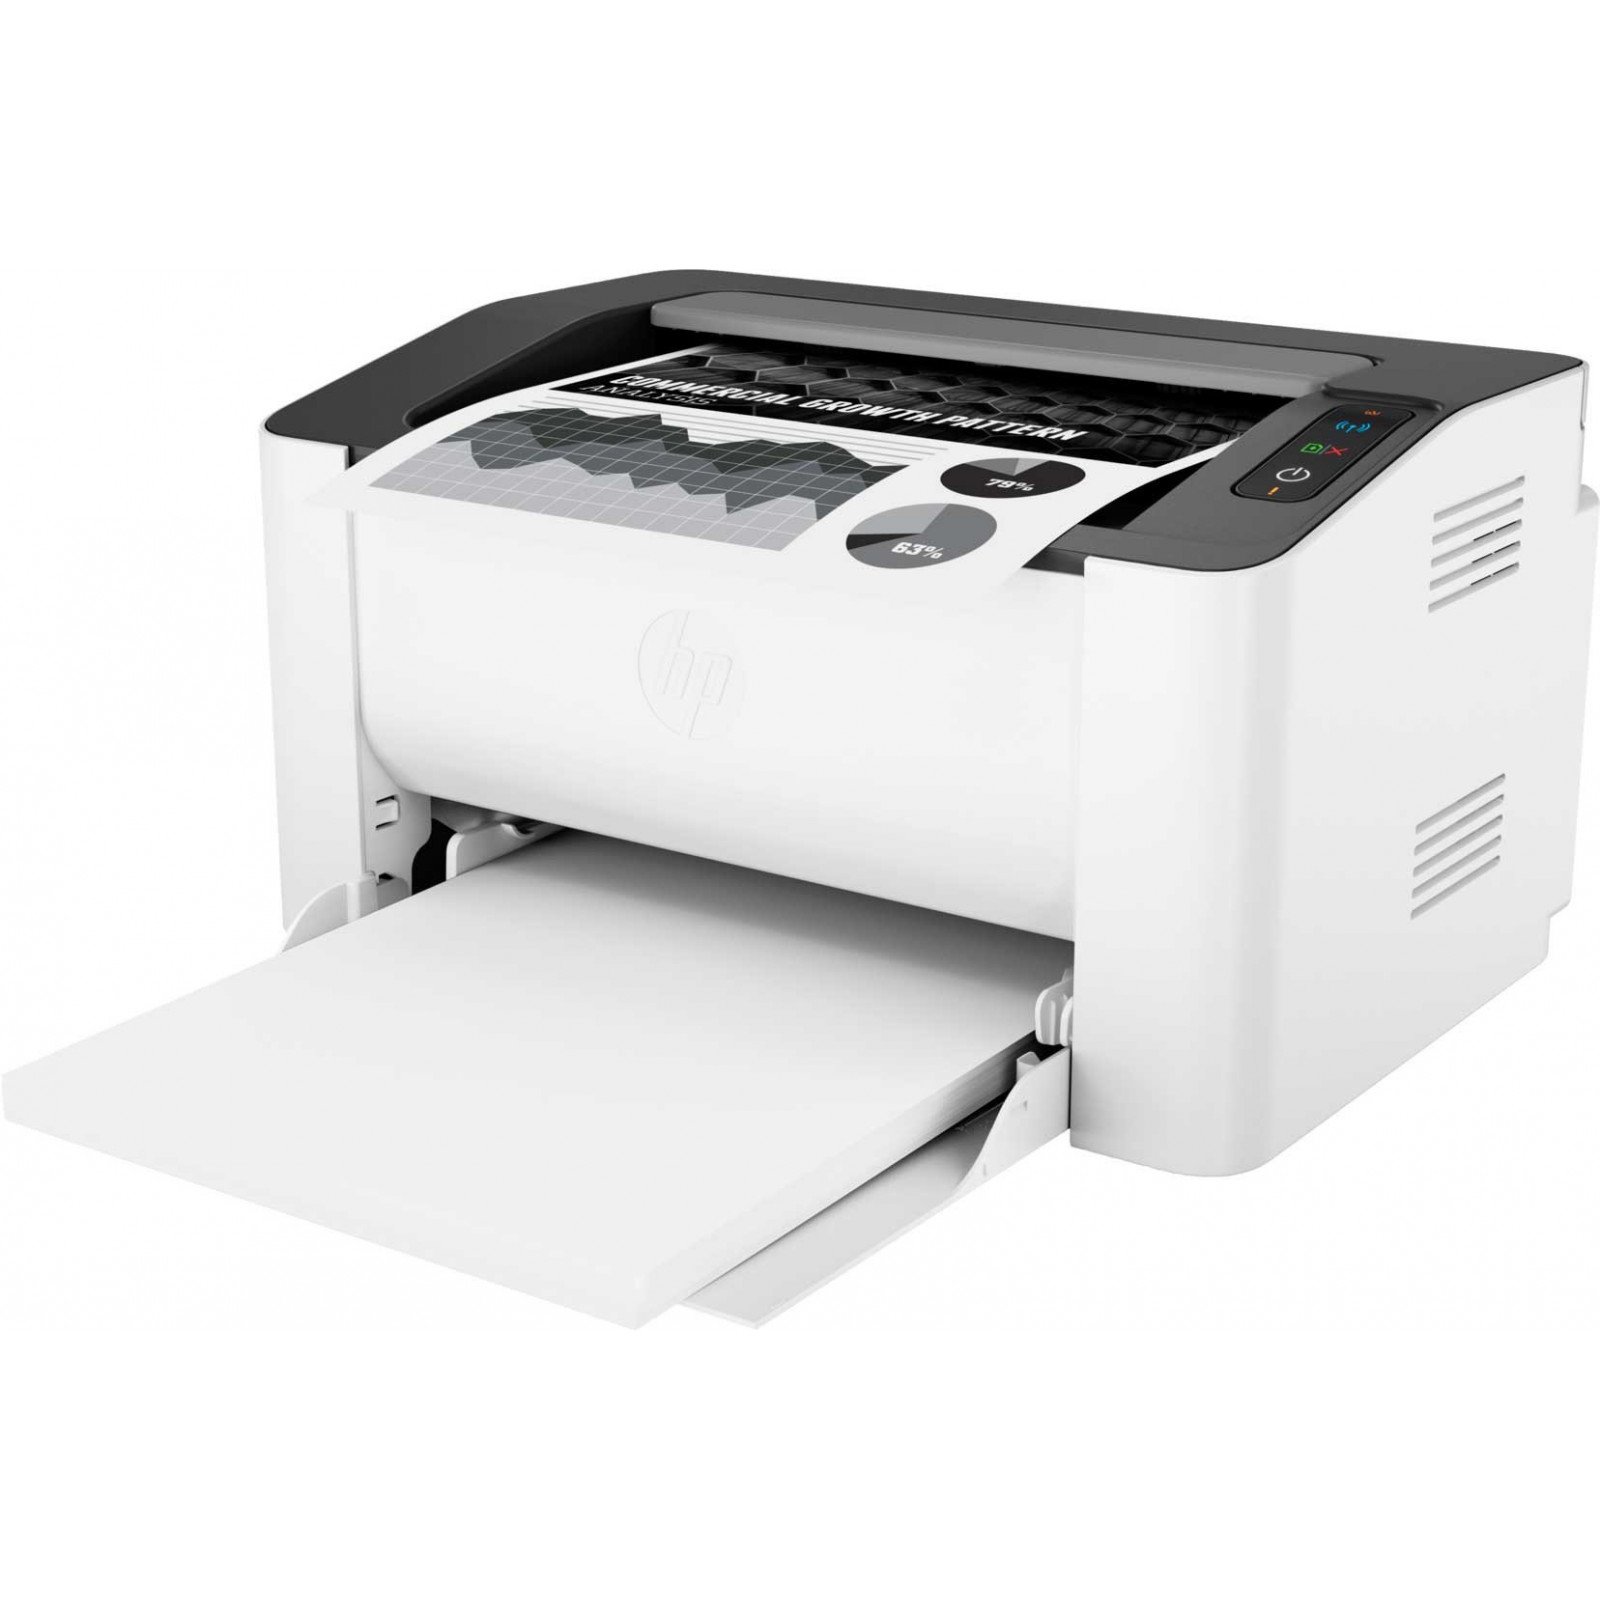
But there are several factors that should alert you and start a technical inspection immediately:
- Extraneous sounds, not typical for the printer, should alert you. This means that some part is clogged, displaced or worn out.
- Deterioration in print quality. The printer is designed to print quality text and images. Any discrepancy between the result obtained and the production capacity of the device will be a reason to start prevention.
- Printed sheets should be free of ink stains. If the printer "spits" the coloring pigment, start cleaning the equipment.
- Pay attention to any deviation from the norm in the operation of the equipment. This will help you react quickly and even prevent serious damage.
Should I clean it myself
The equipment can be repaired and cleaned at home. It is enough to understand the structure of printers and have all the necessary tools at hand. The permanent assistants of the master will be cotton swabs, soft brushes with natural bristles, paper napkins or towels.
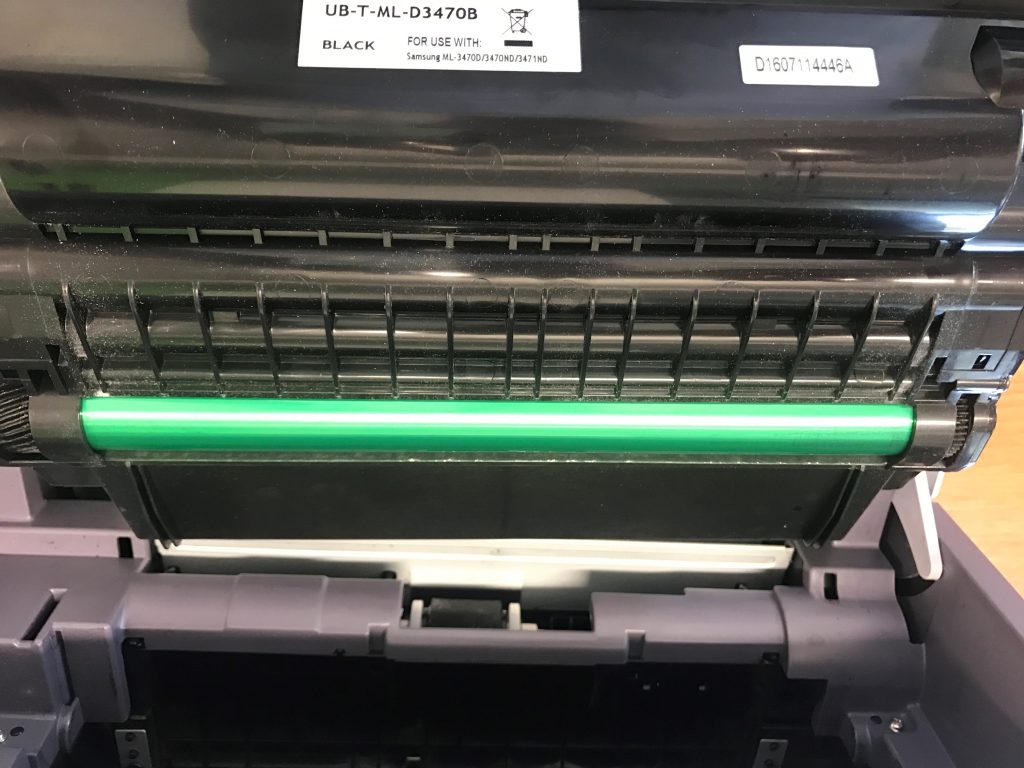
If possible, you will even need a technical vacuum cleaner to pick up dust, toner and paint in hard-to-reach places.
How to clean a laser printer
The laser printer cannot be cleaned by running a dedicated program. Everything needs to be done manually, checking the performance of each part.
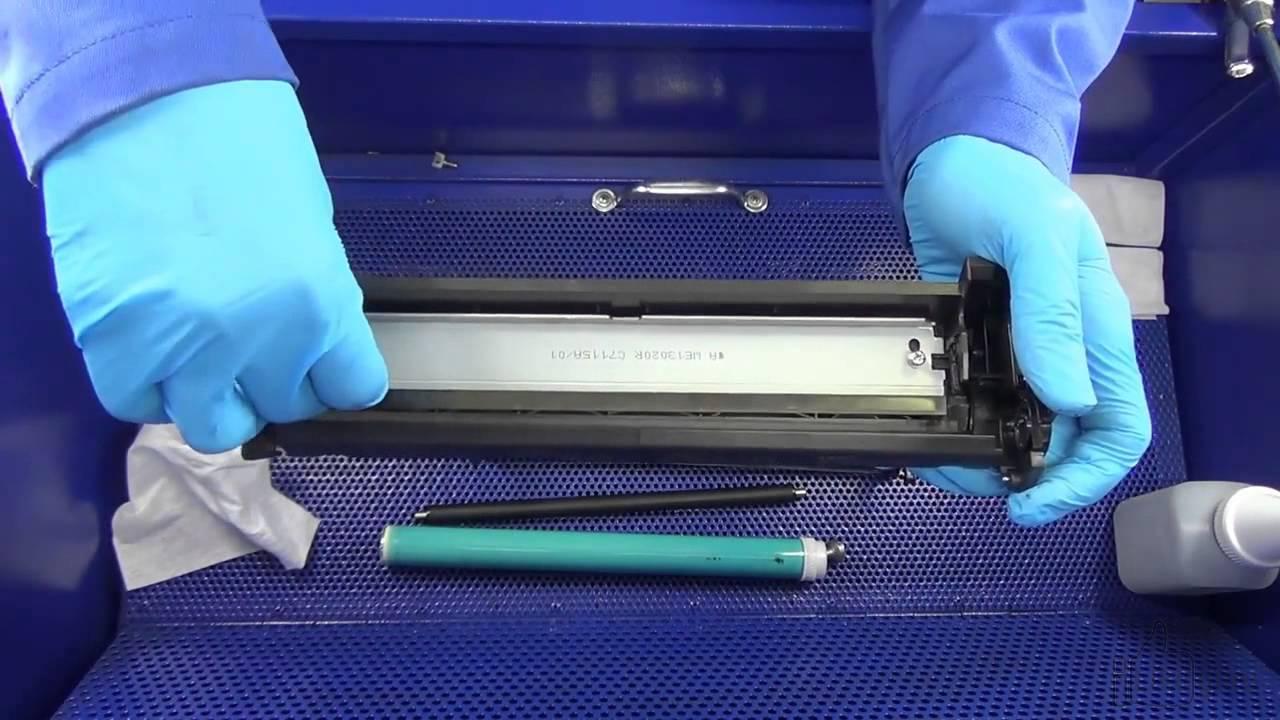
Internal cleaning from dust and toner
During the cleansing procedure, it is important to protect the respiratory tract, mucous membranes and skin from the ingress of petroleum products. Put on a respirator or gas mask, take protective gloves.
- Disconnect the equipment from the power source. Even a small drop of cleaning liquid can cause a short circuit.
- Wipe the outer casing with a dry or damp cloth. Often in the office, the technician accumulates dust on himself for months, which then clogs the working parts.
- Remove the cover, press down on the latch and pull out the cartridge. Pull out the toner using cotton pads or swabs.
- Inside the machine, clean all corners of dust, paint and dirt with a soft brush. Here wipes soaked in a special liquid will also help you.
- Once the inside of the printer is clean, you can proceed with the following items.
- Do not use aggressive solvents, acetone, nail polish remover, vinegar for cleaning.
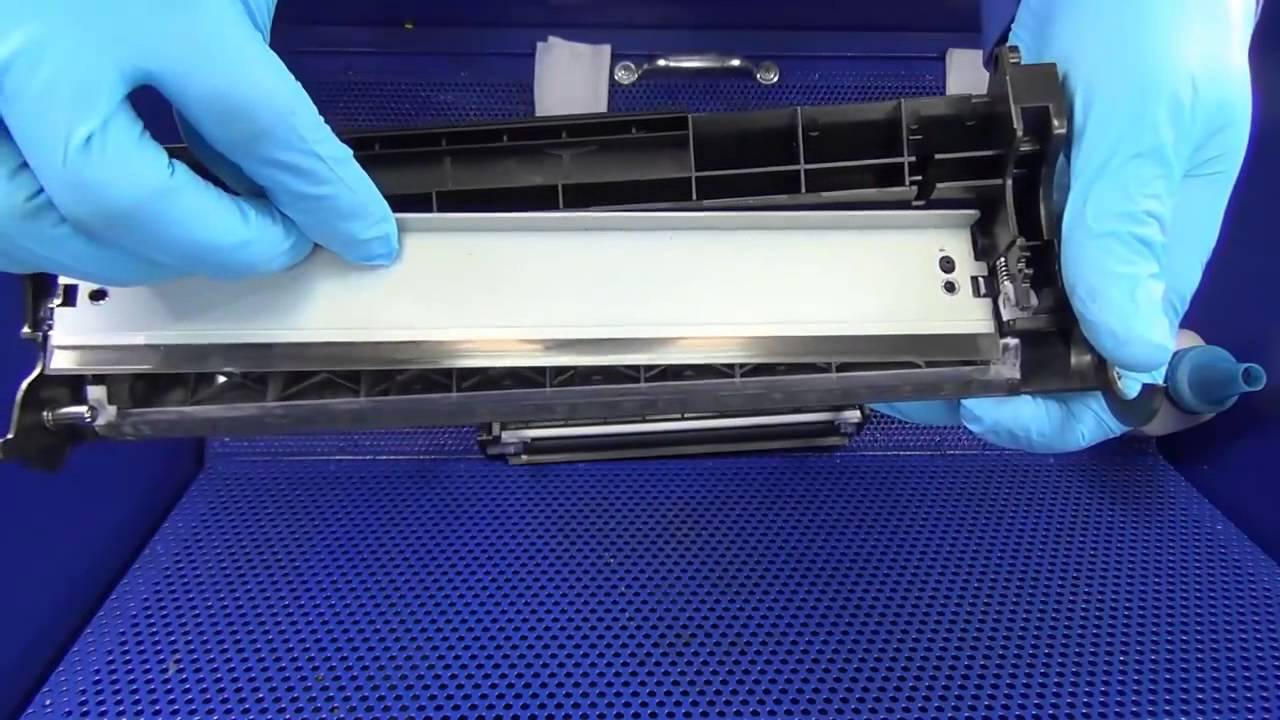
Cleaning the cartridge
Instead of ink, laser cartridges use a special powder toner. This is convenient, since the problem of drying of the coloring pigment is eliminated. But the print head itself often collects dust and dirt, which impairs its performance.
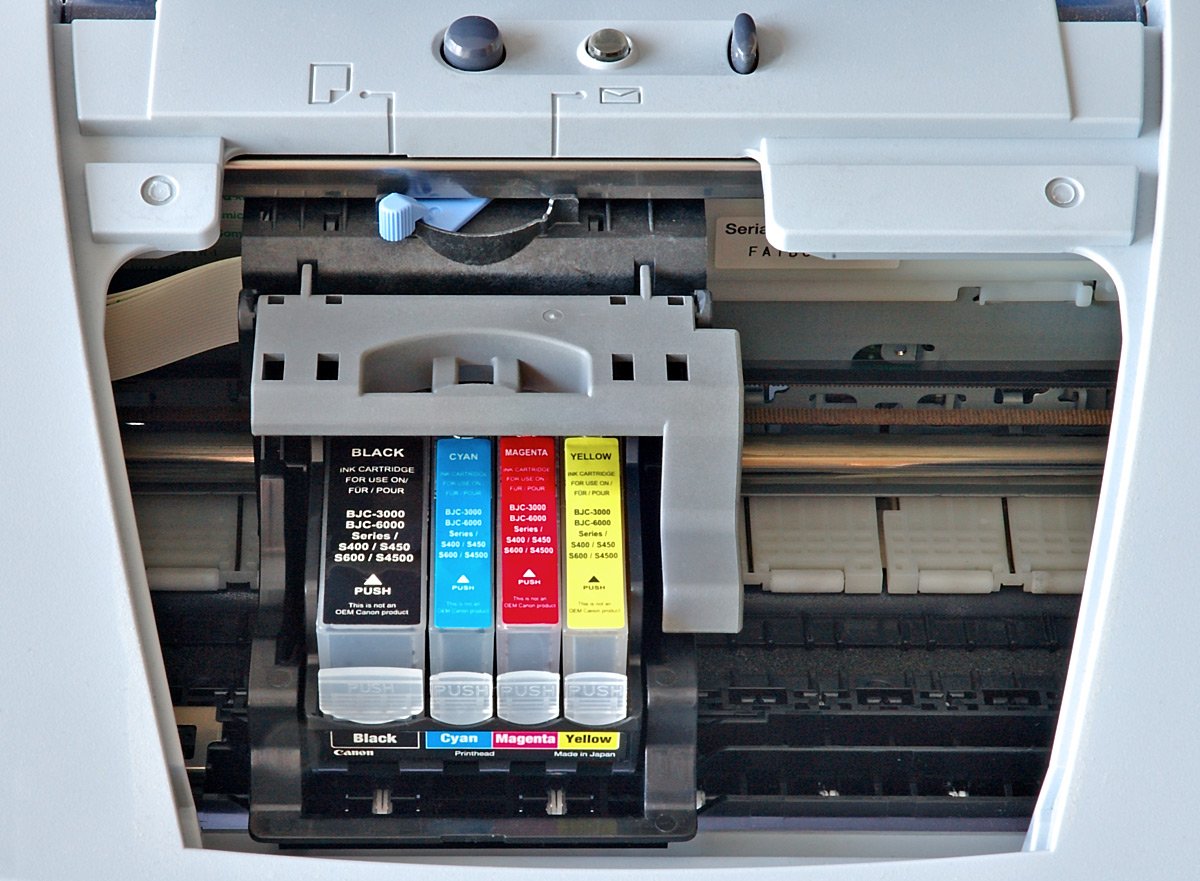
There are several alternative ways to clean the cartridge:
- Glass cleaner is poured into the cartridge. With the help of a special clip tool, the remaining toner is pulled out. The procedure is carried out until the outgoing liquid is colorless.
- Soaking in window cleaner. The cartridge is immersed to a level of no more than a centimeter at night. As soon as the cleaning liquid darkens, the procedure is stopped.
- Hot method. Its essence is to hold the work surface over the hot steam for 3-5 seconds, and then wipe the emerging pigment with a damp cloth.
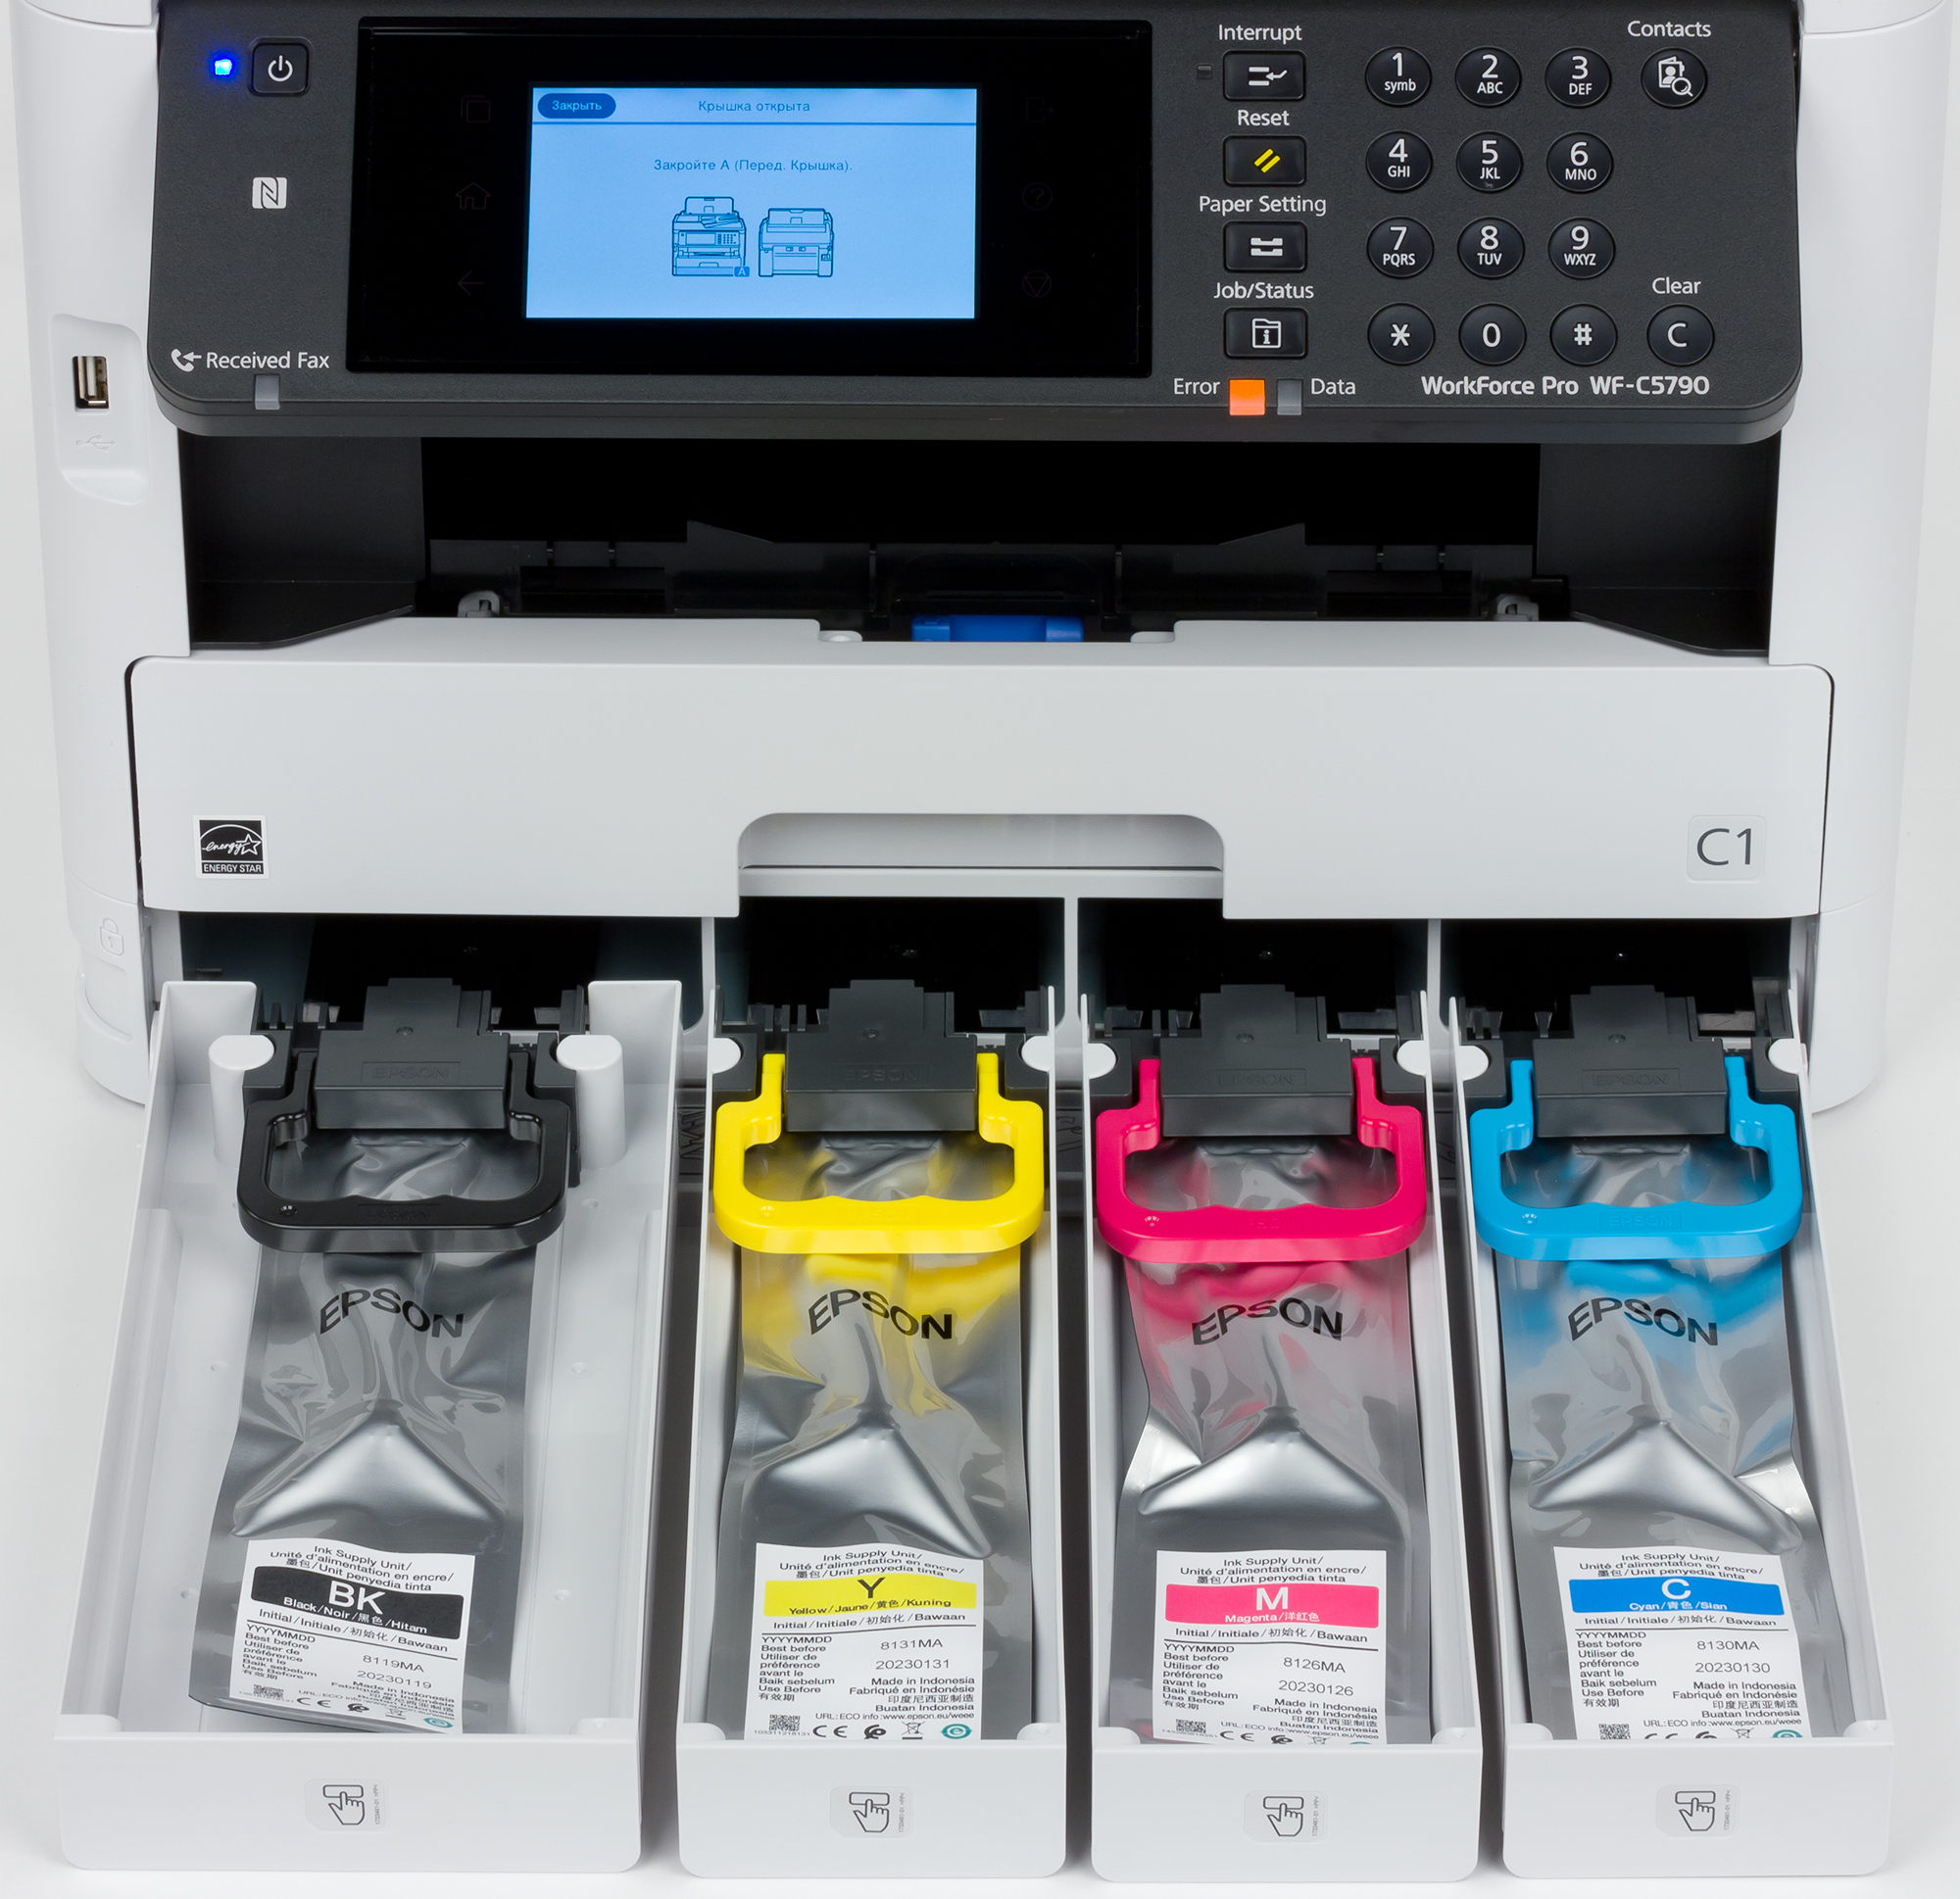
The classic method for cleaning cartridges is to separate the pins with an awl, thick needle or thin screwdriver. All elements must be cleaned of adhering debris, dirt and toner with a brush and napkins. Ideally, use microfiber that does not leave lint.
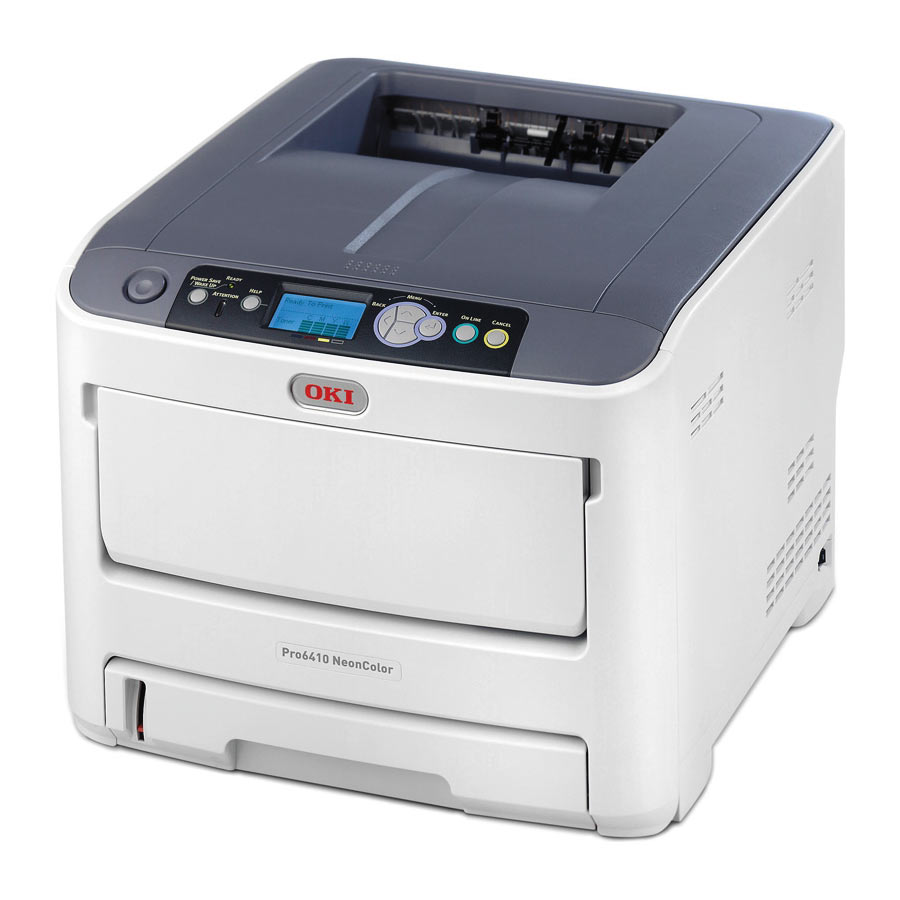
After assembling the cartridge and returning all components to their place, you can refill the equipment with toner.
Drum
There are several reasons for a dirty drum:
- strong temperature differences in the room can affect the quality of the part;
- constant high humidity in the office;
- ingress of foreign objects, such as paper clips;
- accumulation of dust and dirt.
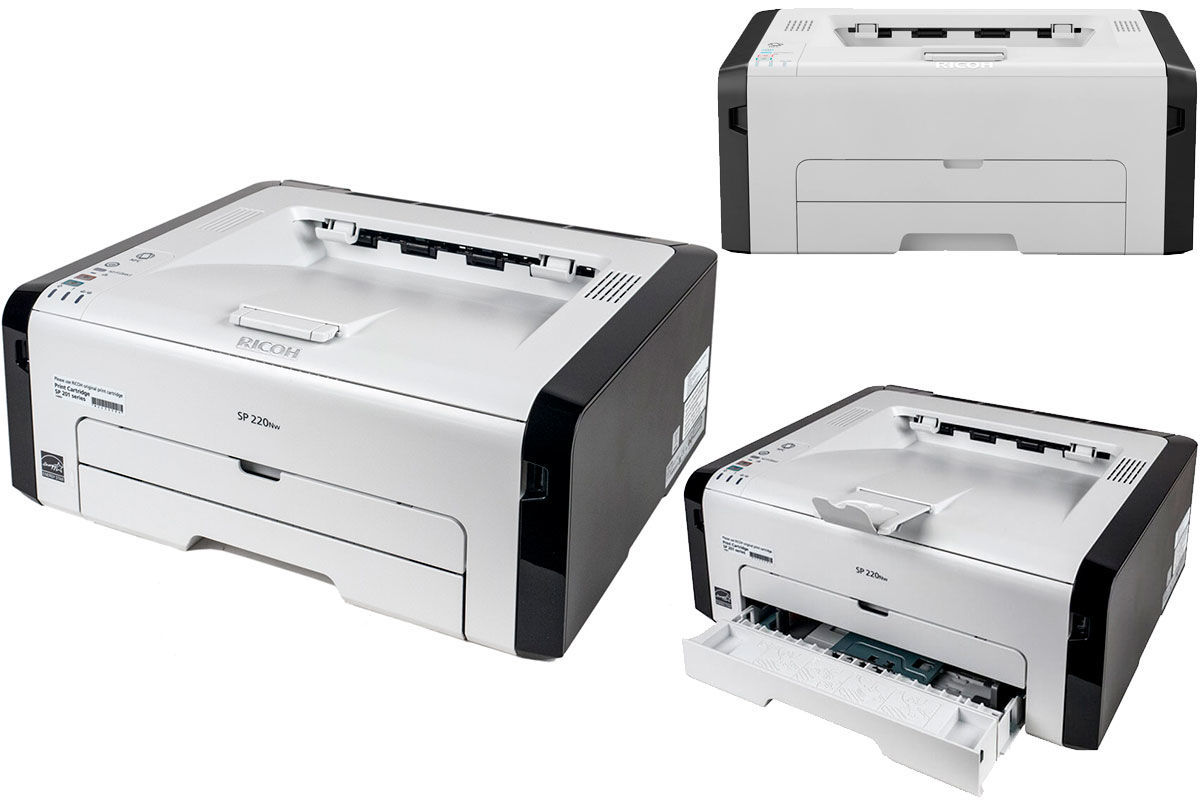
The drum unit should be cleaned when dark streaks, chaotic dots, or a general gray background appear on the paper.
- After removing the cartridge, gently slide the protective shutter. Part of the photo gallery will open for you.
- As you rotate, you can gradually, step by step, clear all visible areas of the drum part.
- Waste toner may scatter if you move it carelessly. Take care of your personal protective equipment in advance and cover the floor with unnecessary newspapers.
- To wipe the drum unit, use a soft cloth that will not leave lint, lint, or cotton debris. This will complicate the high-quality operation of the printer in the future.
- Do not use sanitary wet wipes, solvents, or alcohol-based liquids. This will ruin the element.
- Specialty stores sell kits for cleaning cartridges. This is the optimal solution to a pressing problem.
- When finished, place the drum unit in the cartridge and return it to the printer.
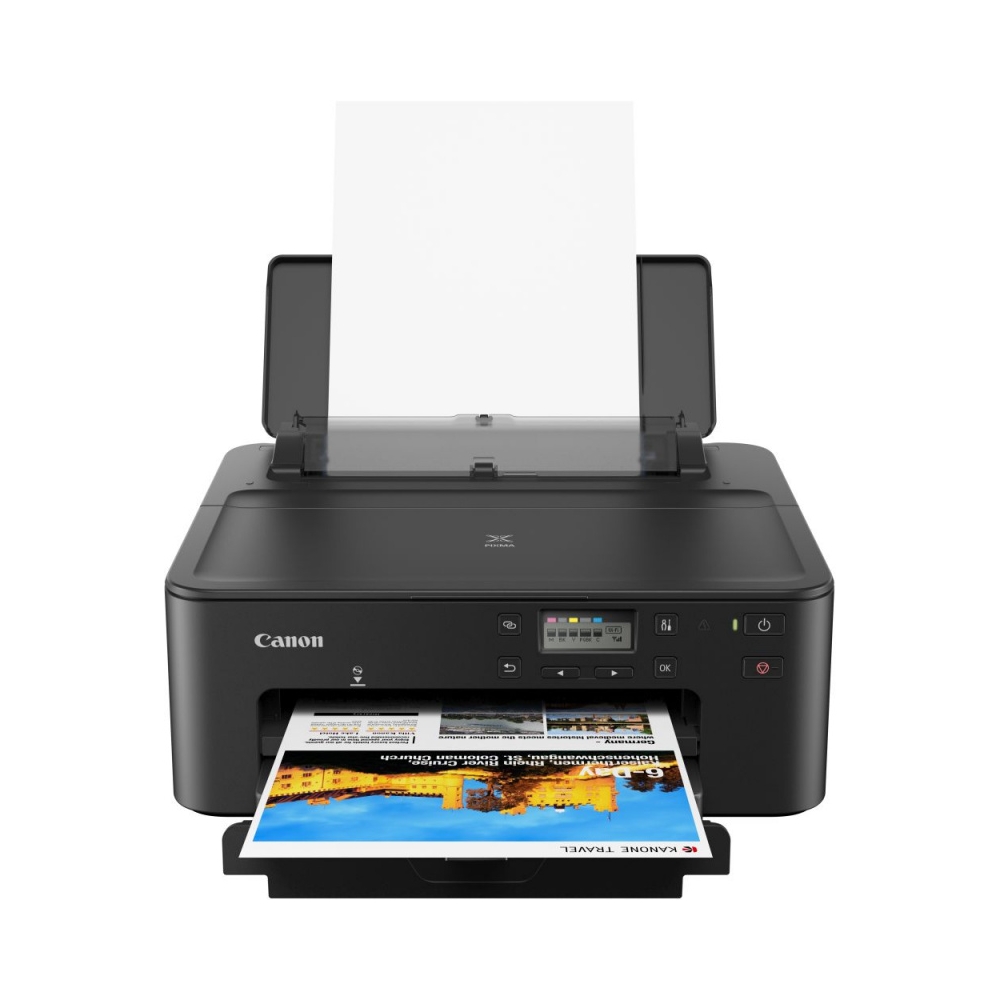
Waste bin cleaning
The waste bin is often unjustly ignored when cleaning the printer, considering the detail to be insignificant and not worthy of attention. Unused toner accumulates here and is no longer suitable for the job.
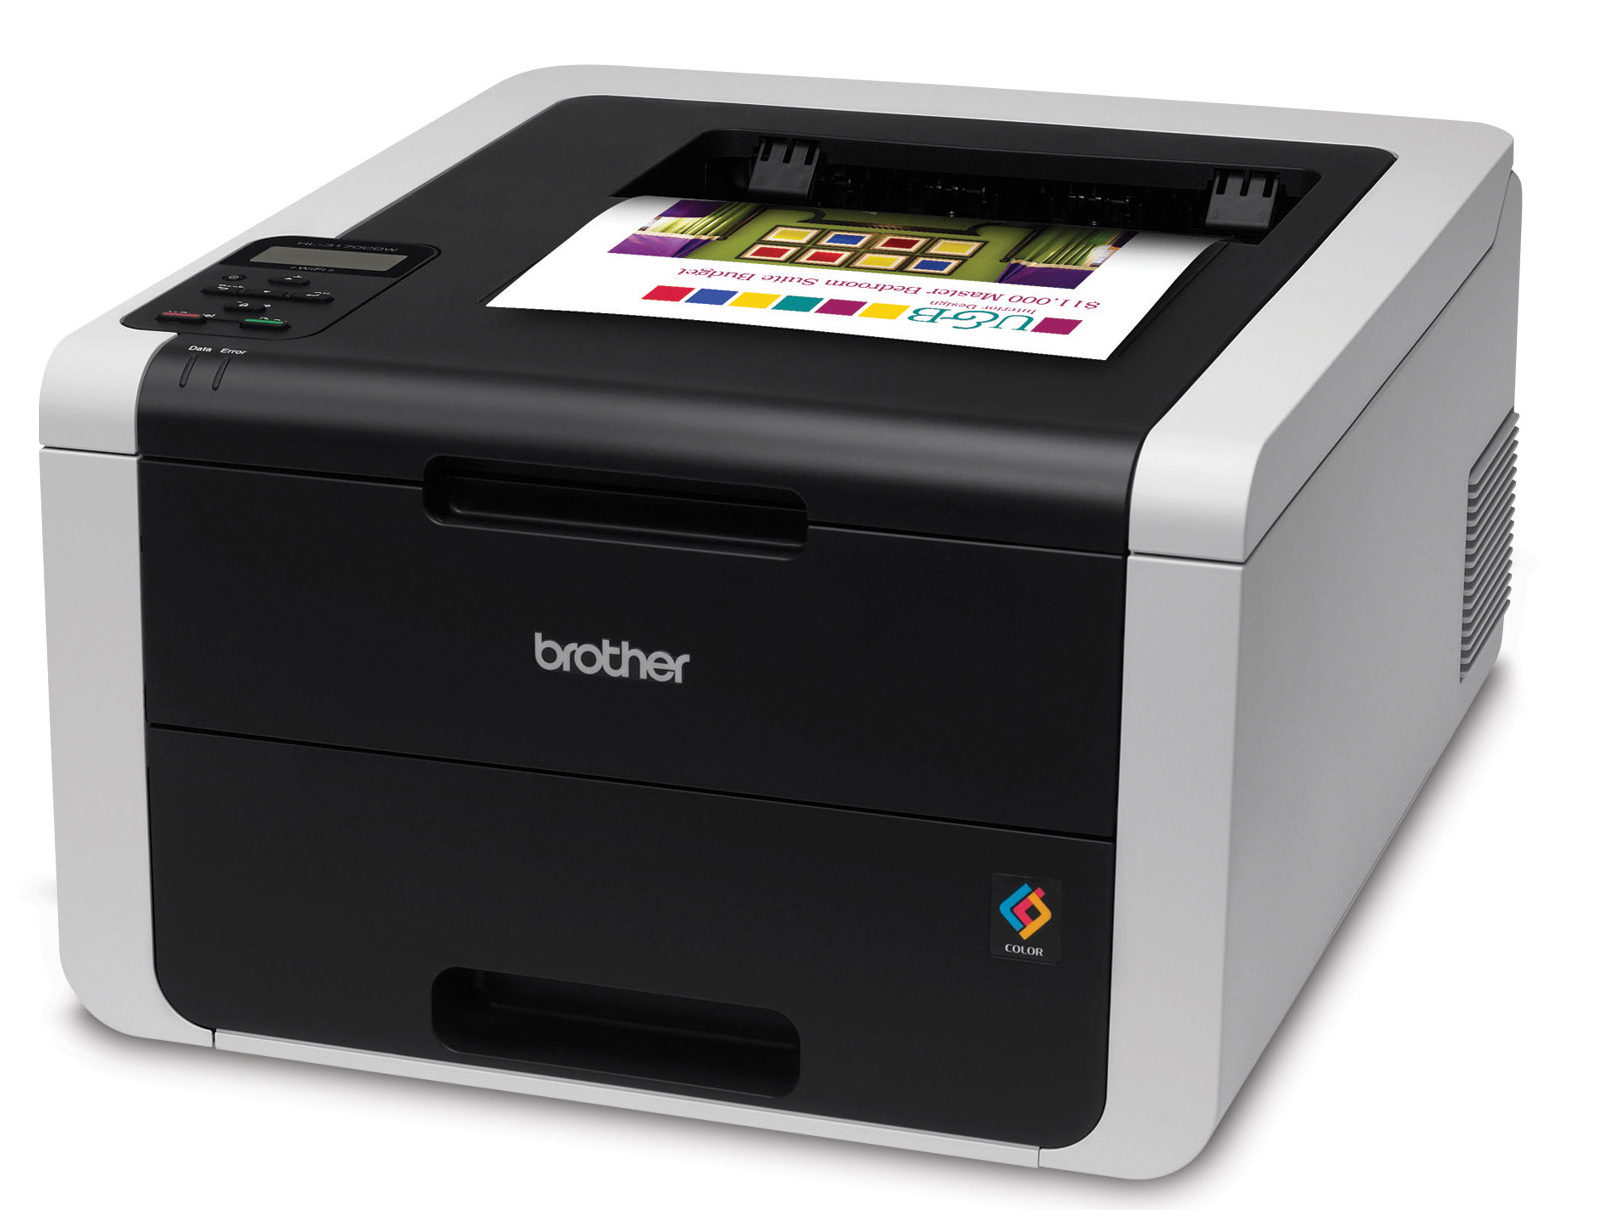
If the hopper is not cleaned, there will be too much powder. It begins to get into the cartridge and the photo roll, deteriorating the print quality on paper. The hopper also collects dust from the room, which enters the printer along with the loaded paper.
- The waste toner bottle is located in different locations depending on the printer model. Open this door.
- You can dispose of the waste bin with the accumulated rubbish. A new container usually comes with purchased cartridges.
- You can keep the old container. Then discard its contents in the trash can. The hopper must be cleaned with a special vacuum cleaner.
- Remember that toner is toxic, so follow all safety precautions.
Cleaning guidelines for inkjet printers
The design of an inkjet printer is slightly different from a laser one. There are more details here that need to be disassembled and cleaned separately.
How to clean a cartridge and CISS
Cleaning the cartridge depends on your printer model. How to clean a cartridge in a printer if sometimes several elements with a coloring pigment are found at once? Each of them must be cleaned separately using a special program or manually. As with inkjet printer cartridges, alternative hot steam and soak methods work.
The continuous ink supply system (CISS) helps to save the owner of the equipment on pigments of the original production. As soon as you change the ink manufacturer, you need to flush the CISS. Otherwise, the print will be of poor quality and the printer could suddenly break down.
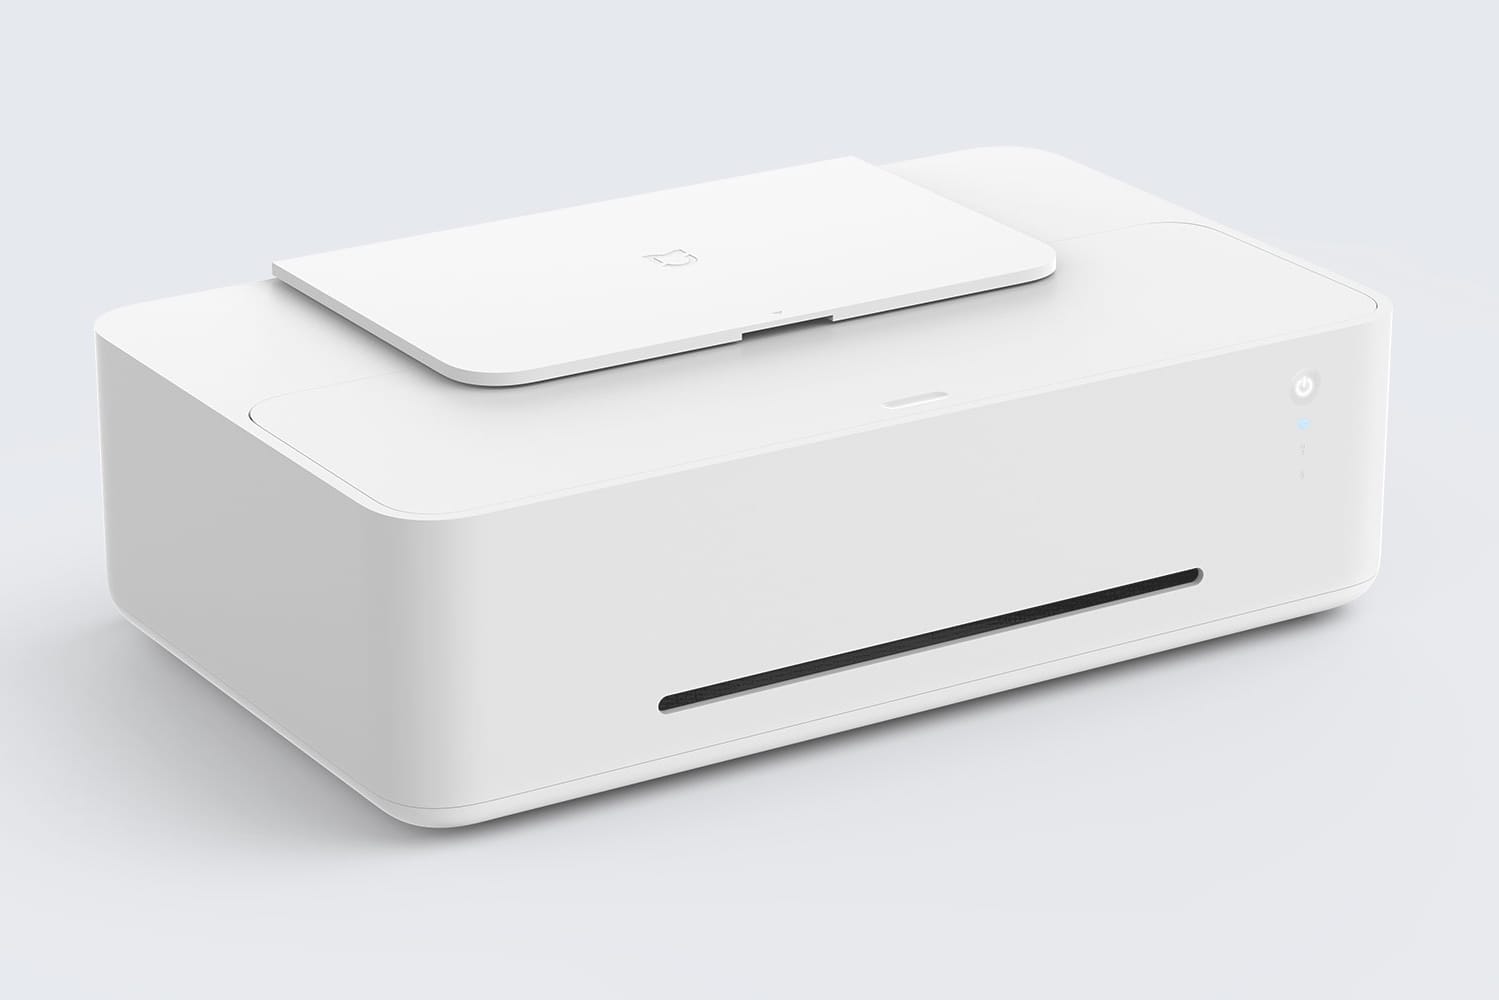
- Use a medical syringe to remove the remaining coloring pigments through the filling holes.
- Use a screwdriver to unscrew the chips and data blocks. Pull the ink out of the cartridge with a syringe and remove the ribbon cable.
- Pour the flushing liquid into the UHPH reservoirs, and then drain into any container.
- The filling agent can be poured several times until it is completely cleaned.
Cleaning the rollers, pallet and nozzles
Window cleaner is often used to clean the nozzles. This is a budget and efficient option.
- Detach the cartridge and immerse it in a container of glass cleaner.
- The level of the cleaning liquid must be such that it does not touch the contacts, but the nozzles are immersed.
- Secure the cartridge so that it does not accidentally tip over, and leave it in this position for a day.
- Dry the cartridge. He's ready to go.
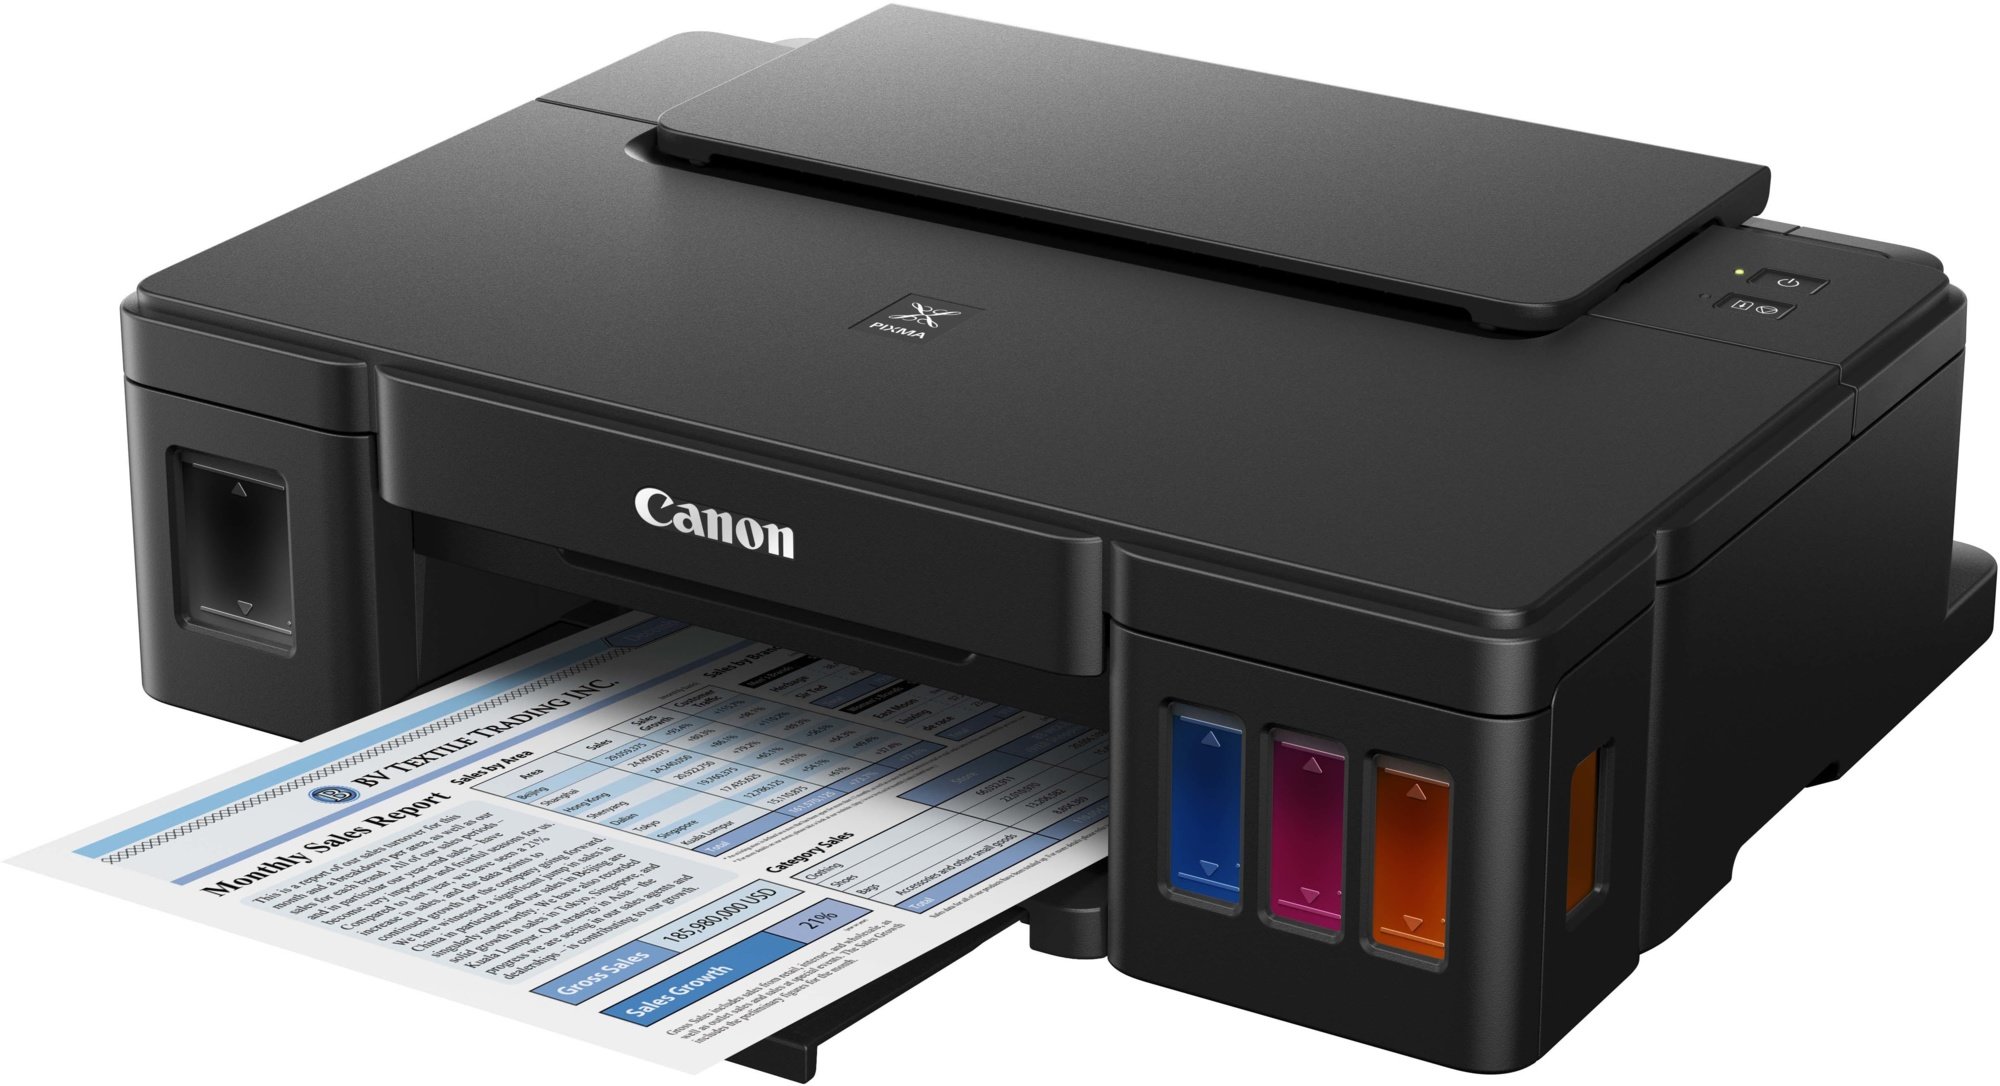
The roller feeds the print paper. Here dust, dirt and the remains of coloring pigments accumulate most actively. Since it is freely available, the printer does not need to be disassembled. It is enough to sprinkle a sheet of paper with window cleaner and pass it through the roller, loading it into the press.
Cleaning the pallet or the inside of the printer is done programmatically.
- Load a sheet of paper folded in half into the Rear Tray.
- Using the setting button, press + until the number 9 appears.
- Select "Black" mode.
- The paper will pass through the printer and empty the pallet along the way.
Cleaning the diaper
A pampers is a special felt pad that absorbs ink while the printer is running. As soon as the adsorbent element is overfilled, the technique is blocked. The used diaper can be thrown away and replaced with a new one.
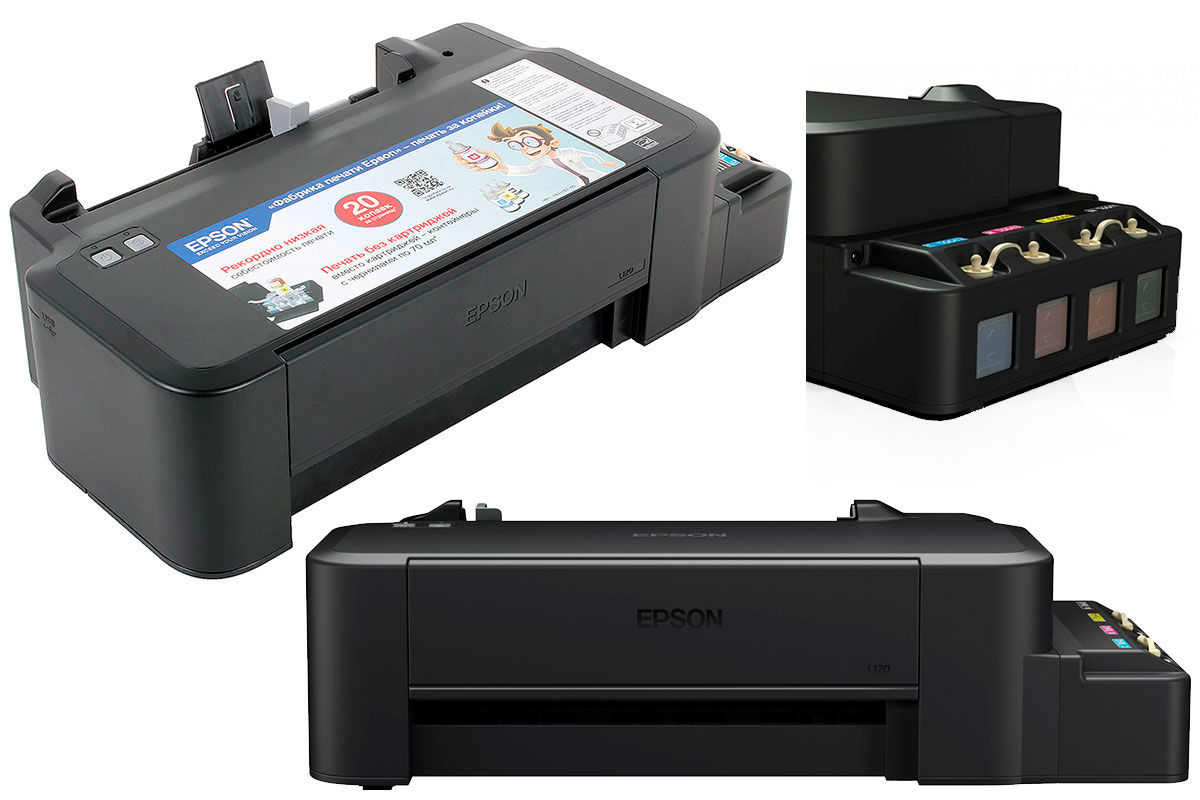
If you don't want to wait or go to the service center, try washing it yourself.
- soak the diaper in a bucket of warm water for half an hour;
- squeeze and rinse the accessory under running water;
- repeat the procedure if the paint is not washed out on the first try;
- dry well and insert into the printer.
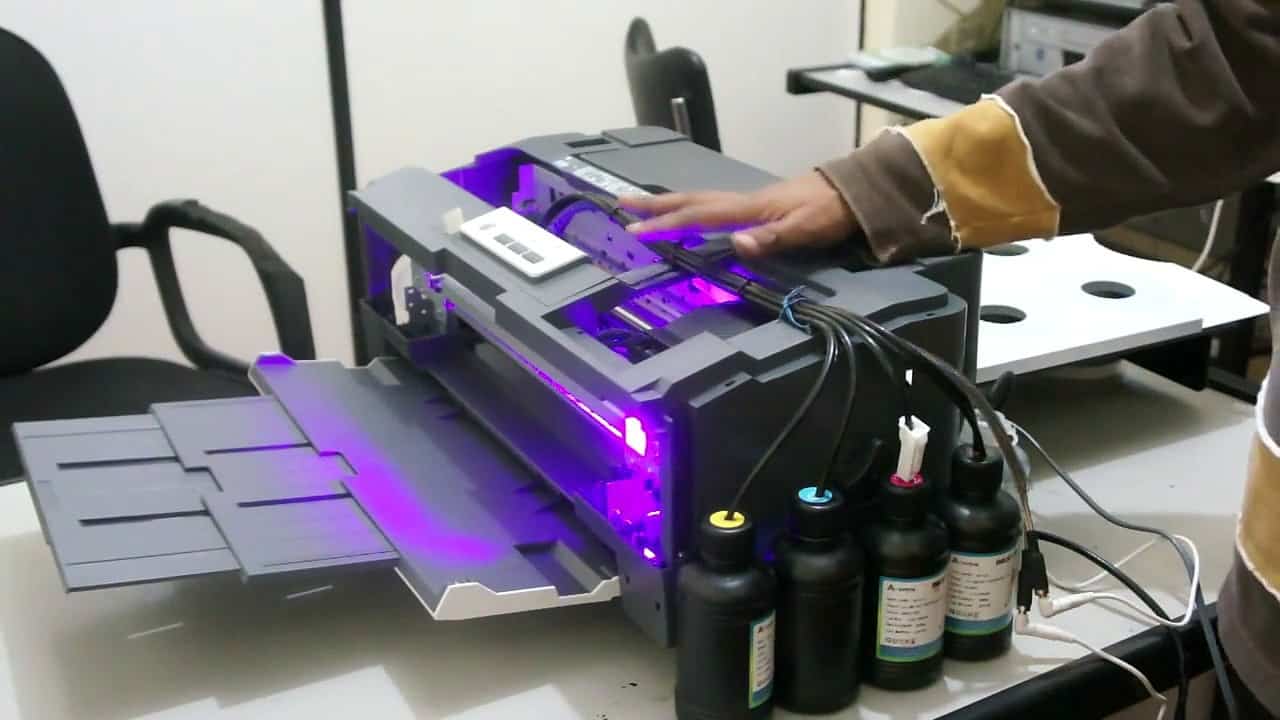
After self-cleaning, the adsorbent element may collapse and shrink slightly. But it is fit for work and can fulfill its functions.
Features of devices from different companies
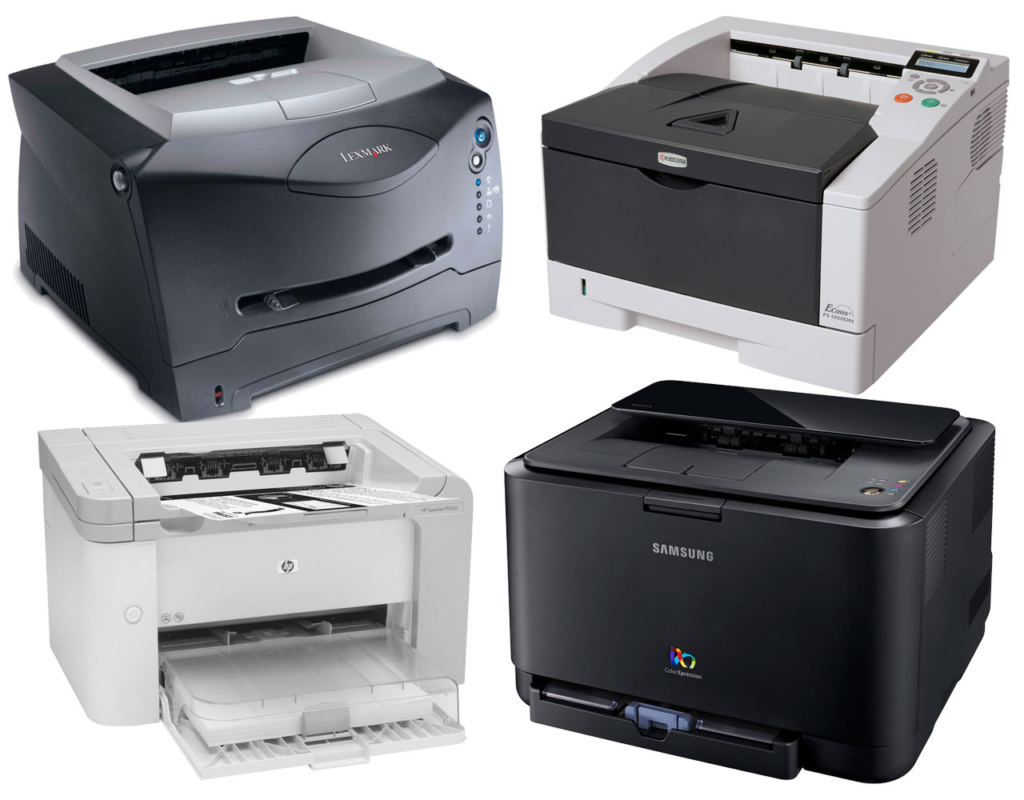
Each printer manufacturer has its own characteristics and hides the "secrets" of production.
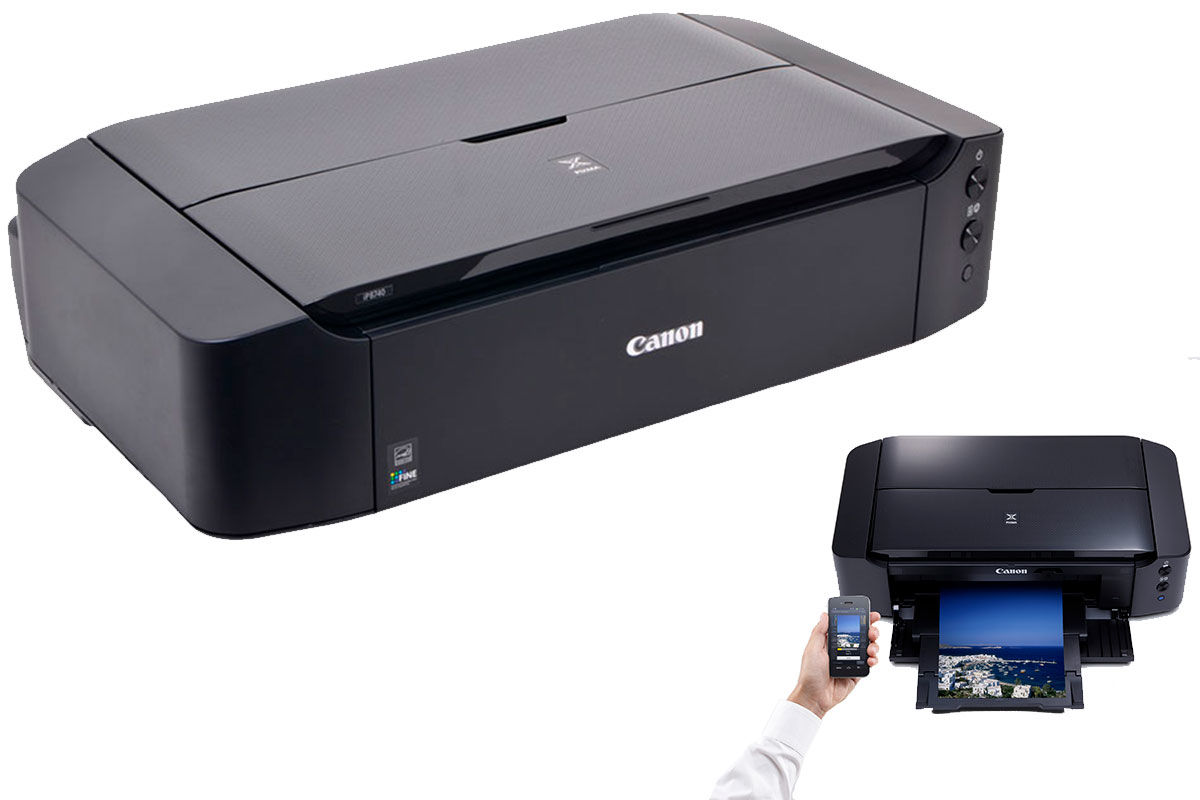
- HP. The printer is practically not subject to manual disassembly and cleaning of parts. He is trusted by professionals. To pull out the cartridge, you need to carry out several manipulations: remove the cover, separate the toner compartment.
- Epson. To remove the cartridge, you need to open the front panel and remove the cover. The pampers are fixed with several screws. The technique is hard to disassemble, especially for beginners.
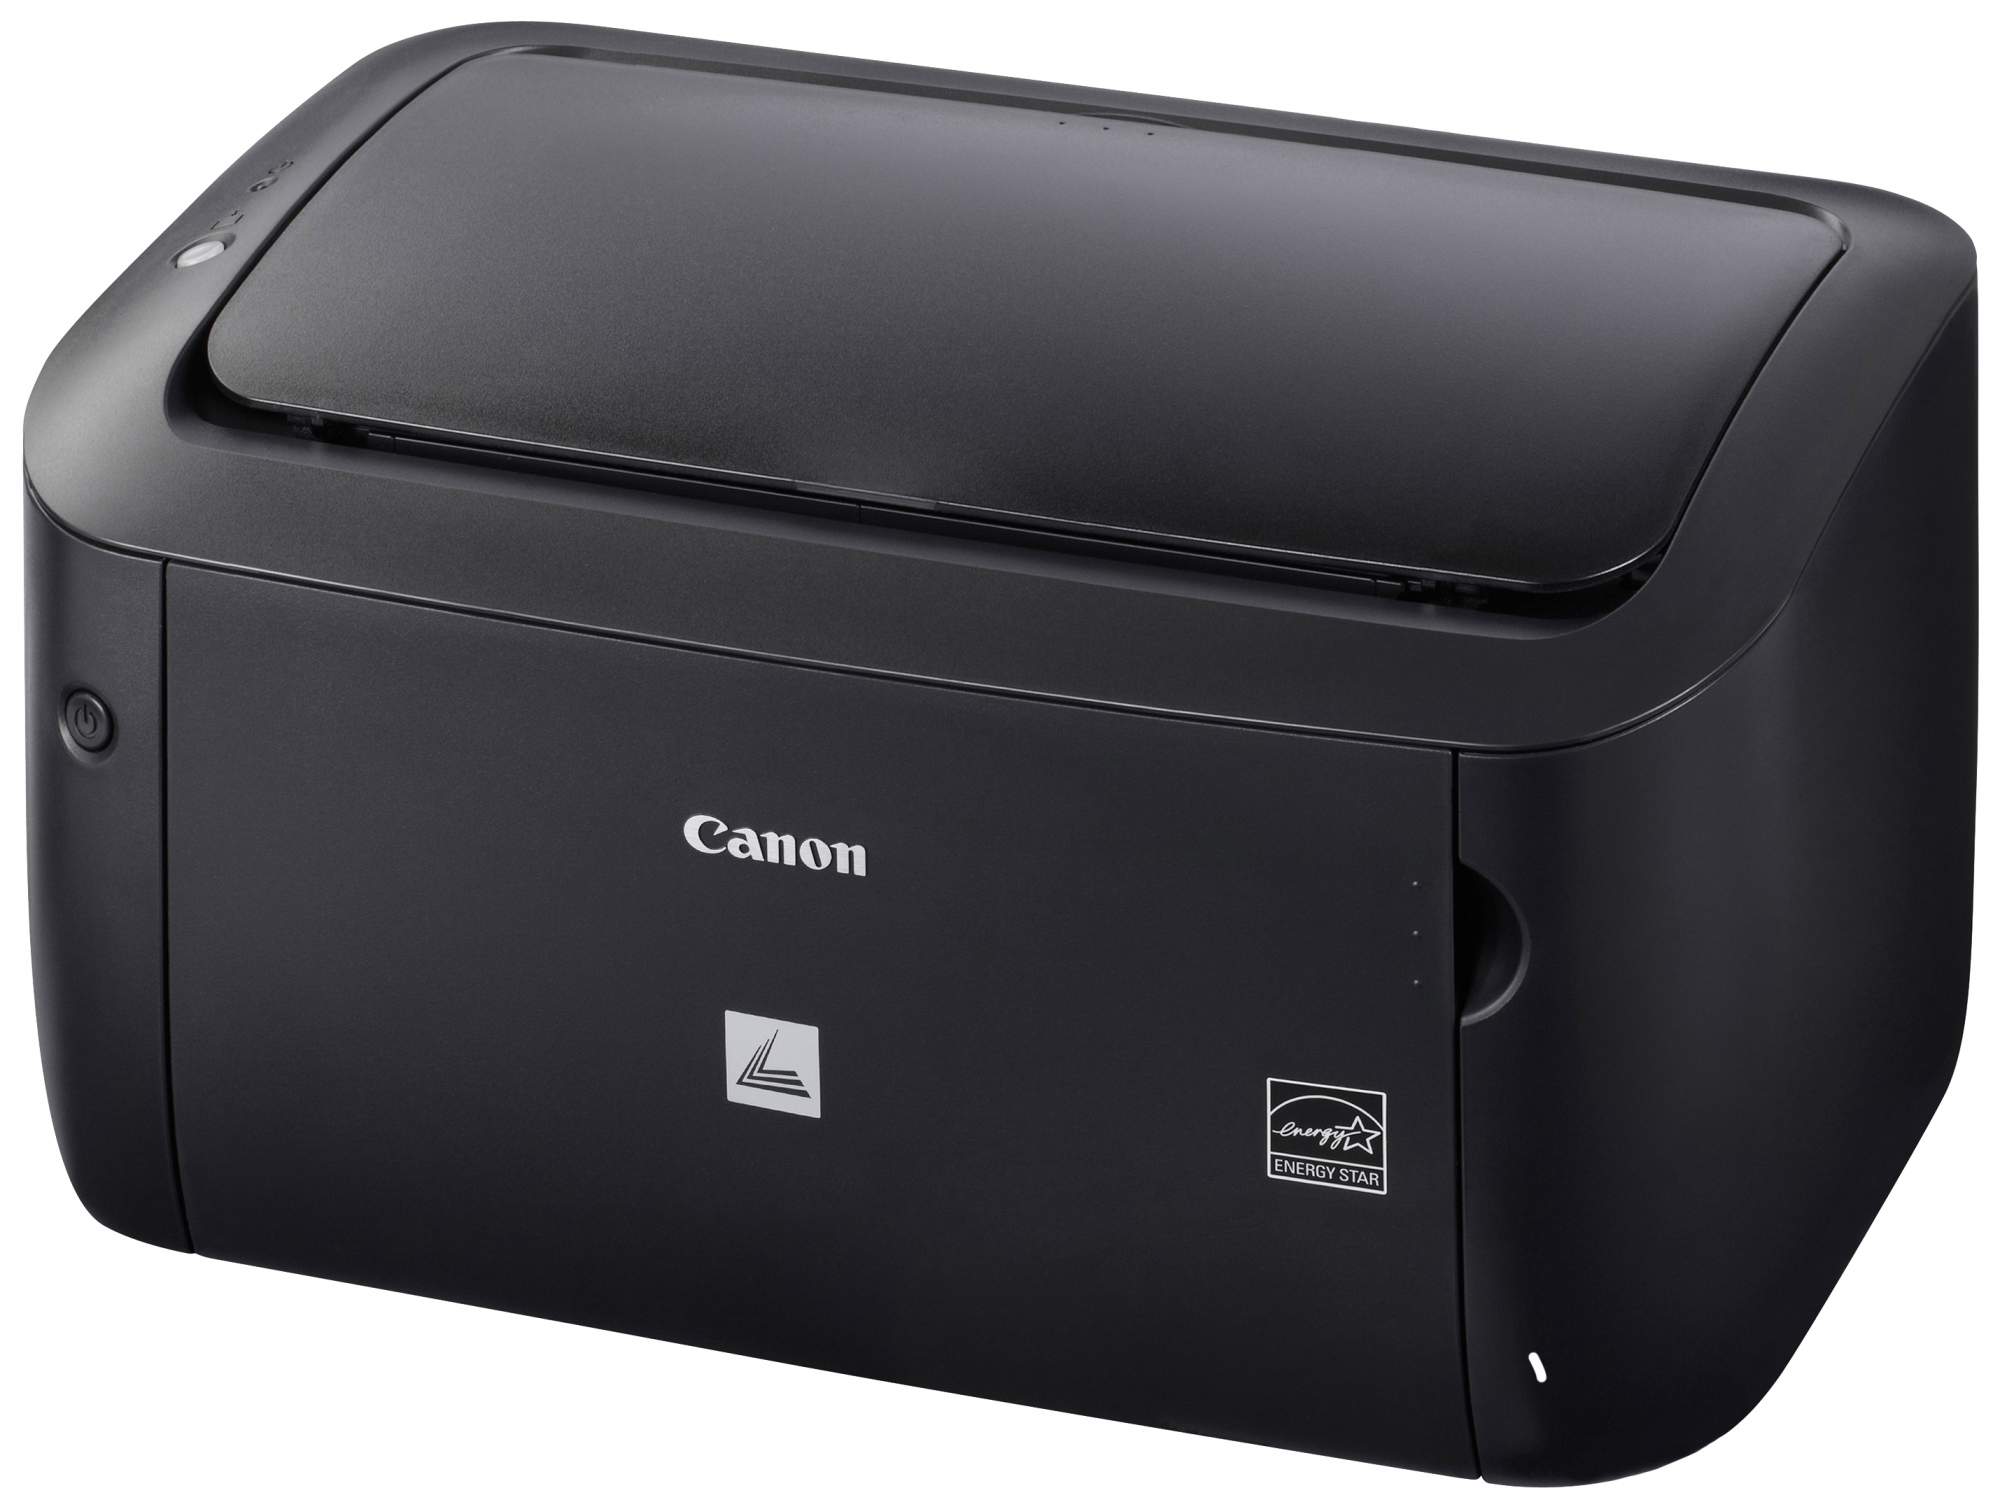
- Canon. You can easily understand the design of printers. The cartridge can be removed by unlatching the top cover latches.
How to clean the print head in a Canon printer
Canon printer printhead cleaning can be done using software and manually.
Hardware flushing
During hardware flushing, the print head can be left on. The cleaning program is found by the system when the device is connected to a computer or downloaded from the disk that comes with the kit.
A small instruction on how to clean the print head of a canon printer:
- connect the printer, place the paper;
- through the "Control Panel" on the computer, go to "Devices and Printers";
- in the item "Properties and maintenance" click on the selected icon with the type of cleaning;
- start the cleaning system through printing;
- print a test page after completing the procedure.
Manual
How to clean a canon printer if there is no access to a PC. Manual only.
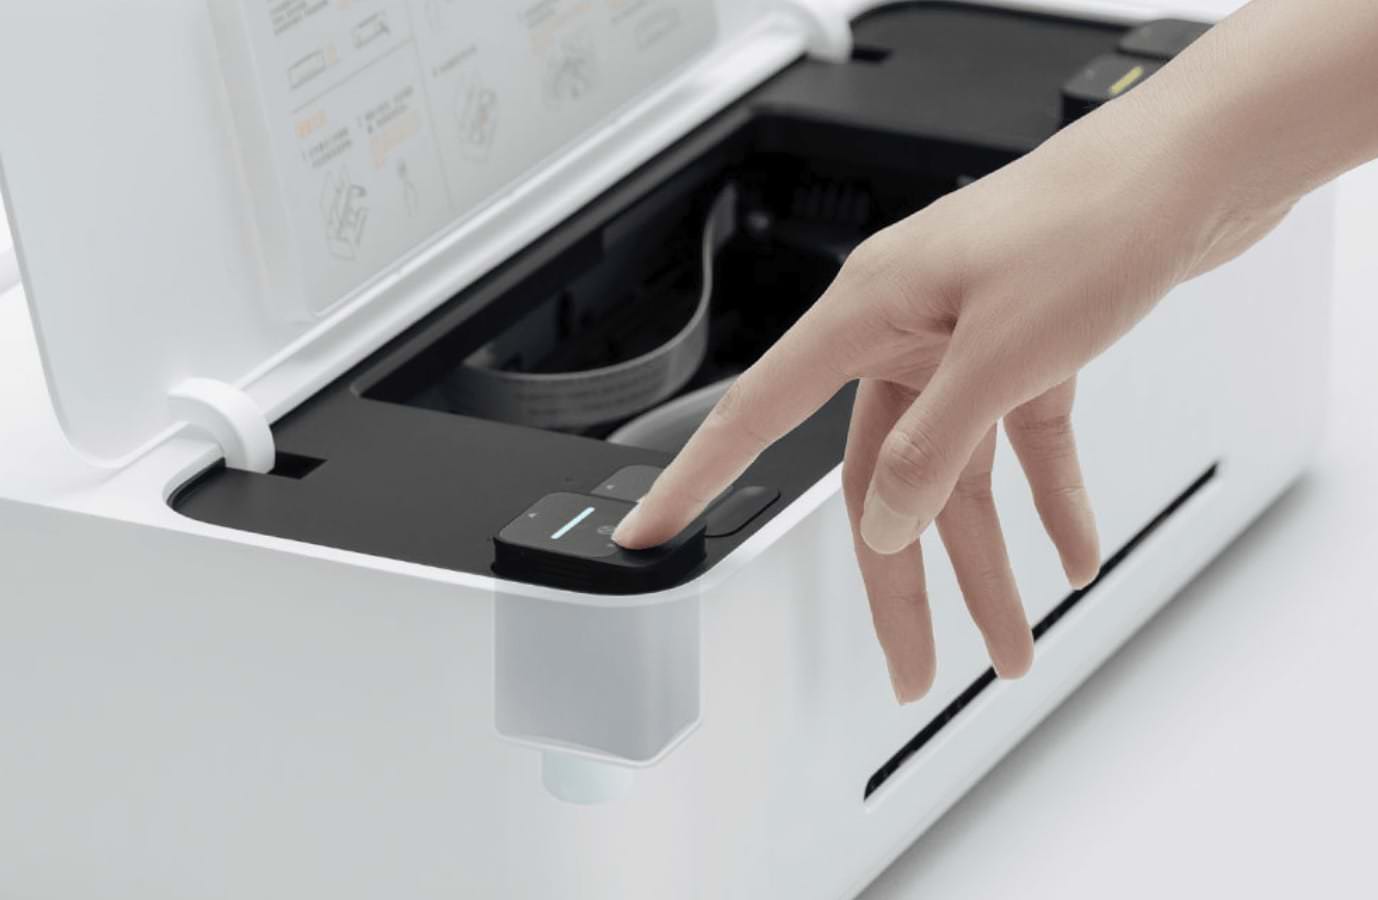
- Place any absorbent material under the head, for example, a cloth soaked in cleaning liquid;
- clean the intake holes, seals and the body;
- after removing all the paint from the head, leave it for a few hours;
- clean the head with a tissue and a cleaning agent;
- dry and replace the head.
Problem prevention
Sometimes preventing damage is easier than fixing it.
- Do not keep your equipment idle. Use it as often as possible.
- Wipe off dust and dirt in time.
- Change cartridges, lubricate parts and carry out maintenance every six months.
The printer is an irreplaceable assistant in your work. But its smooth operation requires your regular attention and adherence to simple operating rules.
Video: refueling CISS
