Installing and connecting the dishwasher
Dishwashers have become a part of our lives, just like washing machines once did. At the same time, connecting this unit to communications in an apartment is no more difficult than a washing one. Moreover, many manufacturers attach detailed instructions on how to connect the dishwasher to communications. The main thing is to observe the main points and not make mistakes.
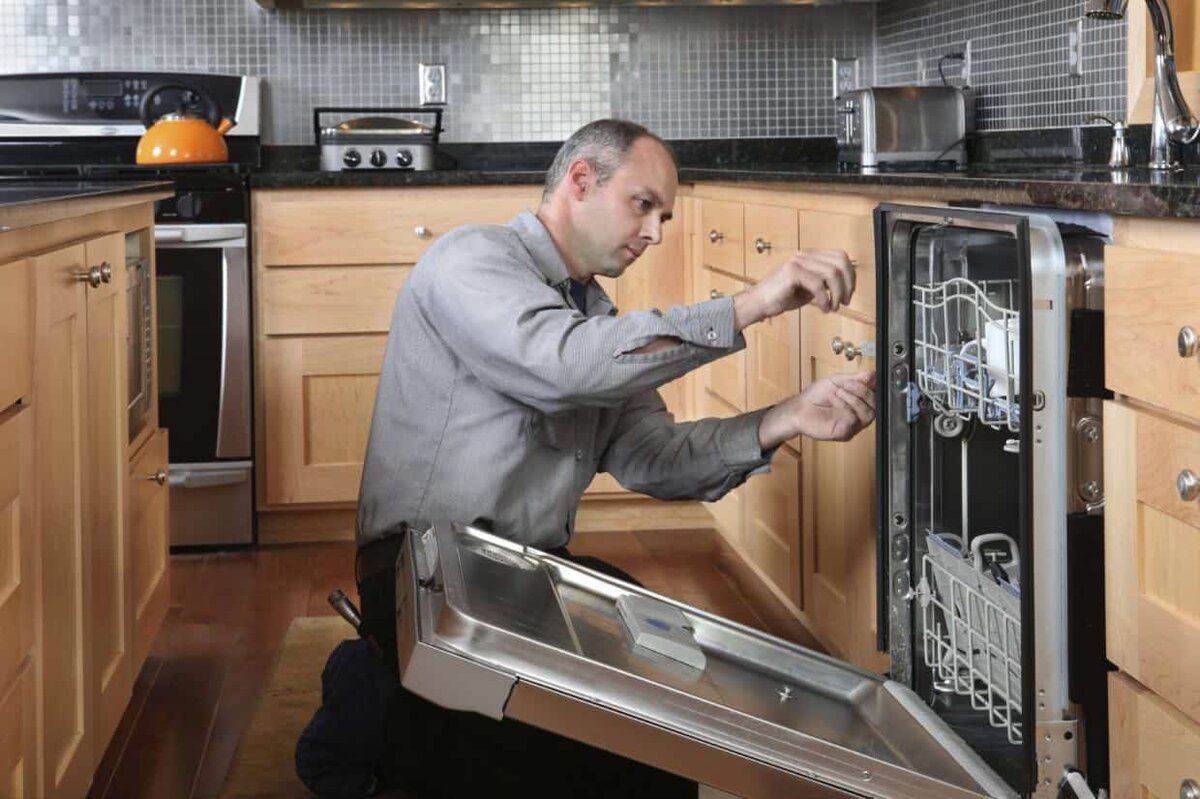
The process of connecting the dishwasher to the water supply and sewerage system can be conditionally divided into three main stages:
- Preparatory actions
- Connecting the hose to the water supply and pipes to the sewer
- Installing the socket and connecting to the mains
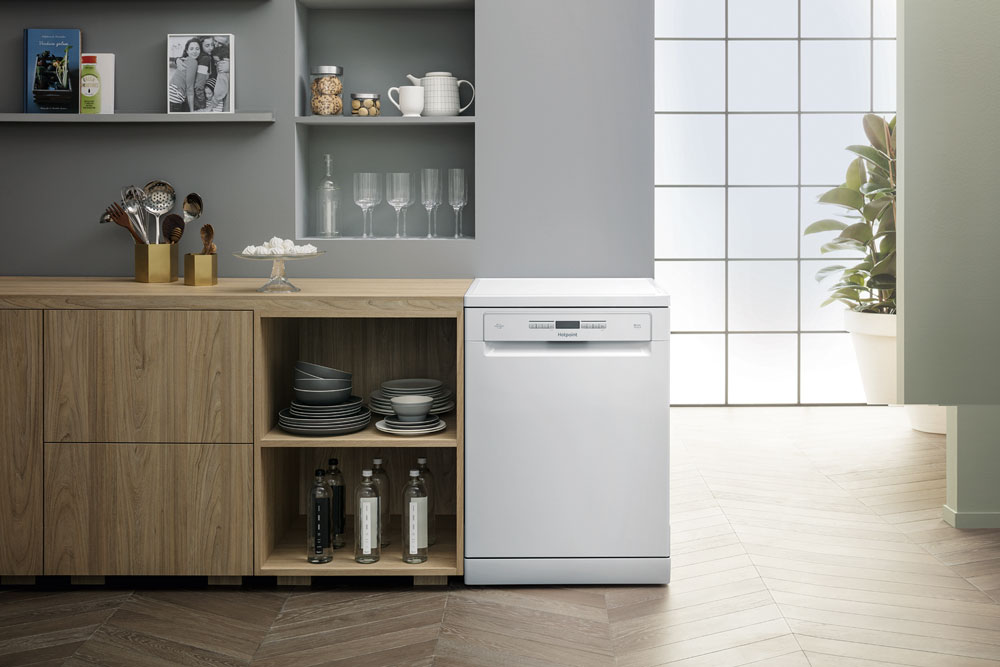
Each stage has its own nuances that are not immediately visible, but then will affect the operation of the device.
- How to prepare the machine for installation
- How to properly connect the dishwasher to the water supply
- How to install a tee in a dishwasher
- How to get a hose down the drain
- Connecting the dishwasher to the mains
- Functional check
- What are the errors when connecting and installing
- VIDEO: How to install a dishwasher in the kitchen.
How to prepare the machine for installation
First you need to choose the main thing - the dishwashing machine itself and the place of its installation. When choosing a unit, the main criterion will be its size, as well as the type of installation - built-in or free-standing. Depending on the size and installation method, a place in the kitchen is also selected. Moreover, it should be no further than one and a half meters from the sink.
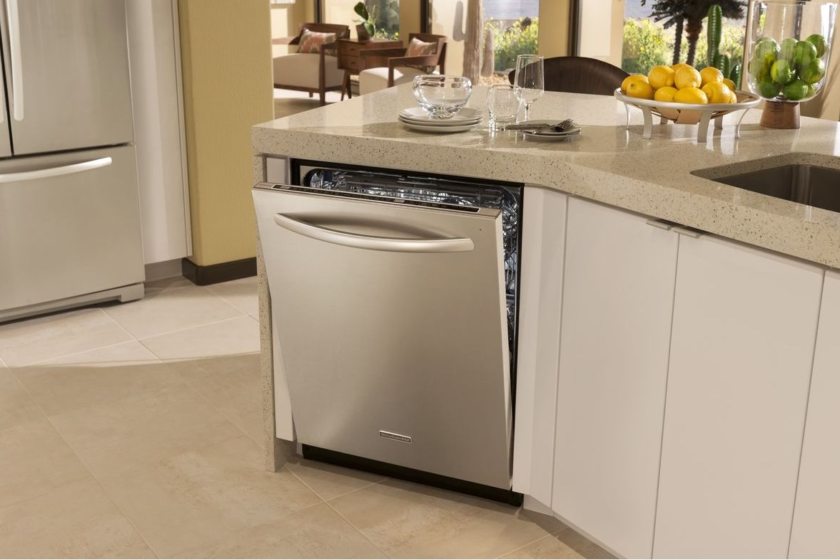
This is due to two points:
- Convenience of connection
- Safe from leaks
- The convenience of use
If the machine is located further from the plumbing pipe, then it will take longer to collect and drain water, the hoses will be more loaded. In addition, the likelihood of their damage increases significantly, and as a result, water spills in the apartment.
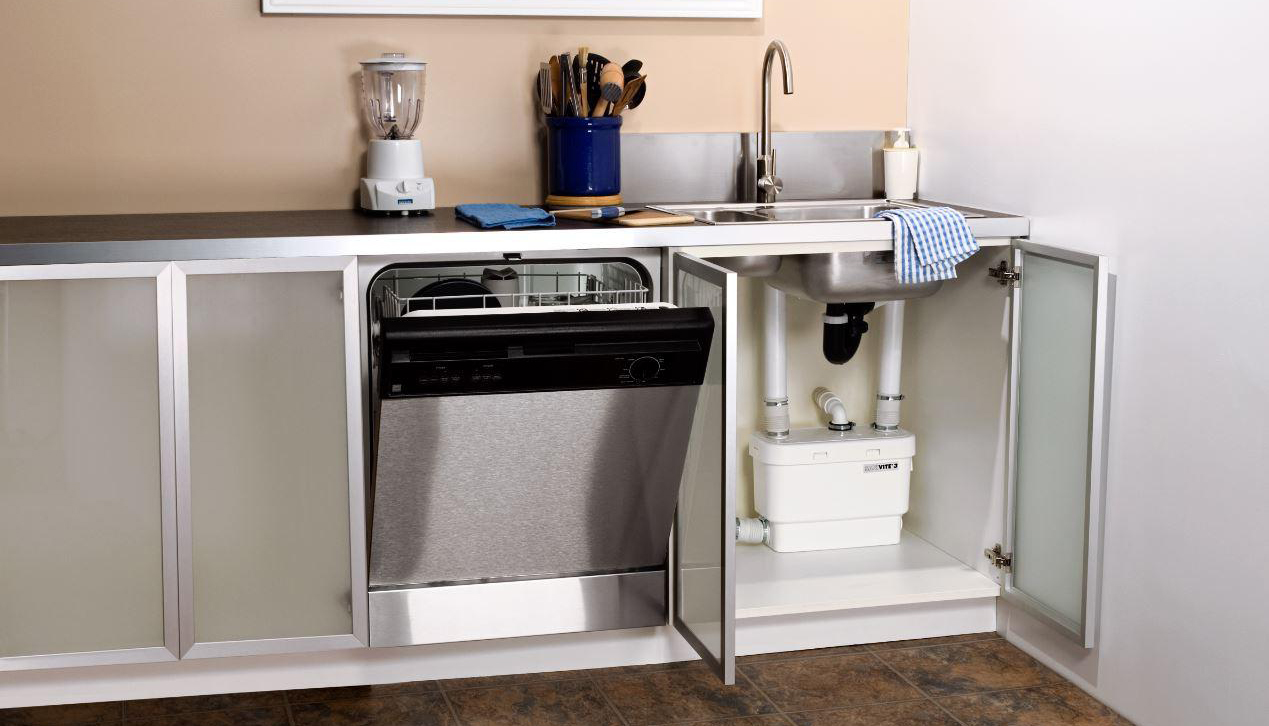
Another reason to place the dishwasher closer to the sink is for the convenience of folding the plates and storing them. It is more convenient to collect dirty dishes in the sink. Here it is easier to sort it out, cleanse it of excess fat and food. Storage cabinets are usually installed next to the sink, which is also convenient. When everything is in one corner, it simplifies and facilitates homework.
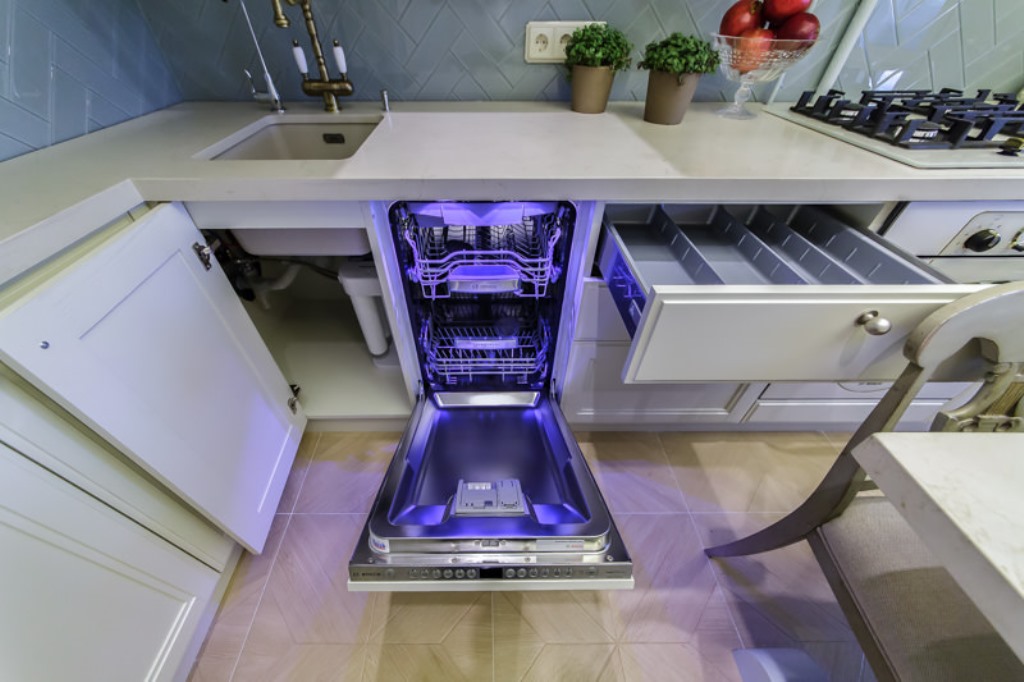
Installing the machine in a separate location
It is easier to install a freestanding machine, since there is no need to prepare a special niche for it. It is necessary to know the dimensions, but a few centimeters do not play a role here. But even this place needs to be prepared. It must be released first. Then plan how the communications will be connected. Be sure to install the outlet in advance.
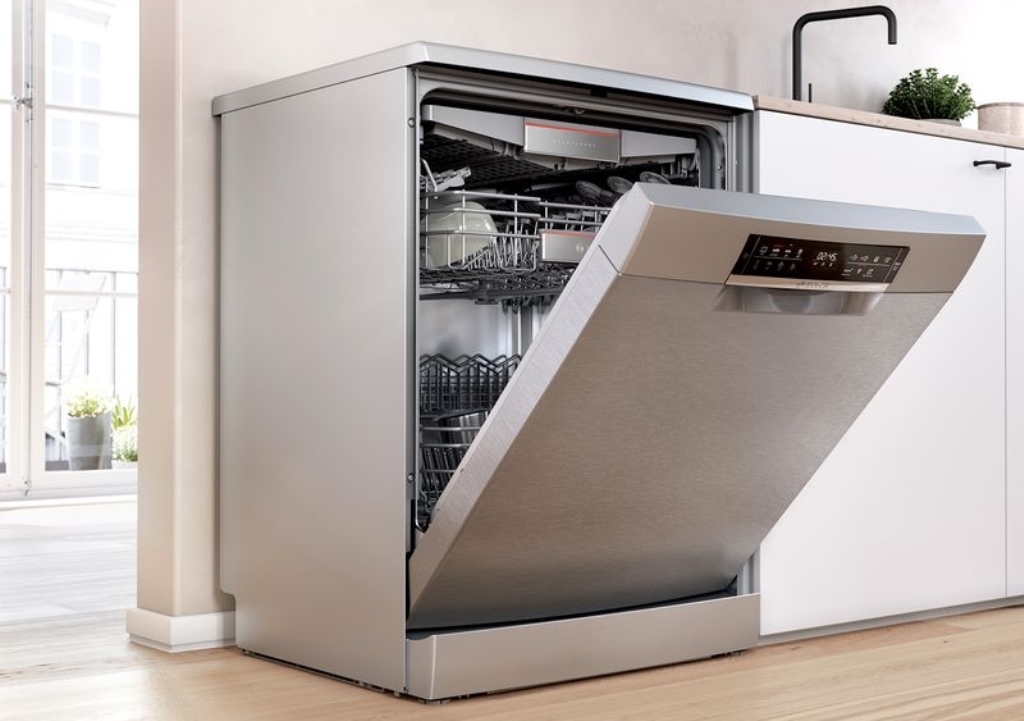
Embedded machine installation
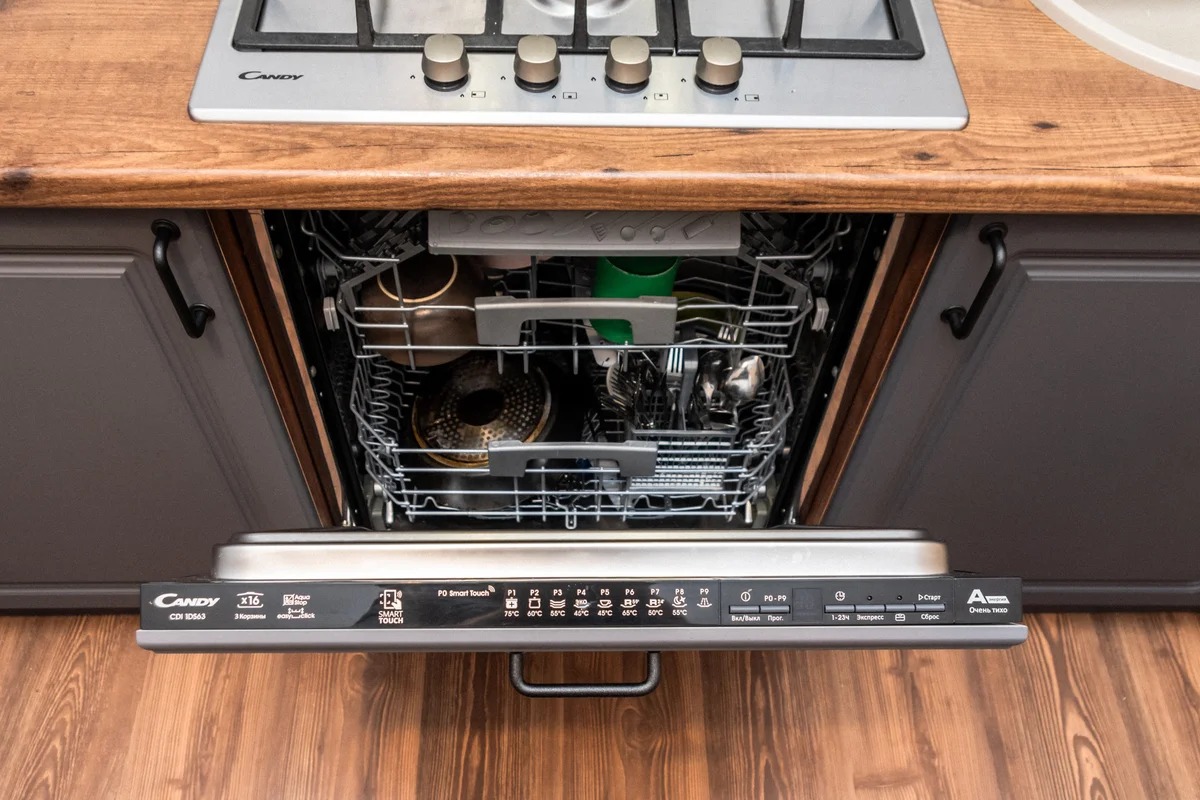
The built-in device is more compact and looks very stylish in the interior.Before you build the device into a niche, you need to know its exact dimensions so that it fits neatly into place.
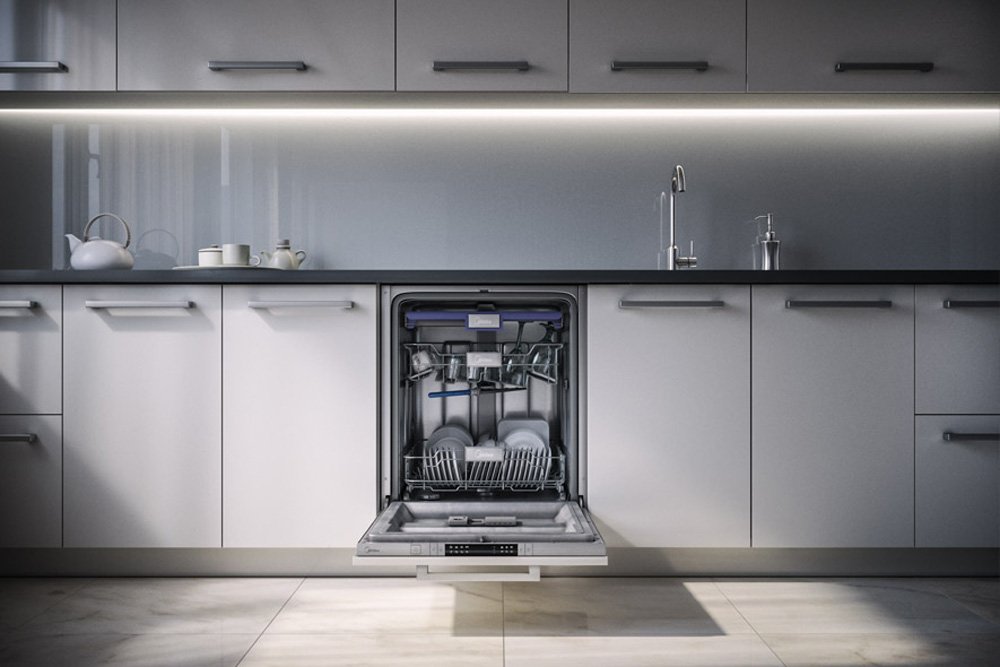
The place for embedding must be prepared as follows:
- The gap between the unit and the walls of the niche should be about 1 cm. The distance between the rear wall and the unit should be larger and be at least 10-15 cm.
- It is necessary to install the socket in advance. It is desirable that it be above the niche.
- All water communications, hoses and pipes are connected before installing the device.
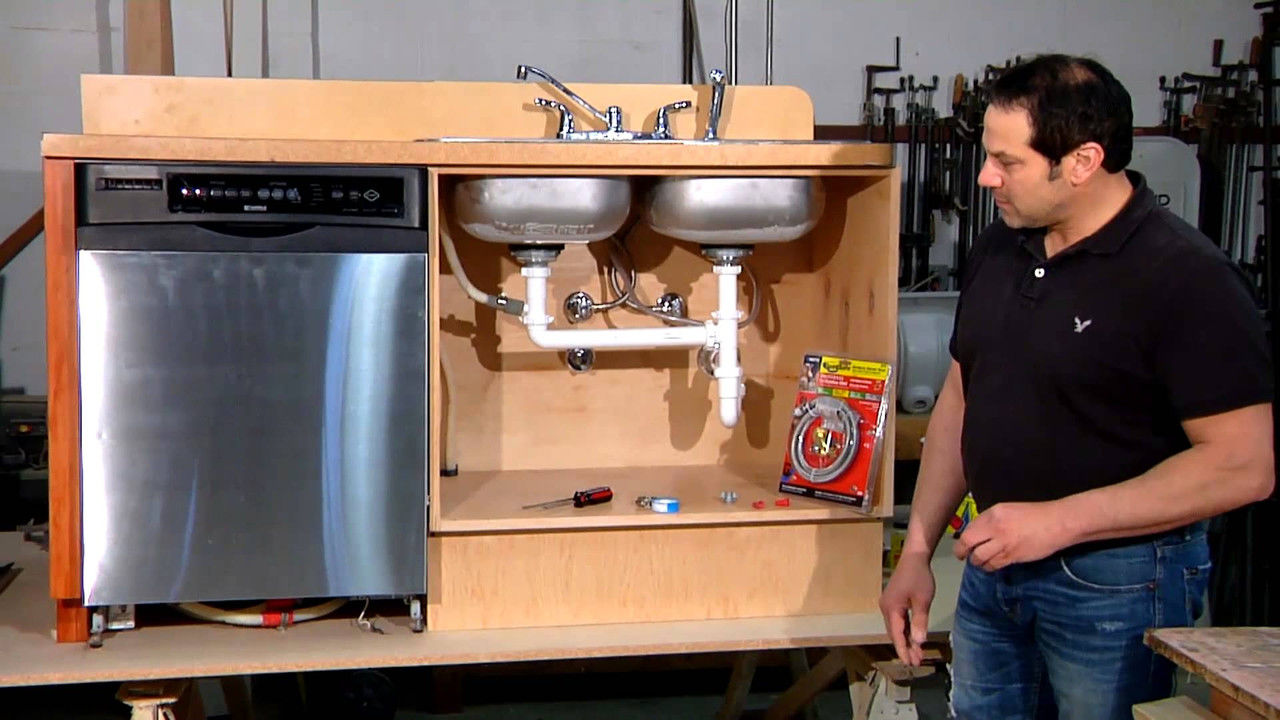
In both cases, the power outlet must be nearby, within reach. The dishwasher consumes a lot of energy, so you only need to connect it to a separate electrical outlet. It is not recommended to plug it into an outlet with a splitter that supplies power to other devices. It is especially dangerous to use one outlet for devices such as a washing machine, kettle, multicooker or airfryer. These products consume a lot of energy, and one point or its wires may simply not withstand and burn out. For the same reason, you should not use an extension cord.
How to properly connect the dishwasher to the water supply
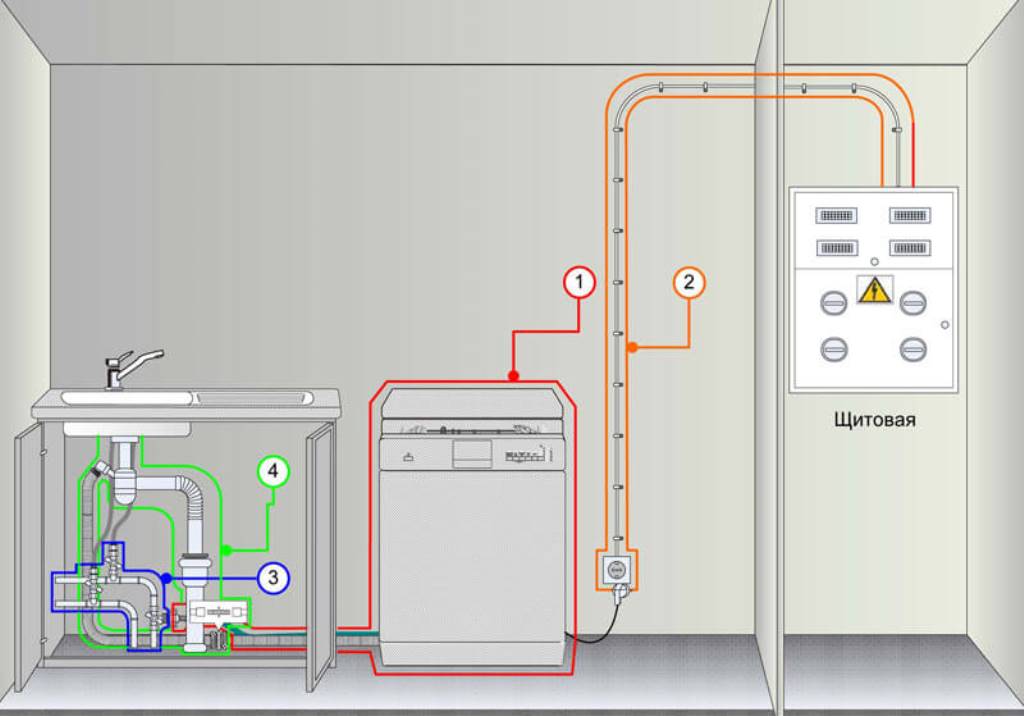
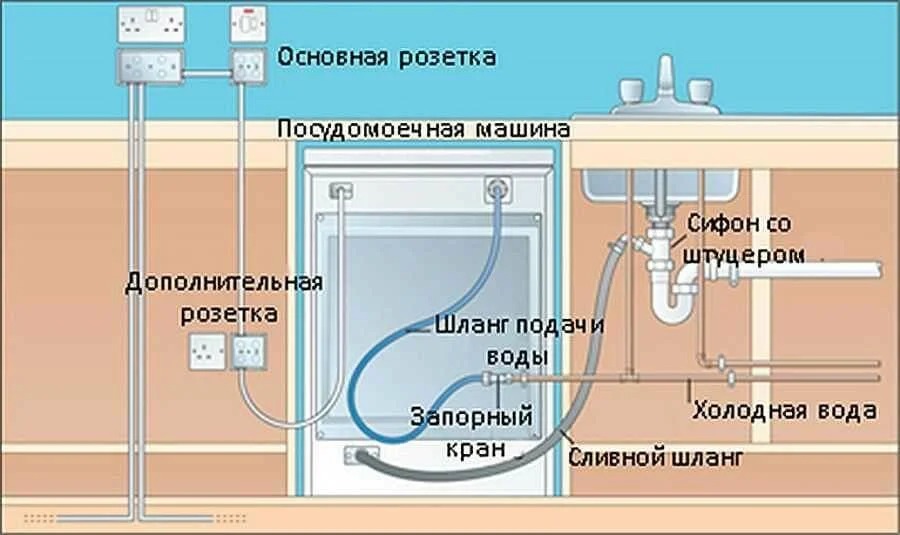
The first step is to connect the dishwasher to the water supply and sewerage system. This is a fairly simple process that you can do yourself.
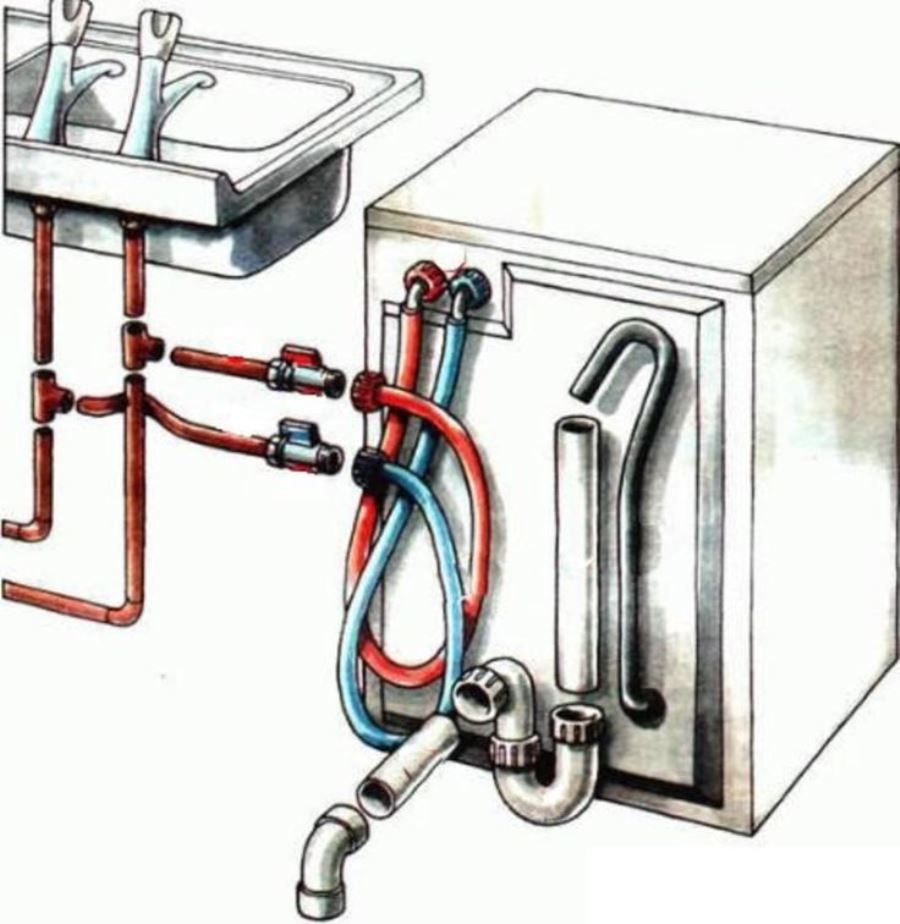
To do this, you need to prepare a few additional details:
- Siphon with union
- Special waterproofing tape
- Tee made of metal or metal-plastic
- Ball valve
- Hose of the required length
If possible, it is better to give preference to metal parts. Products made of plastic or other lightweight materials can crack quickly enough to cause water leakage. It is important not to confuse waterproofing tape with insulating tape - these are different products. The insulating material is designed to work with electrical wires and shields the electric current, while the waterproofing material does not allow water to pass through.
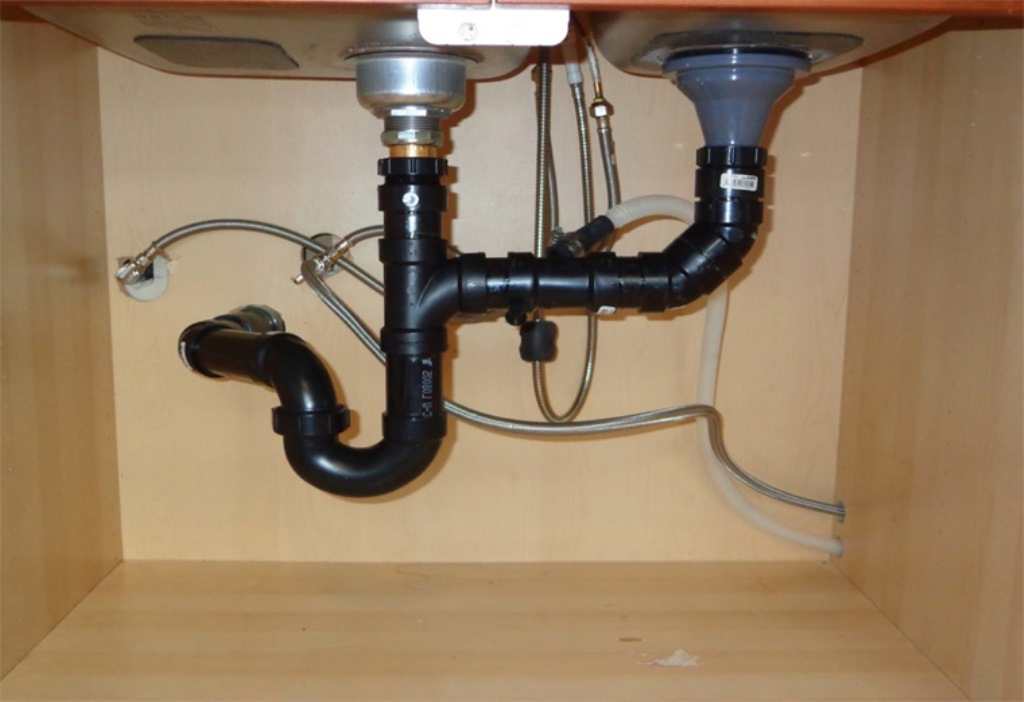
Hoses are usually supplied as a kit, but they may very well be short. In this case, you need to purchase a new product. It must be completely solid. If you try to lengthen the old one, this will only lead to leaks later. The length of the new product should also not be too long, as this will complicate the operation of the pump.
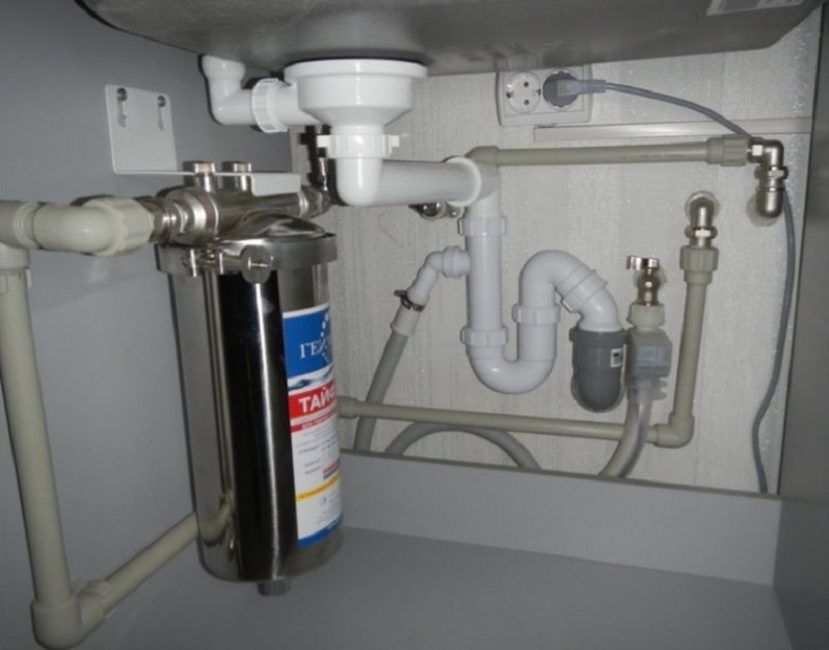
You need to connect the device to the water supply through a cold water pipe for two reasons:
- Cold water is cheaper.
- The cold water quality is noticeably better, it is less hard. This will extend the life of the filter and the device itself.
- There is no point in hot water, as the appliance heats it up automatically.
Advice! It is better to install an additional filter when connecting. This will make the water less hard, which will save time and money on cleaning the machine and extend the life of the machine. Otherwise, over time, limescale or deposits will form on the machine parts. And the dishes washed here will have an unpleasant smell, and in the end, individual parts will begin to break and the unit will fail.
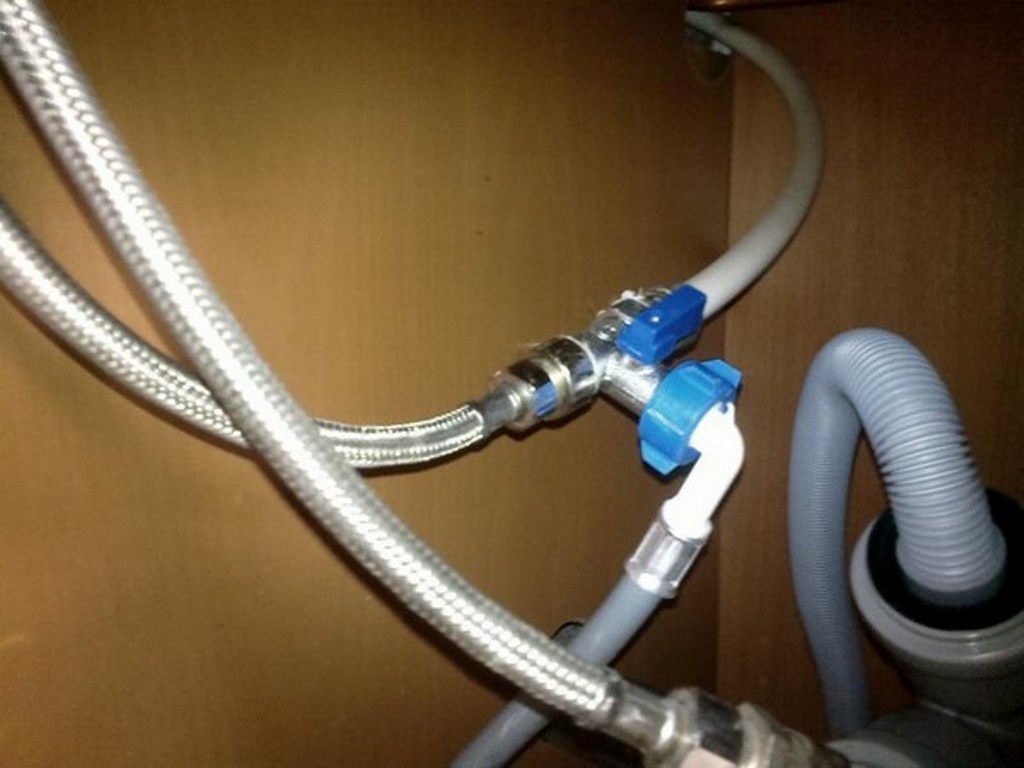
The very process of connecting the dishwasher to the water supply and sewage system is quite simple. It is important to follow all the steps sequentially:
- It is necessary to turn off the water in the apartment.The faucet is usually located next to the riser.
- Separate the hose from the kitchen faucet. This connection is usually found under the sink.
- Install a tee at the mixer connection point, and connect a ball valve to it. This tap, in turn, is connected to the hose of the dishwasher.
- A water filter is placed between the hose and the unit.
- Then the product is connected to the filter.
- All connections must be covered with waterproofing tape to avoid leaks.
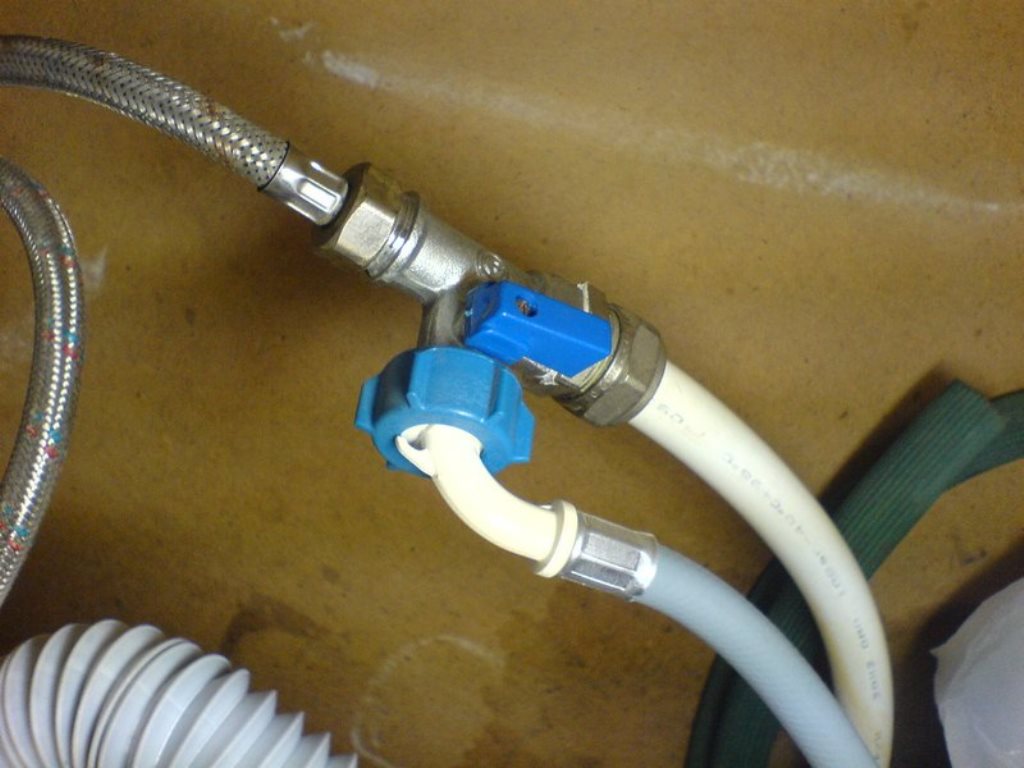
How to install a tee in a dishwasher
Installing a tee on the pipe under the sink is especially important as it will be subject to the most pressure. First you need to install a tee on the water pipe itself. This is why it is important to use a brass or metal piece. After that, the sink mixer is first connected to it. And to the other exit - a dishwasher hose. After that, be sure to wrap the parts with waterproofing tape.
How to get a hose down the drain
After that, you need to connect the car to the sewer. This usually happens through a siphon located under the sink. It is important that it has a special tap. Also, a special check valve must be installed between the siphon and the drain hose, which will prevent the backflow of dirty water from the sewer.
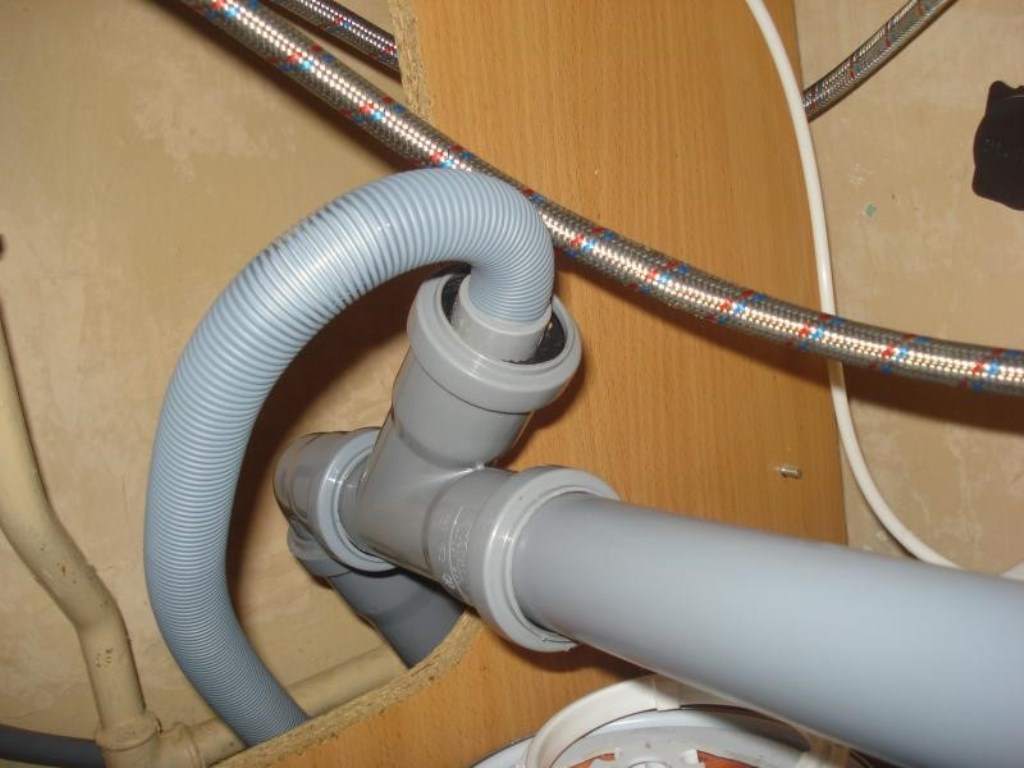
This process also consists of several stages:
- The outlet hose is fixed vertically on the wall, 50-60 cm above the entrance to the sewer pipe
- The attached hose must be bent slightly and connected to a siphon under the sink. The bend is necessary so that water from the sink drain does not enter the dishwasher hose.
- If a siphon is installed on the sink without an additional outlet, then the unit can be connected directly. In this case, a separate siphon will be needed, which is installed between the hose and the pipe.
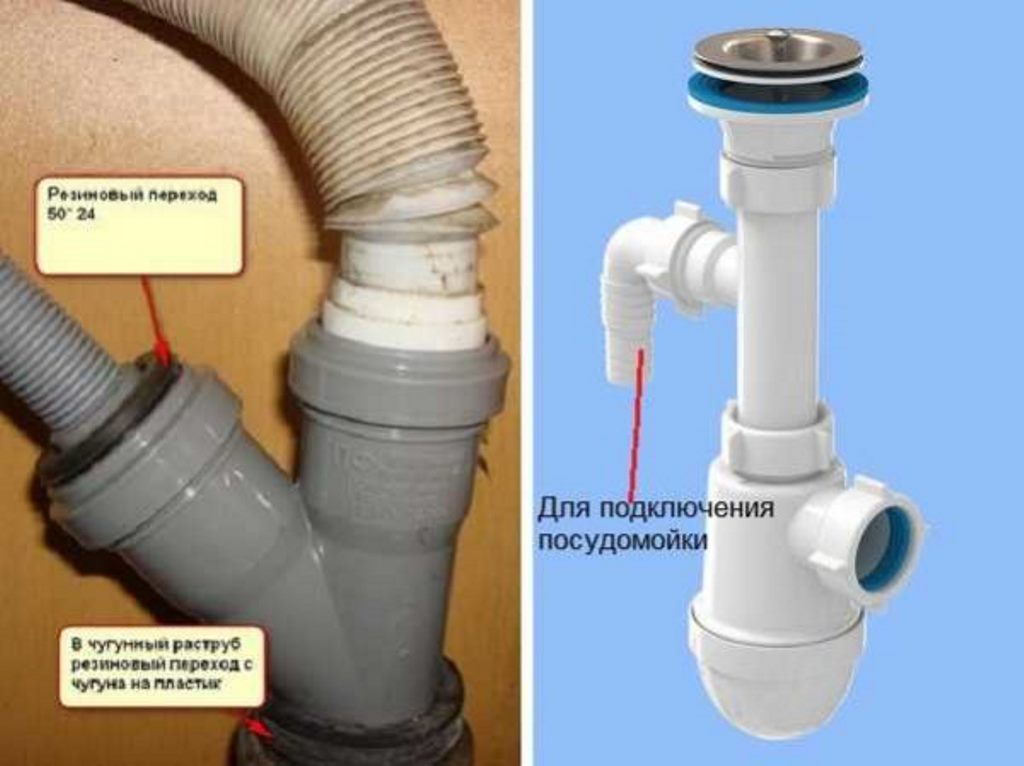
The connection of the dishwasher to the water supply and sewerage system has now been successfully completed. It remains only to plug it into the network and check the work.
Connecting the dishwasher to the mains
As mentioned above, you can turn on the dishwasher only in a separate electric point. Moreover, it must be of the European standard with grounding. It is desirable that the socket design contains additional protection against moisture ingress. Products with such protection are not much more expensive than conventional ones, but at the same time they are very effective in use. After all, even one drop falling into the outlet can cause a short circuit, which can lead to a fire.
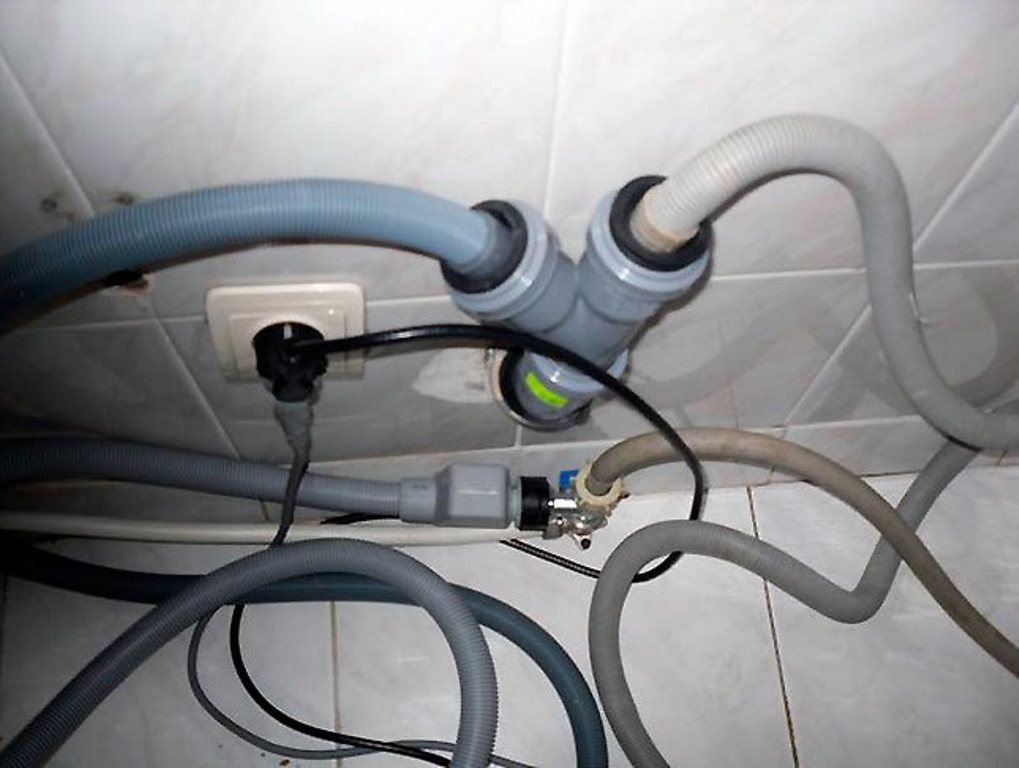
The location of the outlet must be comfortable, functional and safe. Therefore, it is important to consider a few points here:
- Disconnect the outlet directly from the electrical panel.
- When placed at the bottom, it should be at least 15-20 cm from the floor. This is important in the event of a hose leak so that it does not flood with water.
- From the sink, the outlet is placed no closer than half a meter, which protects it from water ingress.
- The socket must be accessible, that is, installed so that in case of something it is easy to get to it.
- The ideal place for a power outlet is just above the countertop above the dishwasher.
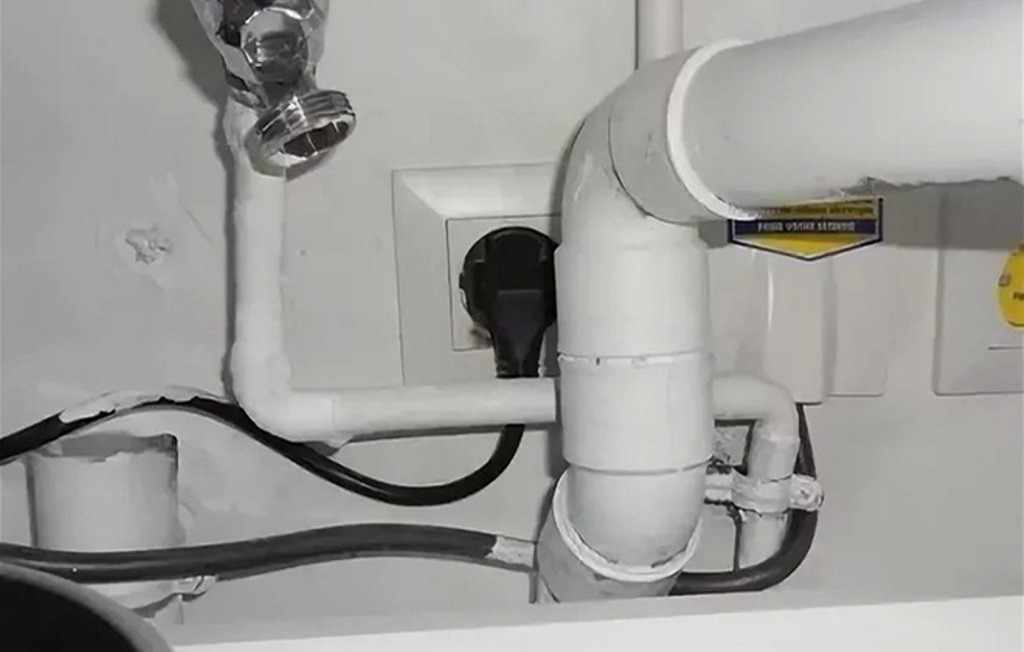
For the outlet, you will need a wire designed for an increased load of 16 A and 2-3 kW. In this case, the wire must be three-core, since one of the phases will be ground. Ideally, the VVgng 3 * 2.5 model is suitable. The wire is laid directly from the switchboard. If the wire was not laid during the repair, then it is usually laid on top of the wall and then covered with a plastic box. A separate circuit breaker is installed here for this. This device will operate and turn off the current if water enters the outlet and a short circuit occurs. Since the wire leads to a separate machine, the current will turn off only in this outlet, and not in the entire apartment.
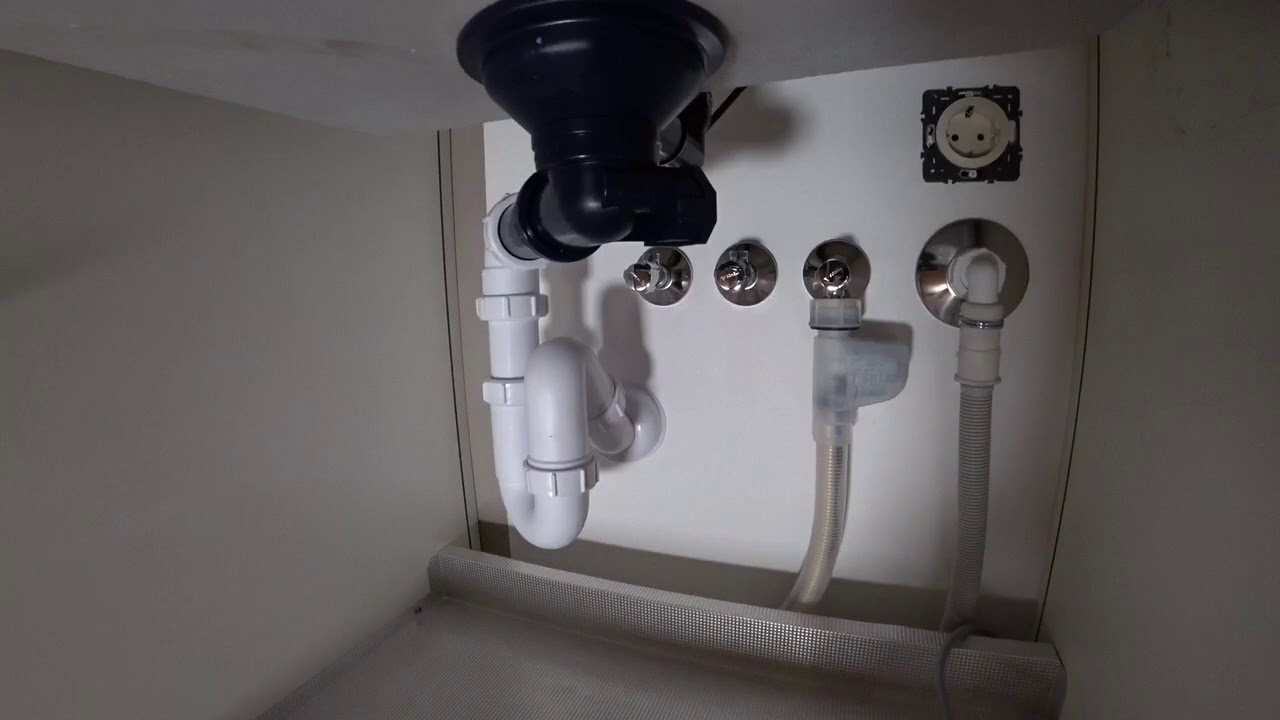
Pulling the wire and installing the socket is best ordered from the management company. There are two significant reasons for this:
- All electrical wiring should be done by a specialist with the appropriate level of clearance.
- The management company will be responsible for the work performed. In the event of a malfunction or incorrect connection, all the fault lies with the electrician.
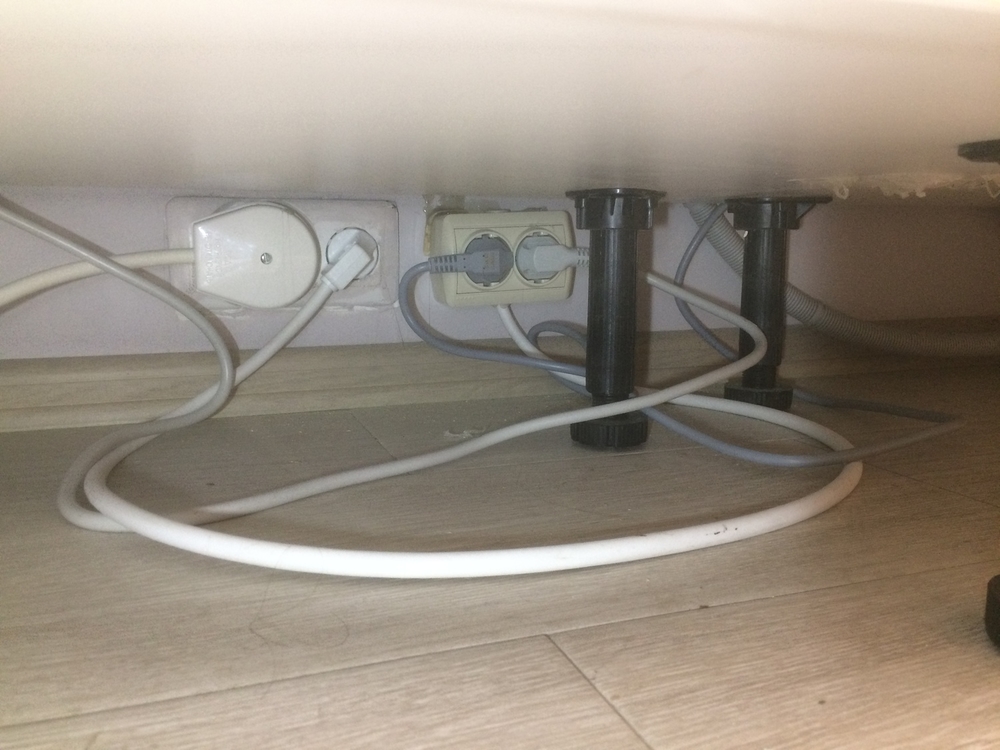
After the socket is installed, it should be checked - for this, it is necessary to turn on any lamp in it. If everything is in order, then you can start checking the machine itself.
Functional check
To check all connections and the operation of the machine itself, it is turned on for the normal washing mode. In this case, you need to carefully monitor the following points:
- The appearance of water leaks on hoses and joints
- Extraneous noise
- Trembling and shaking of the device
- Slow water flow rate
- Slow heating
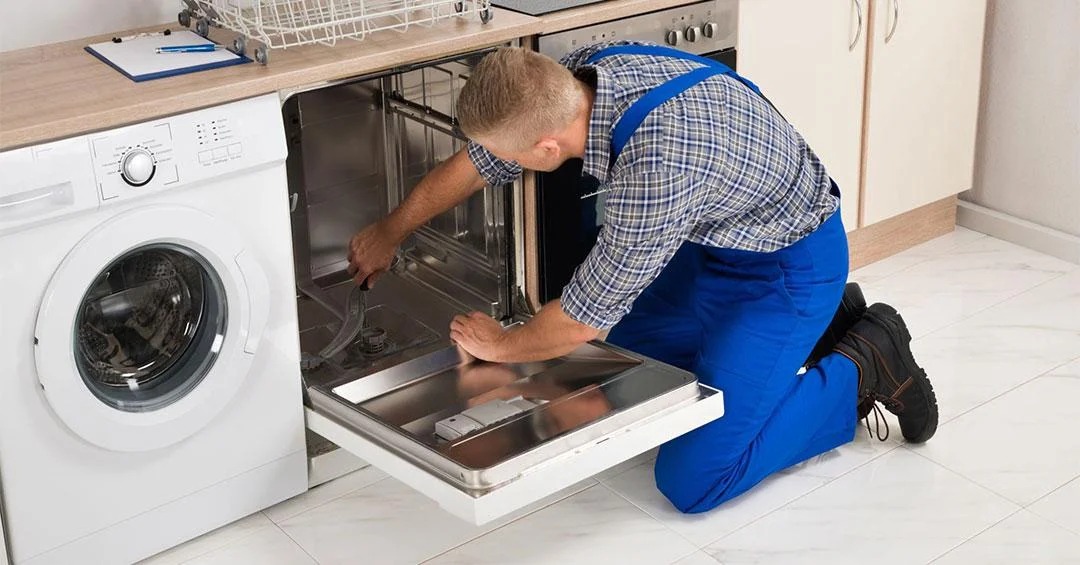
If everything is in order and no problems are found, you can safely install the machine in place. After that, it is fully usable.
What are the connection and installation errors?
Despite the fact that how to install the dishwasher is described in detail in the instructions, when connecting it, you may encounter the usual difficulties or errors. It is very important to avoid them, as improper installation can lead not only to breakdown, but also to the denial of warranty repairs.
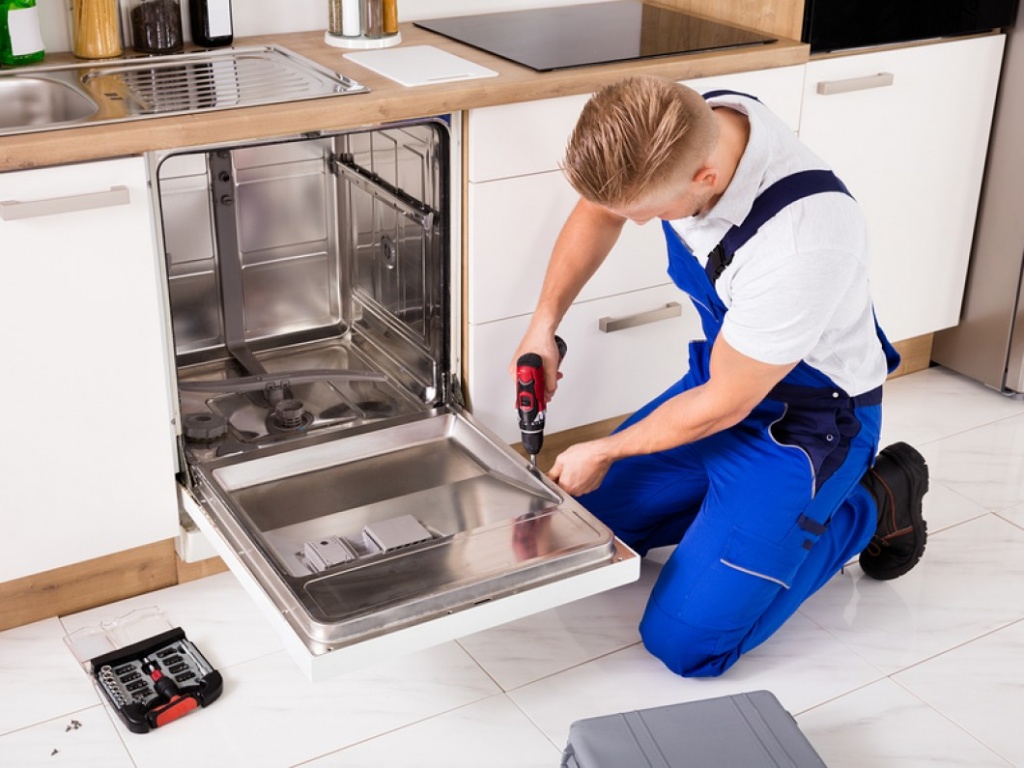
Major mistakes:
- Connecting the unit to the water supply without a filter. It makes no sense to save on the filter, the repair of the device will cost more.
- Connection to a hot water tap. This type of connection will reduce the service life of the product.
- Direct connection to the boiler. The machines will still turn on heating the water. And in the boiler it may not be enough at the same time and then you will have to use cold water or wait for hot water to appear in the boiler again.
- Using cheap plastic parts. They will fail very quickly, and replacement and elimination of leaks will cost more.
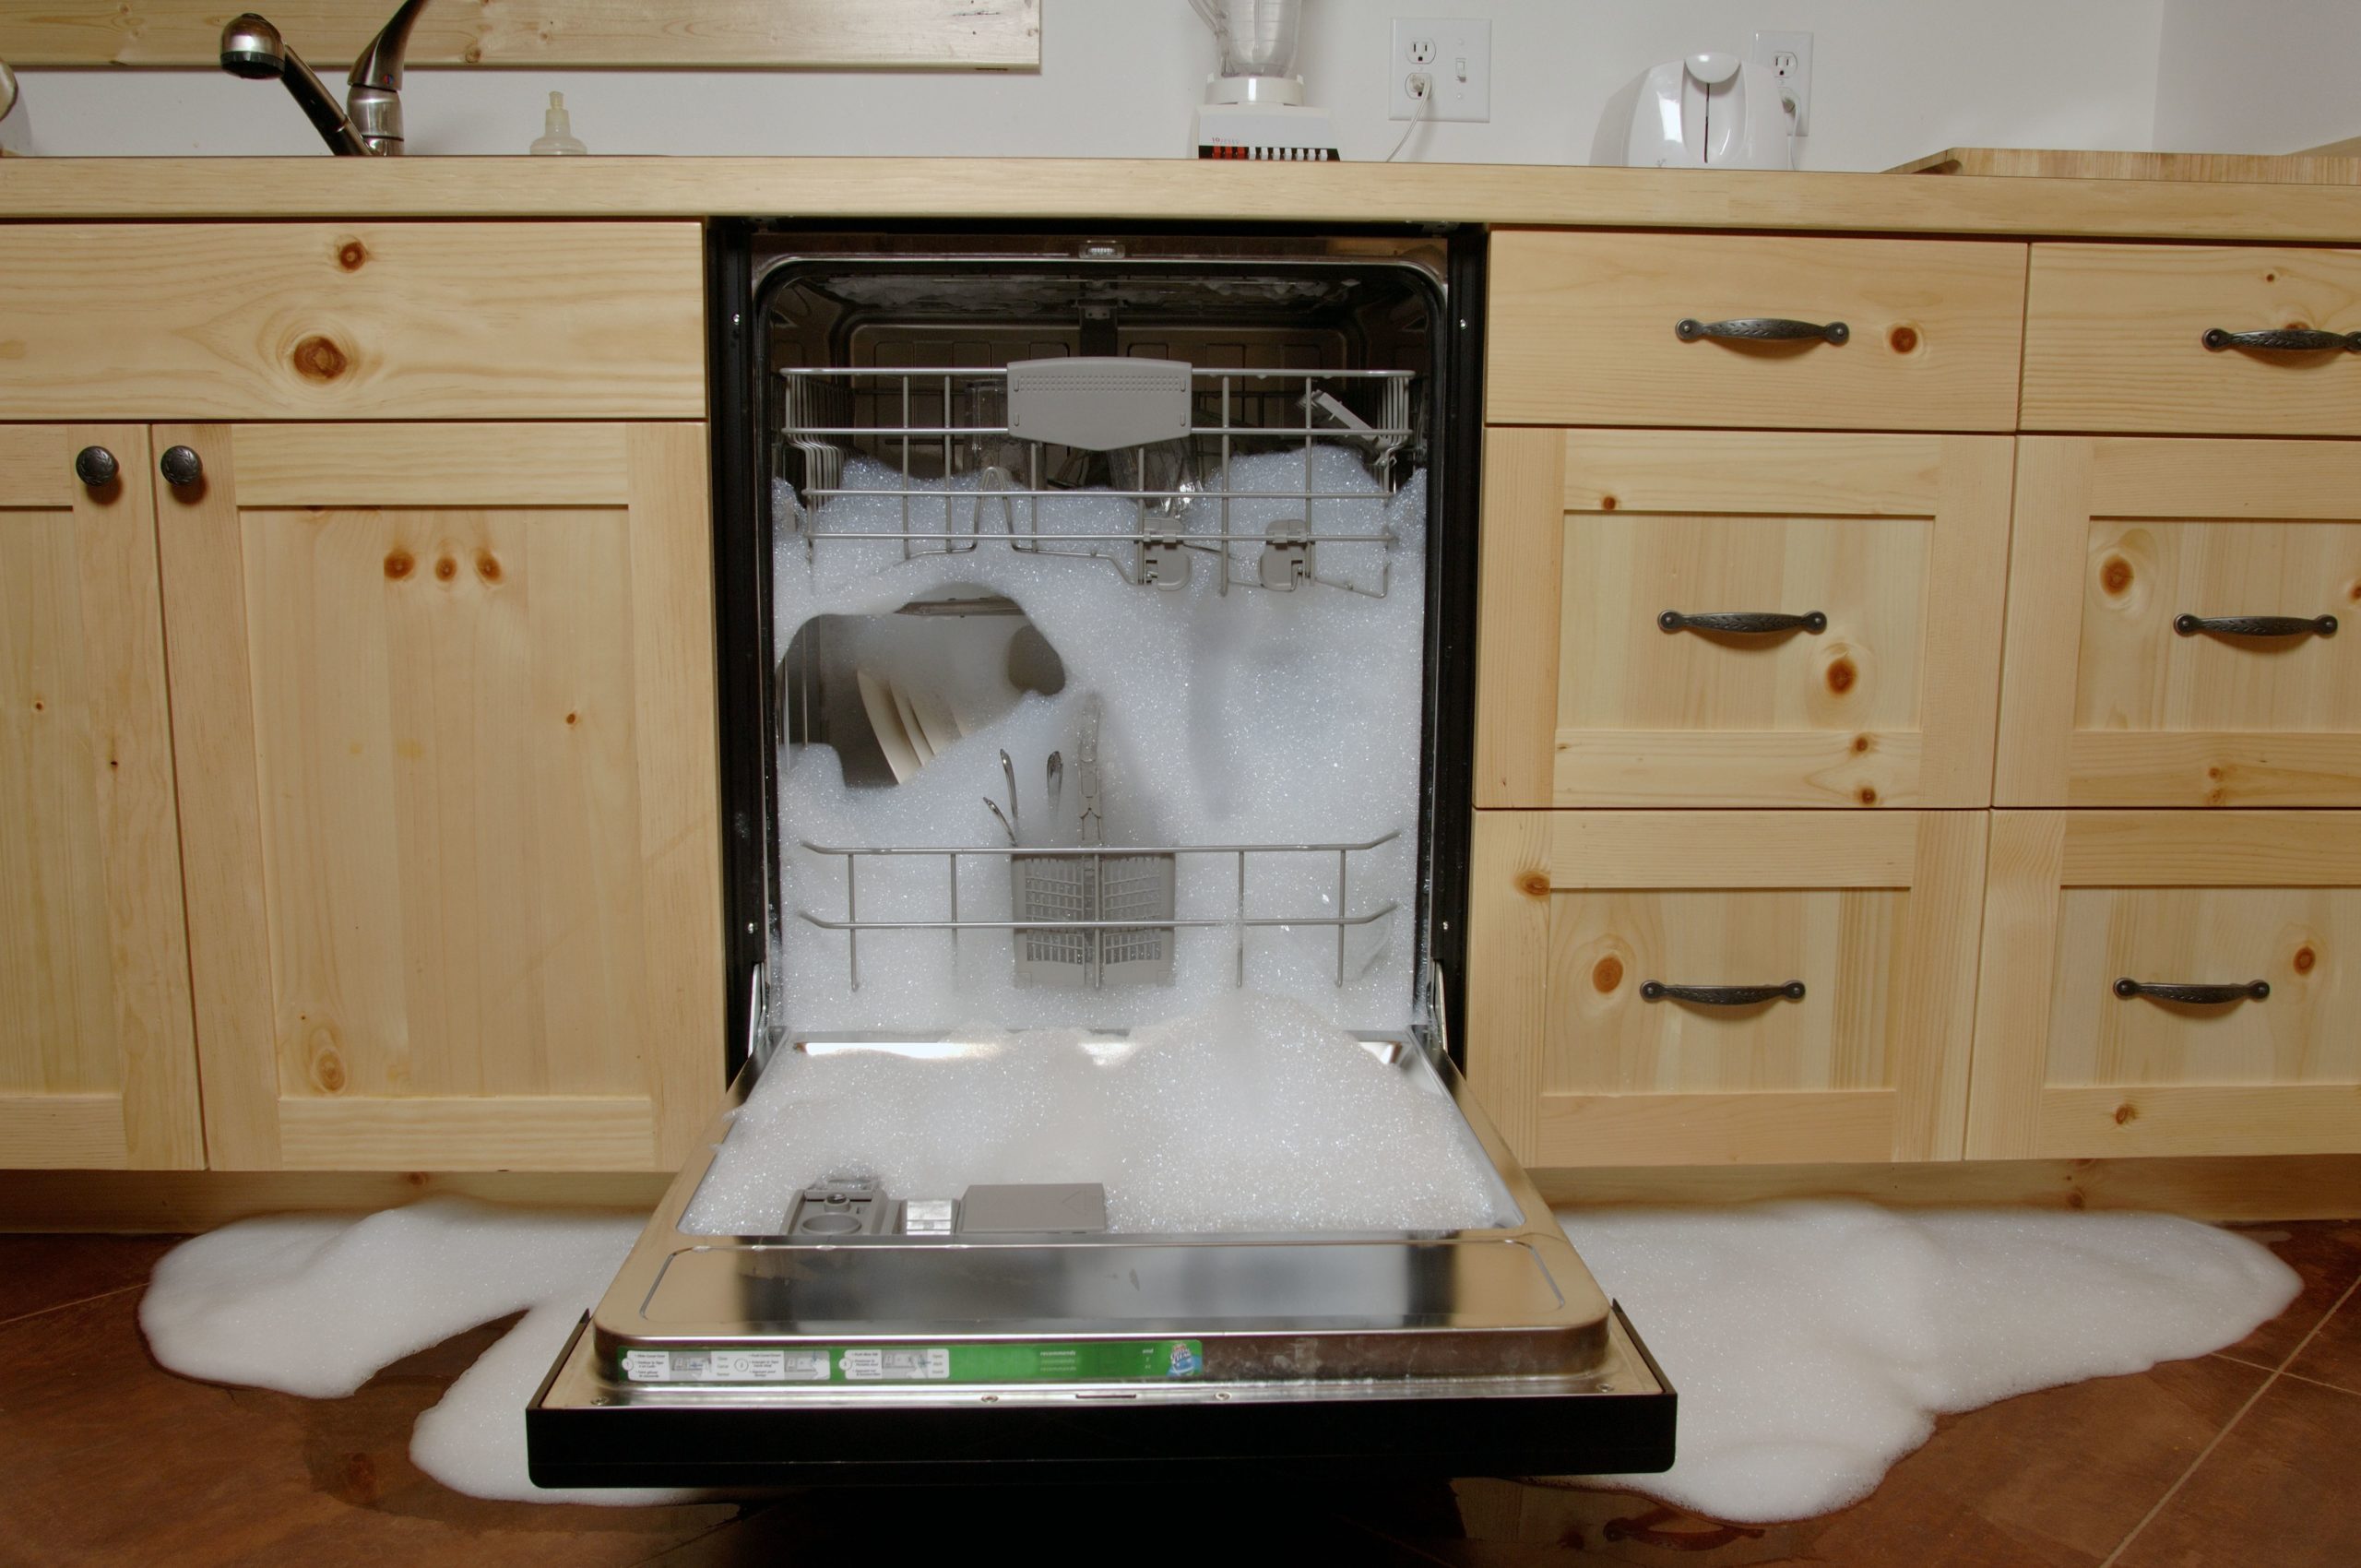
The most important thing when connecting is to check the reliability of all connections. If there are doubts about any node, then the work needs to be redone. After all, it will be much more expensive to eliminate leaks and breakdowns. And a securely connected car will last a long time and free up valuable time for family and leisure.
VIDEO: How to install a dishwasher in the kitchen.
