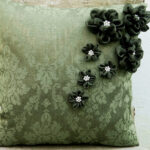
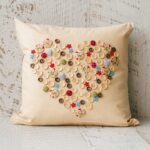
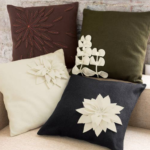
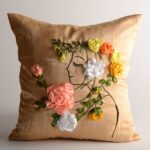
Ideas for self-embroidery with pillow ribbons
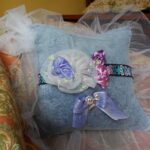
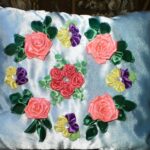
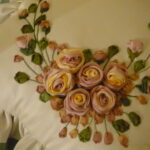
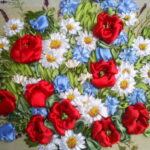
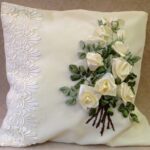
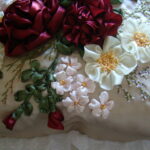
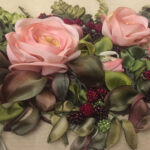
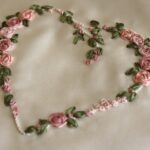
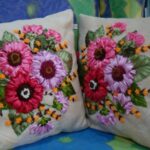
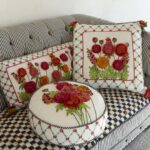
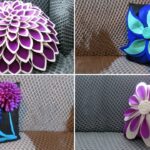
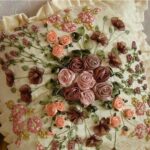
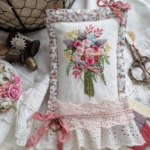
Embroidery with ribbons on the pillow allows you to create a voluminous, lively pattern on the surface. Interestingly, this kind of handicraft appeared in ancient Greece. At first, women weaved multi-colored strips into their hair, then they began to embroider carpets and bedspreads with them.
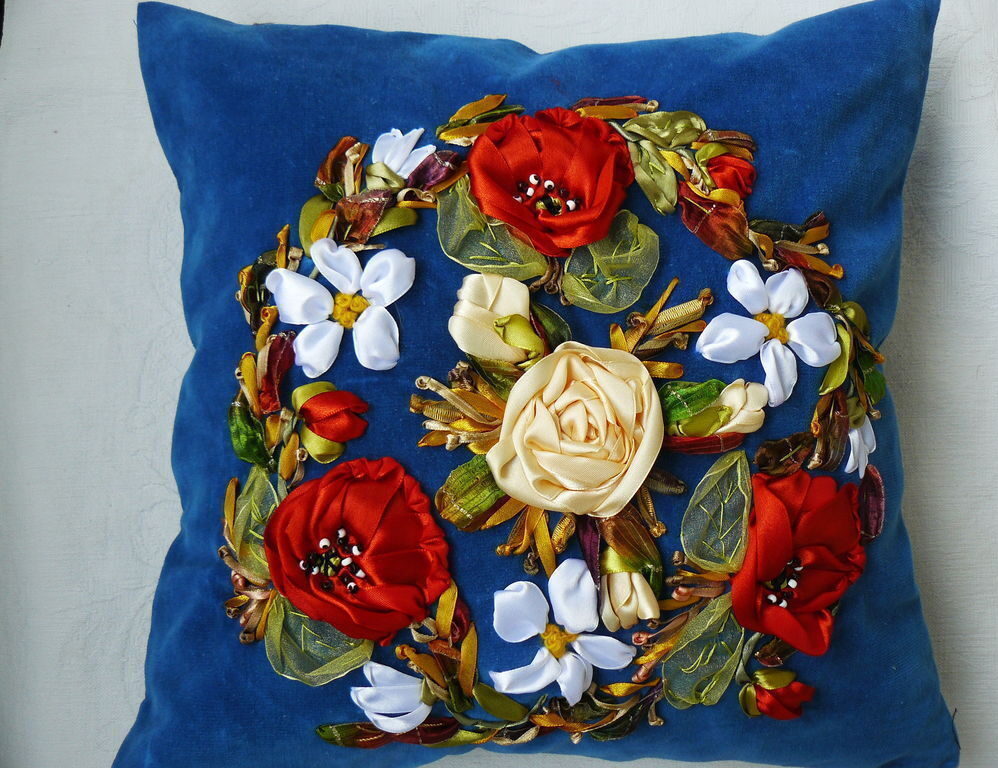
In the Middle Ages, Italians decorated curtains, canopies and upholstered furniture with this decor. This hand-made technique gained wide popularity in other European countries in the XIV century. Then they began to embroider almost everything with ribbons: curtains, furniture, clothes, accessories.
Benefits of pillows embroidered with satin ribbons
Pillows decorated with embroidery with ribbons have many advantages. The first is visual appeal. Such an accessory will not go unnoticed in the room, it will give it comfort.
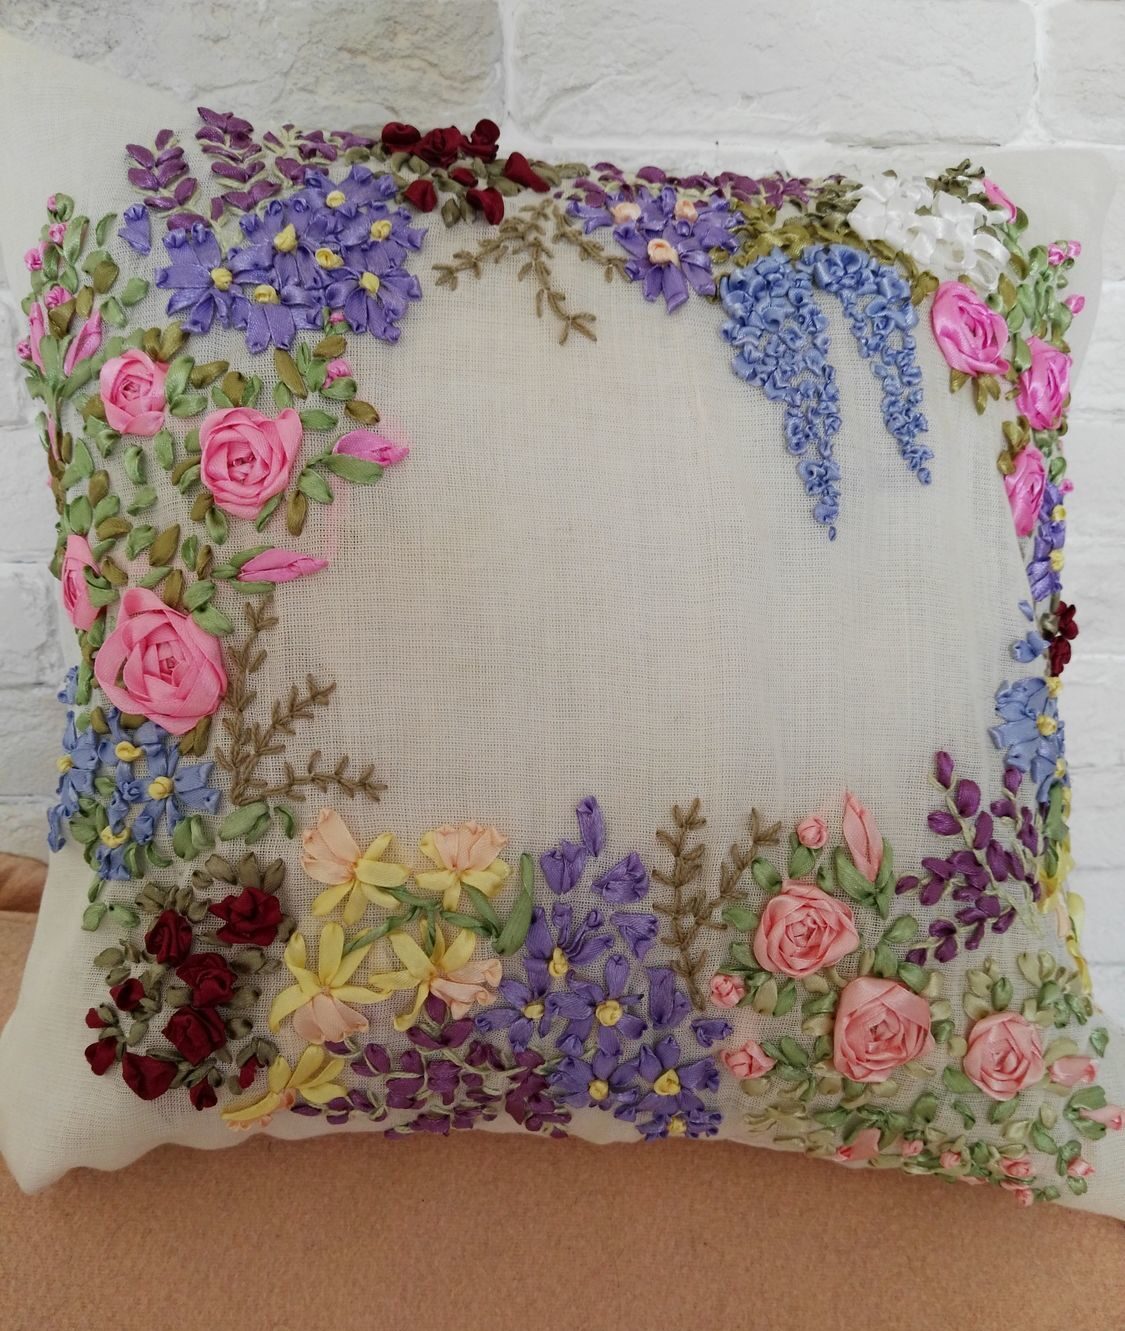
There are other benefits too:
- Simplicity of execution. Of course, there are complex patterns for advanced embroiderers. But even a beginner can easily cope with simple drawings.
- Minimum financial costs. All you need is a piece of fabric, a hoop, needles and colored ribbons. These materials and tools cost pennies at handicraft stores.
- Fast work. Embroidery with ribbons is much faster in time than the same process, but using classic floss threads. The pillow can be embroidered literally in 1 evening.
- Original decor. Everyone is accustomed to satin stitch or cross stitch embroidery. A pillow with 3D embroidery is an extraordinary and stylish decoration for almost any interior.
What materials are used to create
The success of satin ribbon embroidery depends on the right materials and tools. Before work, you need to stock up on the following:
- scheme;
- needles;
- the cloth;
- tapes;
- hoop;
- markers for drawing on fabric.
Advice! It is better for novice needlewomen to buy ready-made sets. They have everything you need in the right amount to get the job done.
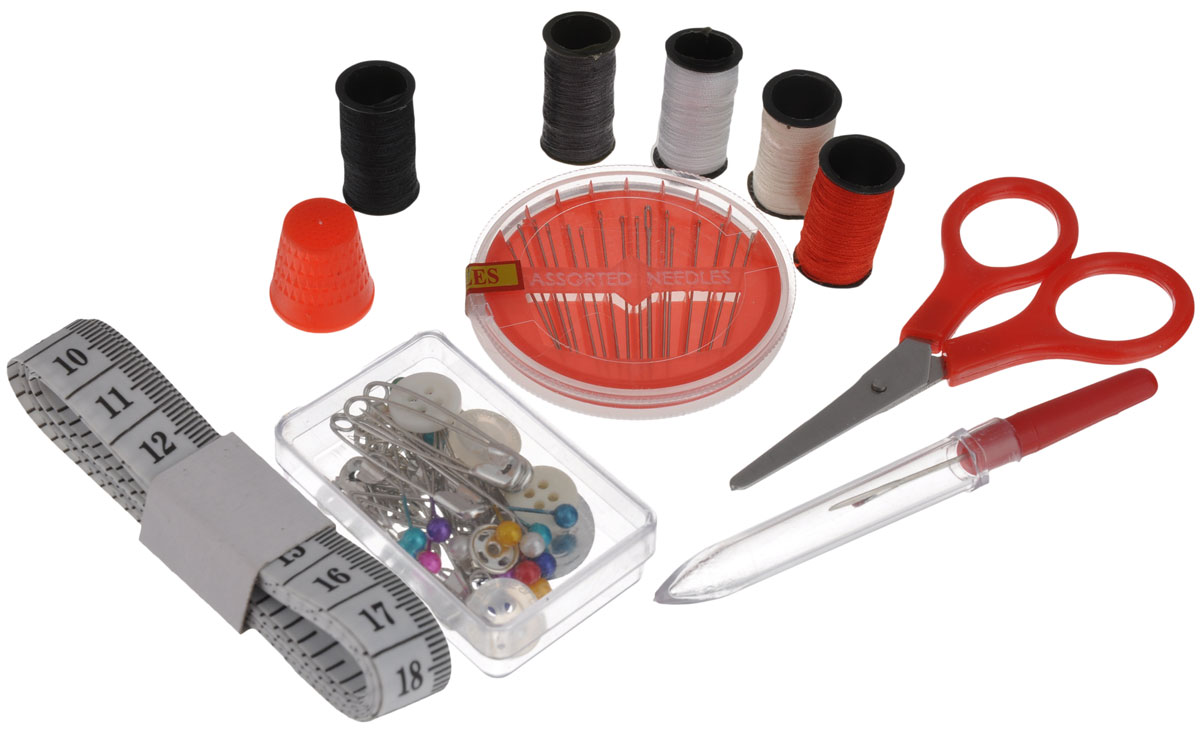
Let's consider each of the accessories separately, define their parameters and features.
Textile
Different types of fabric are suitable as a basis for embroidery: linen, cotton, fleece, felt, silk. For beginners, it's better to take a canvas. This is a dense cotton fabric with a large weave of threads.
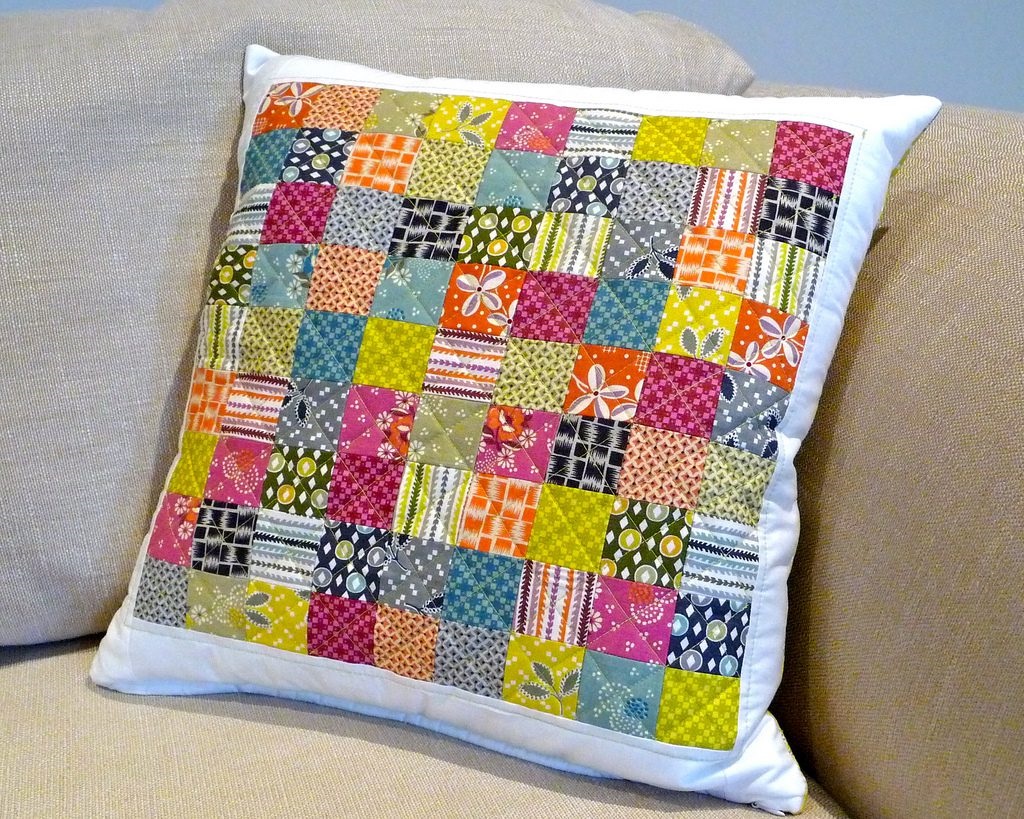
They form visible cells that are easy to embroider with. A good option is Aida canvas from 11 to 14.
Ribbons
It is advisable to choose special tapes for embroidery. They have a convenient width for work. When choosing, it is important to consider the possibility of washing. There are products that cannot be machine washed.
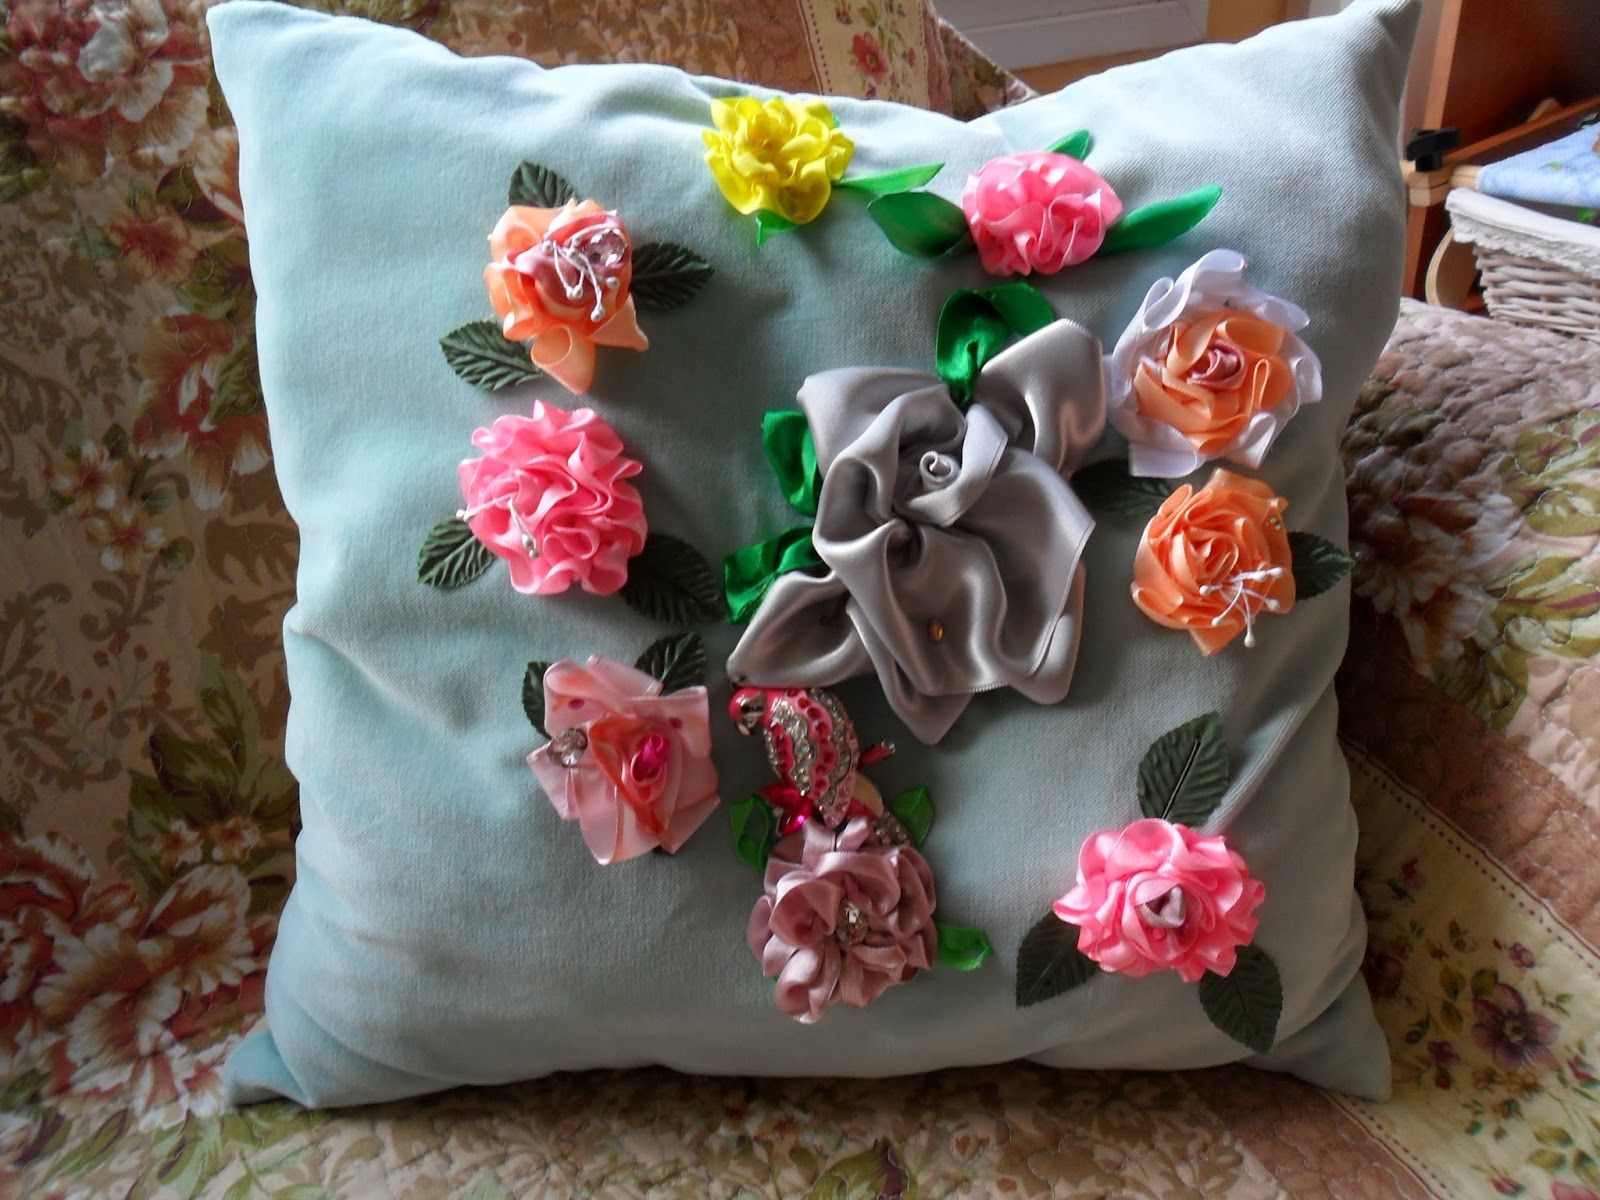
These include decorative ribbons. They are thin, light, and are used to decorate curtains, tablecloths or handkerchiefs.
There are more durable options, made from durable satin or silk, with a trim around the edge. They will withstand multiple washes and retain color saturation.
Needles
For this embroidery technique, you need to choose needles with a wide eye. A narrow ribbon will not fit. To find the right needle, you need to pay attention to its number.
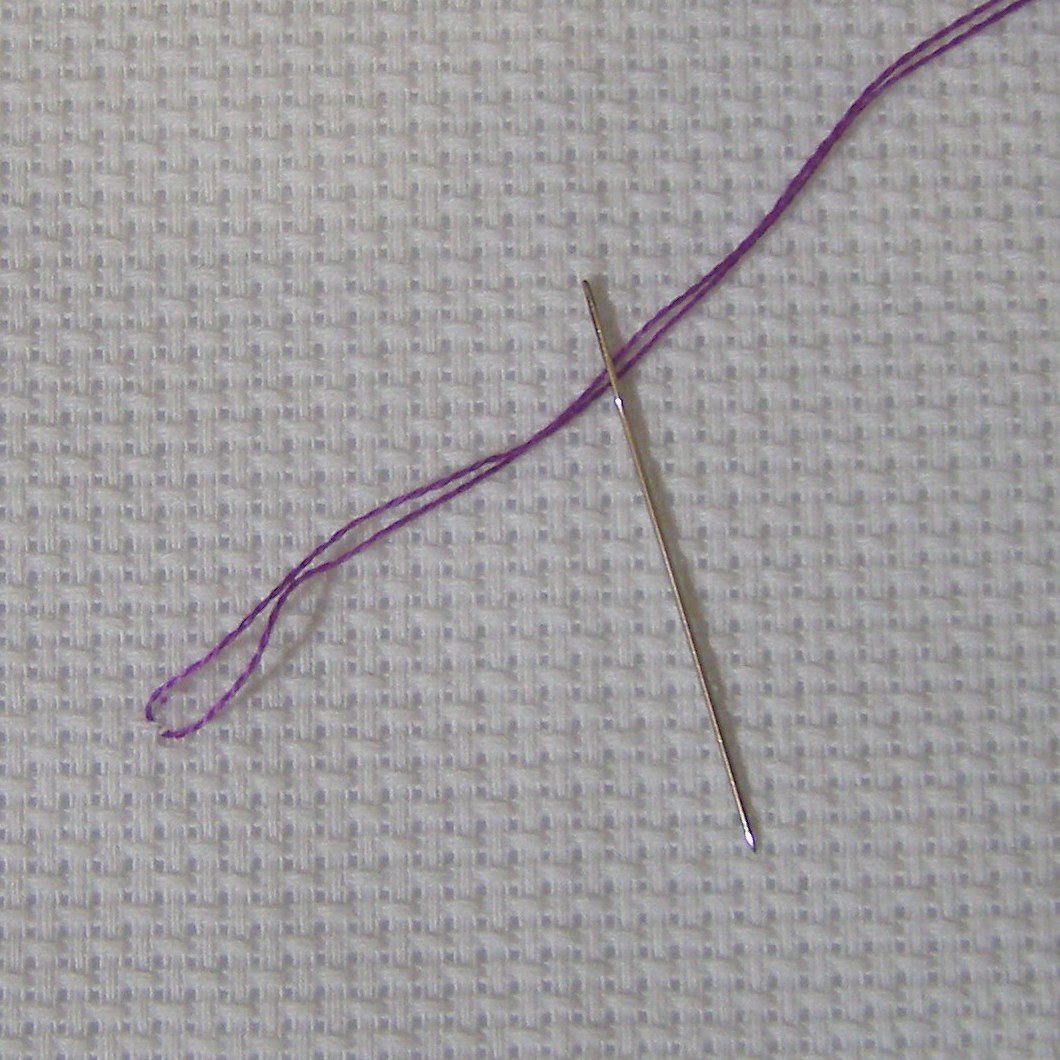
For example, a # 18 needle is ideal for a 7mm tape. The rule applies here: the larger the needle number, the thinner the tape should be.
Embroidery hoop
The embroidery hoop is an important attribute of any embroiderer. They are needed to keep the embroidery canvas taut. With their help, the pattern lays down evenly, the stitches are uniform. Optionally, you can choose between round or frame hoops.
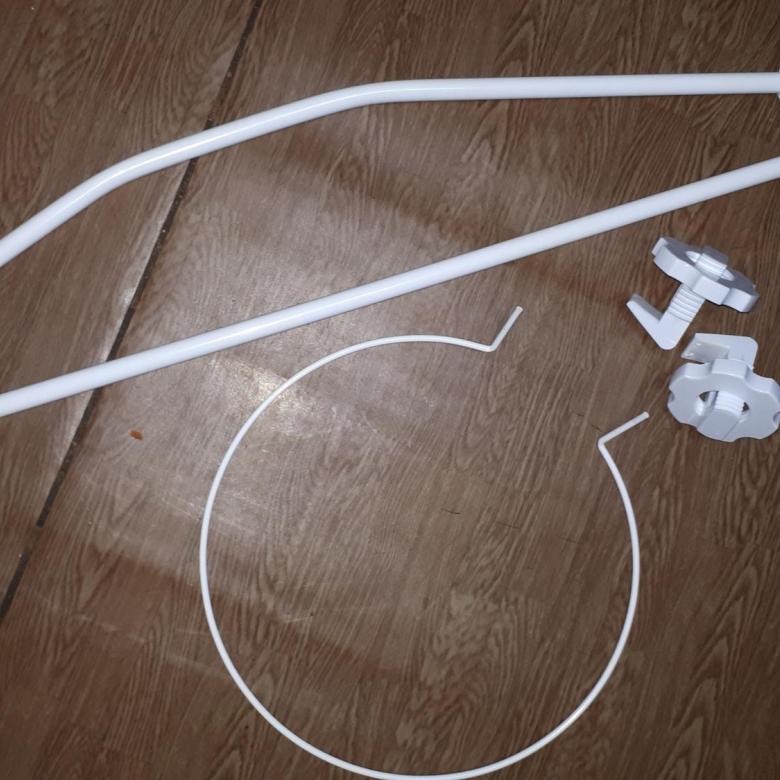
Important! It is not recommended to pull the fabric too tightly over the hoop. This can deteriorate not only the drawing, but also the material itself.
When choosing a hoop, you should pay attention to such nuances.
- Material. It is better to give preference to a wooden hoop. They hold the canvas well. If we talk about a specific type of wood, then the best option for these purposes is beech. Plastic products are inferior to wood products in many respects. They often crack, emit a chemical odor, and wear out faster. Their only plus is the inexpensive price.
- Diameter. It is selected depending on the size of the work. The larger the pattern, the larger the hoop diameter you need to select. For work with a diameter of 40-50 cm, the classic round hoop is suitable. For a wider canvas, with a pattern up to 90 cm, it is better to select tapestry frames. Plots exceeding 100 cm must be fixed on special machines.
The main rule is to move the hoop along the canvas to a minimum during operation. This will leave fewer creases. The material after work will look neater, less stretched.
- Surface. The hoop should be well polished with no rough parts. Irregularities that the fabric can cling to will create snags and ruin the appearance of the work.
- Mechanism. If the hoop is equipped with a fastening mechanism, you need to check that it is working properly. The screw should not be too tight or weak, the thread should be of high quality, uniform.
- Coloring. It is advisable to choose a hoop without colored dusting. So the embroidery fabric is guaranteed not to be stained during work.
Important! Do not expose the wooden embroidery frame to moisture, temperature extremes or direct sunlight. From this they can deform and lose their qualities.
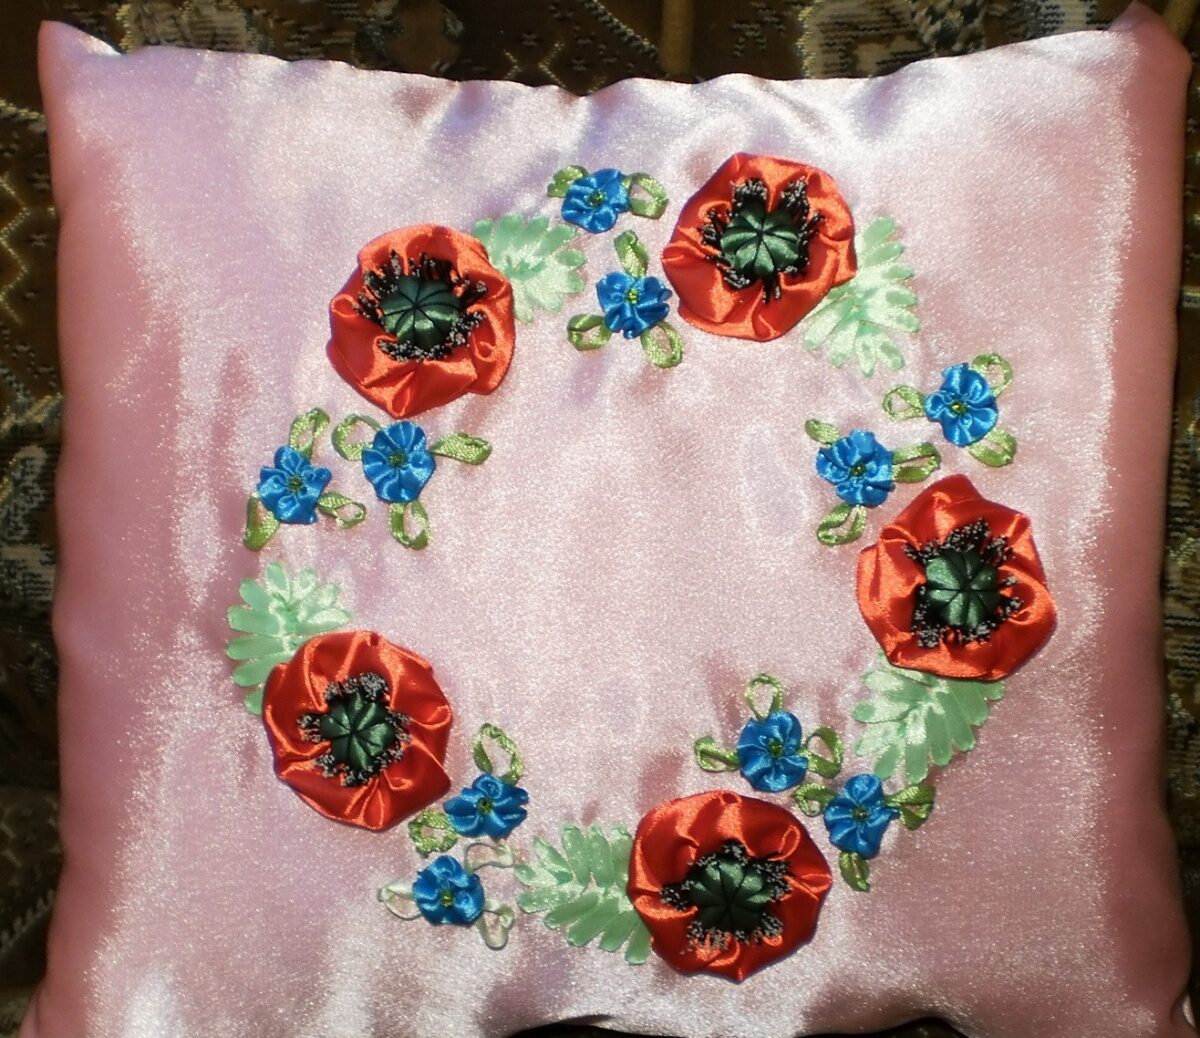
How to embroider a pillow with satin ribbons
The selected pattern is transferred to the canvas. Then it is inserted into the hoop, after which you can start working. You can sew volumetric compositions using various stitches.
Let's consider the most popular ones.
Japanese stitch
Pull the tape from the inside out to the front side. Retreat the required distance, insert the needle into the tape from the front side, pull the needle down to the wrong side. Depending on which side of the tape to pass the needle from: in the center, on the right or left side, the effect will change.
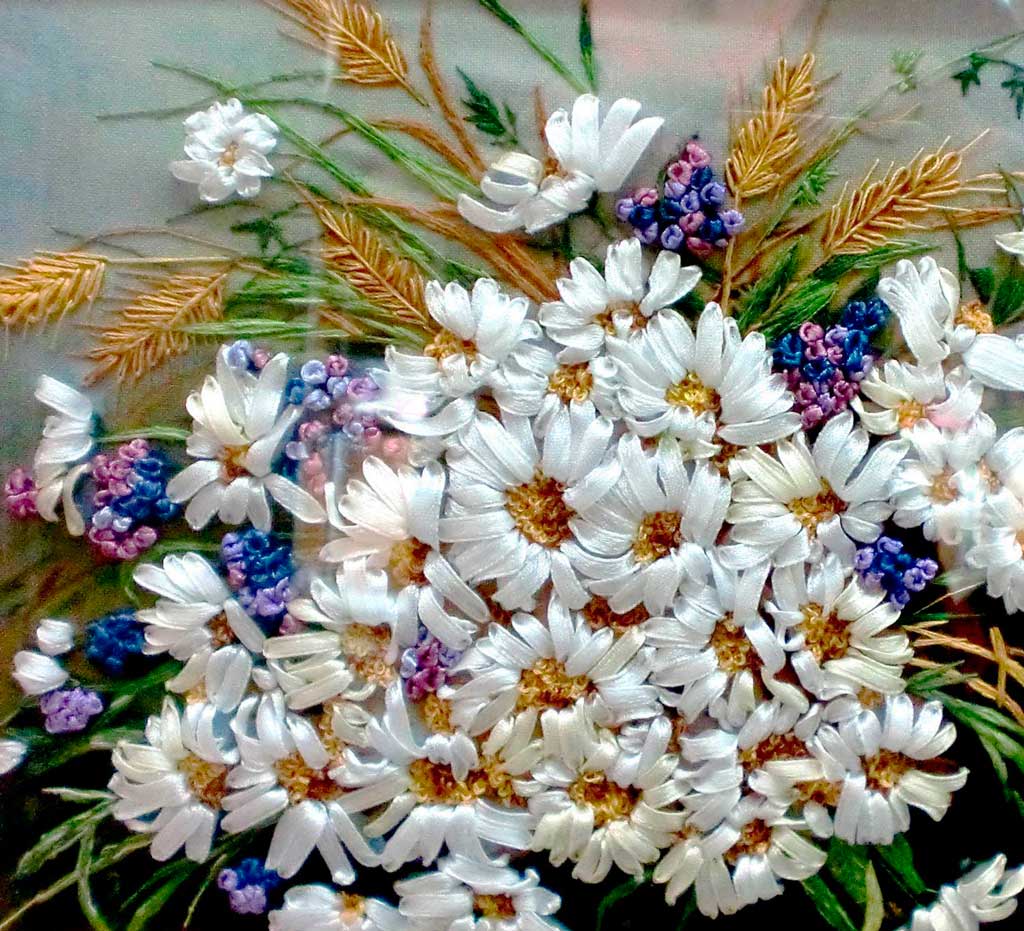
Most often, the result is a semblance of folded petals or leaves.
Straight stitch
The simplest, most basic type of stitch. Well suited for beginners who are just starting to master this type of needlework. It is done simply:
- Bring the tape to the front of the work.
- Straighten it with your fingers and a needle.
- Retreat the required distance.
- Pass the needle to the wrong side.
- Gently pull up the satin strip without pulling it too tight.
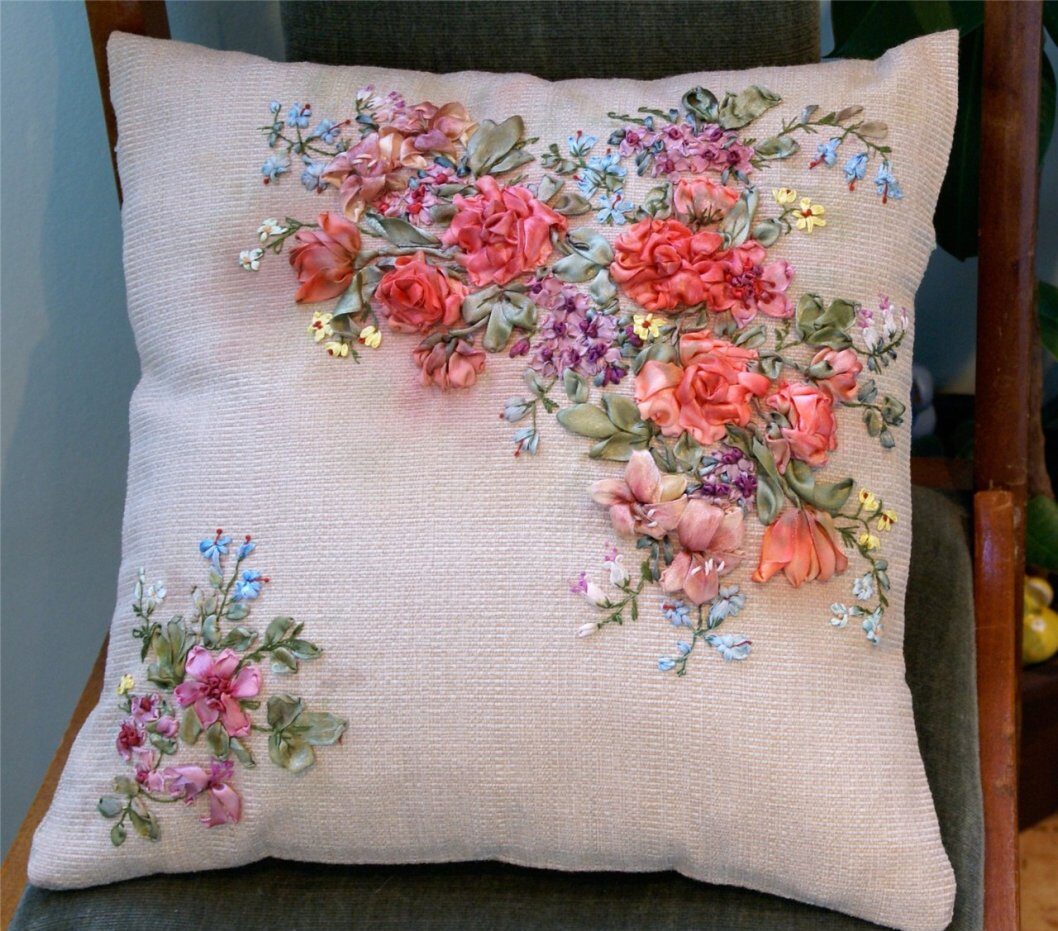
It is good to embroider leaves, buds, flowers, petals with this stitch. The main task is to keep the volume without "pulling" the drawing.
Twisted seam
Used to form stems on canvas.Pull the tape from the inside out to the right side. Then, rotating the needle, twist the tape, step back 0.5 cm and thread the needle to the wrong side.
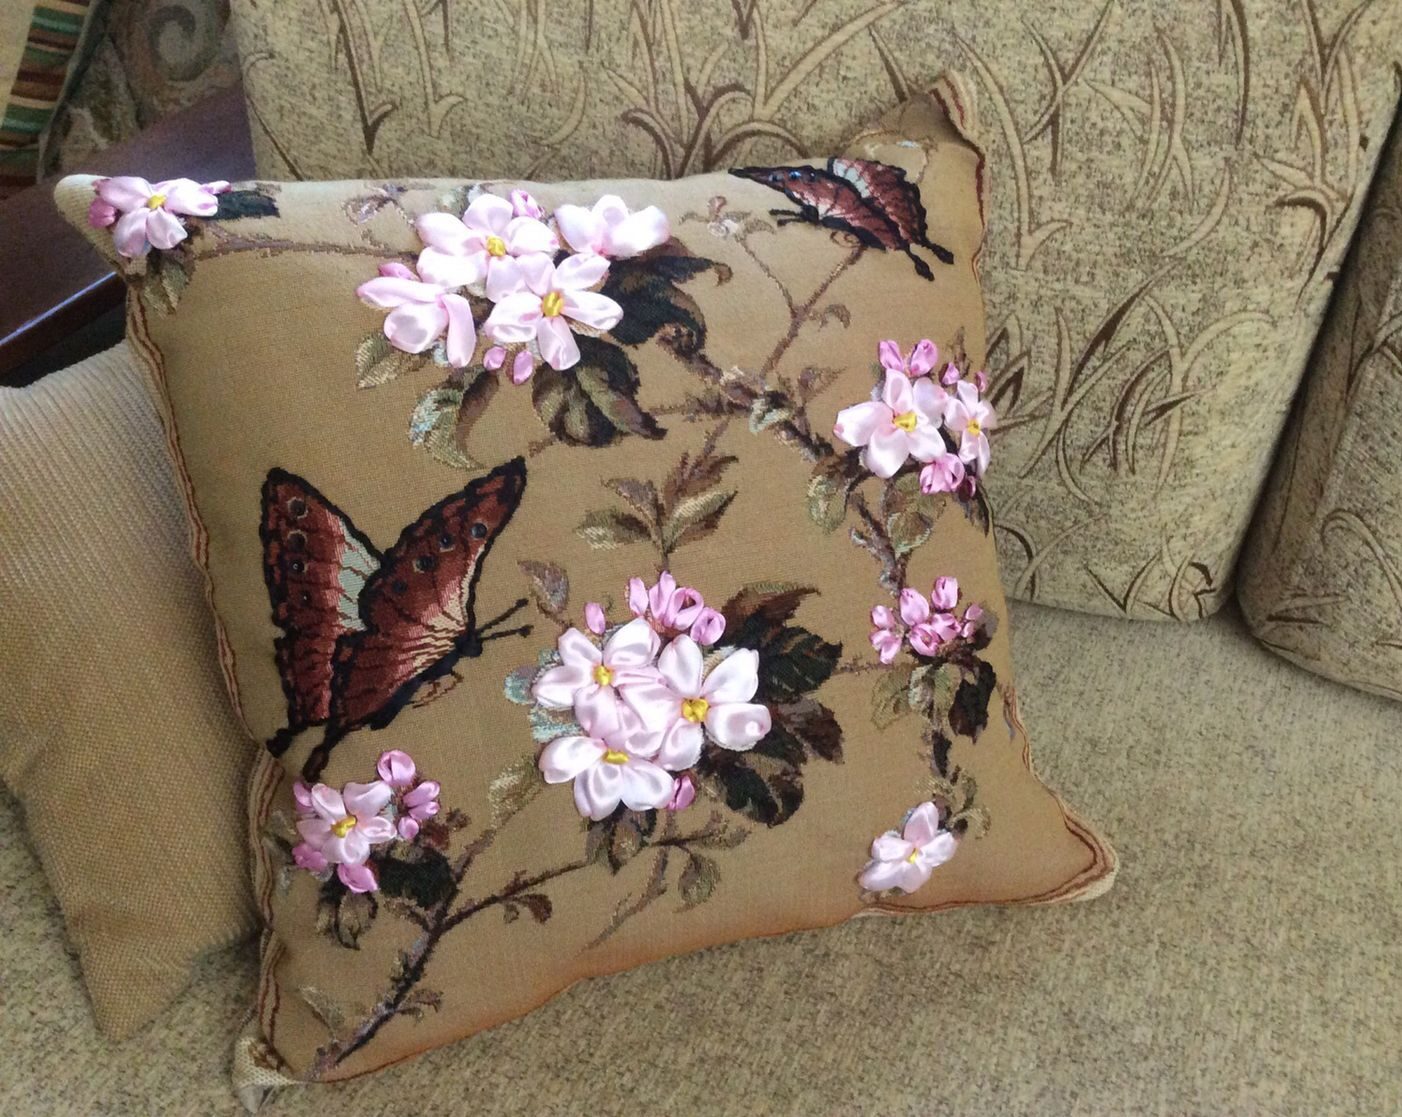
After that, bring the needle back to the face, making a puncture close to the first stitch, next to its central part. Thus, embroider the stalk of the desired length. Make sure that the braid remains twisted at all times.
French knot
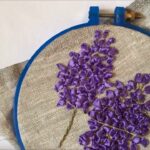
Used to decorate the center of the flower. Often heather arrows, inflorescences of pelargonium, lush buds of lilacs are embroidered with it.
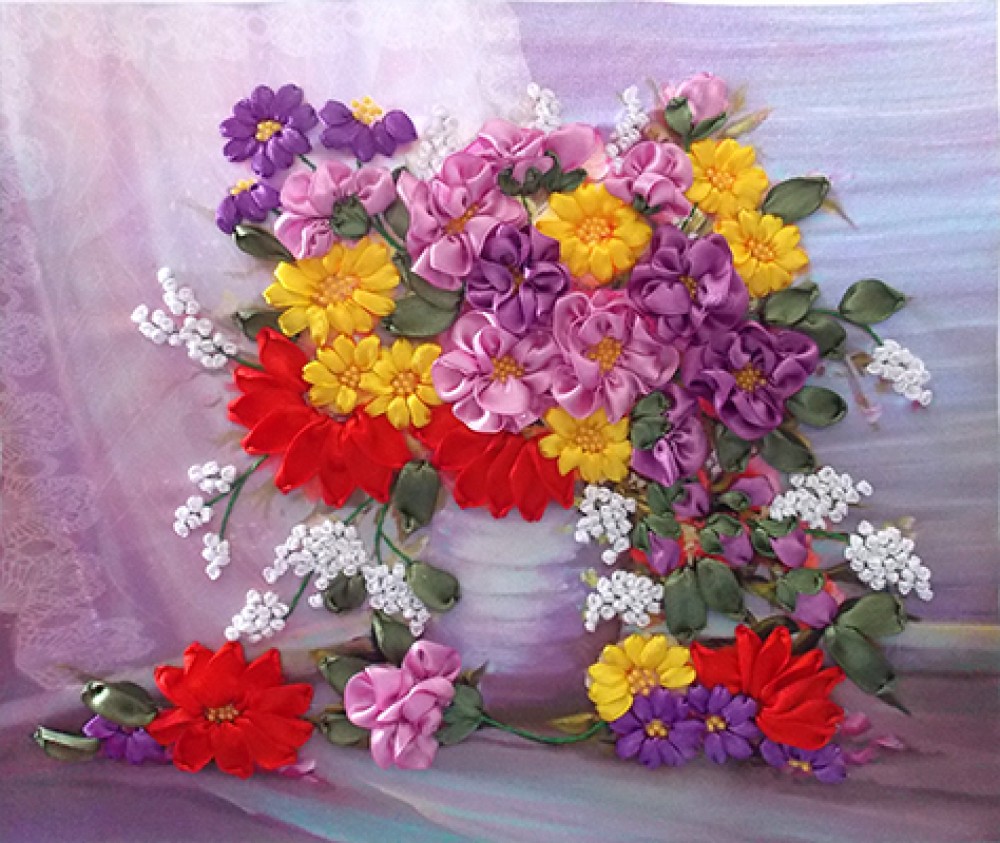
The execution scheme of the French knot looks simple:
- Withdraw the needle from the seamy side to the front.
- Wrap the tape around the needle 2-3 times.
- Stick the needle into the canvas, next to the site of the previous puncture.
- Pull the needle out to the wrong side.
- At the same time, the knot must be held with the other hand.
- Tighten the French knot slightly from the inside out and secure.
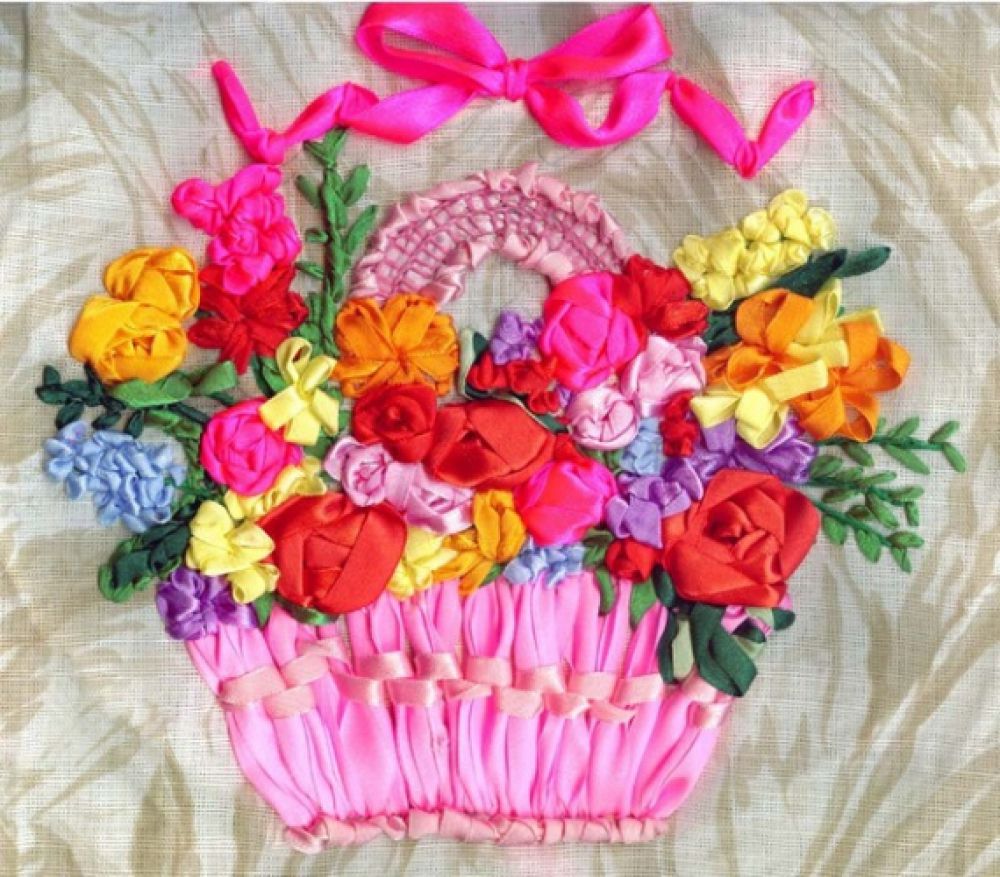
Important! Each French knot is secured separately. When making turns around the needle, you need to monitor their uniformity: they should not overlap each other.
Where to start for beginners
It is not so difficult to embroider with ribbons. First you need to learn how to thread the tape into the needle.
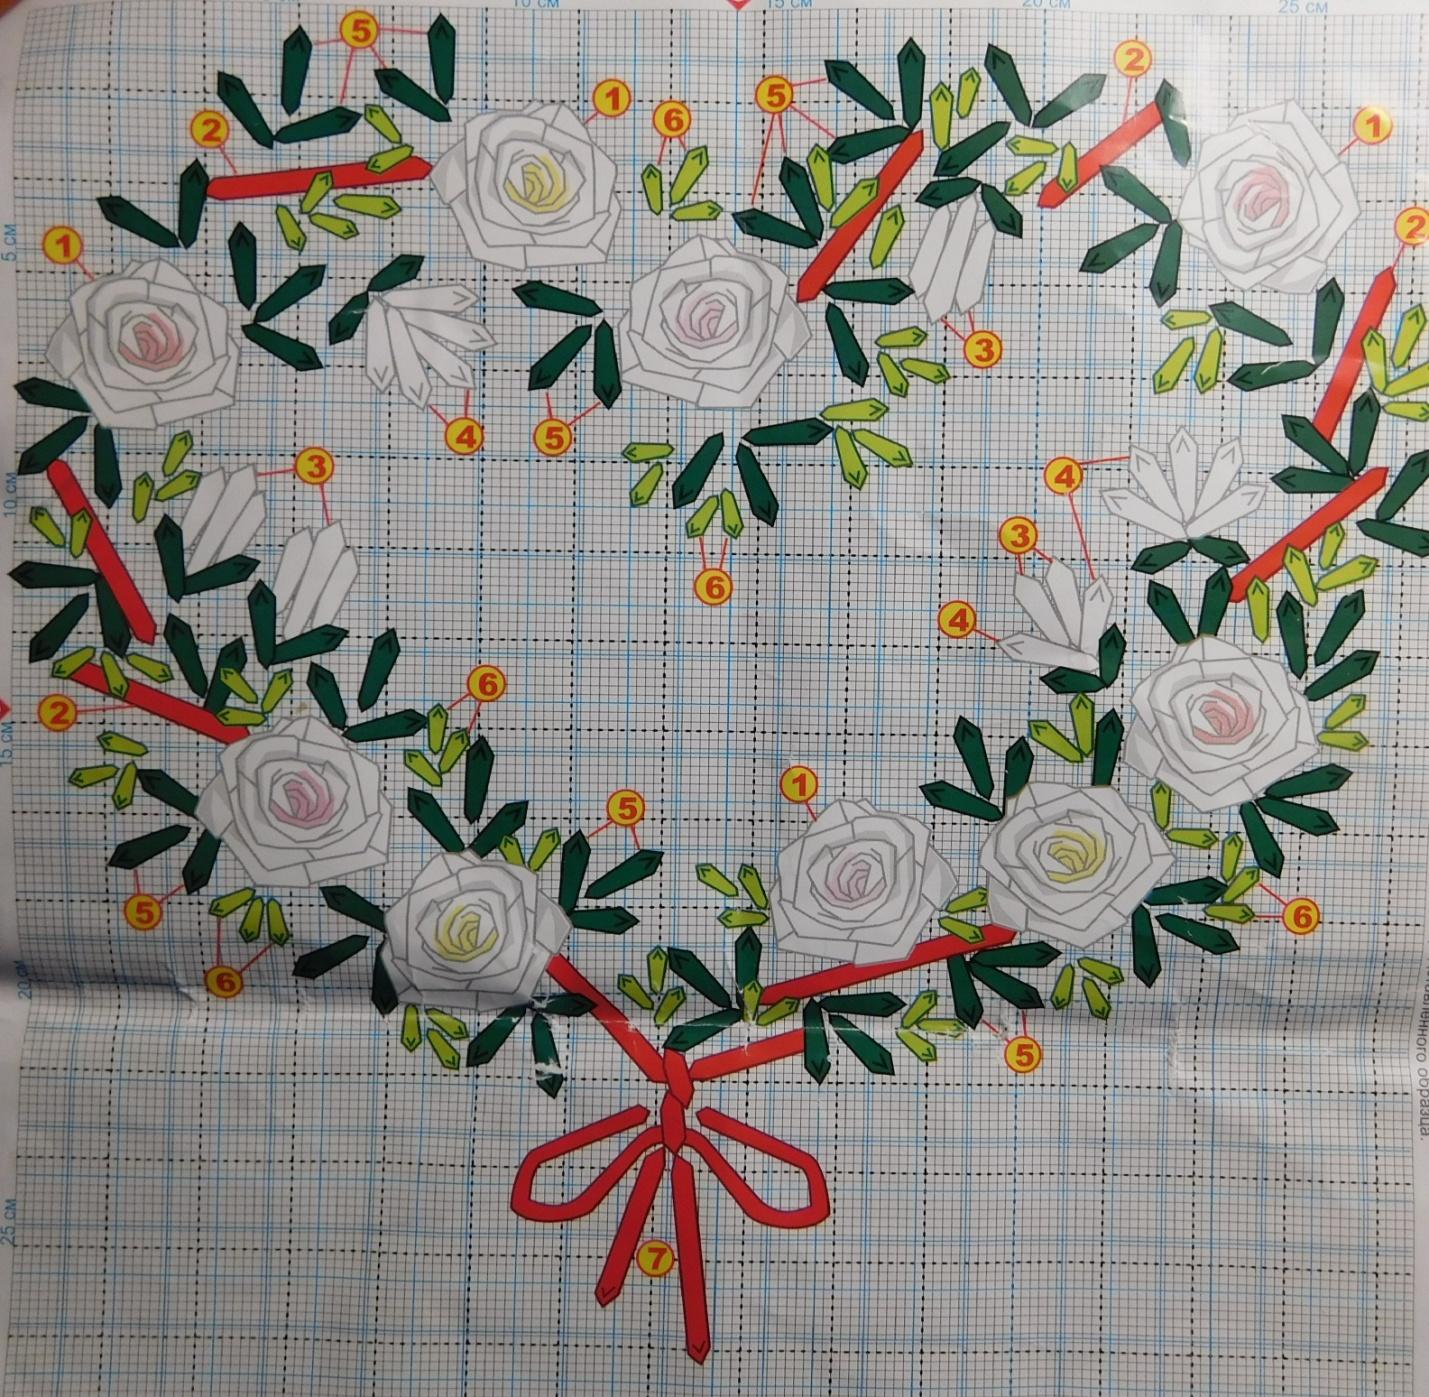
This is done according to the following scheme:
- Cut off the end of the tape obliquely.
- With the resulting corner, thread it into the needle.
- Pull a little through the needle.
- At a distance of 0.5 cm from the cut edge, stick a needle into the ribbon.
- Then pull on the long edge and secure the tape to the needle. In this position, it will not slip out of the ear.
Now you need to smooth the corner sticking out behind the needle with your fingers so that it does not interfere with the passage of the needle through the fabric.
Next, the opposite edge is fixed with a knot. This is done like this:
- Step back 1 cm from the end of the tape and bend it in half towards you.
- In the middle of the bend, stick a needle.
- Pull the long end of the tape.
- Tighten the resulting knot.
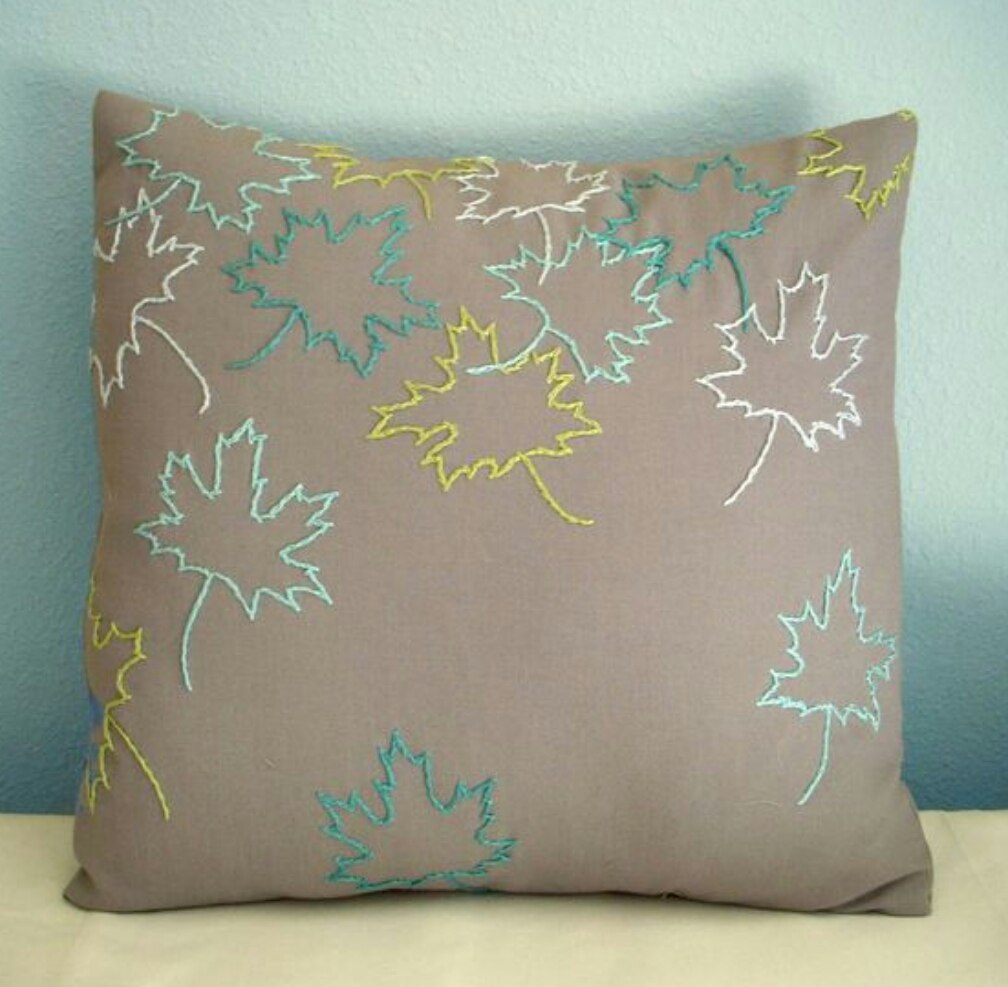
You do not need to stretch too much. The result should be a flat knot. When tying it, you can use a needle by threading it through the loop and pulling the edge with the other hand.
Now you can get to work.
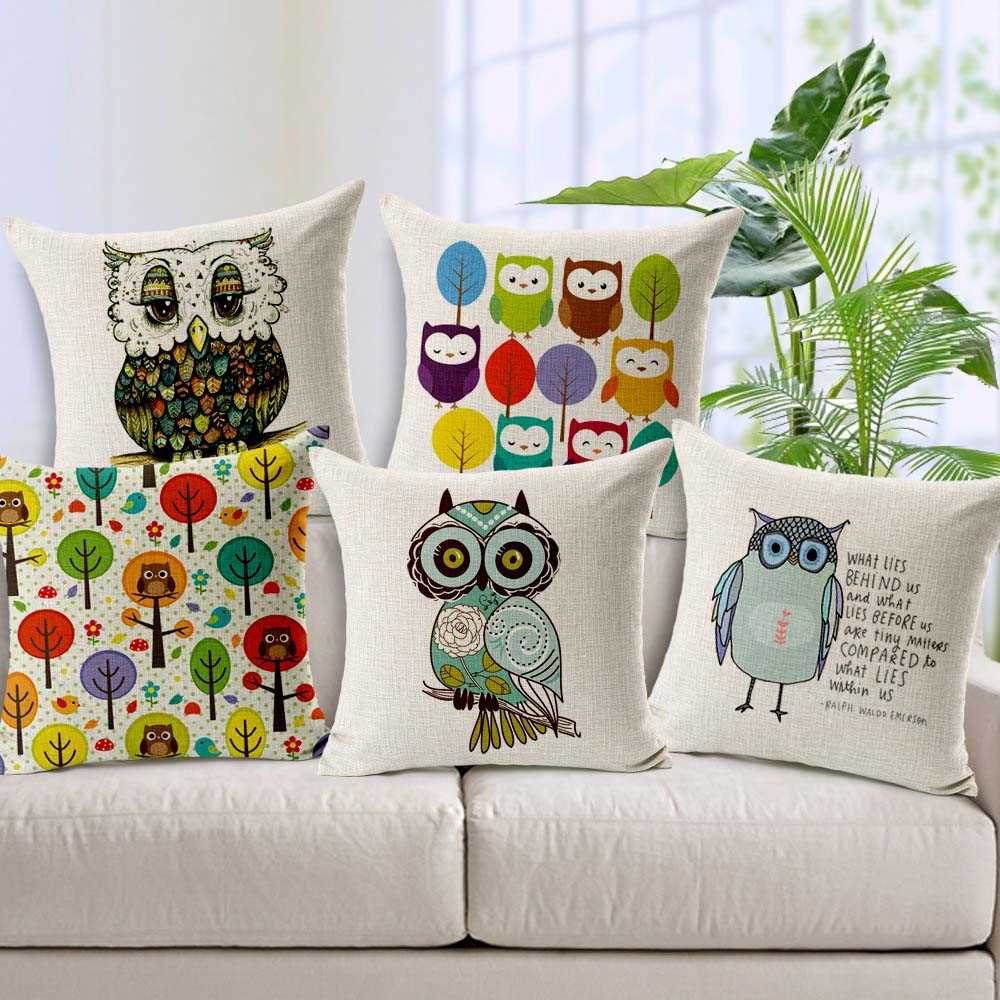
It is important to remember the following rules:
- Stitch length. Should always be larger than the width of the tape. If the stitch is less than the width of the braid, it will not open properly. The drawing will turn out to be a little distorted, "crumpled".
- Tension. Do not pull the tape too tight. In this case, it will not be possible to achieve volume.
- "Styling". Unlike threads, the tape needs to be properly laid on the canvas. To do this, hold it with the other hand while embroidering so that it does not twist.
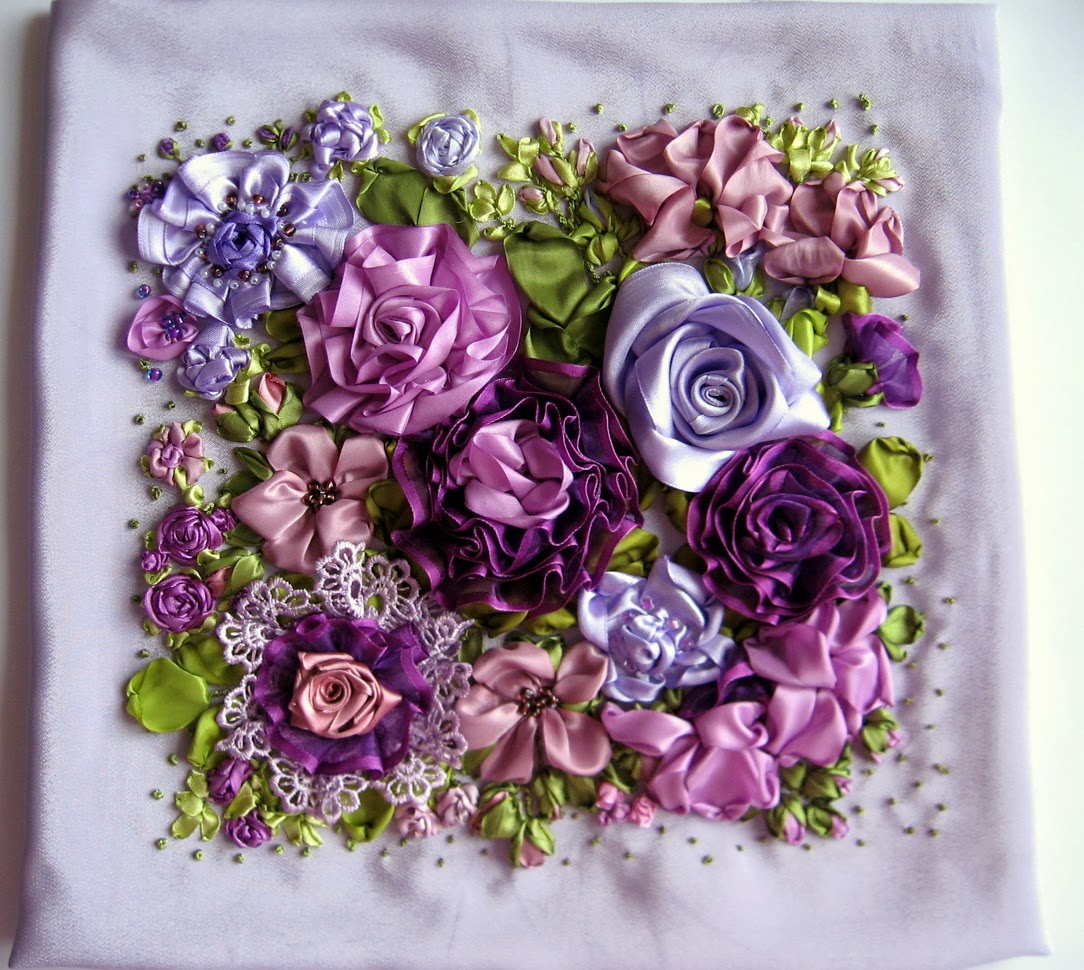
Interior layout ideas
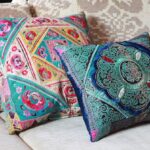
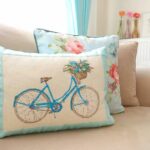
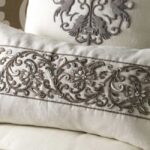
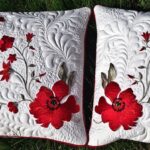
Today, ribbon embroidery is a popular type of handmade decor. It is used to decorate pillows, pillowcases, bedspreads and duvet covers. In addition, it serves as an excellent technique for creating three-dimensional paintings.
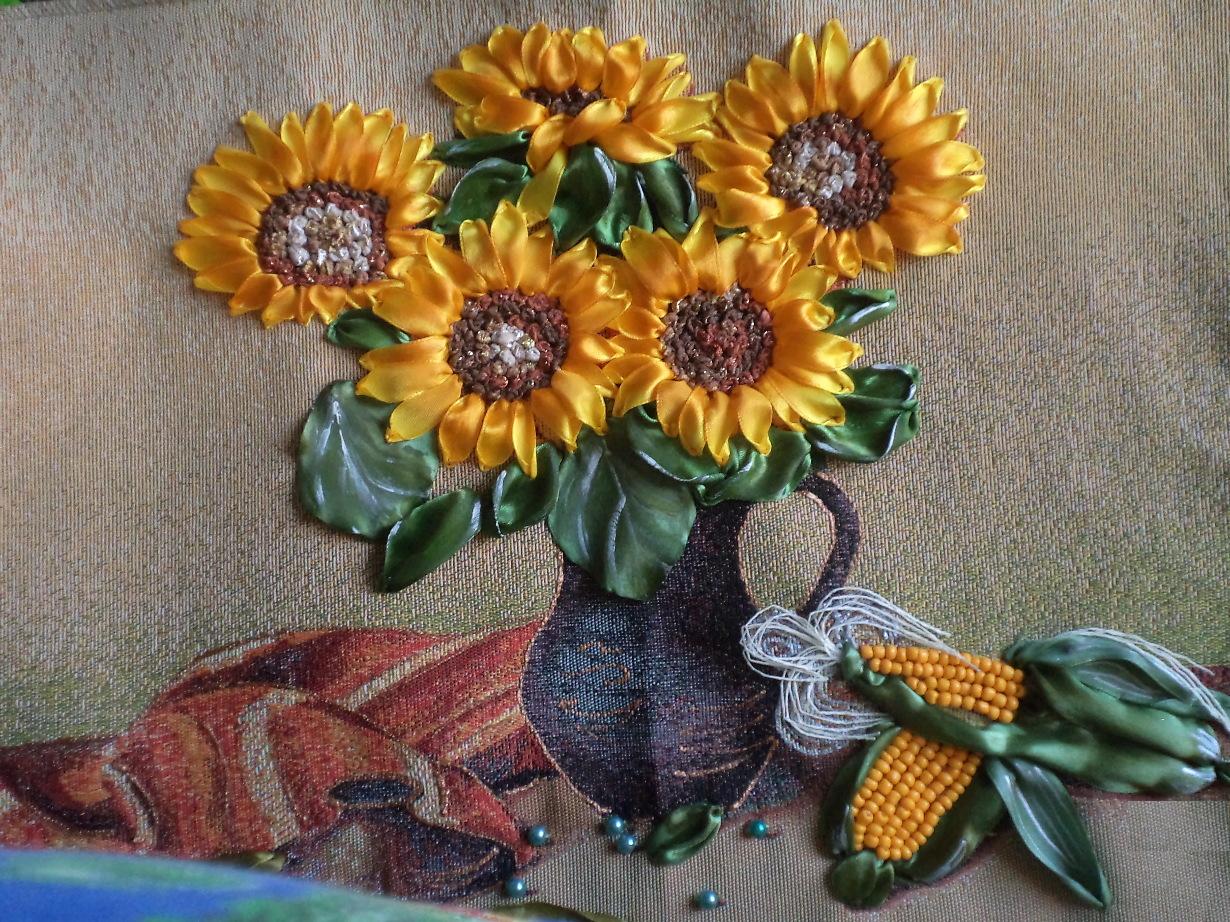
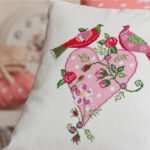
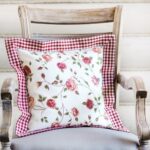
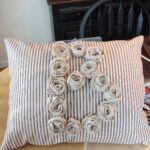
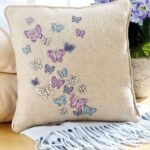
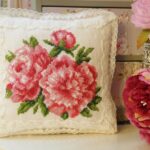
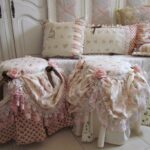
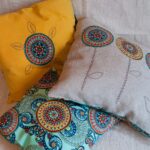
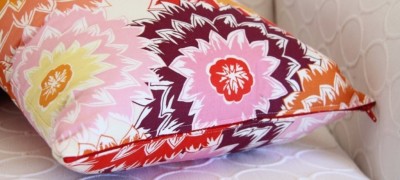
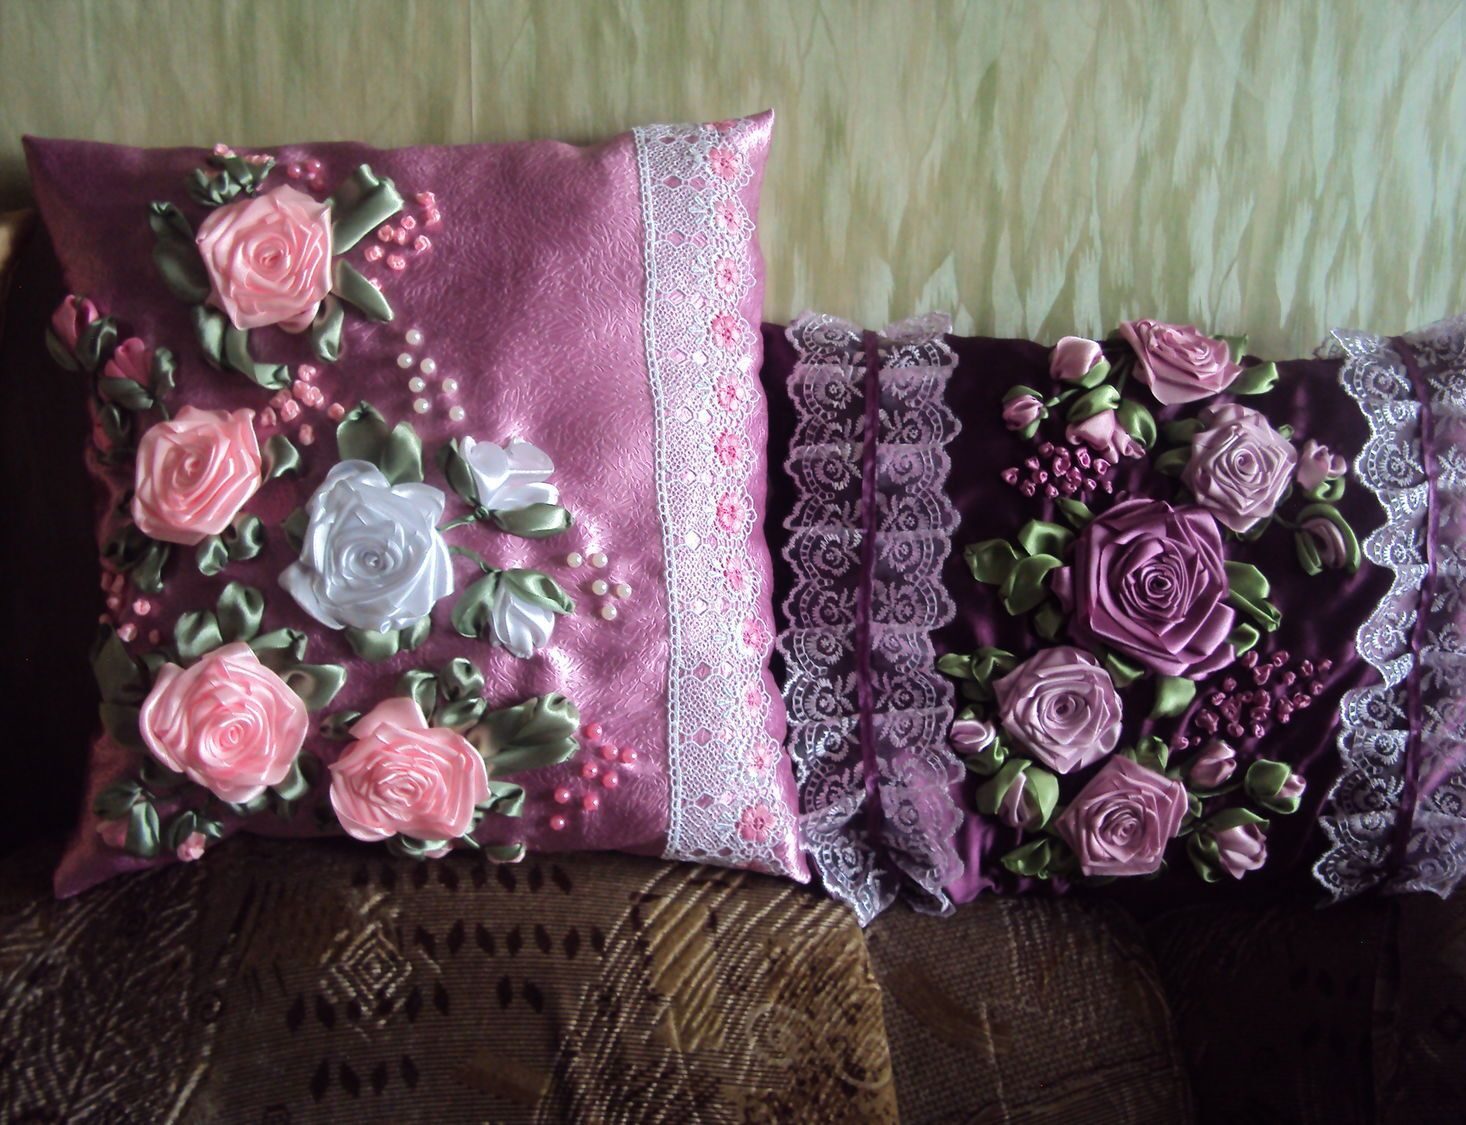
Pillows embroidered with satin ribbons are in great demand. Depending on the chosen pattern, colors, they are suitable for different styles: Provence, classic, modern.
Video: do-it-yourself pillows embroidered with ribbons for the sofa

