How to sew an apron for the last call
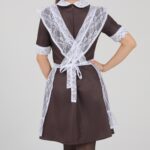
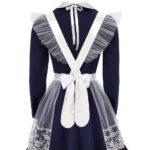
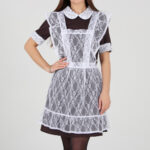
A school apron is an original piece of clothing, a great addition to an image for graduation or for the last bell after graduation. Many believe that the school uniform of the USSR period has become obsolete, but recently, for a solemn school ceremony, girls prefer to dress up in a beautiful brown dress with a white apron.
It is worth figuring out how to sew an apron for the last call: it is important to identify the nuances that a novice seamstress may well face.
Varieties of models
The presented form looks extraordinary: solemn and festive. But the image in general depends on what the chosen model of the student's apron is.
This type of schoolgirl's wardrobe differs in fabric, style.
Apron models are different:
- with flounces (ruffles) or the usual, uncomplicated cut;
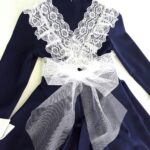
- with a tie at the back straight, crosswise or using lacing;
- with straps of various thicknesses.
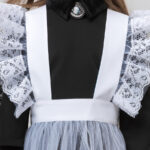
The first option can be called combined. Here, ordinary cotton material, ribbons, ruffles and so on can be combined.
How to sew an apron for the last call with your own hands
Sewing a school apron for the last bell precedes the selection of a pattern. The choice should be taken responsibly: it must be optimal. The girl selects the style; it is important to compare its properties with the features of the figure.
Taking measurements
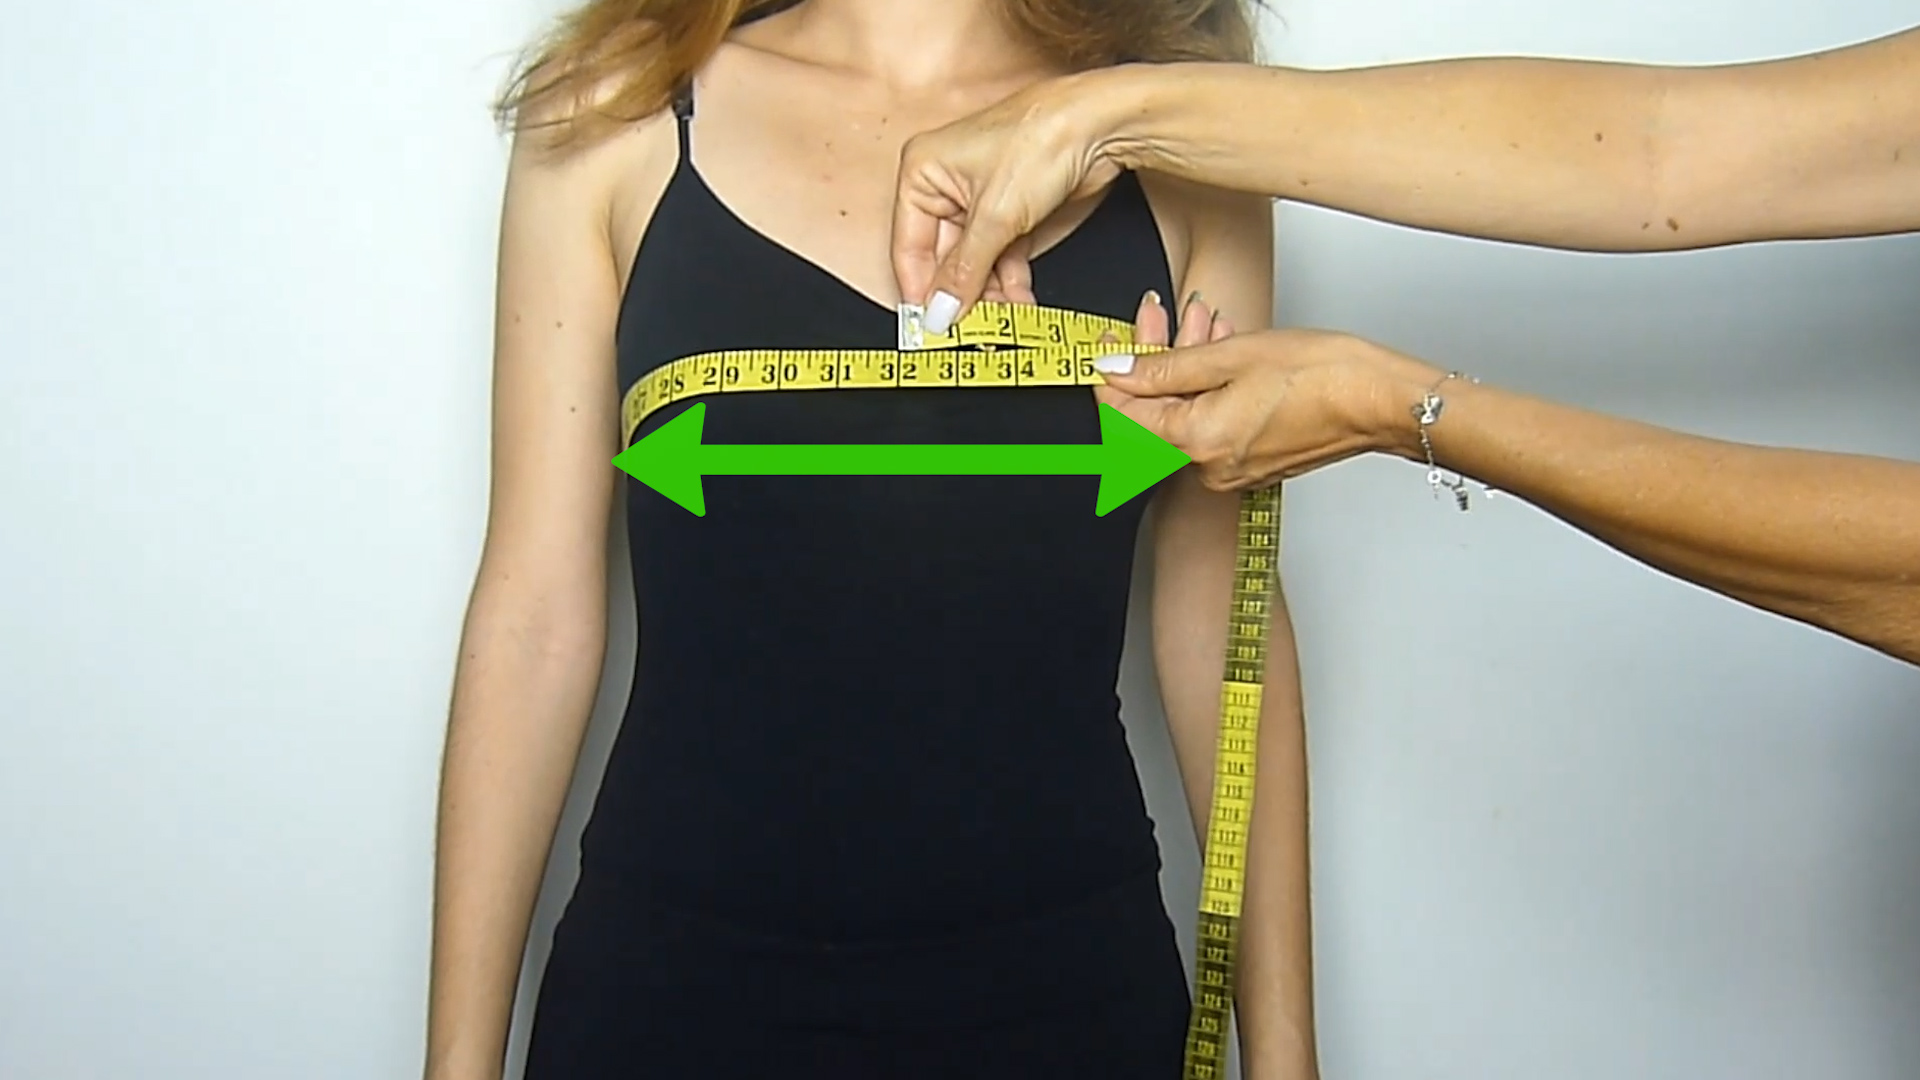
Before making a pattern for an apron, measurements should be taken from the student. In this case, you need to do everything right:
- Measurements are taken from a model dressed in a student's uniform (it is assumed that it is on top of this dress that an apron will be worn).
- The height is recorded - such an indicator is necessary to calculate the length of the apron itself and its chest part. The apron is supposed to be three to six centimeters higher than the shape.
- Fix the waist. This indicator affects how to make the length of the belt. It should also be considered whether the belt is supposed to be fastened with a button or whether it will be tied. When choosing the extreme option, the length is made longer (by about thirty to forty centimeters; they are added to the obtained parameters). If a button is used, only 3 - 4 cm are added. The belt width is considered optimal - three to four centimeters.
- And according to the volume of the hips, the width of the apron along the bottom is calculated. Such parameters are equal to each other.
At the top, the width of the product is equal to the half-measurement of the waist and plus another four to five centimeters per fold.
Selection of tools
Before starting work, you should prepare the tools. It:
- centimeter;
- threads (directly for sewing the product, as well as for basting - the latter should be of a contrasting shade);
- scissors;
- pins for fastening the pattern to the material;
- the machine with which the apron is sewn.
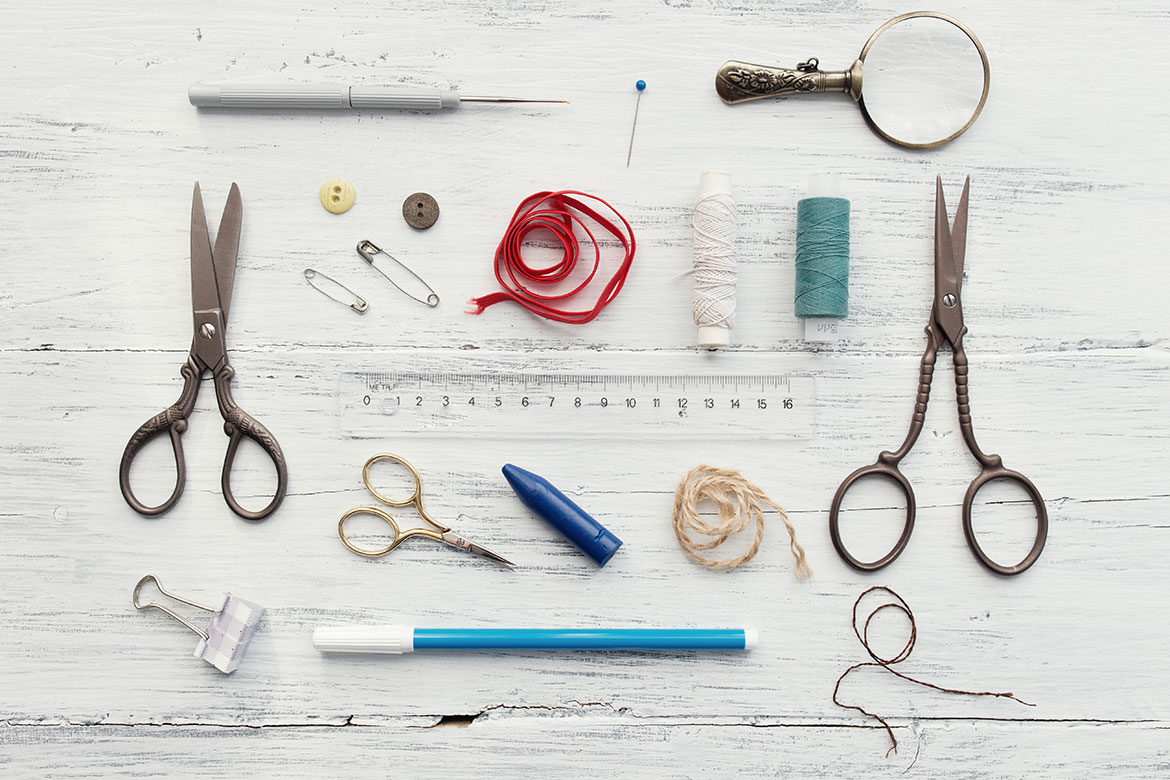
And, of course, you will need the material itself, from which the apron for the last bell will be sewn.
Material selection
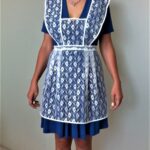
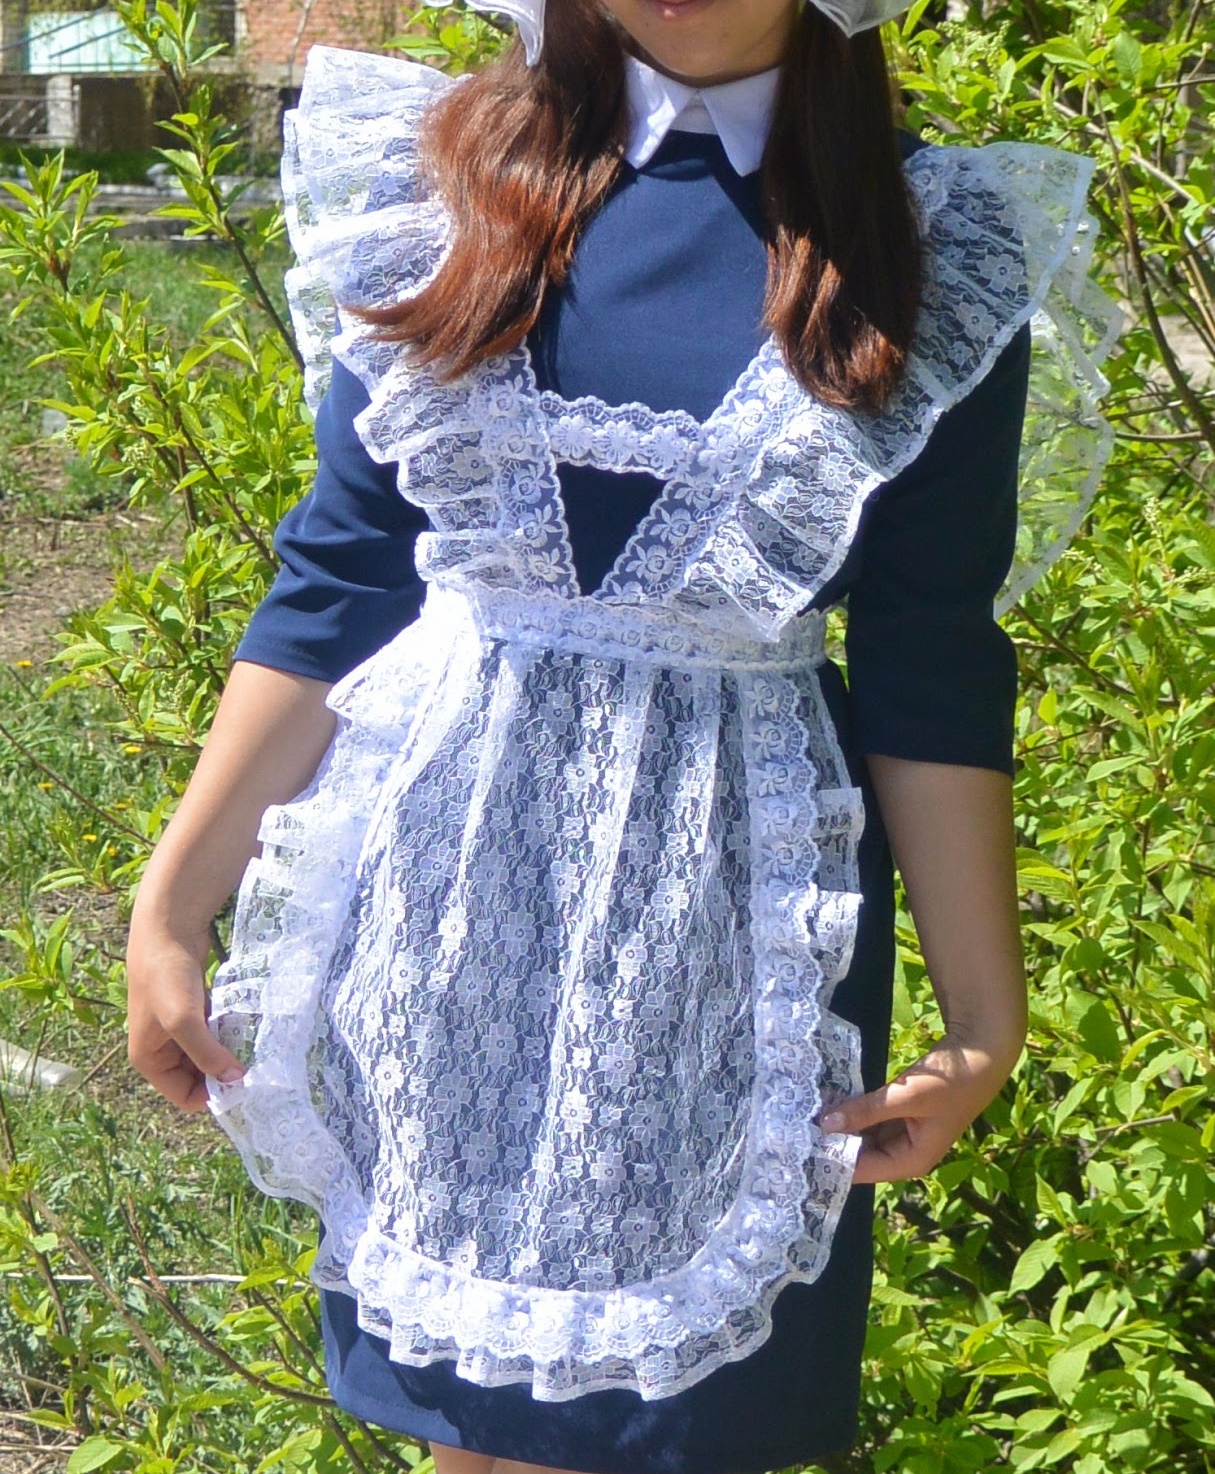
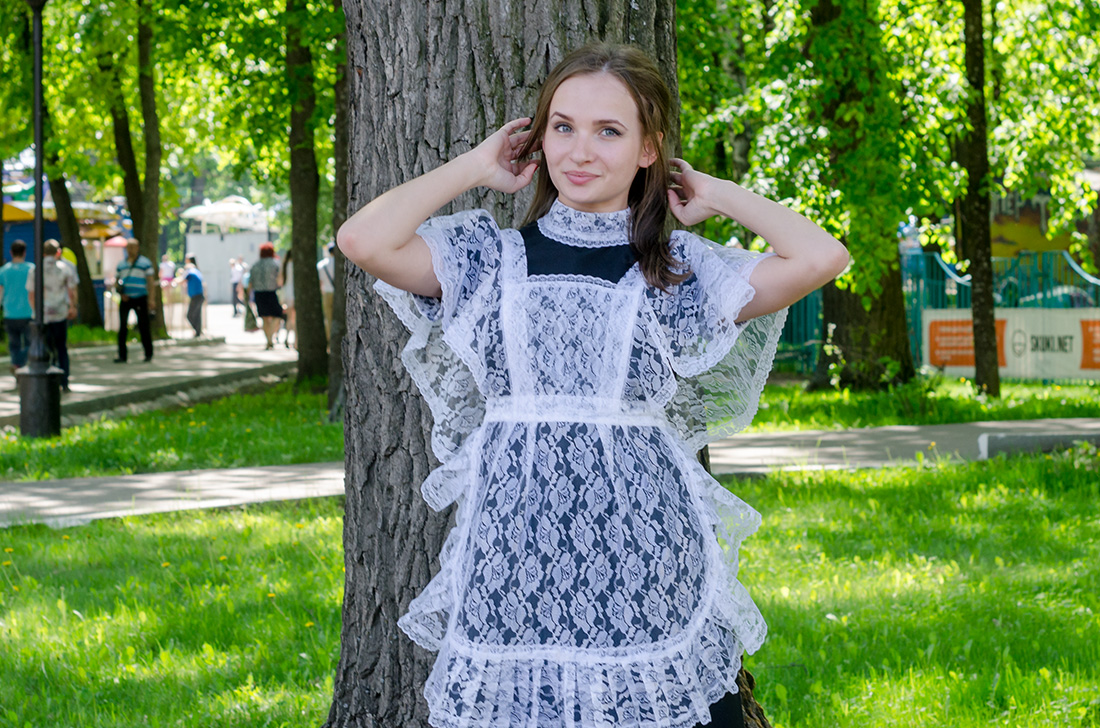
Graduates really like to wear lace student aprons for the celebration of the last bell, which have a very attractive, feminine appearance. Often this model is decorated with flounces and ruffles.
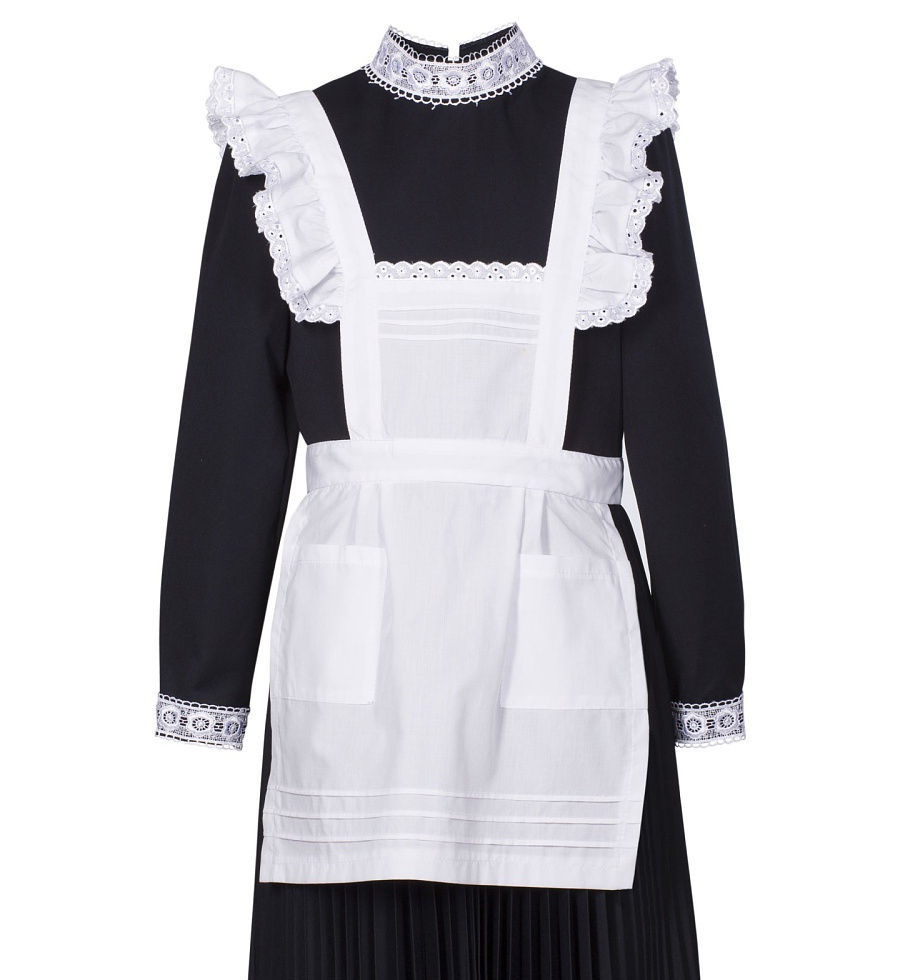
You can also choose a cotton product. Although this apron looks simpler than the others, however, it is not difficult to sew it. The material is "obedient", the product itself will serve for a long time: it does not require any special conditions for washing, other special care.
A satin apron is another option to complement a school dress when packing for the last bell. It is worth admitting that this fabric is capricious, so you need to try: then the sewing of the product will be successful.
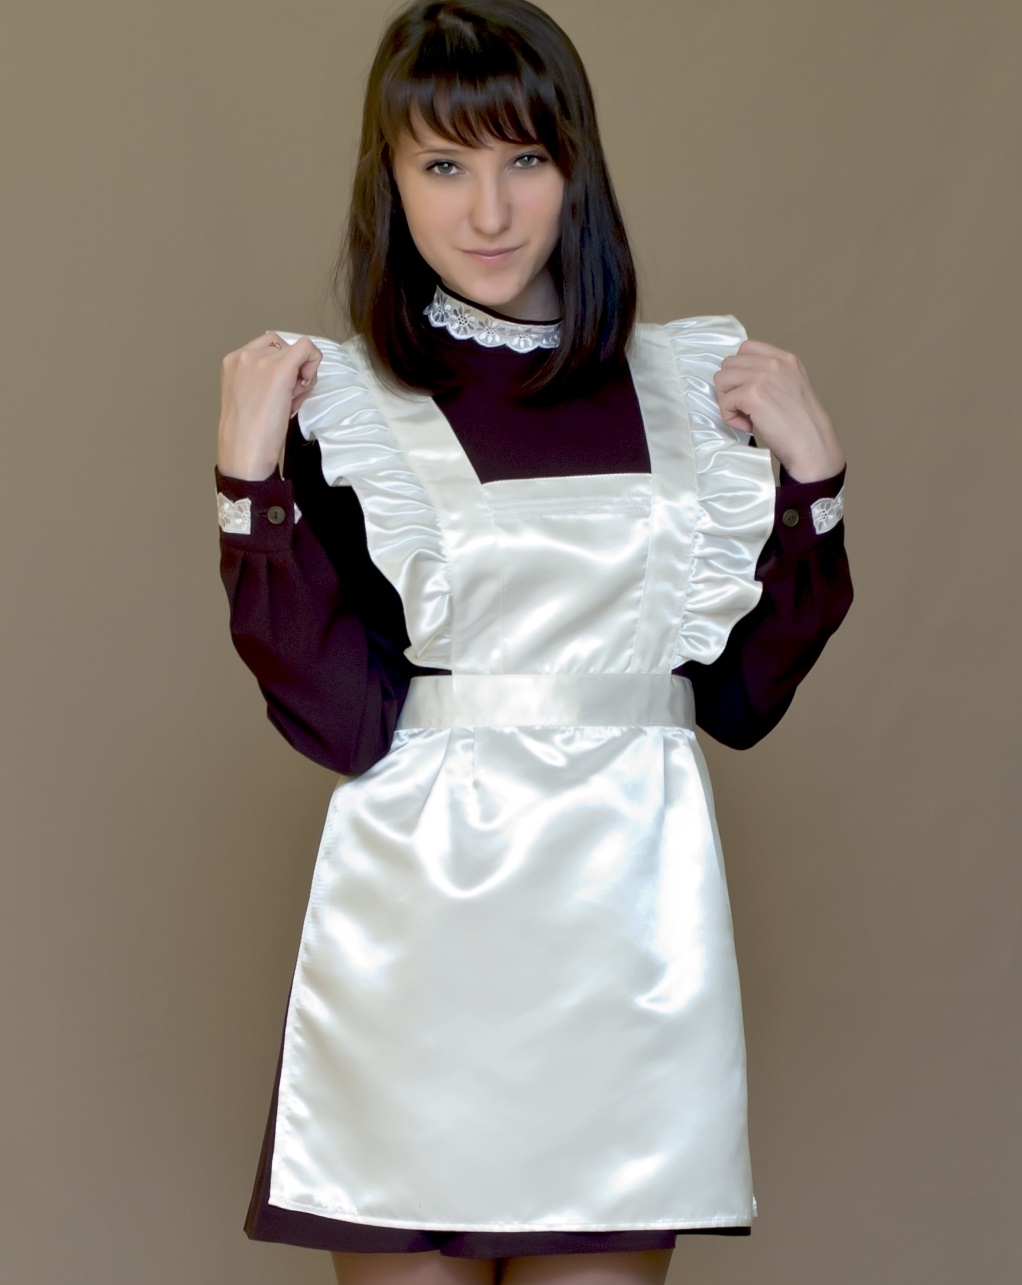
The result of the work will be more than successful, because the material shimmers and flows. This is a 100% holiday option, so it is perfect for the last call.
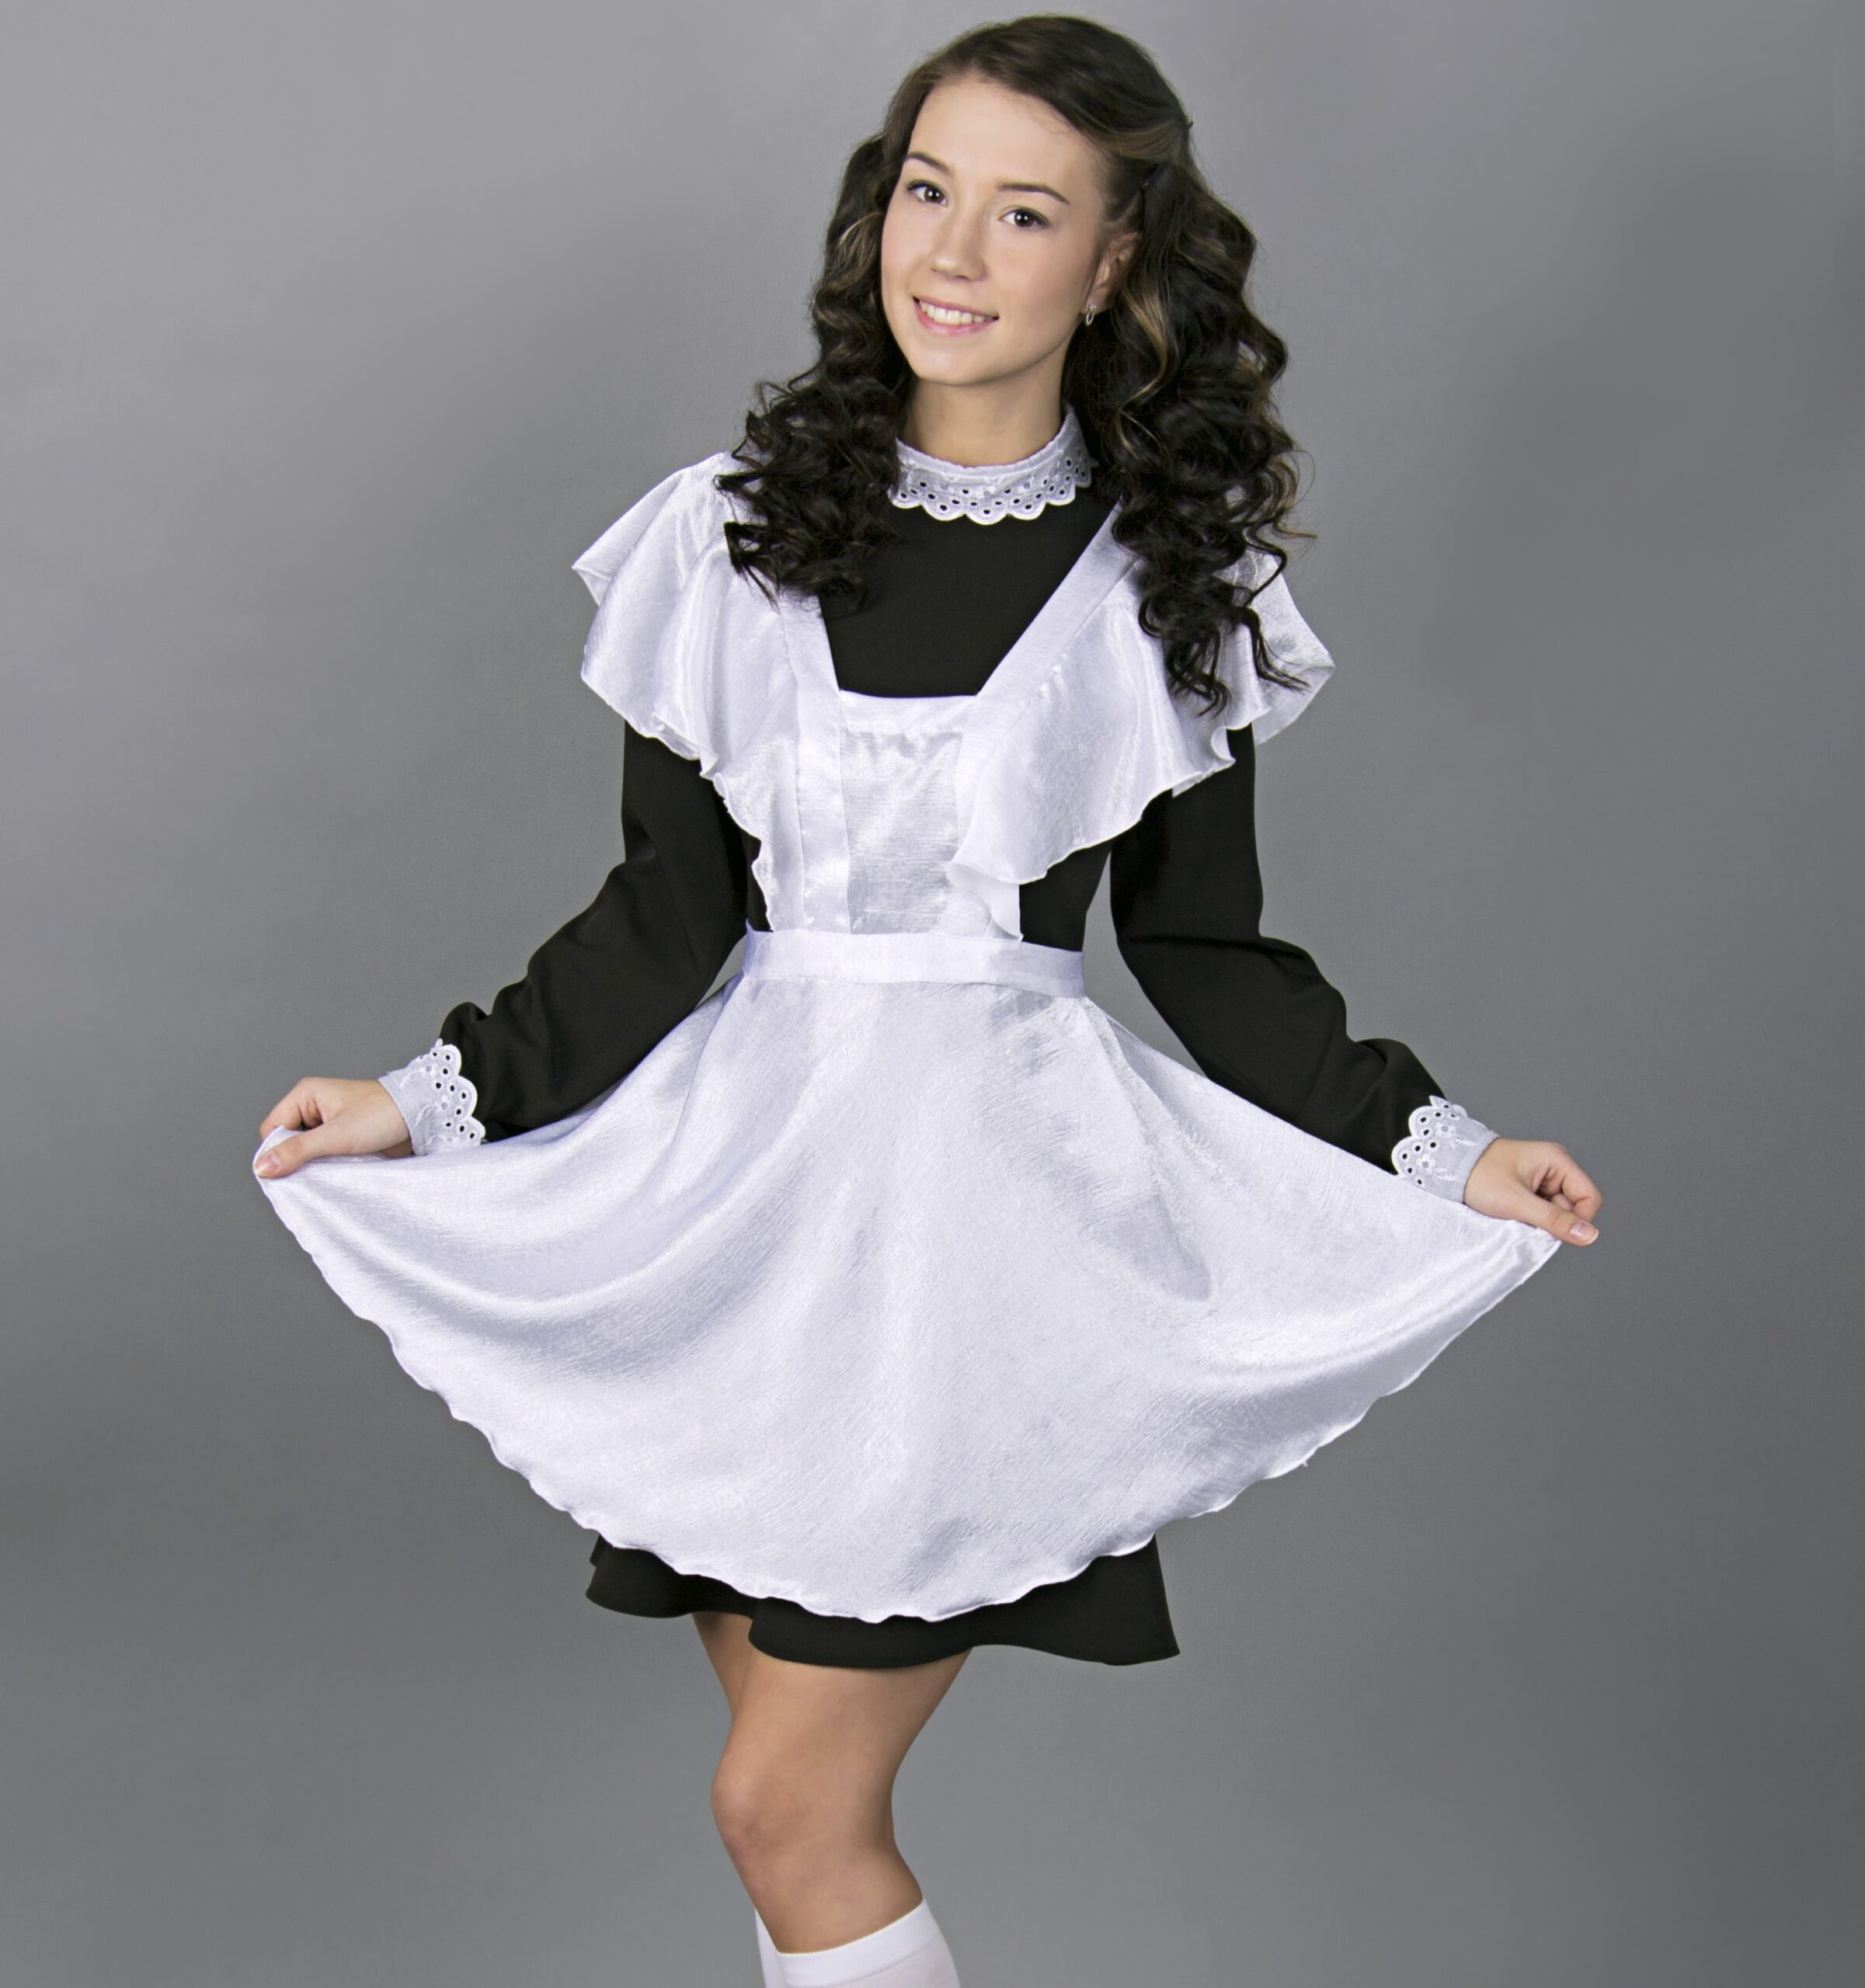
You can also find decent patterns on how to sew a guipure school apron. This fabric in sewing work (as well as in cutting) is also difficult. Therefore, usually novice seamstresses do not use it when sewing an apron for school. Guipure is usually used as an addition to a garment that has already been sewn.
Pattern
A step-by-step scheme for sewing an apron for the last call can be complicated or simple. The choice of the right one is made based on the skills of the craftswoman, as well as the model of the product you like. Sewing an apron using a simple pattern is easy, but aprons with a "twist" will already have their own characteristics.
As a rule, a pattern for such a product consists of:
- bottom and top (one piece each);
- belts (two parts);
- straps (there will be four parts);
- wings (two elements).
There are several options for patterns. Can choose:
- the usual patterns of a beginner in the sewing business;
- model with a pocket;
- with ruffles and criss-cross at the back.
Note! Sizes can also be included in the pattern, which are called standard sizes. But all the same, in each specific case, it is necessary to remember about the features of the figure.
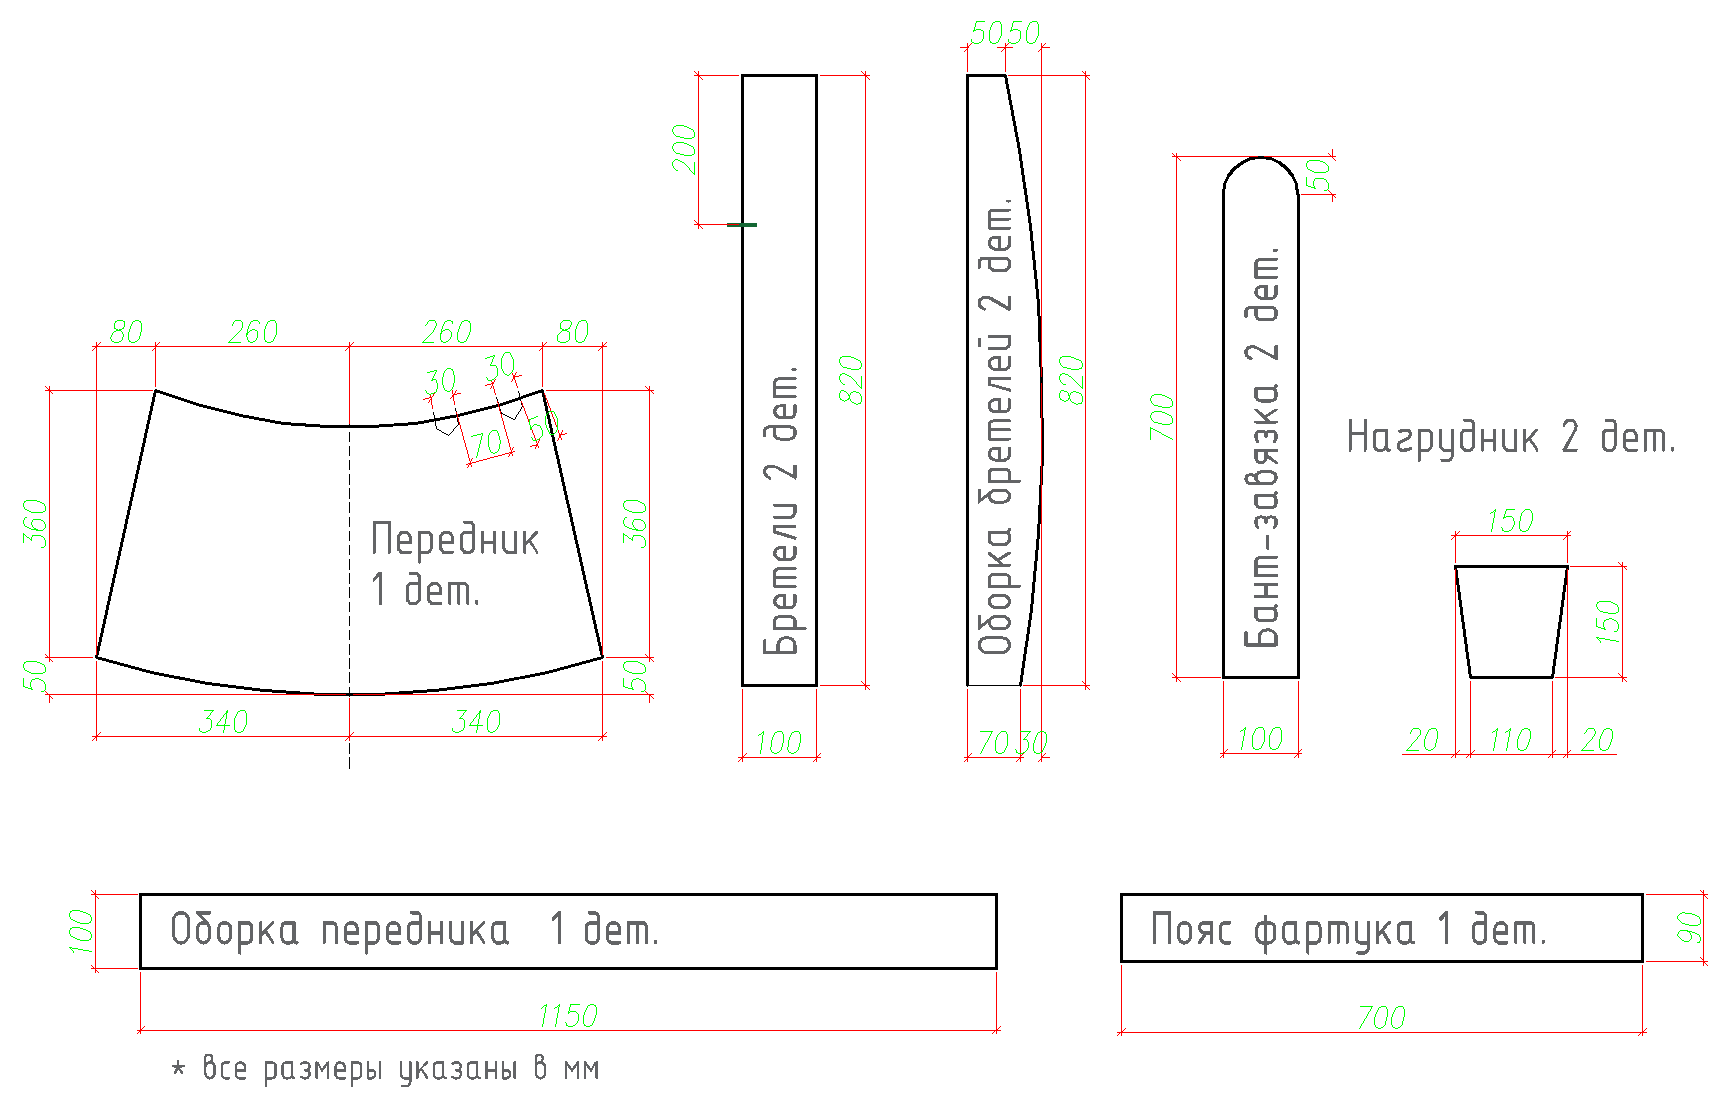
To calculate the proper length of the straps, a centimeter is applied to the waist in front over the shoulder, then from behind. About four centimeters is usually allotted to the width.
The bib is made somewhat narrowed towards the bottom. Its height is no more than five to six centimeters of the chest volume line, and its width is equal to the distance between the protruding areas on the latter.
Sewing an apron
Step by step, the school apron is sewn in the same way as other products.
First, they plan their actions, think over a sketch, work on a pattern.
Sewing technology:
- First, the base of the apron is sewn - the white skirt and its front part.
- Then a belt is attached to the product.
- The final is the addition of the belt with flounces and other decorative elements. The button is attached, the required hole is prepared for it.
Pattern of the upper parts of the apron
It is not necessary to understand how the pattern of the upper elements of the product is made, or how to sew it with the lower element. You can "arm yourself" with a ready-made scheme, put down your own measurement indicators, and then cut out the necessary details. Ideally, use the pattern of an old apron (if, of course, there is one). You will need to cut it out, then outline it.
The standard apron cutting work scheme is provided: https://www.youtube.com/watch?v=uYnuOCp4cjA
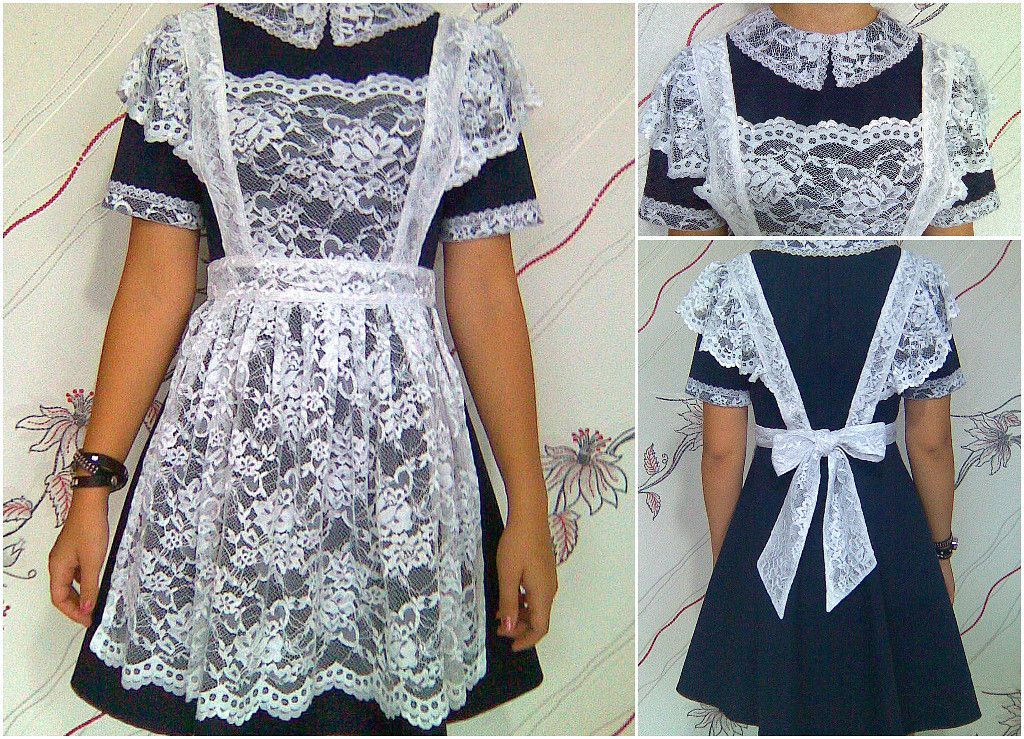
Top and bottom connection
This kind of work is not difficult. You will need to sew a double stitch on the back of the fabric on a sewing machine.The connection is also done along the waist part, but this operation is more complicated.
Creating a belt
The belt is the last piece of the future product, which is very easy to make.
A pattern is made, the material is folded in 2 times. Then they are stitched manually or with a sewing machine and the product is sewn from the wrong side. The finished belt is inserted into the loops. You can tie it in the usual way, or embody a non-trivial idea - to make a tie in the form of a bow.
Important! Before attaching the belt to the finished apron, iron the first with an iron.
Decor features
If desired, the belt can be directly supplemented with beads or interesting accessories. Some needlewomen often use embroidery.
Additional Information! A special charm will be given to an apron, sewn for the last school bell, frills.
How to wear an apron correctly
Choosing an outfit for the last bell at an educational institution, many graduates want to appear at the celebration in a student's uniform, which was worn in distant Soviet times: a dark brown dress and a white apron on top.
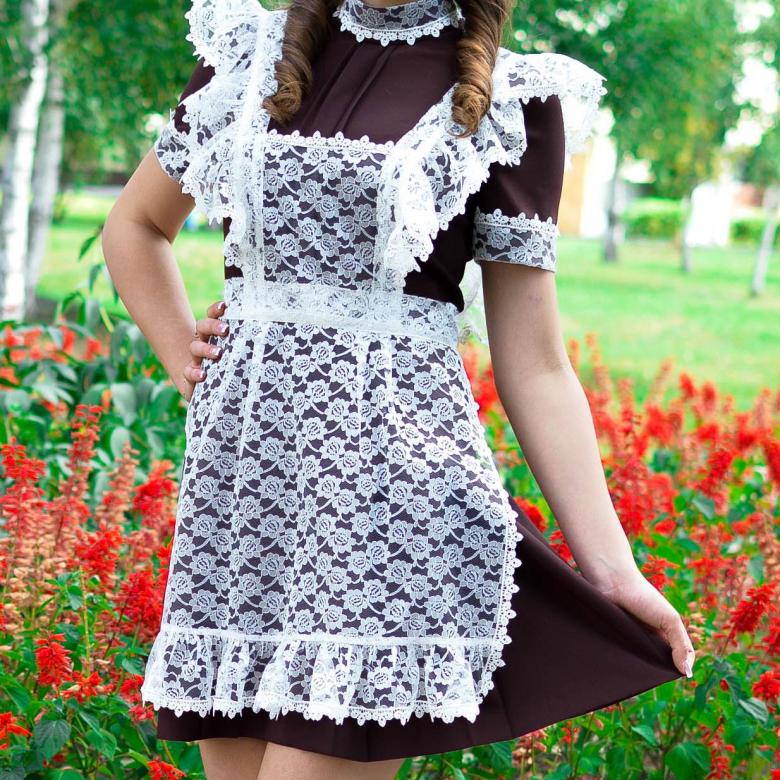
The tendency to dress up in this way has become a kind of trend. But it depends directly on the model of the student's apron what the image will be as a whole. This product gives completeness to the image, is able to hide certain flaws in the figure. The student looks neat in it and for the present times, it is in this form (in general) - even stylish.
In general, making such a product as a student's apron is not difficult if you take measurements correctly, cut out and complete the preparations before sewing. Also, sewing work is not difficult, if you focus on the diagram. Success will be achieved with very careful handling of the fabric.
Video: how to sew a school apron?

