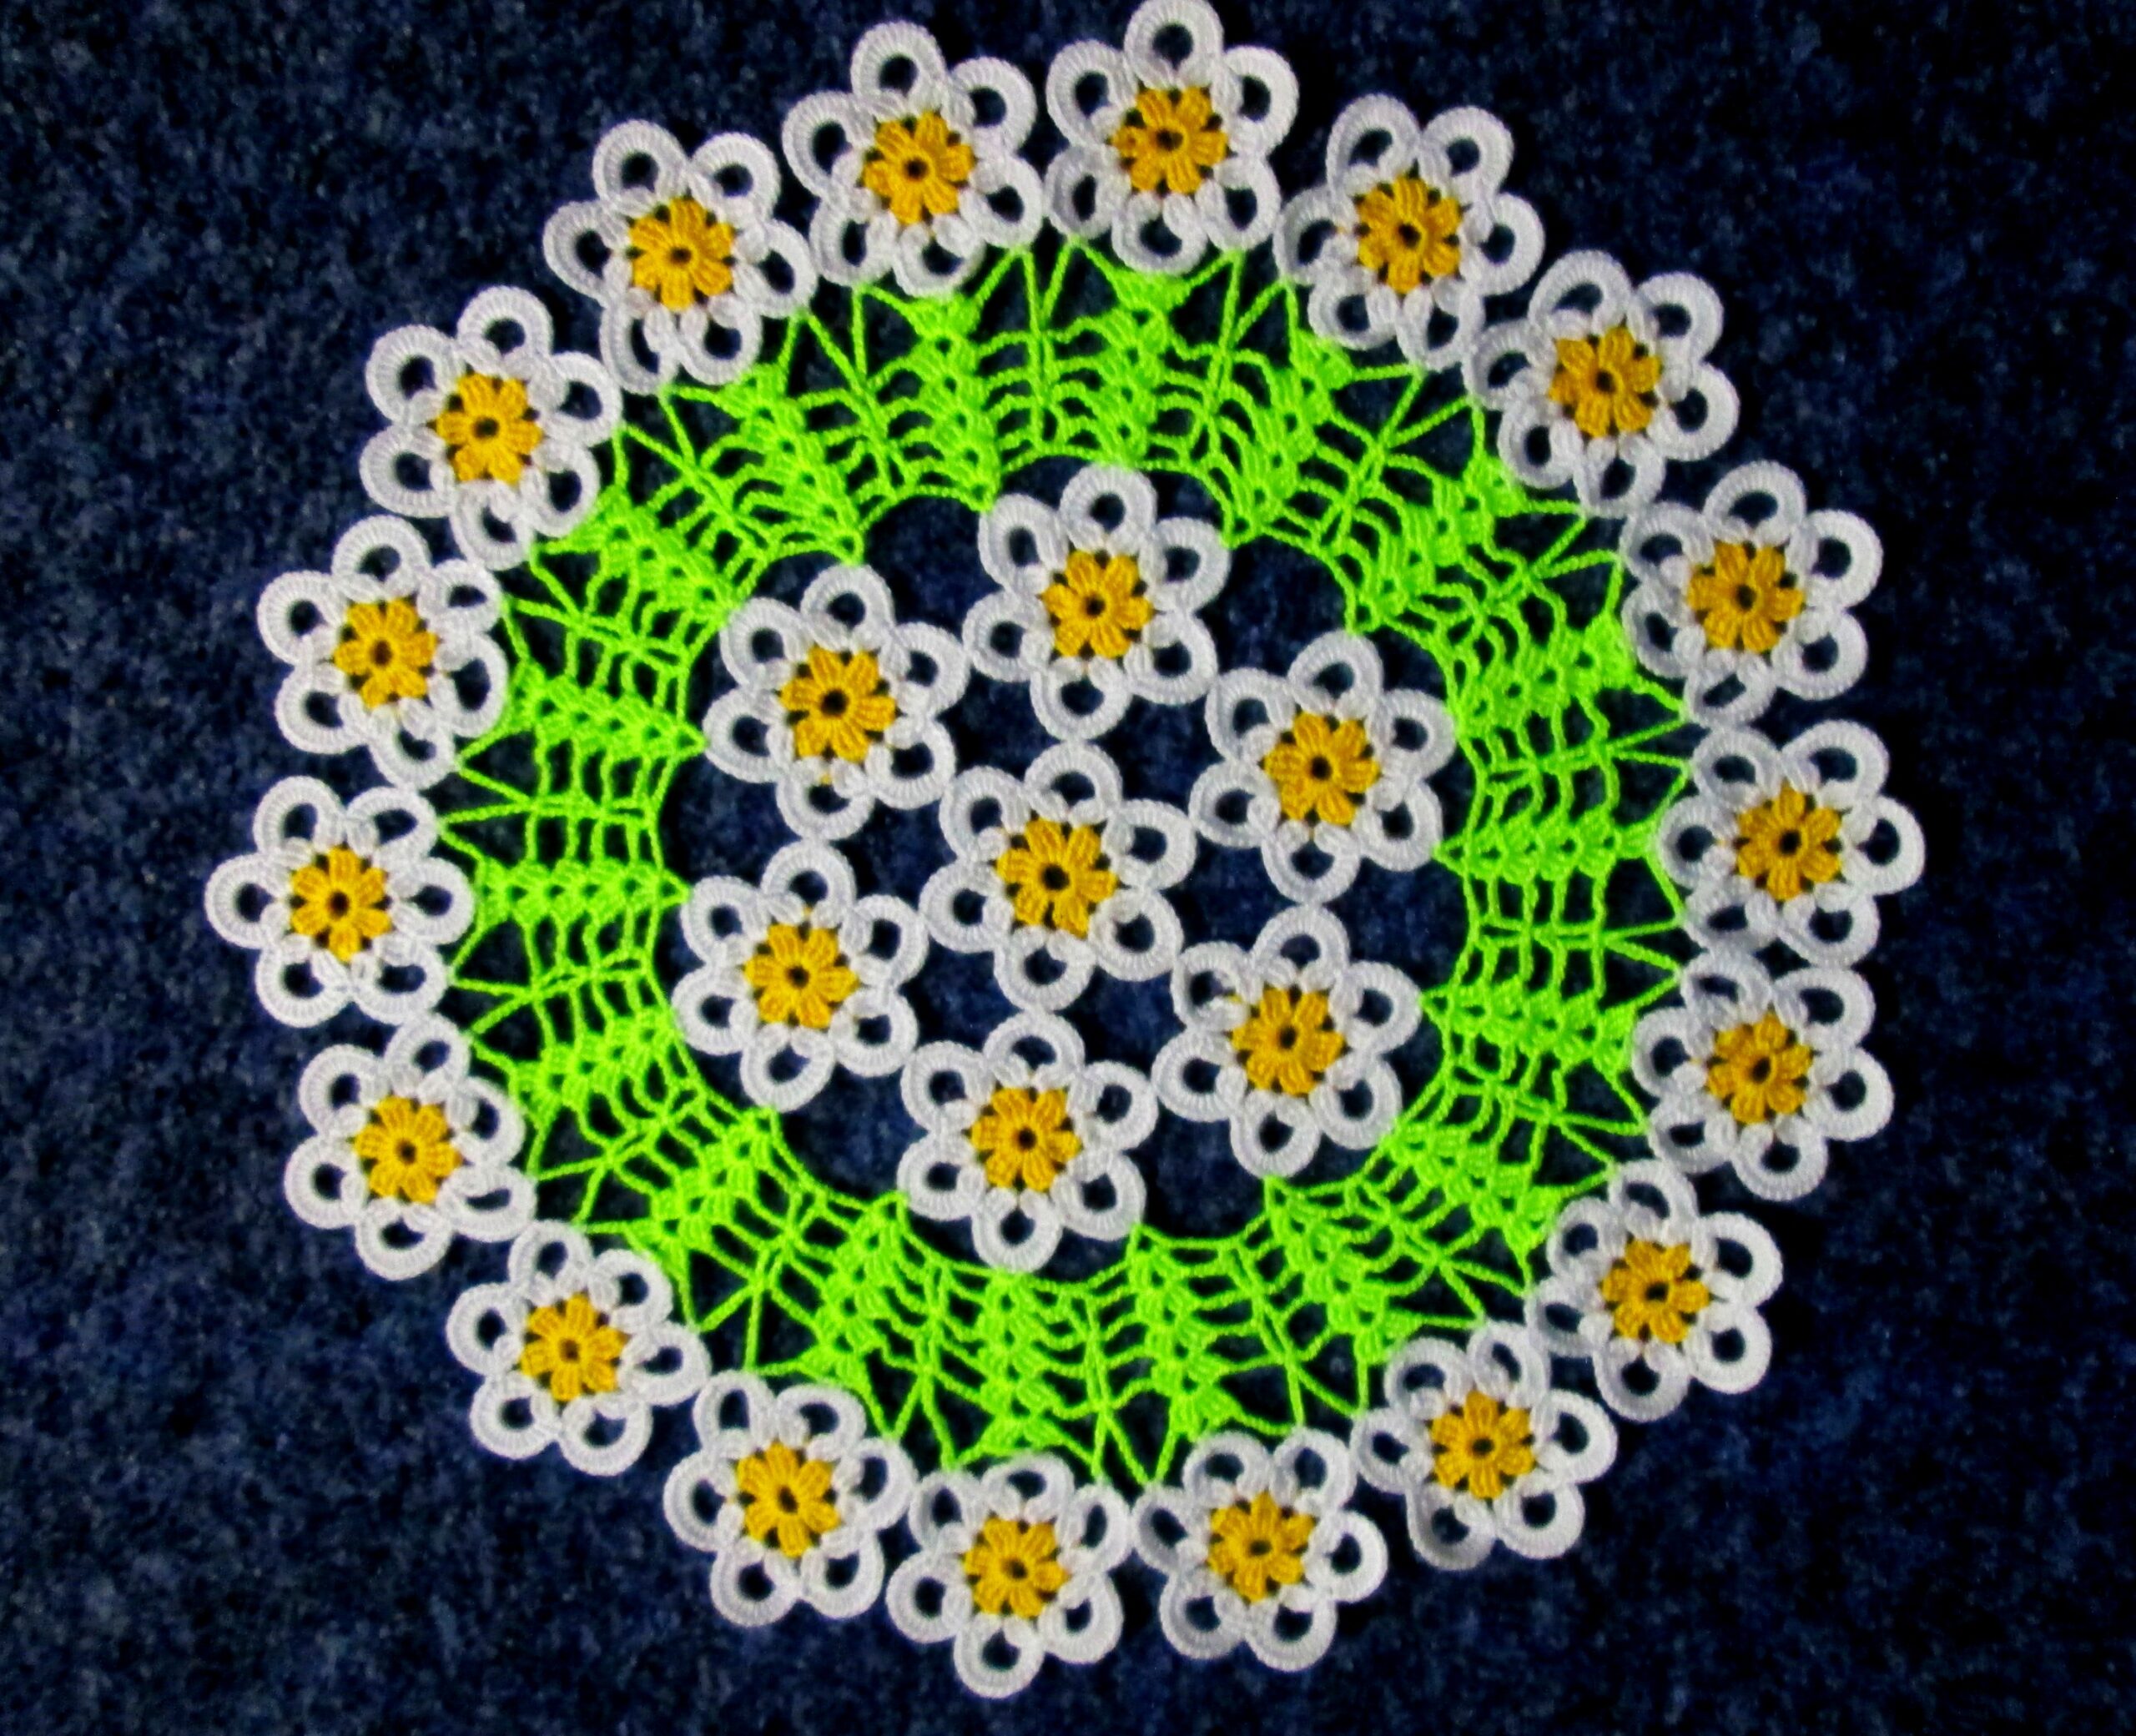
Crochet napkin with daisies
A napkin with daisies is not only a great exercise for beginners to do needlework, but also a common decoration that allows you to add comfort to your home. The process of creating it is simple, but requires a careful approach.
What is needed to knit a chamomile napkin
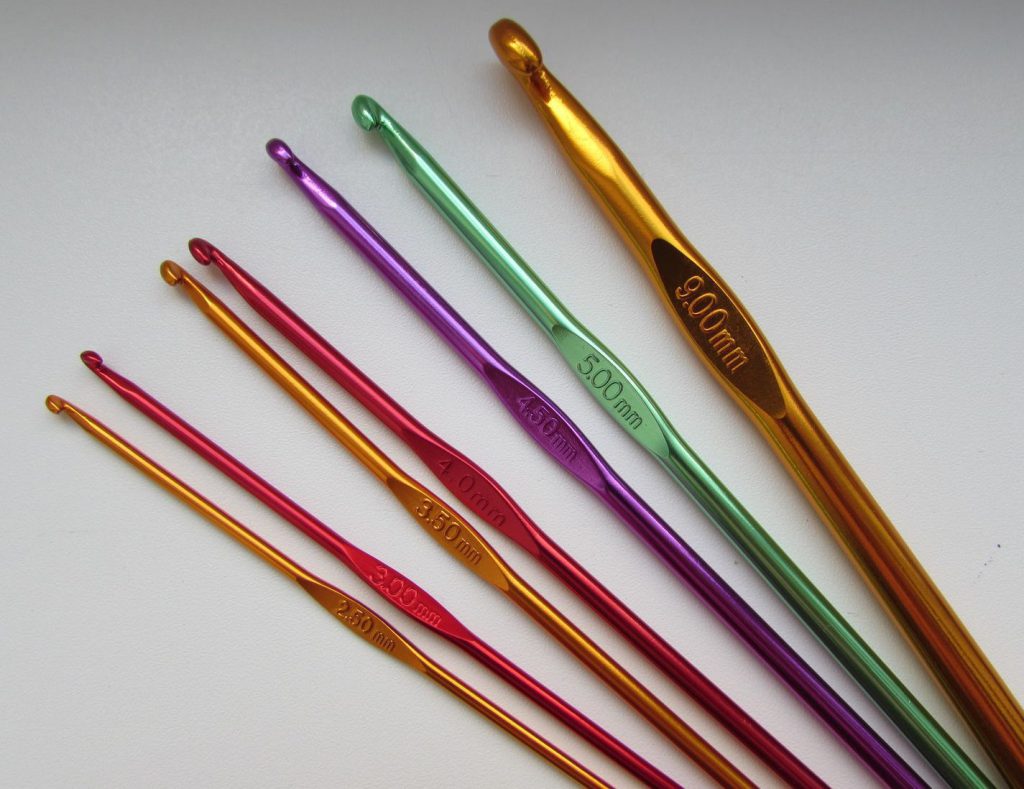
How to choose a hook
Density, convenience and quality of knitting depend on the right choice of crochet hook. If you choose an overly thin hook, then it will be problematic to knit thick yarn, and with a thick tool and thin yarn, unnecessarily large holes will form.
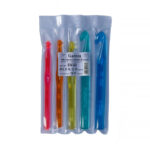
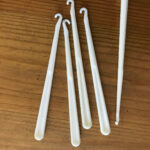
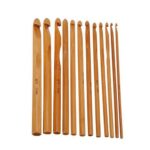
Hooks can be plastic, metal, bone and wood. There are short products with a length of 11-15 cm, used in most cases for standard knitting, and long ones, having a length of 18-40 cm and used for Tunisian techniques.
When choosing a material of manufacture, it should be borne in mind that wooden models are used when knitting products, clothes and things from soft and extremely thick yarn. Bone and plastic instruments are lightweight and flexible. Such properties greatly facilitate the process of work, however, these products are quite fragile. In addition, they quickly grind on the thread, therefore, in order to maintain the quality of knitting at the same level, they need to be replaced periodically.
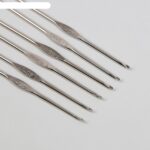
At the moment, metal hooks are considered the best, as they are the most durable and durable.
It is worth choosing a hook with a smooth and even surface that does not contain hooks and notches. The shape of the tool head should not be too sharp or rounded. In the first version, the head will constantly cling to the yarn, tearing it, and in the second it will be difficult to pull the thread. Ideally, the beard of the hook should be slightly rounded and slightly pointed, which will perfectly hold the hooked thread and avoid yarn breaks and finger injuries.
Note! For the convenience of work, you can choose a tool with a rubberized handle or silicone inserts.
The main characteristic of the hooks is the thickness, ranging from half a millimeter to one and a half centimeters. Product number and compatibility with yarns is determined by head thickness:
- from 0.5 to 1 mm - the finest cotton yarn;
- from 1.25 to 1.75 mm - thin cotton threads and other yarn of equal thickness;
- from 2 to 3.5 mm - threads with an average thickness;
- from 4 to 5 mm - yarn with an average thickness, having a paired thread;
- from 5.5 to 6 mm - paired fluffy thread;
- from 7 to 8 mm - paired woolen thread, tapestry wool;
- from 9 mm to 1.5 cm - thickened twisted yarn.
Preparation of threads
For knitting, you can use any thread - synthetic, woolen, silk, cotton and others. However, it is important to properly prepare them for work. This is done as follows:
- Rewind the threads into the skeins, tying in several places.
-
Wash threads. Wool and semi-woolen yarns are washed in hot water using only liquid detergents. After the last rinse, the floss should be left in the water until it cools down to make the yarn fluffier. In case of molting, the yarn must be rinsed in hot water until the dye has completely disappeared, adding a little vinegar at the last rinse, in the solution of which the threads should be held for a short time.
Thick cotton thread is washed in the same way, synthetic thread - in warm water. Mohair and fine cotton thread will not rub off.
Note! Used yarn must be washed.
- Dry the yarn. It is best to do this in a warm place to avoid roughness. However, there is the opposite option: the yarn wound in a weak ball is placed under hot water, after which it is wrung out, rewound and dried in the frost for several days. After that, the threads become soft and elastic.
- Straighten the threads if necessary. For this, you can use suspended loads or boiling water.
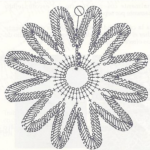
Chamomile napkin knitting patterns
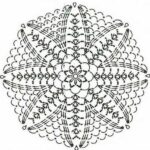
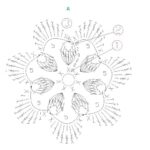
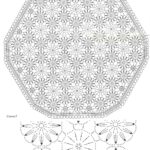
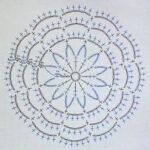
For clarity and simplification in the diagrams, conventions are used:
- VP, V. p. - air loop. Used to start knitting and set the first row.
- PS, SS p / st, conn. st - half-column, or connecting column. Completes the row without distorting the pattern.
- RLS, Art. b / n - single crochet. It forms a pattern on a napkin and increases the density of the product.
- SN, Art. s / n - double crochet. It is used to add elegance to the product. It can have one, two or three yarns (C1H, C2H and C3H, respectively).
The base of the product is a chain formed from air loops. The patterns are made up of combinations of posts and air loops.
Note! To avoid the chain pulling the fabric, it should be knitted loosely enough.
The rules for reading the schema are as follows:
- patterns for circular knitting are read from the center to the edge, for simple knitting - from bottom to top;
- even rows are read from left to right, odd - vice versa;
- circular rows are viewed from right to left.
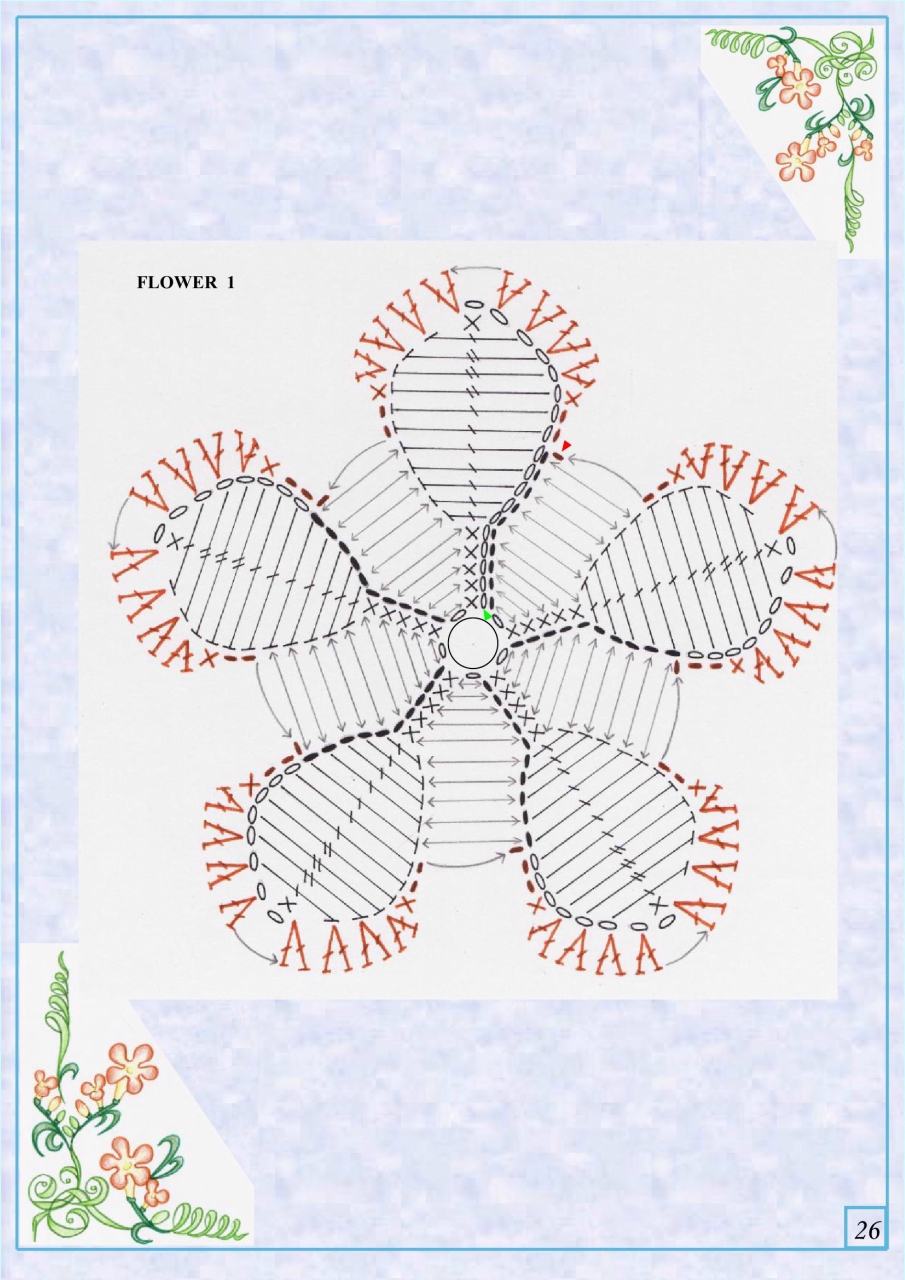
Note! In crochet knitting, as well as when using knitting needles, there is a duplicate fragment of the pattern - rapport.
In circular knitting, there is a “circle rule”: the number of columns added in a row must correspond to the number of columns in the first row. This allows you to knit in a circle, starting in the middle and gradually expanding, even. The circle is knitted using lifting loops that increase the radius of the product.
Step-by-step instructions for knitting a chamomile napkin
For work you will need:
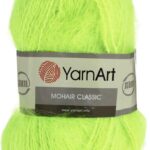
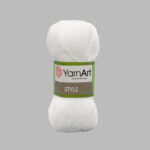
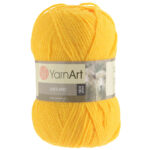
- Yarn in three colors (white, yellow and green) of approximately equal thread thickness. It is optimal to take yarn of the same brand. If this is not possible, then the threads should be selected according to the data indicated on the label (weight and length of the skein).
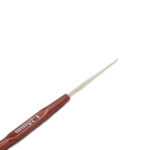
- Crochet hook to match the selected yarn. It is worth choosing it, focusing not only on the thickness of the thread, but also on the convenience of being in the hand. For a napkin of medium thickness, a 1.25 hook with a rubberized handle is suitable.
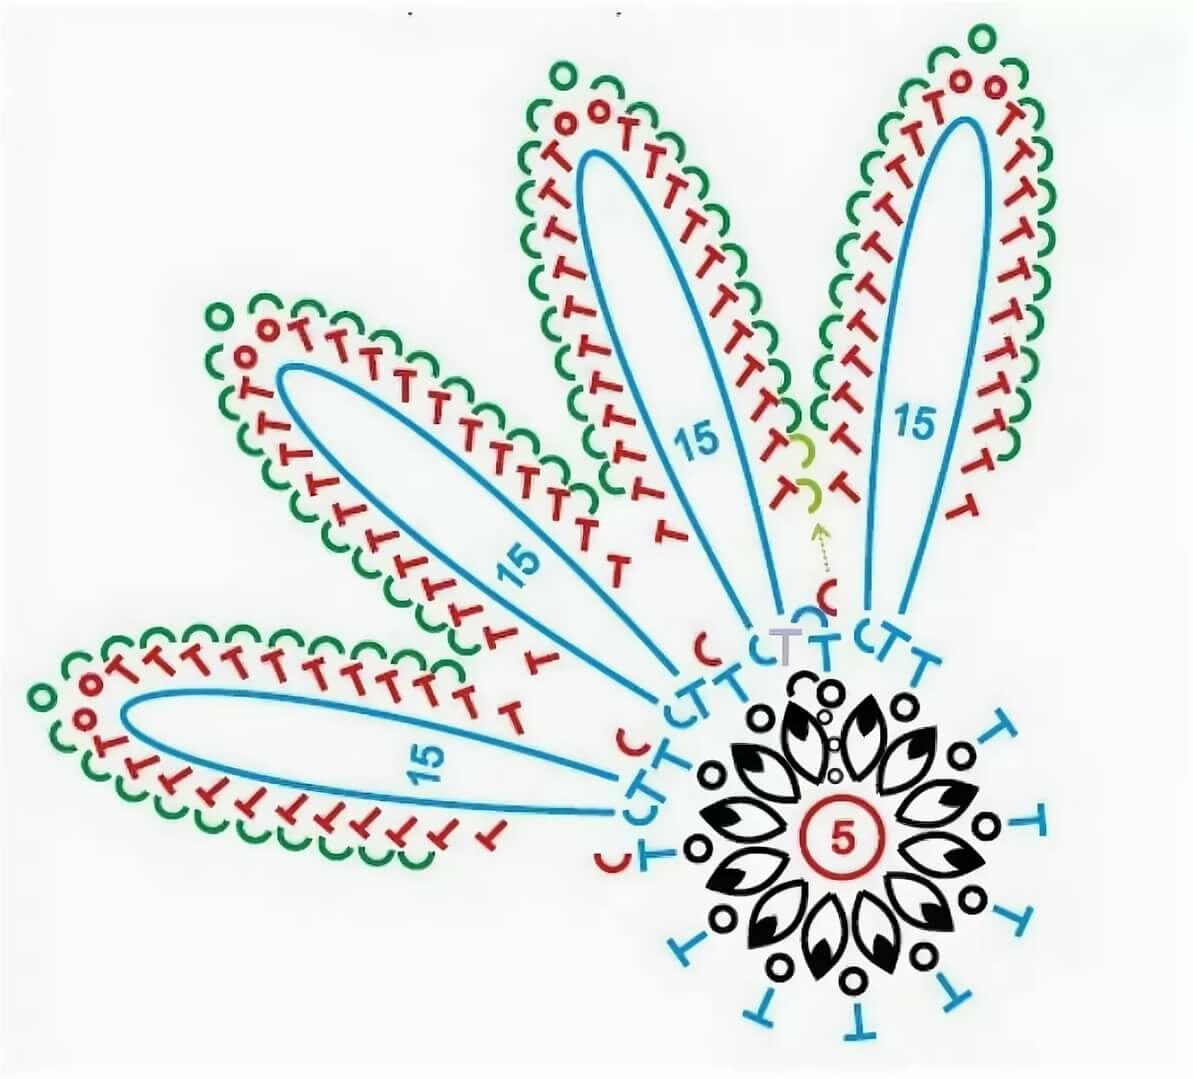
Crochet napkin chamomile is knitted as follows:
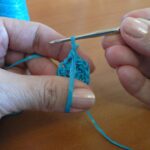
- Start from the center. Cast on six air loops (VP), then close them into a ring using a connecting post.
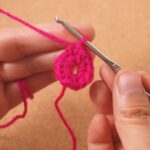
- Tie the ring in the first row using single crochet posts (C1H). Between some of them, an element called a pique should be knitted. To set it from the top of C1H, you need to dial three air loops, then remove the hook, passing it to the base point of the connected chain.
- Crochet a free loop and thread it through the base. This allows small bumps to form.
- Knit arches, consisting of air loops, between all C1H.
-
Finish using the yellow yarn by securing and cutting the thread.
Note! The small remaining tail of the thread can subsequently be masked from the seamy side by placing it under the base of C1H, which will appear in a new row.
- Start a new row using white yarn. All new rows are the alternation of the VP and C1H groups. Thus, the first three rows are knitted.
- Paste between C1H pique groups. In this case, it is an integral part of a chain of EPs located between C1H.In this case, the knitting mechanism of this element remains unchanged.
- Start decreasing the number С1Н from the next row. To do this, it is necessary to knit C1H with one vertex, placing them on the sides of the forming petals.
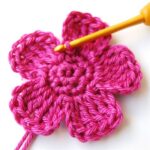
- Finish the petal by bringing five С1Н into one vertex.
- Finish the edge of the work using single crochet posts. Green yarn is used here.
In order for the resulting pattern to straighten out, after completion of work, the product should be manually washed with a liquid detergent to avoid clogging of powder particles into the fibers, starch and iron. Better to use low temperatures.
Crocheting a daisy napkin is a fairly easy task with a simple pattern. With the right choice of crochet hook, selection of suitable yarn and careful following of the pattern, you can get a beautiful and high-quality product. It will be both a good home decoration and a great gift.
Video: crochet napkin blue daisy
