Knitting a pillow "Owls with your own hands"
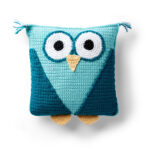
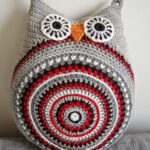
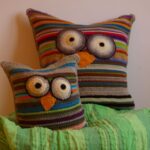
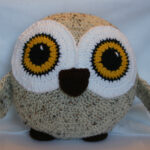
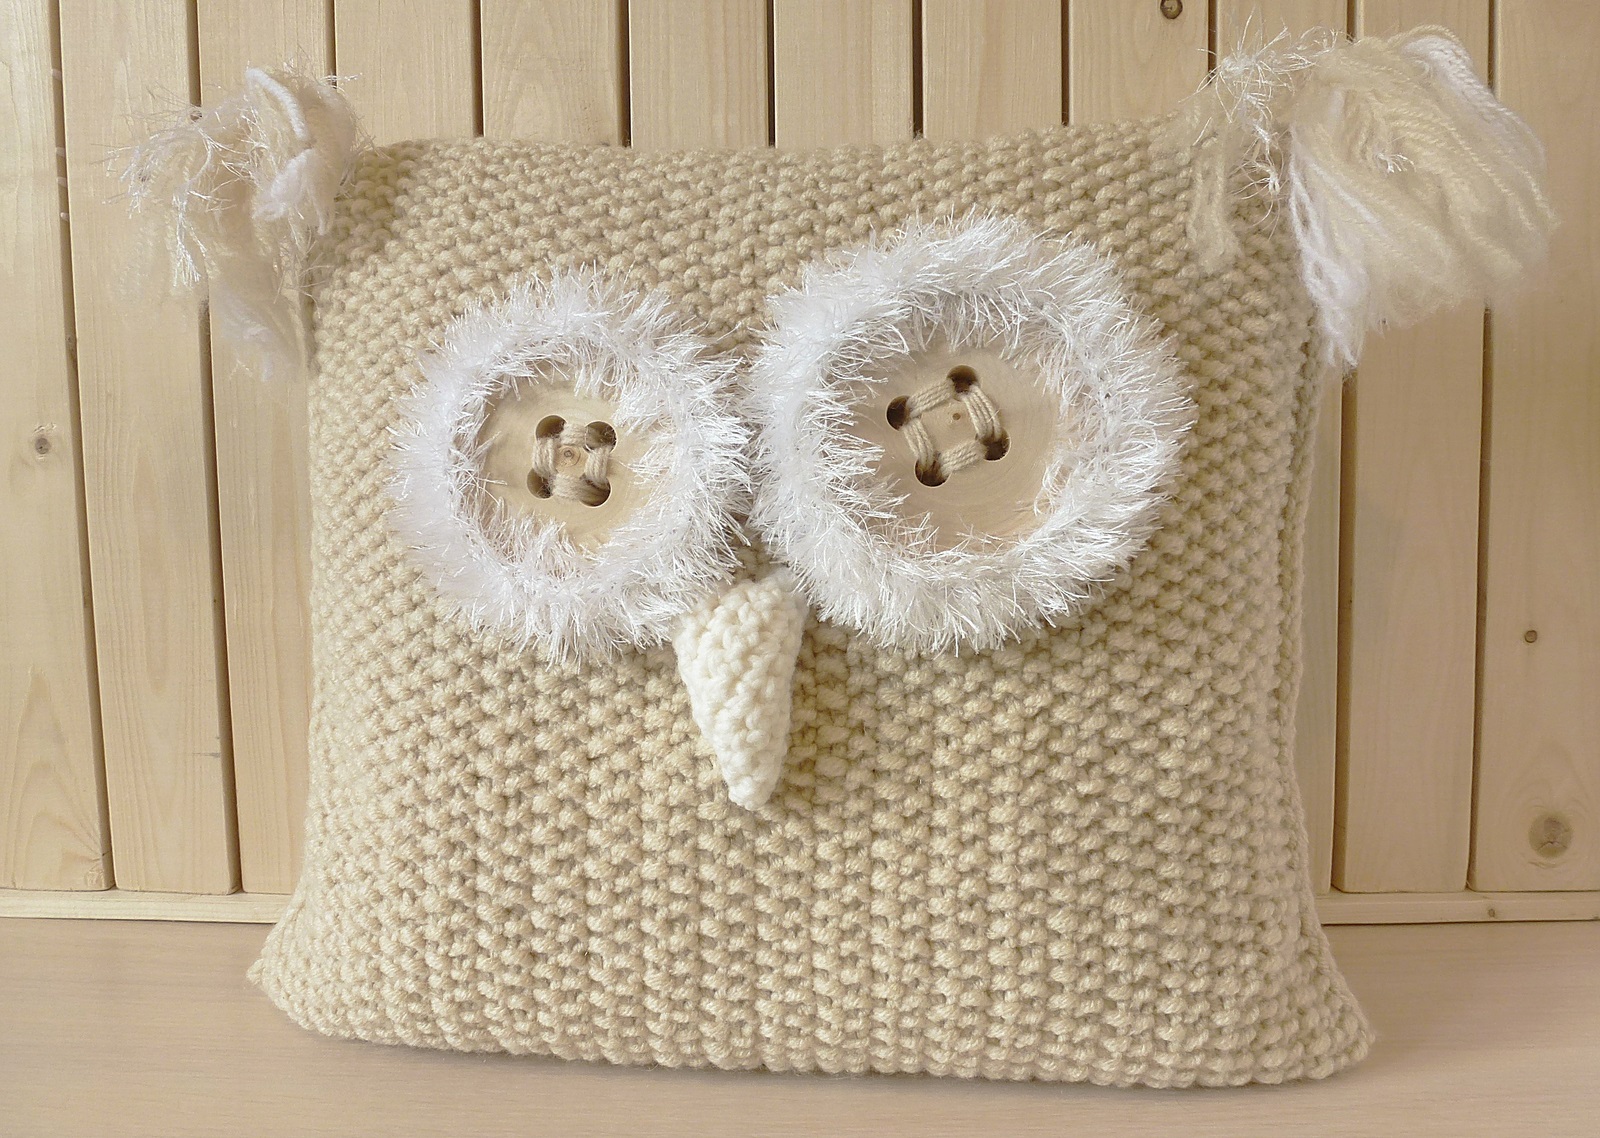
You can decorate your home and add a little coziness to it in completely different ways. For example, unusual owl pillows look very cute, which can be put on the sofa in the living room or bedroom. This thing can fulfill both its direct role of a pillow and the role of an unusual element of the interior. The owl crochet pillow is knitted very easily - you just need to carefully follow the instructions and enjoy the process.
What you need to crochet a pillow Owl
An owl pillow can also be a wonderful toy for a child. And a kind of talisman in the form of an owl will not interfere in the house, because this bird is a symbol of wisdom. The knitting process is quite easy and even beginners can handle it. The knitter can choose his own pattern to suit his tastes best.

To knit an owl-shaped pillow, you need the following details:
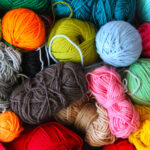
- Threads of different colors - blue, green, emerald, red, pink, a little crimson, blue, gray, white. A large pillow is knitted in two threads, and a small one - in one.
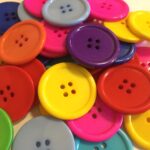
- Buttons - about 6-7 pieces.
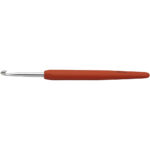
- Hook. For a large product - 4 mm, for a small one - 5.5 mm.
Note. You can take another color of threads, based on your tastes. The main thing is that the colors look harmoniously together and there are several of them.
Crocheting is not only an interesting hobby, but also a way to develop fine motor skills of your hands to stay healthy at all times. But in order for beginners to learn how to make real masterpieces with a hook and thread, you need to adhere to some important tips:
- Select the most suitable and always high quality yarn. To make the scops owl pleasant to the touch and soft, you need to choose the appropriate thread.
- Use only thin yarns. While your hands have not yet gotten used to using unusual techniques, you need to start working with just such a yarn.
- There are two ways to hold the hook and you need to choose the one that suits you best. It is important that the method will not affect the appearance of the finished product in any way, so you need to hold it as it is convenient.
- Before you start knitting the owl, it is advisable to prepare all the threads that will be useful for work.
- During the process, the hands should be as relaxed as possible, and the skin of the hands should be smooth and soft.
- The entire knitting pattern must be studied immediately in order to clarify incomprehensible points from more trained knitters.
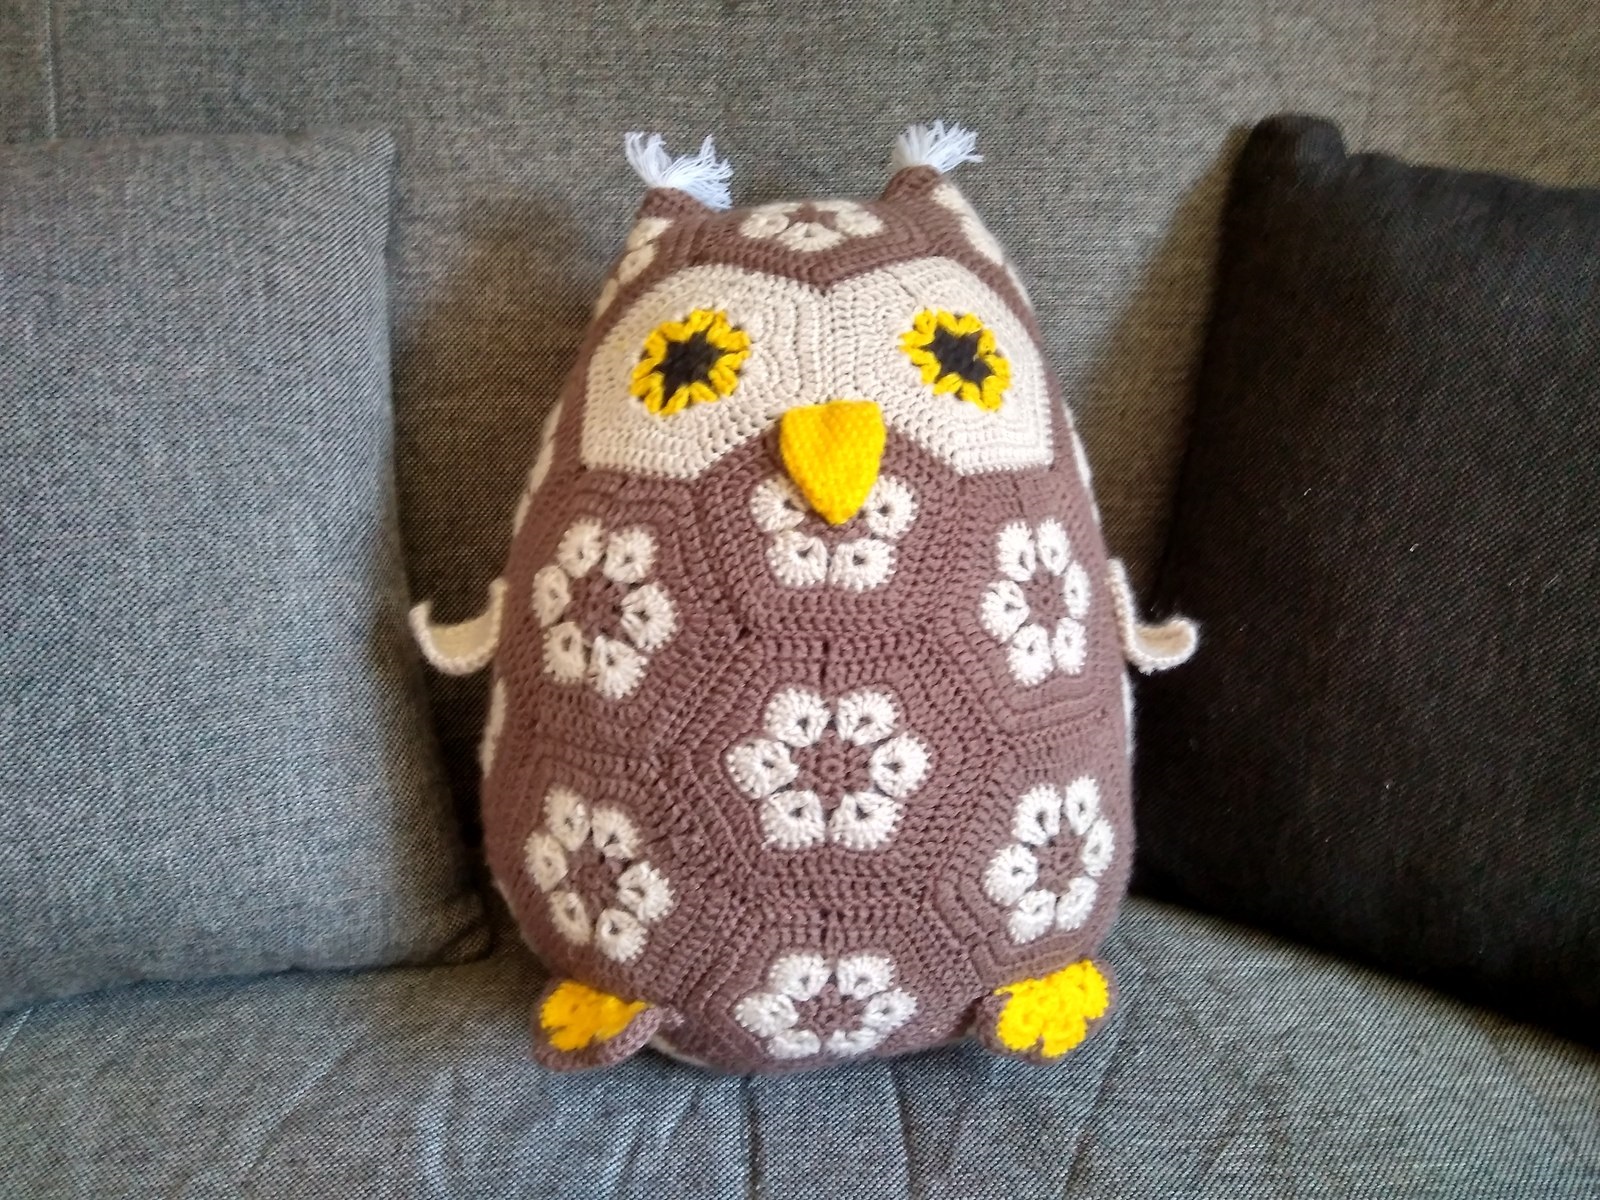
The process of knitting an owl pillow is quite exciting and will perfectly brighten up your free time. It is important to select the necessary tools for this in advance in order to enjoy knitting in the most relaxed atmosphere. Children will definitely like the finished thing very much, and they will take it with them to sleep.
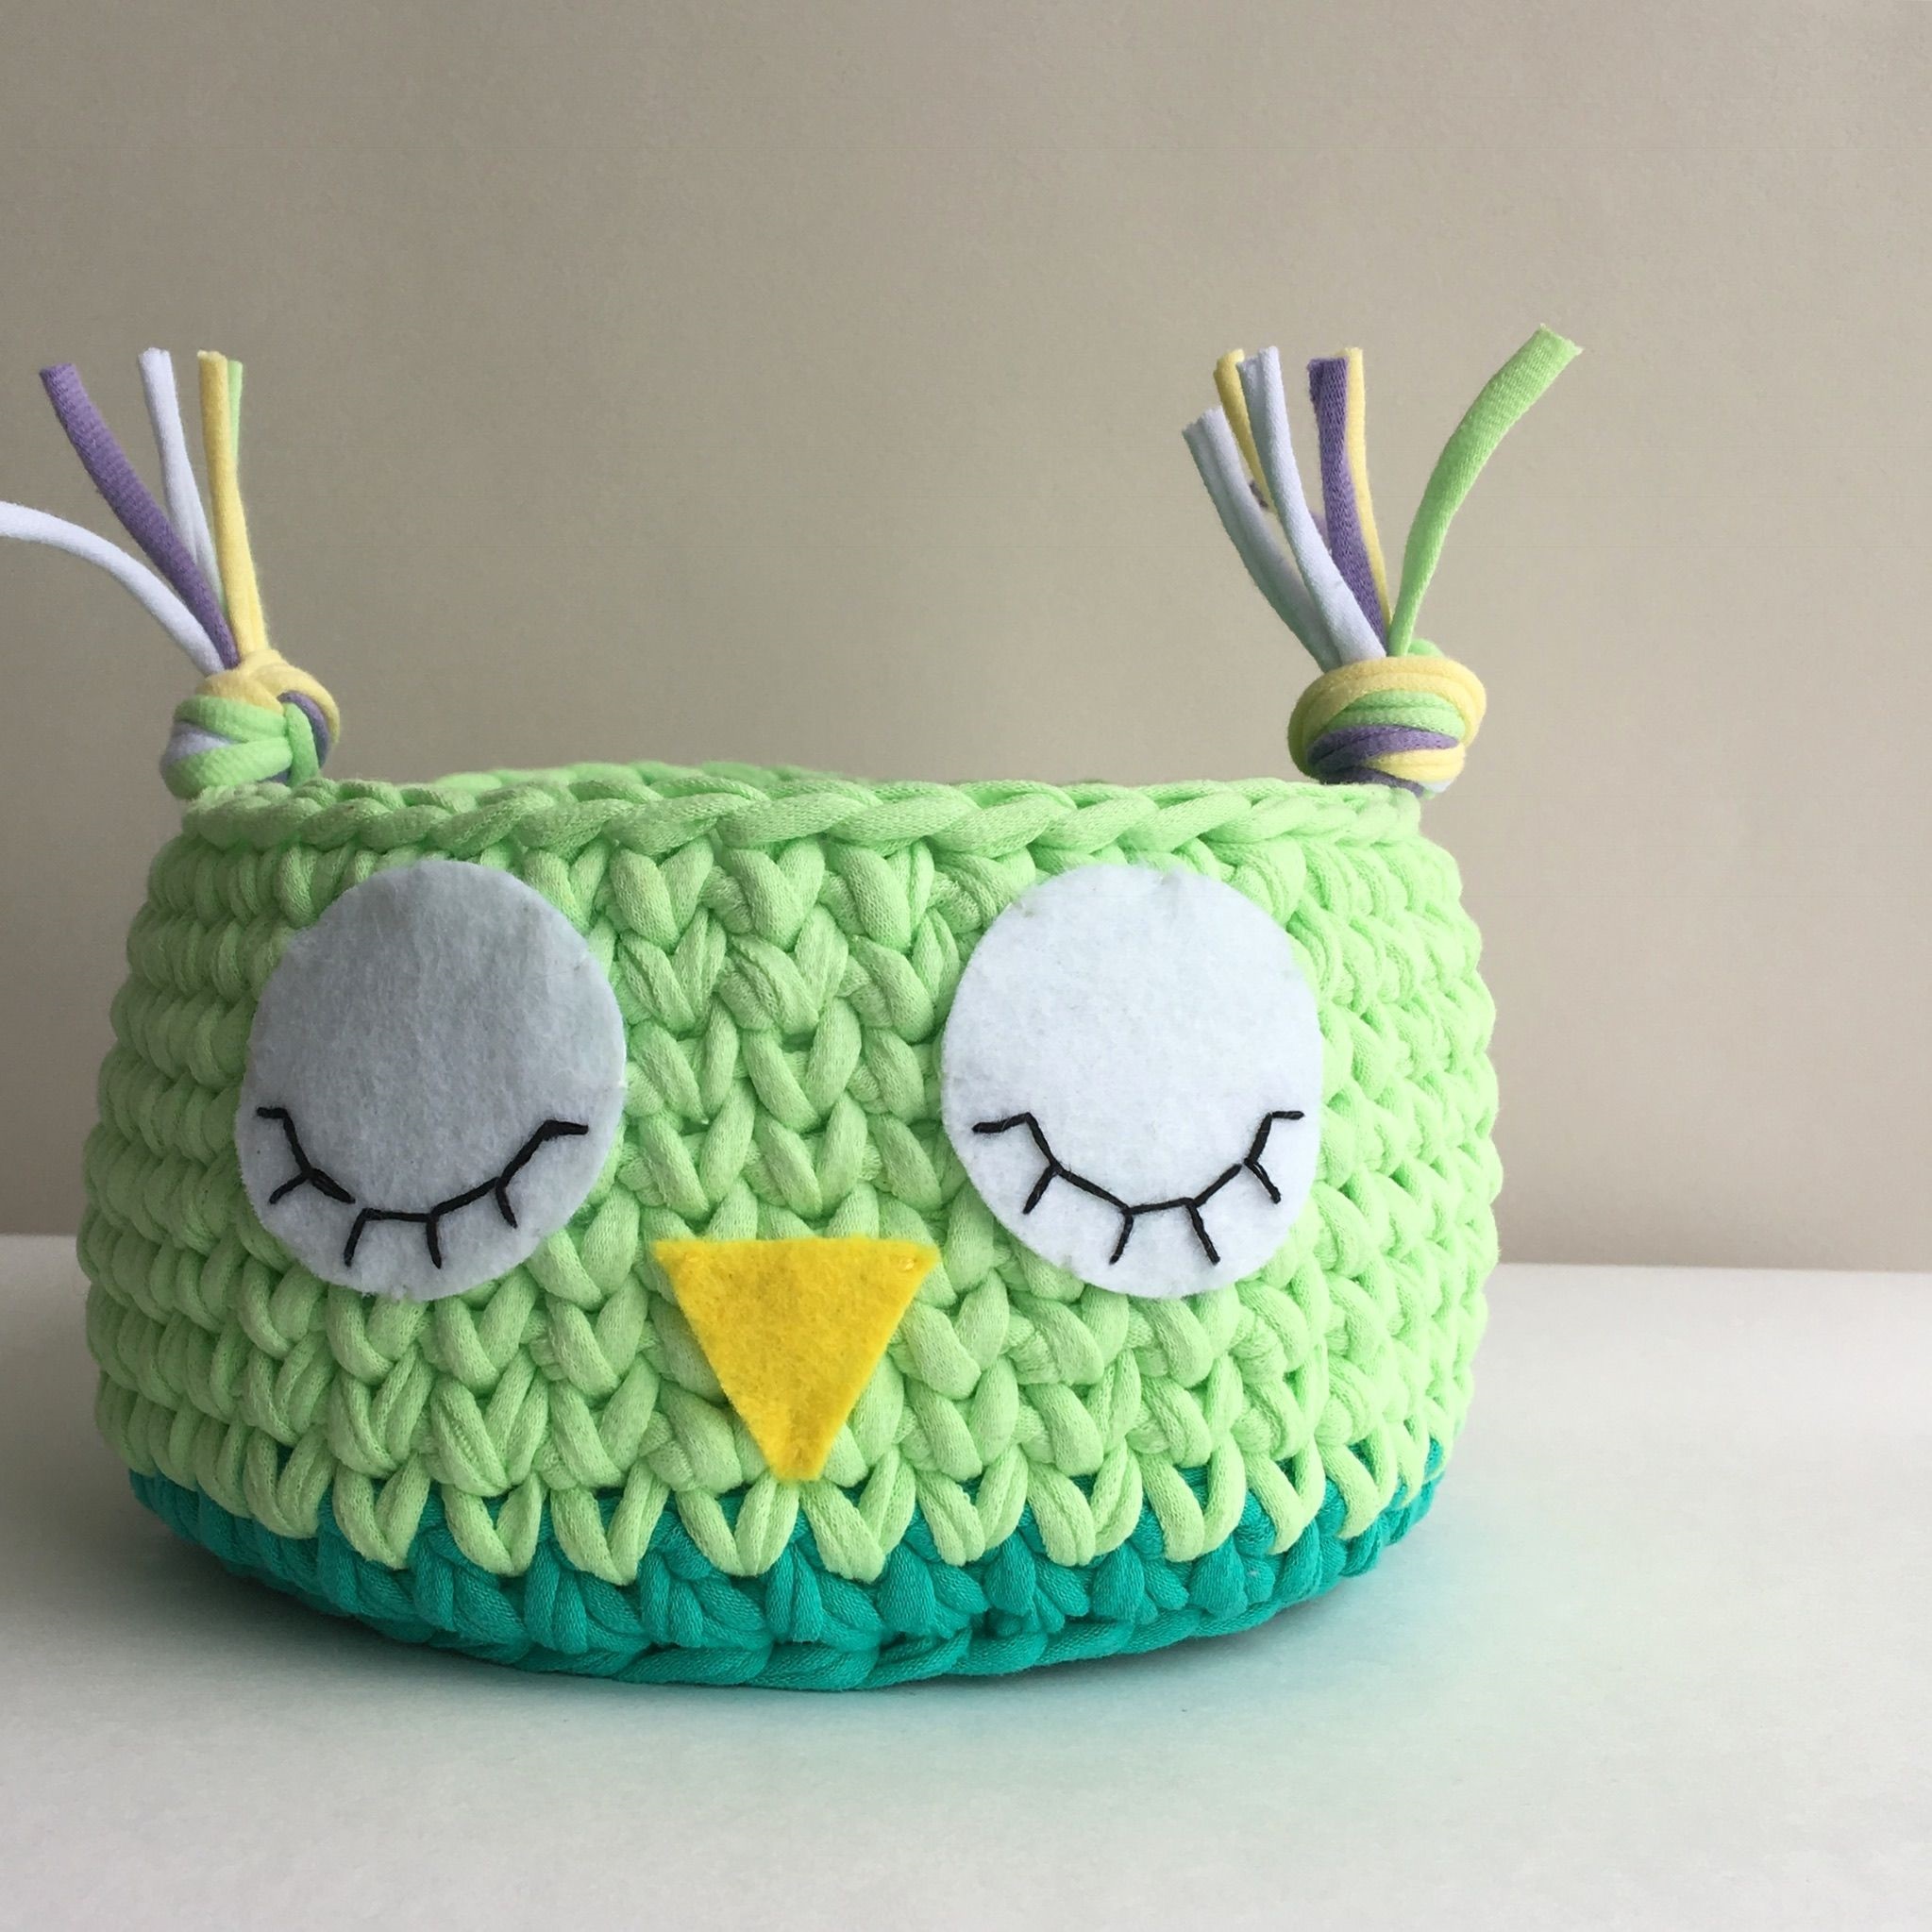
Knitting patterns
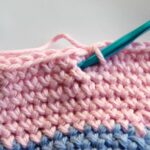
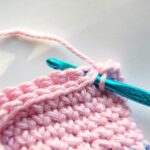
Knitting of a scops owl pillow takes place according to a certain pattern, which must be placed in front of you and followed throughout the entire knitting process. Methods of knitting crochet stitches are used. The columns are made in this way:
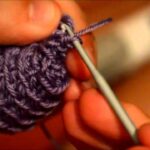
- 1 yarn is performed, after which the hook is inserted into the loop of the row that lies below.
- Then again the yarn over and the loop is pulled.
- Again 1 yarn over, which is further pulled through 2 loops on the hook.
- After that, the described steps are repeated 8 more times, but the hook must be constantly inserted into the loop of the row below. In total, 10 loops are typed on the hook in this way.
- Next, you need to make 1 yarn over, which stretches through those 10 loops that were typed on the hook.
By performing such actions, you can get the necessary pattern that will come in handy when knitting an owl pillow.
Additional Information. There is no specific indication of what the pattern should be. That is why you can choose one of the existing schemes and start creating your masterpiece.
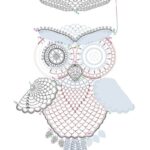
Crochet crocheted owl pillow with diagrams and detailed descriptions can be created in the following forms:
- Openwork. It looks very attractive and fits perfectly into the interior.
- Jacquard. With this method, knitting is used without broaches at the back without the use of knitting needles.
- Motives. These are certain details for decorating a product.
- Volumetric. In this way, you will get a volumetric pillow that can be used for its intended purpose.
- Dense. The product will have a tight shape.
- Embossed. This type is one of the most interesting, because it resembles a volumetric one, but at the same time a very unusual pattern is obtained.
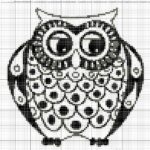
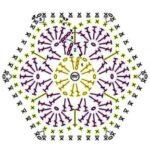
Each pattern must be accompanied by a detailed description, which looks like a list, which indicates how to knit each row. You need to know how to correctly type almost every loop, their number and sequence. In the process of work, you must definitely keep the diagram with you and look at it in order to do everything right. Even the most experienced knitter uses a detailed description, because it is impossible to remember and know everything.
You can use various additional details for knitted things - it all depends on the imagination of the craftswoman. Then the owl pillow will turn out to be completely unique and unusual.
How to knit a pillow "Owl" with your own hands
The knitting process is very simple, the instruction is step by step, so you need to follow it exactly. You need to perform according to the scheme, using rotary rows or circular. In each case, its own technique is used, which is in the scheme.
Knitting front and back
You need to knit the front and back walls according to the pattern that you like best. You just need to knit in rows in the form of a cylinder, which should have smooth walls. The size of the pillow will depend on how much this cylinder will rise up.
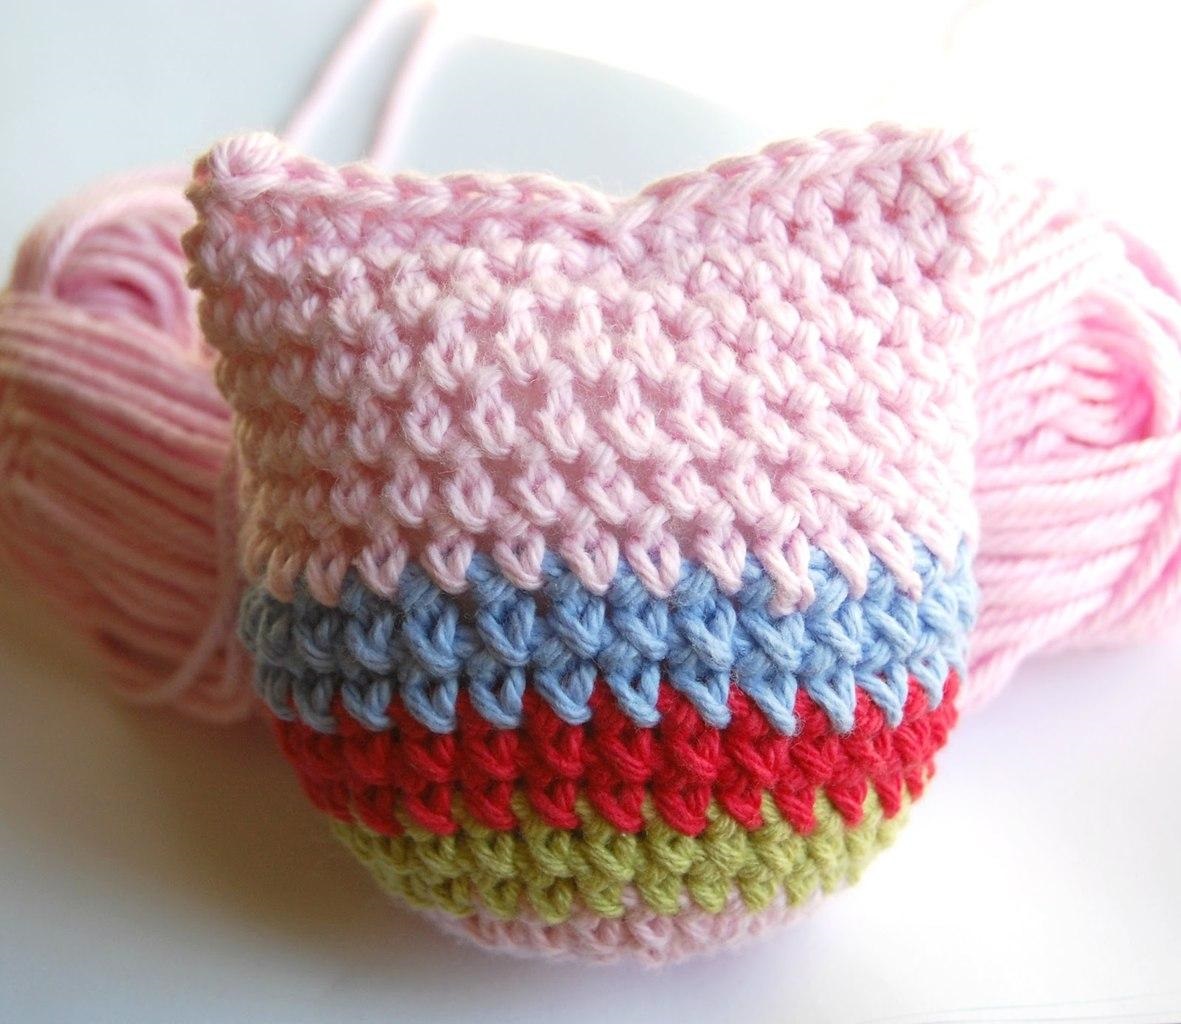
Right and left
The knitting of the cylinder continues in a circle, and thus the walls of the pillow are created. The wider they are, the larger the scops owl will be.
Wings and ears
These parts are an extension of the cylinder, you just need to continue knitting a little on them at the top and sides.

Beak
To make a beak, you need to start knitting near one of the sewn eyes, and then do the same near the second eye. As a result, you should get a beak in the form of a triangle. And its value will depend on the number of loops that are recruited.
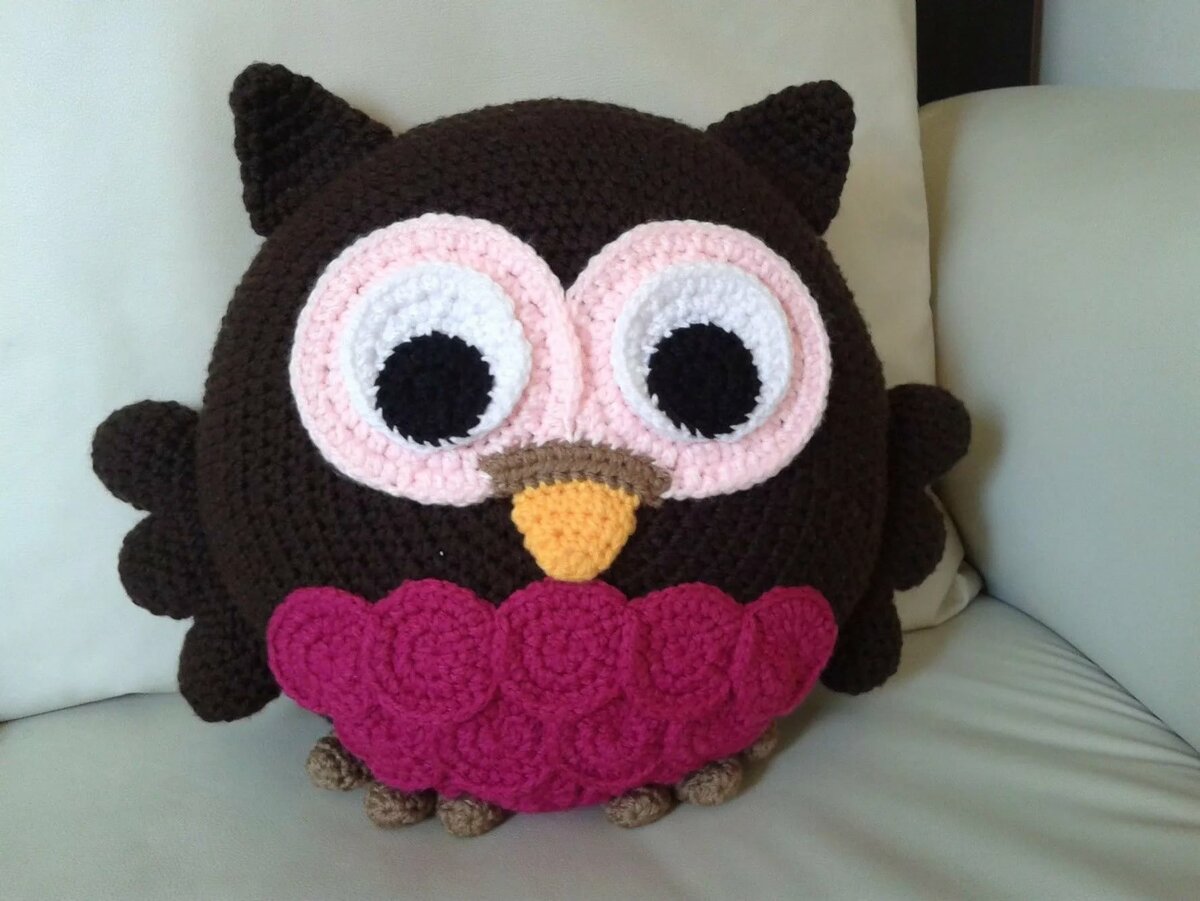
Eyes and paws
The eyes should be two large circles, which must be tied separately, and then simply sewn on. Along the edge of the circle, you need to sew them to the owl's head. This must be done very carefully so that the seams are not visible. You can do this step even before filling with filler, but then it will not be entirely clear whether they will look beautiful. Therefore, it is best to sew on the eyes when everything is almost ready. When the eyes have already been sewn in a circle, you still need to make pupils or cilia, and thus sew them inside too.
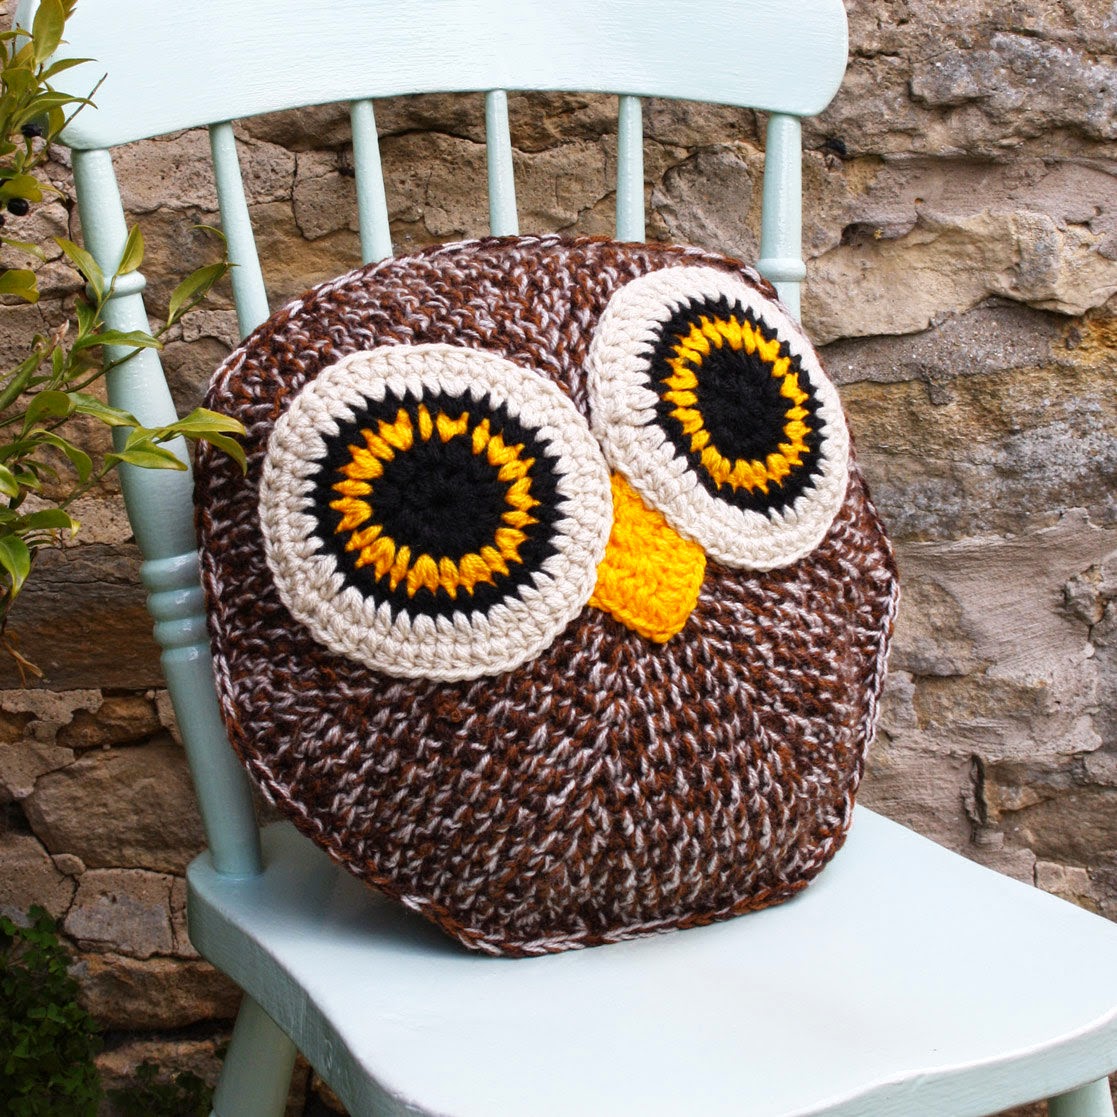
According to the scheme, the legs of an owl are made, for which you need to take a different color, namely, gray or brown. In the course of knitting, the product is filled with filler.
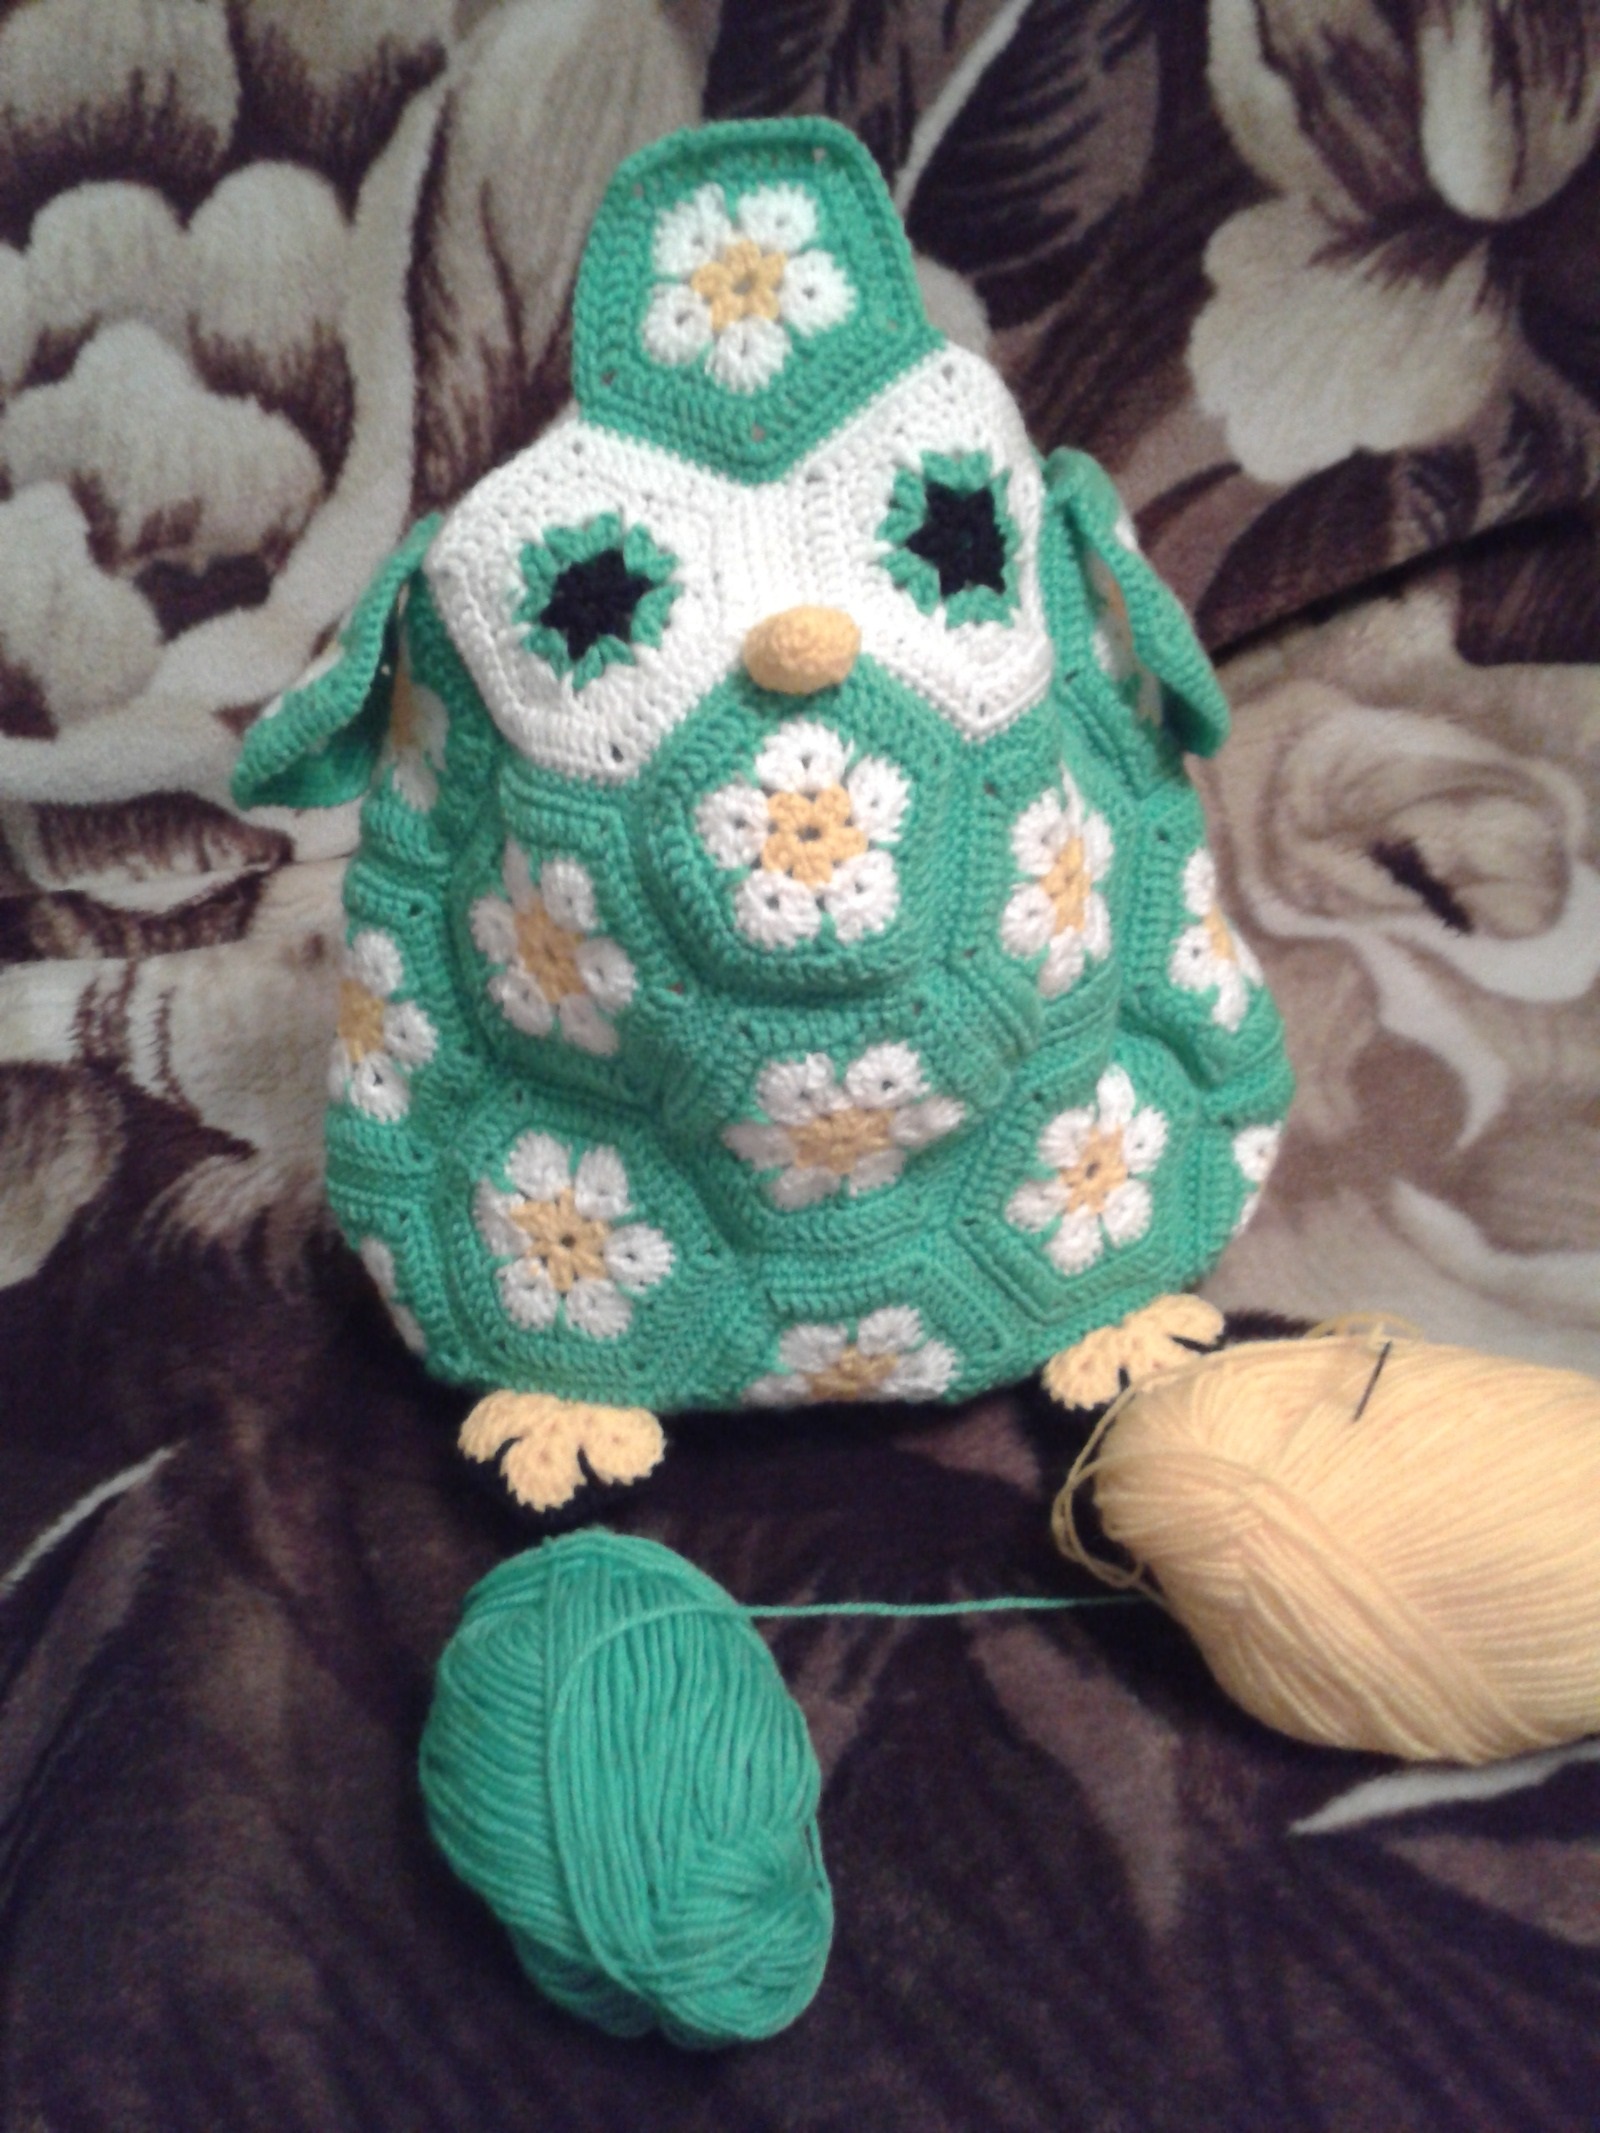
Putting all parts into one
When almost everything is connected, you need to gradually fill all the compartments with filler, and then completely sew up all the holes.Then the eyes are sewn and the "Owl" is ready.
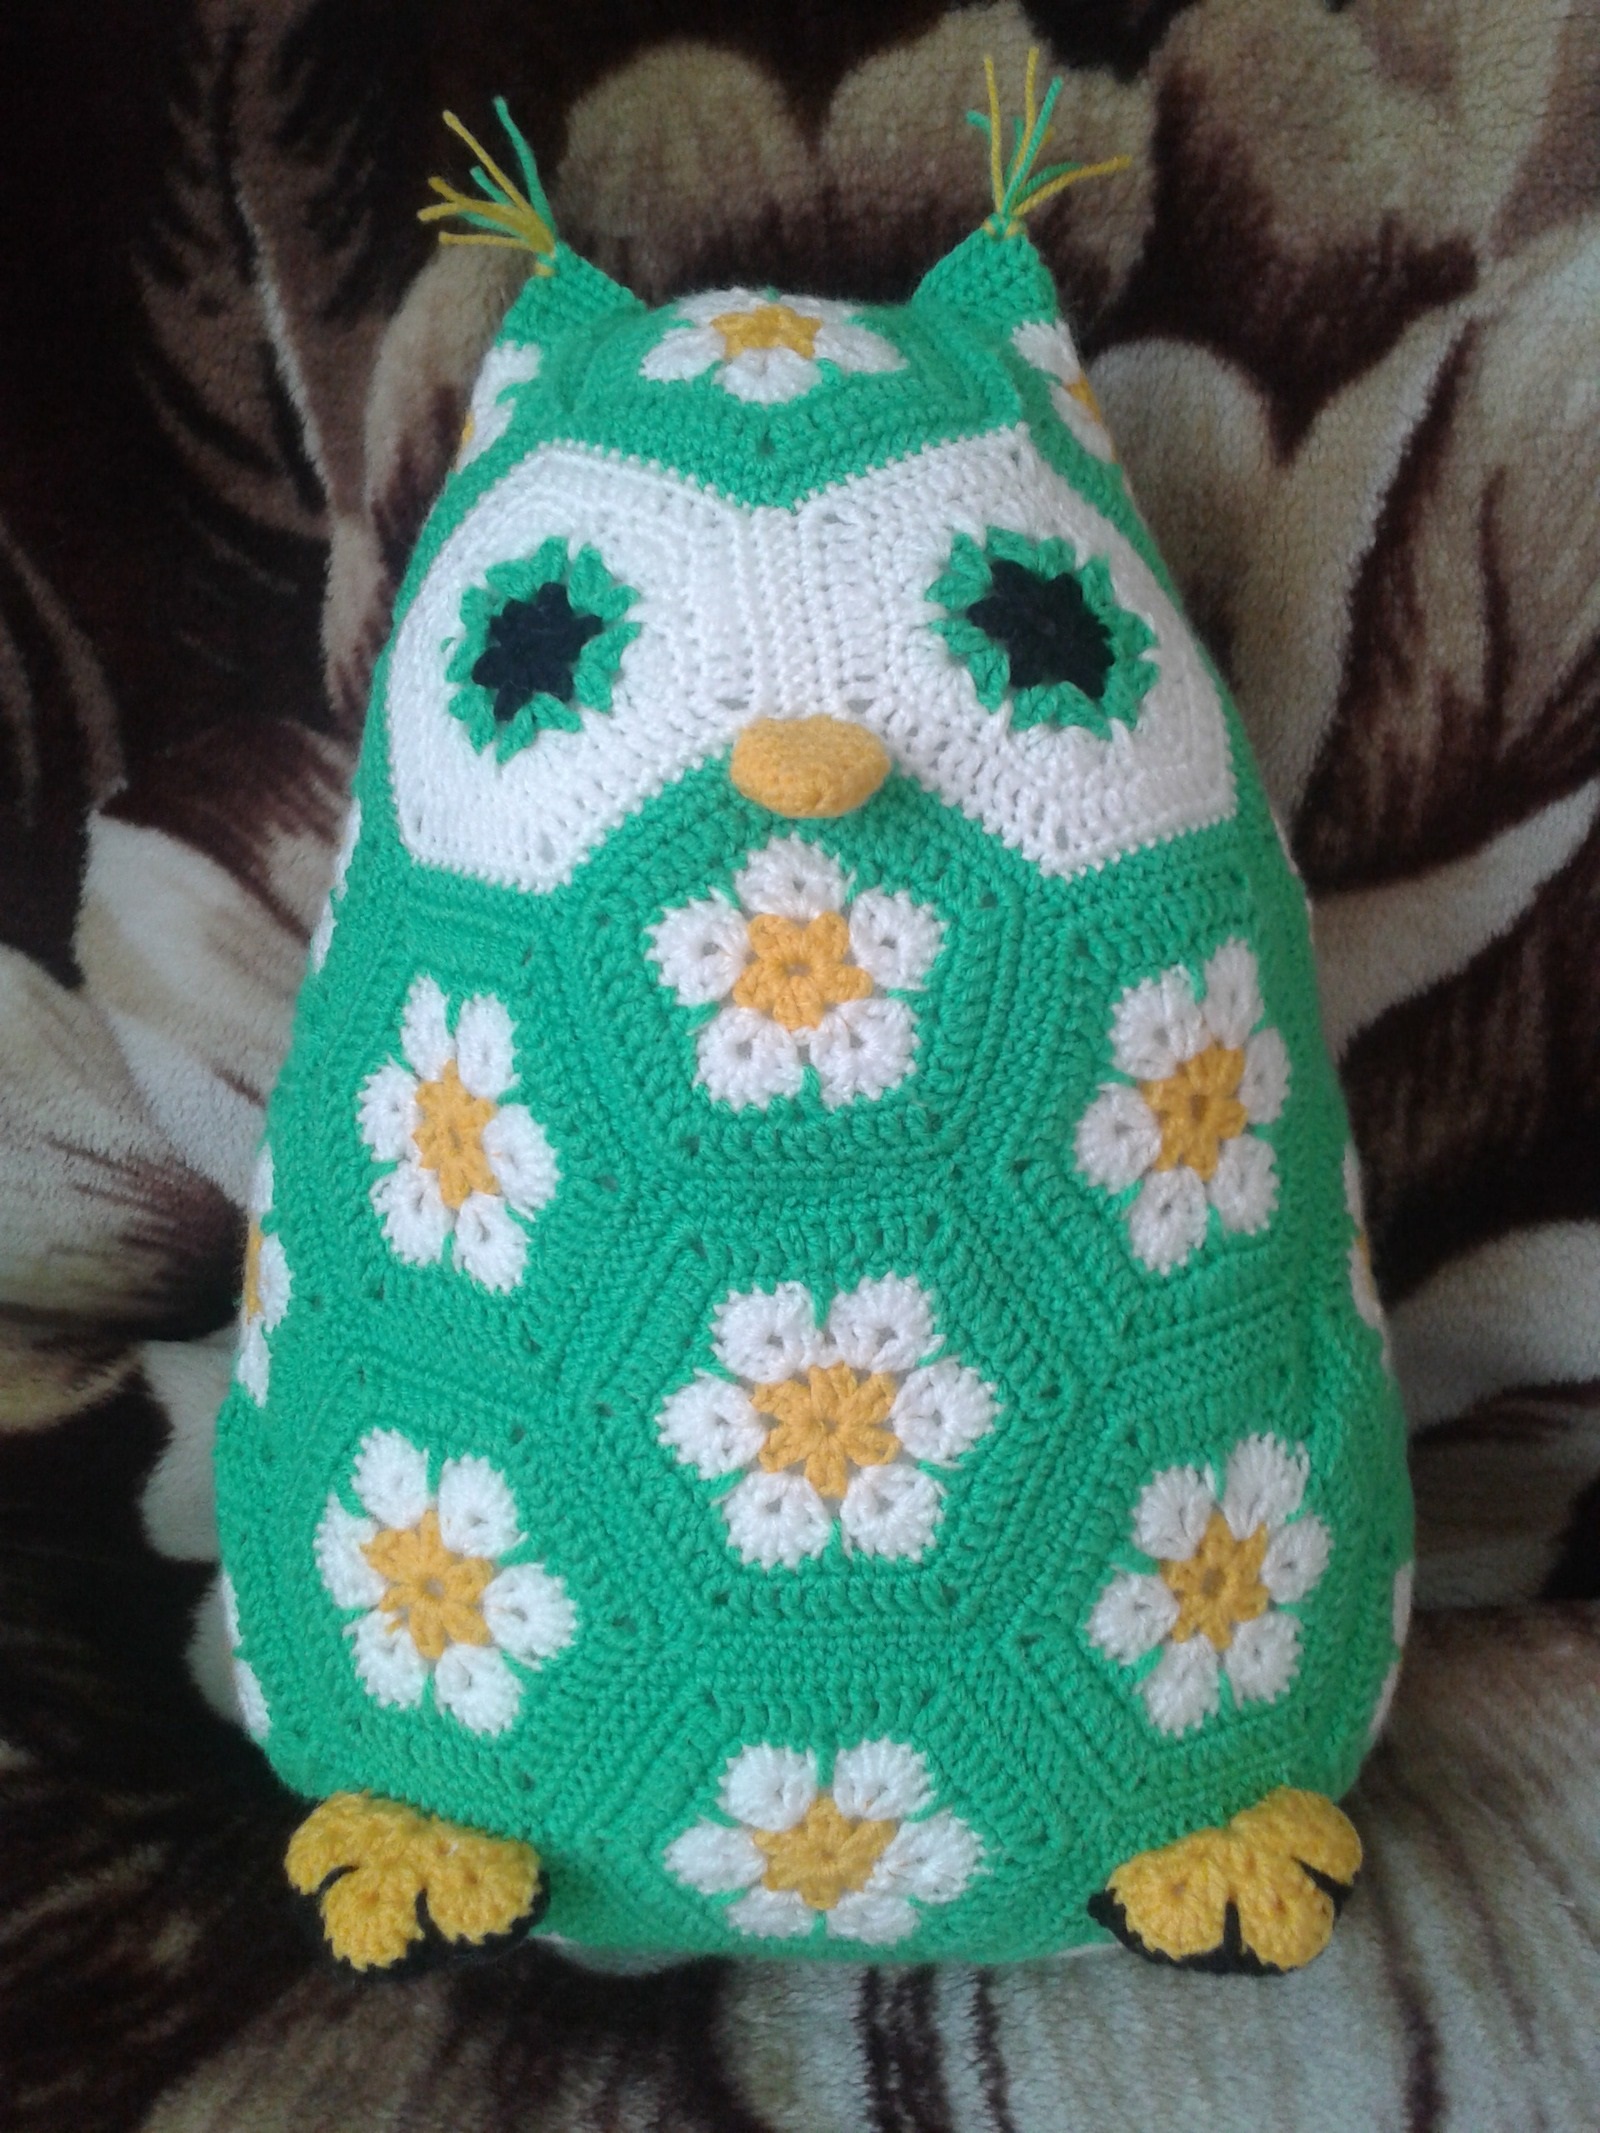
As you can see, the knitting process is completely uncomplicated. The main thing is to have the desire, the necessary patterns and learn at least the basic features of crocheting. If you like the process, then you can not stop at the owl, but continue to decorate your home with the help of other unusual and hand-made crafts.
Video: how to crochet an owl pillow
Part 1:
Part 2:
